Page 1078 of 3870
2. Adjust the belt vibration frequency, tension, or deflection amount using the
adjusting bolt according to specifications. See Fig. 10
. See DRIVE BELT
ADJUSTMENT SPECIFICATIONS
table.
3. Tighten the lock nut to 29-43 ft. lbs. See Fig. 10
.
4. Tighten the adjusting bolt to 35-53 INCH lbs. (4-6 N.m). See Fig. 10
.
5. Check the belt vibration frequency, tension, or deflection and readjust as
necessary. See DRIVE BELT ADJUSTMENT SPECIFICATIONS table.
Fig. 10: Adjusting Power Steering Pump Drive Belt
Courtesy of MITSUBISHI MOTOR SALES OF AMERICA.
DRIVE BELT ROUTIN
G
CAUTION: Check after turning the crankshaft one or more
rotations clockwise.
2004 Mitsubishi Endeavor Limited
2004 ENGINE COOLING Specifications & Drive Belt Routing - Endeavor
Page 1190 of 3870

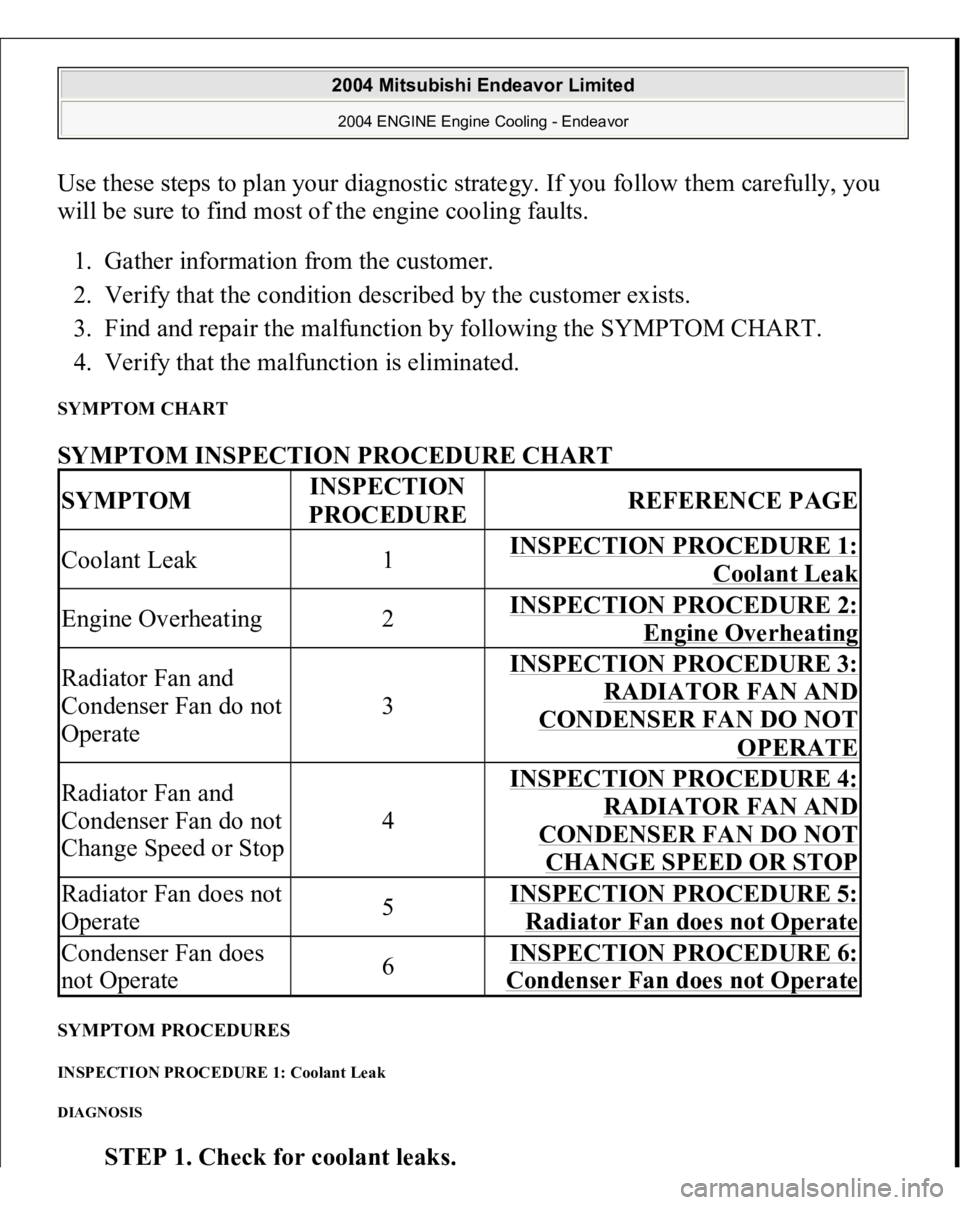
Use these steps to plan your diagnostic strategy. If you follow them carefully, you
will be sure to find most of the engine cooling faults.
1. Gather information from the customer.
2. Verify that the condition described by the customer exists.
3. Find and repair the malfunction by following the SYMPTOM CHART.
4. Verify that the malfunction is eliminated. SYMPTOM CHART SYMPTOM INSPECTION PROCEDURE CHART SYMPTOM PROCEDURES INSPECTION PROCEDURE 1: Coolant Leak DIAGNOSIS
STEP 1. Check for coolant leaks
.
SYMPTOM
INSPECTION
PROCEDURE
REFERENCE PAGE
Coolant Leak
1
INSPECTION PROCEDURE 1:
Coolant Leak
Engine Overheating
2
INSPECTION PROCEDURE 2:
Engine Overheating
Radiator Fan and
Condenser Fan do not
Operate
3
INSPECTION PROCEDURE 3:
RADIATOR FAN AND
CONDENSER FAN DO NOT
OPERATE
Radiator Fan and
Condenser Fan do not
Change Speed or Stop
4
INSPECTION PROCEDURE 4:
RADIATOR FAN AND
CONDENSER FAN DO NOT CHANGE SPEED OR STOP
Radiator Fan does not
Operate
5
INSPECTION PROCEDURE 5: Radiator Fan does not Operate
Condenser Fan does
not Operate
6
INSPECTION PROCEDURE 6: Condenser Fan does not Operate
2004 Mitsubishi Endeavor Limited 2004 ENGINE Engine Cooling - Endeavor
Page 1191 of 3870
Check that the coolant level is up to the filler neck. Install a radiator tester and
apply 160 kPa (23 psi) pressure, and then check for leakage from the radiator
hose or connections.
WARNING:When pressure testing the cooling system,
slowly release cooling system pressure to avoid
getting burned by hot coolant.
CAUTION:
Be sure to completely clean away any
moisture from the places checked. When the tester is removed, be careful not to
spill any coolant. When installing and removing the tester and
when testing, be careful not to deform the
filler neck of the radiator.
2004 Mitsubishi Endeavor Limited 2004 ENGINE Engine Cooling - Endeavor
Page 1192 of 3870
Fig. 3: Checking For Leakage From Radiator Hose Or Connections
Courtesy of MITSUBISHI MOTOR SALES OF AMERICA.
Q: Is leakage present from the radiator hose or connections?
YES: Repair or replace the appropriate part, then go to Step 2.
NO: There is no action to be taken.
STEP 2. Retest the system.
Q: It there still coolant leakage?
YES: Return to Step 1 .
NO: The procedure is complete.
INSPECTION PROCEDURE 2: Engine Overheating
2004 Mitsubishi Endeavor Limited 2004 ENGINE Engine Cooling - Endeavor
Page 1193 of 3870
DIAGNOSI
S
STEP 1. Remove the radiator cap and check for coolant contamination.
Q: Is the coolant contaminated with rust and oil?
YES: Replace it. Refer to ENGINE COOLANT REPLACEMENT
.
NO: There is no action to be taken. Go to Step 2.
STEP 2. Check the radiator cap valve opening pressure.
1. Use a cap adapter to attach the cap to the tester.
2. Increase the pressure until the gauge indicator stops moving.
Minimum limit: 83 kPa (12 psi)
Standard value: 93 - 123 kPa (14 - 18 psi)
NOTE: Be sure that the cap is clean before testing. Rust or
other foreign material on the cap seal will cause an
improper reading.
2004 Mitsubishi Endeavor Limited 2004 ENGINE Engine Cooling - Endeavor
Page 1194 of 3870
Fig. 4: Checking Cap Valve Opening Pressure
Courtesy of MITSUBISHI MOTOR SALES OF AMERICA.
Q: Does the reading remain at or above the minimum limit?
YES: Go to Step 3.
NO: Replace the radiator cap. Then go to Step 5 .
STEP 3. Check thermostat operation.
Refer to INSPECTION
.
Q: Does the thermostat operate correctly?
YES: Go to Step 4.
NO: Replace the thermostat, then go to Step 5 .
STEP 4. Check the drive belt for slippage or damage.
2004 Mitsubishi Endeavor Limited 2004 ENGINE Engine Cooling - Endeavor
Page 1195 of 3870
Refer to 7. DRIVE BELTS (FOR GENERATOR, POWER STEERIN
G .
Q: Is the drive belt loose or damaged?
YES: Adjust or replace the drive belt, then go to Step 5.
NO: There is no action to be taken.
STEP 5. Retest the system.
Check the engine coolant temperature.
Q: Is the engine coolant temperature abnormally high?
YES: Return to Step 2 .
NO: The procedure is complete.
INSPECTION PROCEDURE 3: Radiator Fan and Condenser Fan do not Operate
2004 Mitsubishi Endeavor Limited 2004 ENGINE Engine Cooling - Endeavor
Page 1199 of 3870

Courtesy of MITSUBISHI MOTOR SALES OF AMERICA
.
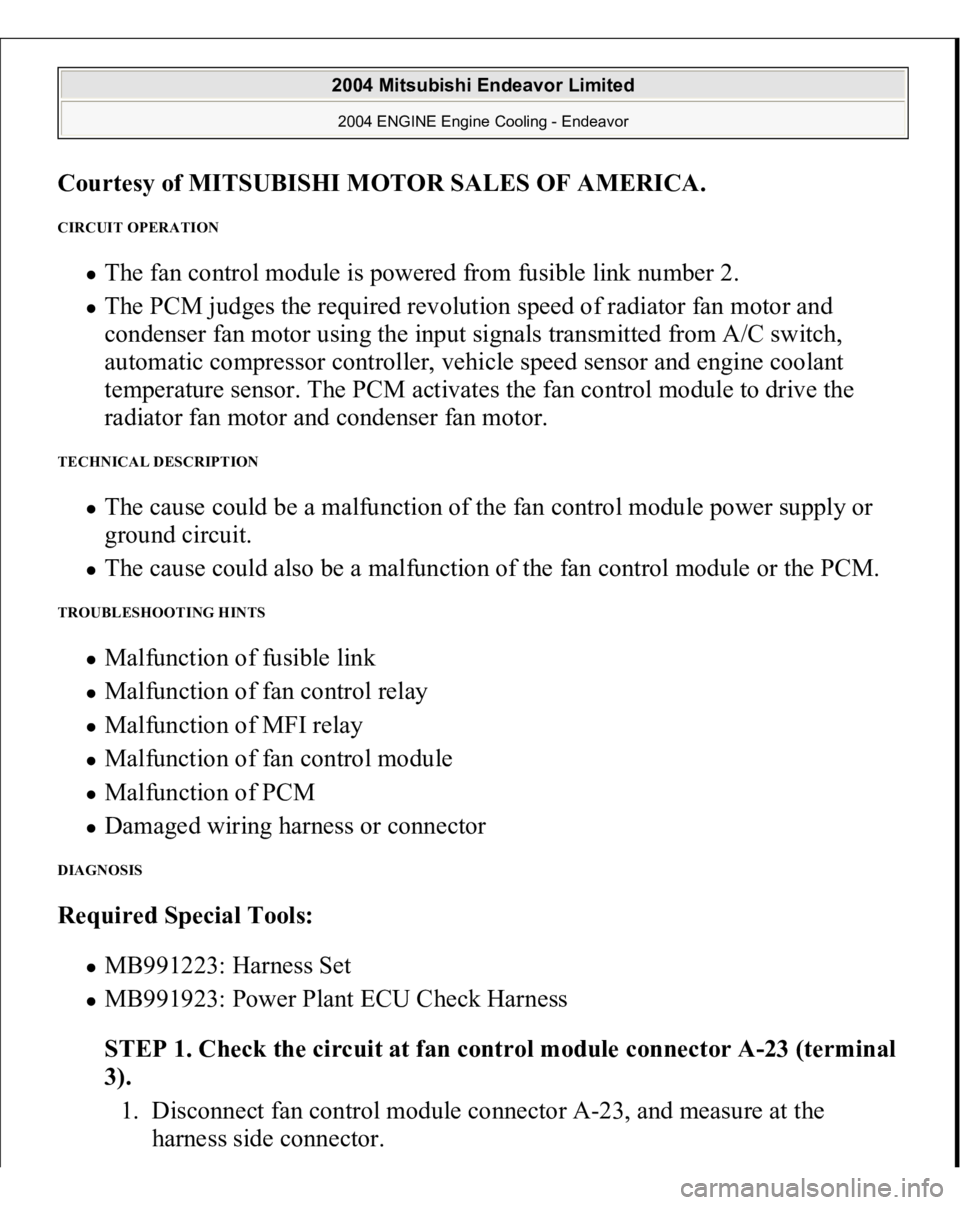
CIRCUIT OPERATION
The fan control module is powered from fusible link number 2. The PCM judges the required revolution speed of radiator fan motor and
condenser fan motor using the input signals transmitted from A/C switch,
automatic compressor controller, vehicle speed sensor and engine coolant
temperature sensor. The PCM activates the fan control module to drive the
radiator fan motor and condenser fan motor.
TECHNICAL DESCRIPTION
The cause could be a malfunction of the fan control module power supply or
ground circuit. The cause could also be a malfunction of the fan control module or the PCM.
TROUBLESHOOTING HINTS
Malfunction of fusible link Malfunction of fan control relay Malfunction of MFI relay Malfunction of fan control module Malfunction of PCM Damaged wiring harness or connector
DIAGNOSIS Required Special Tools:
MB991223: Harness Set MB991923: Power Plant ECU Check Harness
STEP 1. Check the circuit at fan control module connector A-23 (terminal
3).
1. Disconnect fan control module connector A-23, and measure at the
harness side connector.
2004 Mitsubishi Endeavor Limited 2004 ENGINE Engine Cooling - Endeavor