Page 1770 of 3870
Fig. 135: Identifying Connector C
-112
Courtesy of MITSUBISHI MOTOR SALES OF AMERICA.
Q: Is the wiring harness between woofer connector D-08 (terminals 1 and
2) and audio amplifier connector C-11 (terminals 8 and 18) in good
condition?
YES: Replace the audio amplifier. The woofer should sound.
NO: Repair the wiring harness. The woofer should sound.
INSPECTION PROCEDURE 8: Noise is Present while Moving (AM). DIAGNOSIS
STEP 1. Ask the driver about the noise.
1. Find out the following information from the owner.
2. Place where the noise occurs.
2004 Mitsubishi Endeavor LS
2004 BODY & ACCESSORIES Radio With Tape Player & Cd Player - Endeavor
Page 1777 of 3870
mounted
.
Q: Is the antenna in good condition and is it properly mounted?
YES: Consult the radio manufacturer's service center.
NO: Either repair or replace the antenna assembly. Check to see that the
noise is gone.
INSPECTION PROCEDURE 12: Excessive Noise on AM and FM. DIAGNOSIS Radio reception can be affected by Radio Frequency (RF) emissions from a variety
of sources. The disturbance is even greater if the station is weak or poorly tuned.
FM reception is not as sensitive to disturbances as AM. AM reception is sensitive to
electrical disturbances such as power lines, lightening and other types of similar
electrical phenomena.
STEP 1. Check if the customer heard the noise under any of the following
conditions.
A motorcycle was passing. Lighting was flashing. Passed beneath a power line. Passed beneath a telephone line. Passed by a signal generator. Passed by any other sources of electrical noise. Passed under a bridge or through a tunnel.
Q: Did the noise occur during any of the circumstances listed above?
YES: The observed noise is normal.
NO: Go to Step 2.
STEP 2. Compare the customers radio to another identical model.
Operate the radio in a vehicle with a known good audio system of the same
t
ype as the customer's.
2004 Mitsubishi Endeavor LS
2004 BODY & ACCESSORIES Radio With Tape Player & Cd Player - Endeavor
Page 1786 of 3870
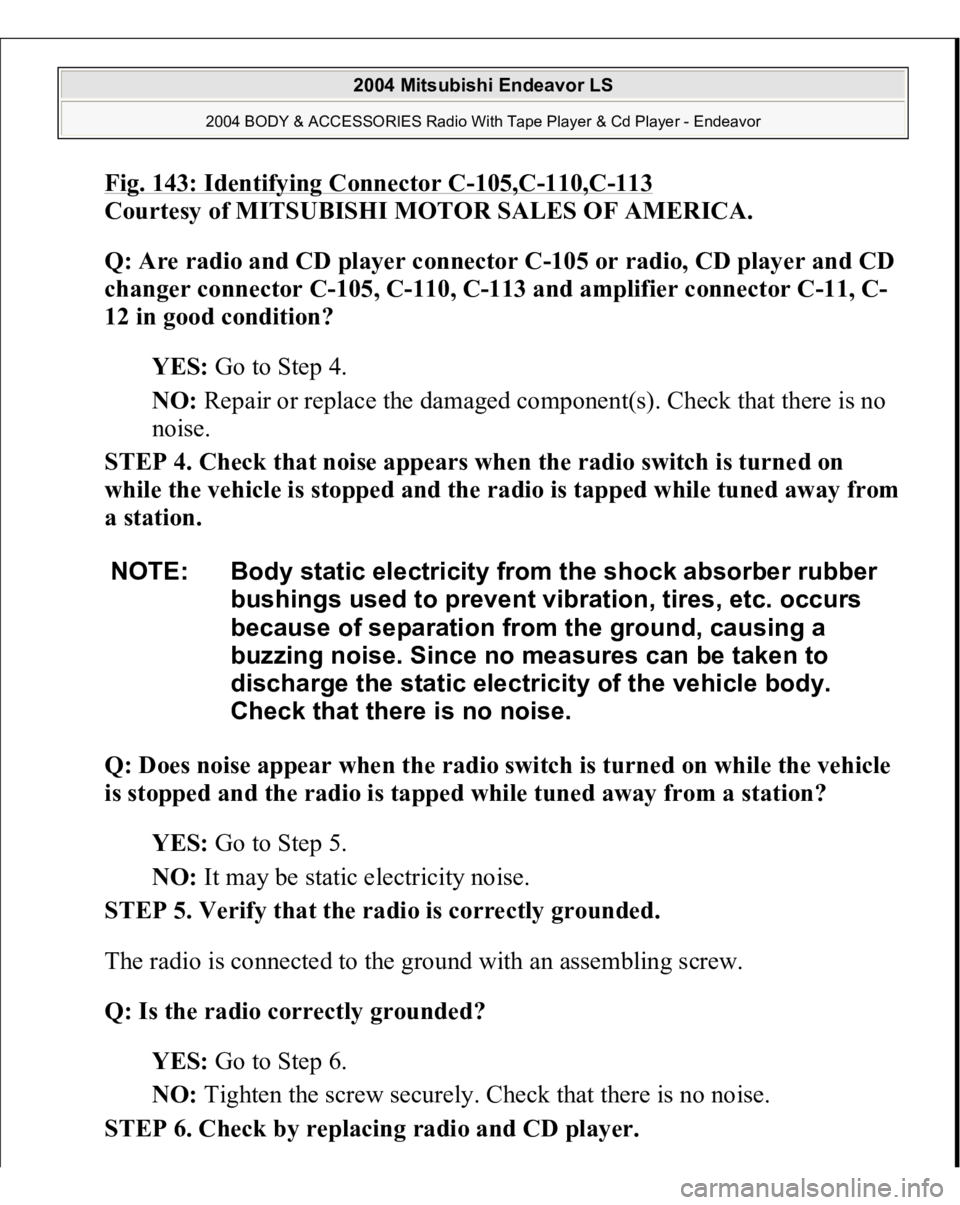
Fig. 143: Identifying Connector C
-105,C
-110,C
-113
Courtesy of MITSUBISHI MOTOR SALES OF AMERICA.
Q: Are radio and CD player connector C-105 or radio, CD player and CD
changer connector C-105, C-110, C-113 and amplifier connector C-11, C-
12 in good condition?
YES: Go to Step 4.
NO: Repair or replace the damaged component(s). Check that there is no
noise.
STEP 4. Check that noise appears when the radio switch is turned on
while the vehicle is sto
pp
ed and the radio is ta
pp
ed while tuned awa
y from
a station.
Q: Does noise appear when the radio switch is turned on while the vehicle
is stopped and the radio is tapped while tuned away from a station?
YES: Go to Step 5.
NO: It may be static electricity noise.
STEP 5. Verify that the radio is correctly grounded.
The radio is connected to the ground with an assembling screw.
Q: Is the radio correctly grounded?
YES: Go to Step 6.
NO: Tighten the screw securely. Check that there is no noise.
STEP 6. Check by replacing radio and CD player.
NOTE: Body static electricity from the shock absorber rubber
bushings used to prevent vibration, tires, etc. occurs
because of separation from the ground, causing a
buzzing noise. Since no measures can be taken to
discharge the static electricity of the vehicle body.
Check that there is no noise.
2004 Mitsubishi Endeavor LS
2004 BODY & ACCESSORIES Radio With Tape Player & Cd Player - Endeavor
Page 1789 of 3870
STEP 6. Check by replacing radio and CD player.
Q: Do the other radio and CD player work normally?
YES: Either repair or replace the original radio and CD player. Check that
there is no noise.
NO: Either repair or replace the antenna assembly. Check that there is no
noise.
INSPECTION PROCEDURE 16: Constant Noise. DIAGNOSIS Use the Symptom Chart to diagnose the possible cause(s) of the noise. Noise is
often created by the following factors:
Traveling conditions of the vehicle Terrain of area traveled through Surrounding buildings Signal conditions Time period
If there are still problems with noise, even after performing inspection procedures 8
to 15, obtain information on the factors listed above. Determine whether the
problem occurs on AM or FM, the station names, frequencies, etc. and contact the
radio manufacturer's service center.
INSPECTION PROCEDURE 17: No Reception (AM). DIAGNOSIS
STEP 1. Check the state of the antenna.
Q: Is the mast antenna assembled?
YES: Go to Step 2.
NO: Assemble the mast antenna. The radio should sound normally.
STEP 2. Check to see if inspections are taking place is an area exposed to
2004 Mitsubishi Endeavor LS
2004 BODY & ACCESSORIES Radio With Tape Player & Cd Player - Endeavor
Page 1790 of 3870
special electric fields
.
Q: Are inspections taking place under special electric field conditions
(underground garage, inside a building, etc.)?
YES: Go to Step 3.
NO: Go to Step 4 .
STEP 3. Move the vehicle and check the radio.
Move the vehicle to a good reception area that is not exposed to special electric
fields.
Q: Is reception of the strongest radio frequency possible within the area?
YES: There is no action to be taken.
NO: Go to Step 4.
STEP 4. Tune the radio, and then check it.
Q: Did the sensitivity improve after tuning?
YES: There is no action to be taken.
NO: Go to Step 5.
STEP 5. Check the connection of the antenna plug and radio and CD
player.
Q: Is the antenna plug thoroughly connected to the radio and CD player?
YES: Go to Step 6.
NO: Thoroughly connect the antenna plug and the radio and CD player.
The radio should sound normally.
STEP 6. Check by replacing radio and CD player.
Q: Do the other radio and CD player work normally?
YES: Either repair or replace the original radio and CD player. The radio
should sound normall
y.
2004 Mitsubishi Endeavor LS
2004 BODY & ACCESSORIES Radio With Tape Player & Cd Player - Endeavor
Page 1791 of 3870
NO: Either repair or replace the antenna assembly. The radio should
sound normally.
INSPECTION PROCEDURE 18: Poor Reception. DIAGNOSIS
STEP 1. Check the state of the antenna.
Q: Is the mast antenna assembled?
YES: Go to Step 2.
NO: Assemble the mast antenna. Check that a poor reception is resolved.
STEP 2. Check to see if inspections are taking place is an area exposed to
special electric fields.
Q: Are inspections taking place under special electric field conditions
(underground garage, inside a building, etc.)?
YES: Go to Step 3.
NO: Go to Step 4 .
STEP 3. Move the vehicle and check the radio.
Move the vehicle to a good reception area that is not exposed to special electric
fields.
Q: Is reception of the strongest radio frequency possible within the area?
YES: Check that a poor reception is resolved.
NO: Go to Step 4.
STEP 4. Tune the radio, and then check it.
Q: Did the sensitivity improve after tuning?
YES: Check that a poor reception is resolved.
NO: Go to Step 5.
STEP 5. Check with several broadcastin
g stations
.
2004 Mitsubishi Endeavor LS
2004 BODY & ACCESSORIES Radio With Tape Player & Cd Player - Endeavor
Page 1801 of 3870
Fig. 148: Identifying Connector C
-105
Courtesy of MITSUBISHI MOTOR SALES OF AMERICA.
Q: Is radio and CD player or radio, CD player and CD changer connector
C-105 in good condition?
YES: Go to Step 3.
NO: Repair or replace the damaged component(s). Check that a memory
is retained.
STEP 3. Check the wiring harness between radio and CD player or radio,
CD
player and CD chan
ger connector C-105 (terminal 21) and the batter
y.
2004 Mitsubishi Endeavor LS
2004 BODY & ACCESSORIES Radio With Tape Player & Cd Player - Endeavor
Page 1804 of 3870
Q: Is the wiring harness between radio and CD player or radio, CD player
and CD changer connector C-105 (terminal 21) and the battery in good
condition?
YES: Repair or replace the radio and CD player or radio, CD player and
CD changer. Check that a memory is retained.
NO: Repair the wiring harness. Check that a memory is retained.
INSPECTION PROCEDURE 23: CD can not be Inserted. DIAGNOSIS
STEP 1. Check that a CD has been already loaded.
Q: Has a CD been already loaded?
YES: Take out the CD (If the CD can not be ejected, refer to
INSPECTION PROCEDURE 27
). Check that a CD can be inserted.
NO: Go to Step 2.
STEP 2. Check how a CD is inserted.
Ensure that the ignition switch is at 'ACC' or 'ON'.
Q: If you try to load the CD, does the CD stops halfway and then rejected?
YES: Refer to INSPECTION PROCEDURE 27
.
NO: Go to Step 3.
STEP 3. Check after the CD is loaded.
NOTE: If you try to load a CD when the ignition switch is at the
positions other than 'ACC' or 'ON,' the CD will not be
inserted completely and then rejected.
NOTE: Even though the CD is loaded, 'E01' (vehicles with
center display low type) or 'ERROR 01' (vehicles with
center display middle type) sometimes displayed with
the CD rejected because of vibration/shock or dew on
2004 Mitsubishi Endeavor LS
2004 BODY & ACCESSORIES Radio With Tape Player & Cd Player - Endeavor