Page 114 of 168
113 Navigation*
Destination entry
A house number can be entered after en-
tering the destination street (
�page 109).
�
Press the Hse. no. soft key.
The Enter House Number menu ap-
pears (
�page 113),
or the Select House Number menu ap-
pears (
�page 114).
Entering a house number
�
Use �, �, �or � to select the
numbers. Press � after each selec-
tion.or
�
Press� - � to enter the house
number
�
Press the Delete soft key, if neces-
sary.
The number last entered or the numb-
ner last accepted by the system is de-
leted.
Entering a house numberiAn intersection instead of a house
number can be entered (
�page 112).
Entry of both is not possible.
iThe Hse. no. soft key is only available
when registered house numbers are
stored on the navigation DVD.
iThe cursor can also be moved diagonal-
ly using � and �.iDo not confuse the Delete soft key
(deletion of the last number) with the
Back soft key (deletion of the complete
entry).
��
Page 115 of 168
114 Navigation*Destination entry�
Press and hold � for approx. 2 sec-
onds to confirm the input,
or
�
use�or � to select the sym-
bol.
�
Press�.
�
The house number list appears. Now a
house number range can be selected.Selecting a house number range
�
Use � or ��to select the desired
range of house numbers.
�
Press �.
The Start Route Guidance menu
(�page 116) appears.
�
Press�,
or
�
press the Map soft key if it appears in a
menu.
The map appears in full-screen display.
�
If the soft key displays are hidden,
press any soft key.
Now the soft key displays are also
shown.
iThe symbol can only be selected if
the system recognized the input of the
street name as being definite.
ok
ok
Destination input using the map
iIf no soft key is selected within
approx. 8 seconds, the soft key display
will disappear.
Page 116 of 168
115 Navigation*
Destination entry
Selectable soft keys:�
soft key:
The map scale will change to display a
more detailed map.
�
soft key:
The map scale will change to display a
map that shows a wider area.
�
Memory soft key
The current location is stored
(�page 101).
This soft key is visible only if the map
has been called up using�.
.�
Move the cursor using�, �, �or
� to select the desired destination.
�
Release the buttons.If the system finds a street name at the
location the cursor is pointing to, the
corresponding street name is shown in
the status bar.
In this example: WATER ST
�
Press �.
The system sets the location the cursor
is pointing to as the destination.
The Start Route Guidance menu
(�page 116) appears.
iThe cursor can also be moved diagonal-
ly using � and �.
iThe destination selection will be lost
when pressing the Back soft key.
The system reverses to the details of
the previously entered destination.
Page 117 of 168
116 Navigation*Route guidanceYou can start route guidance when the
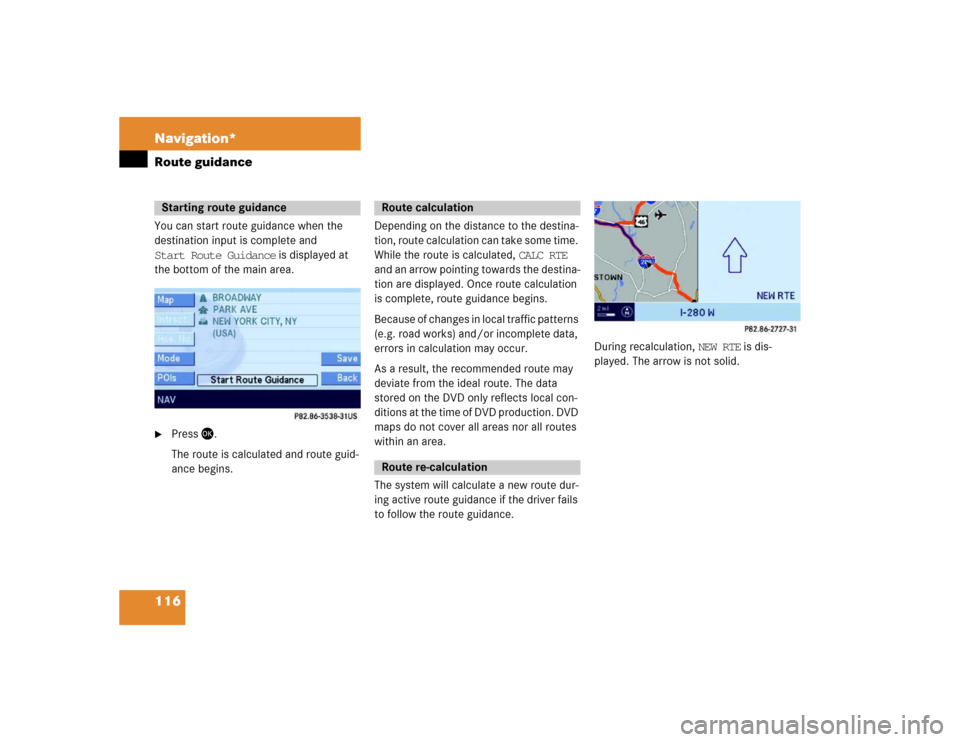
destination input is complete and
Start Route Guidance is displayed at
the bottom of the main area.�
Press �.
The route is calculated and route guid-
ance begins.Depending on the distance to the destina-
tion, route calculation can take some time.
While the route is calculated, CALC RTE
and an arrow pointing towards the destina-
tion are displayed. Once route calculation
is complete, route guidance begins.
Because of changes in local traffic patterns
(e.g. road works) and/or incomplete data,
errors in calculation may occur.
As a result, the recommended route may
deviate from the ideal route. The data
stored on the DVD only reflects local con-
ditions at the time of DVD production. DVD
maps do not cover all areas nor all routes
within an area.
The system will calculate a new route dur-
ing active route guidance if the driver fails
to follow the route guidance.
During recalculation, NEW RTE is dis-
played. The arrow is not solid.
Starting route guidance
Route calculationRoute re-calculation
Page 118 of 168
117 Navigation*
Route guidance
After route calculation, the system assists
route guidance using pictorial displays and
voice instructions. (
�page 117).Current voice instructions
If a navigation announcement is not readily
understood, it can be repeated at any time.
�
Press �.
The current navigation announcement
is repeated.
Cancelling voice instructions
�
Press �.
The current announcement is can-
celled.
The next navigation announcement will
again be audible.
Switching voice instructions ON/OFF
Switching OFF:
�
During a navigation announcement,
press � for approx. 2 seconds.
For a short period of time, the message
Voice announcements muted is dis-
played. Now further route guidance takes
place using only the symbols in the dis-
play. If a new route guidance cycle is
started, the announcements are auto-
matically switched ON again.
Switching ON manually:
�
Press �.
The navigation displays are visible only
with activated route guidance.
�
To switch to the navigation display
from another display, e.g. from CD
mode, press�or �.
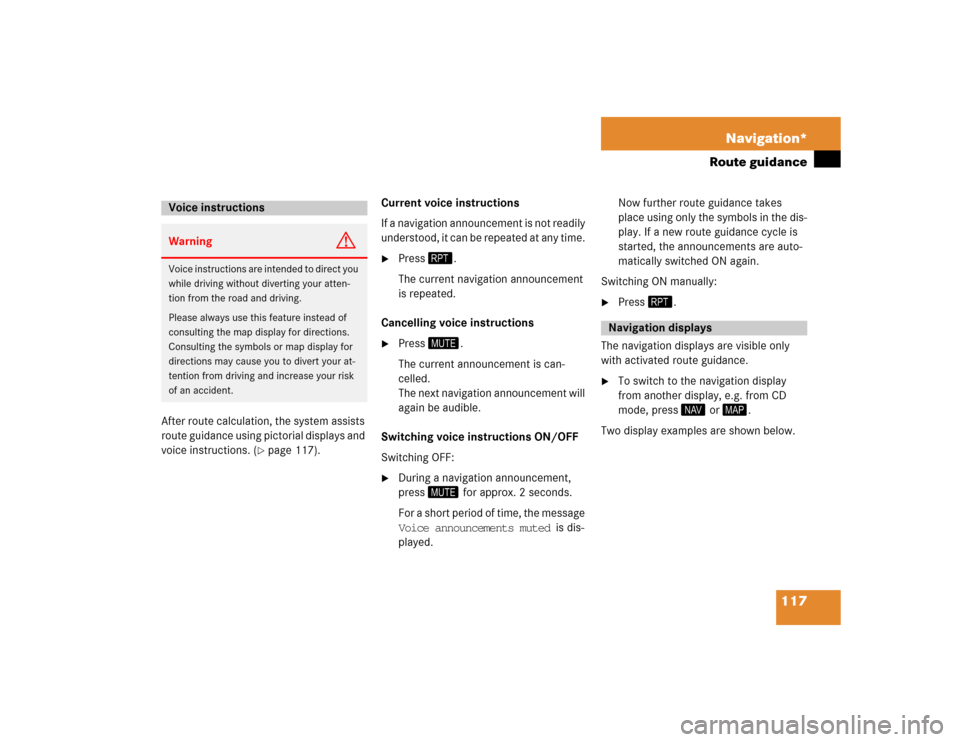
Two display examples are shown below.
Voice instructionsWarning
G
Voice instructions are intended to direct you
while driving without diverting your atten-
tion from the road and driving.
Please always use this feature instead of
consulting the map display for directions.
Consulting the symbols or map display for
directions may cause you to divert your at-
tention from driving and increase your risk
of an accident.
Navigation displays
Page 119 of 168
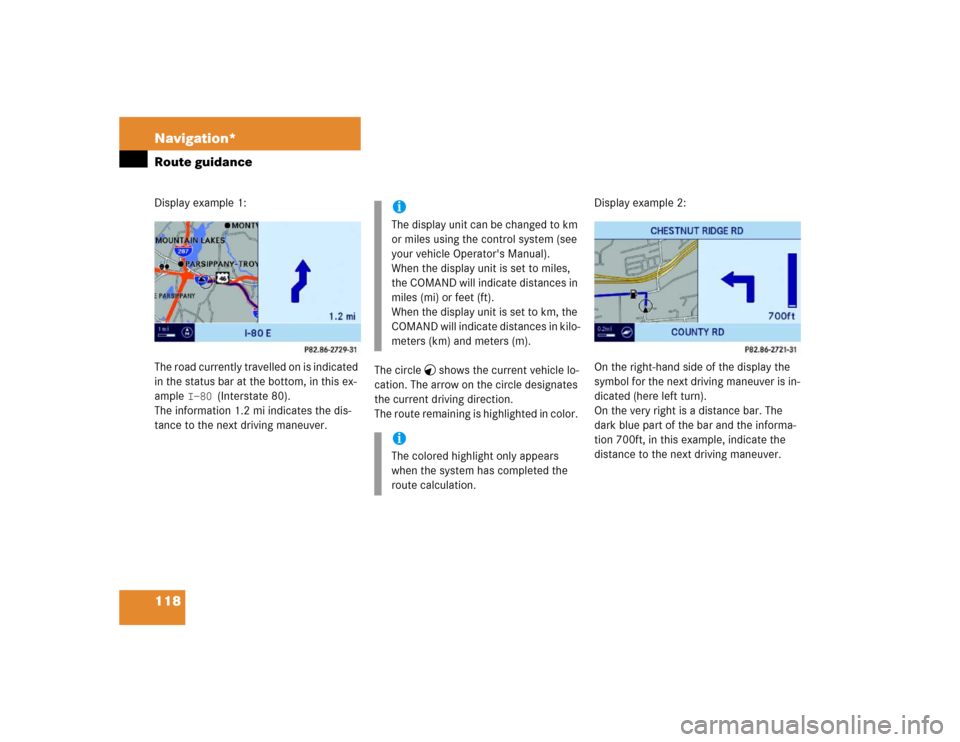
118 Navigation*Route guidanceDisplay example 1:
The road currently travelled on is indicated
in the status bar at the bottom, in this ex-
ample I-80 (Interstate 80).
The information 1.2 mi indicates the dis-
tance to the next driving maneuver.The circle shows the current vehicle lo-
cation. The arrow on the circle designates
the current driving direction.
The route remaining is highlighted in color. Display example 2:
On the right-hand side of the display the
symbol for the next driving maneuver is in-
dicated (here left turn).
On the very right is a distance bar. The
dark blue part of the bar and the informa-
tion 700ft, in this example, indicate the
distance to the next driving maneuver.
iThe display unit can be changed to km
or miles using the control system (see
your vehicle Operator's Manual).
When the display unit is set to miles,
the COMAND will indicate distances in
miles (mi) or feet (ft).
When the display unit is set to km, the
COMAND will indicate distances in kilo-
meters (km) and meters (m). iThe colored highlight only appears
when the system has completed the
route calculation.
Page 120 of 168
119 Navigation*
Route guidance
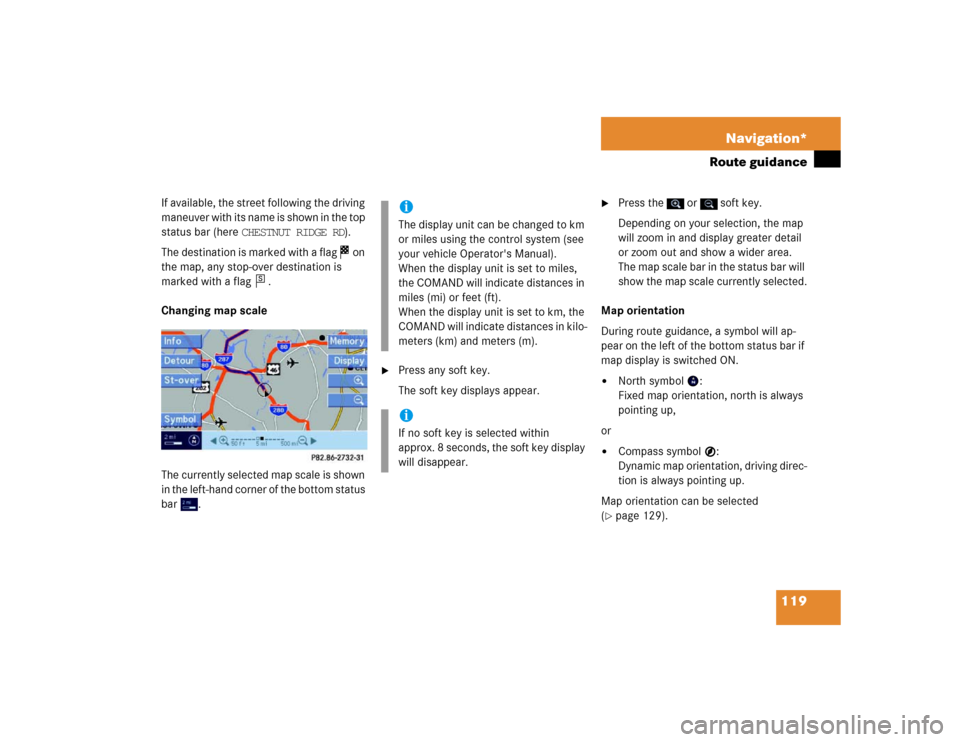
If available, the street following the driving
maneuver with its name is shown in the top
status bar (here CHESTNUT RIDGE RD).
The destination is marked with a flag on
the map, any stop-over destination is
marked with a flag .
Changing map scale
The currently selected map scale is shown
in the left-hand corner of the bottom status
bar .
�
Press any soft key.
The soft key displays appear.
�
Press the or soft key.
Depending on your selection, the map
will zoom in and display greater detail
or zoom out and show a wider area.
The map scale bar in the status bar will
show the map scale currently selected.
Map orientation
During route guidance, a symbol will ap-
pear on the left of the bottom status bar if
map display is switched ON.
�
North symbol :
Fixed map orientation, north is always
pointing up,
or
�
Compass symbol :
Dynamic map orientation, driving direc-
tion is always pointing up.
Map orientation can be selected
(
�page 129).
s
iThe display unit can be changed to km
or miles using the control system (see
your vehicle Operator's Manual).
When the display unit is set to miles,
the COMAND will indicate distances in
miles (mi) or feet (ft).
When the display unit is set to km, the
COMAND will indicate distances in kilo-
meters (km) and meters (m). iIf no soft key is selected within
approx. 8 seconds, the soft key display
will disappear.
Page 121 of 168
120 Navigation*Route guidanceChanging map display
The map display can be switched between
split-screen display and full-screen display
manually or automatically. In split-screen
mode, the map is shown on the left, while
information concerning the next driving
maneuver is shown on the right. In full-
screen mode, the map covers the entire
screen.
Switching manually:�
Press�.
Each time � is pressed, the system
alternates between split-screen and
full-screen display mode.
Switching automatically:
See “Automatic map toggling”
(
�page 130).
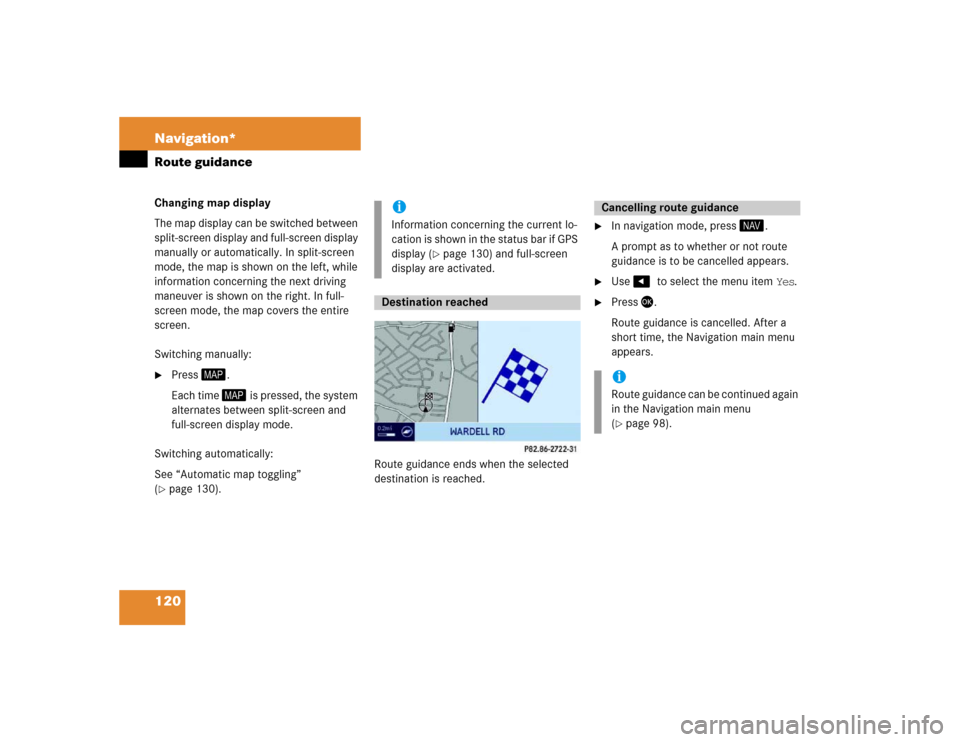
.Route guidance ends when the selected
destination is reached.
�
In navigation mode, press �.
A prompt as to whether or not route
guidance is to be cancelled appears.
�
Use ��to select the menu item Yes.
�
Press �.
Route guidance is cancelled. After a
short time, the Navigation main menu
appears.
iInformation concerning the current lo-
cation is shown in the status bar if GPS
display (
�page 130) and full-screen
display are activated.
Destination reached
Cancelling route guidance iRoute guidance can be continued again
in the Navigation main menu
(�page 98).