Page 52 of 168

51 Audio
CD changer* operation
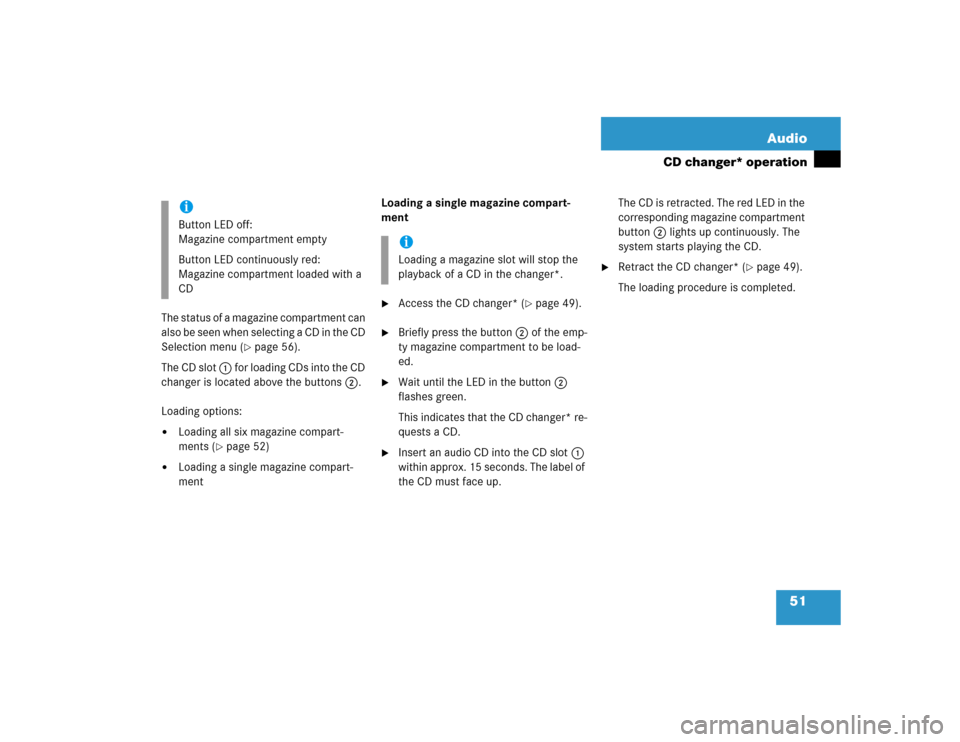
The status of a magazine compartment can
also be seen when selecting a CD in the CD
Selection menu (
�page 56).
The CD slot 1 for loading CDs into the CD
changer is located above the buttons 2.
Loading options:
�
Loading all six magazine compart-
ments (
�page 52)
�
Loading a single magazine compart-
ment Loading a single magazine compart-
ment
�
Access the CD changer* (
�page 49).
�
Briefly press the button 2 of the emp-
ty magazine compartment to be load-
ed.
�
Wait until the LED in the button 2
flashes green.
This indicates that the CD changer* re-
quests a CD.
�
Insert an audio CD into the CD slot 1
within approx. 15 seconds. The label of
the CD must face up.The CD is retracted. The red LED in the
corresponding magazine compartment
button 2 lights up continuously. The
system starts playing the CD.
�
Retract the CD changer* (
�page 49).
The loading procedure is completed.
iButton LED off:
Magazine compartment empty
Button LED continuously red:
Magazine compartment loaded with a
CD
iLoading a magazine slot will stop the
playback of a CD in the changer*.
Page 53 of 168

52 AudioCD changer* operationLoading all six magazine compart-
ments
Initial situation: all magazine compart-
ments empty.
The CD changer* loads all magazine com-
partments beginning with compartment 1.�
Access the CD changer* (
�page 49).
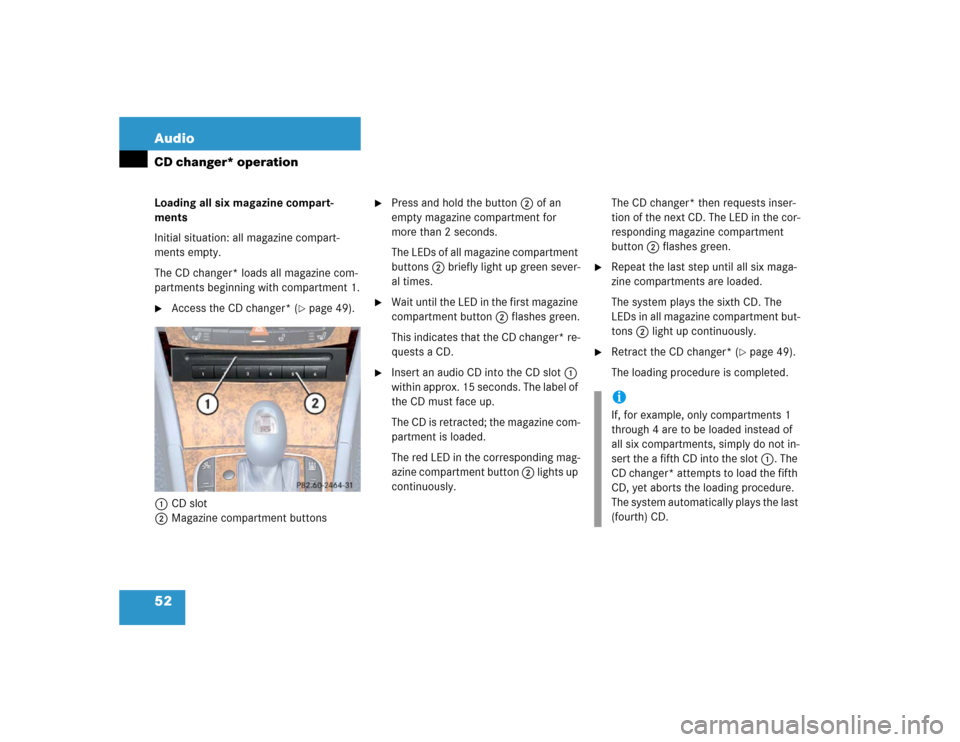
1CD slot
2Magazine compartment buttons
�
Press and hold the button 2 of an
empty magazine compartment for
more than 2 seconds.
The LEDs of all magazine compartment
buttons 2 briefly light up green sever-
al times.
�
Wait until the LED in the first magazine
compartment button 2 flashes green.
This indicates that the CD changer* re-
quests a CD.
�
Insert an audio CD into the CD slot 1
within approx. 15 seconds. The label of
the CD must face up.
The CD is retracted; the magazine com-
partment is loaded.
The red LED in the corresponding mag-
azine compartment button 2 lights up
continuously. The CD changer* then requests inser-
tion of the next CD. The LED in the cor-
responding magazine compartment
button 2 flashes green.
�
Repeat the last step until all six maga-
zine compartments are loaded.
The system plays the sixth CD. The
LEDs in all magazine compartment but-
tons 2 light up continuously.
�
Retract the CD changer* (
�page 49).
The loading procedure is completed.
iIf, for example, only compartments 1
through 4 are to be loaded instead of
all six compartments, simply do not in-
sert the a fifth CD into the slot 1. The
CD changer* attempts to load the fifth
CD, yet aborts the loading procedure.
The system automatically plays the last
(fourth) CD.
Page 54 of 168

53 Audio
CD changer* operation
The following options are available:�
Ejecting all CDs (
�page 54)
�
Ejecting one CD
Ejecting one CD
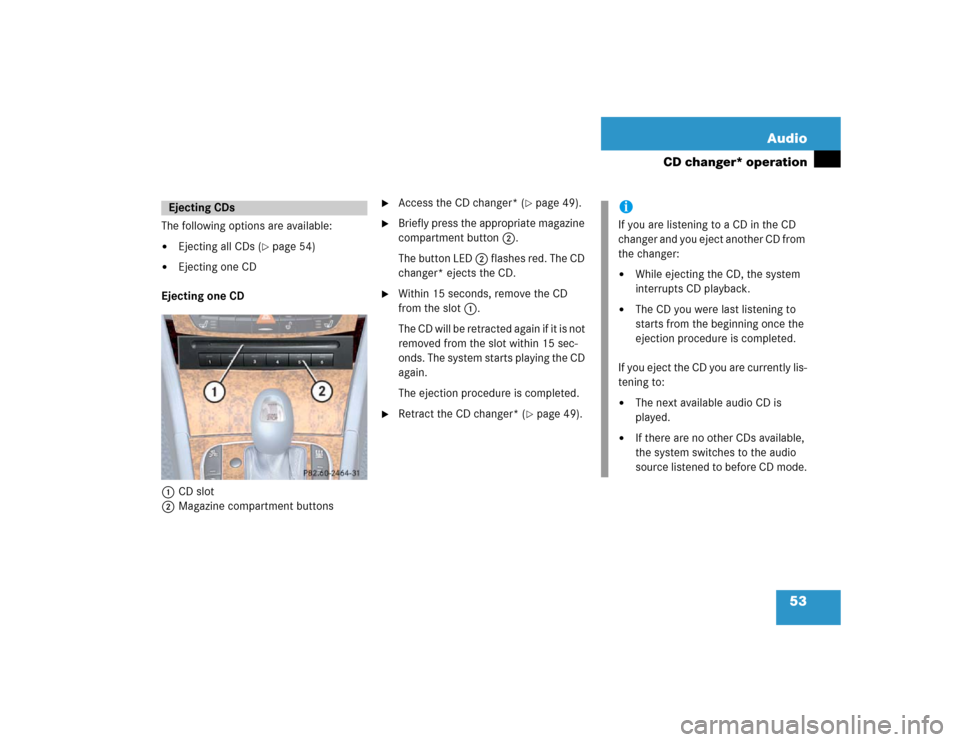
1CD slot
2Magazine compartment buttons
�
Access the CD changer* (
�page 49).
�
Briefly press the appropriate magazine
compartment button 2.
The button LED 2 flashes red. The CD
changer* ejects the CD.
�
Within 15 seconds, remove the CD
from the slot 1.
The CD will be retracted again if it is not
removed from the slot within 15 sec-
onds. The system starts playing the CD
again.
The ejection procedure is completed.
�
Retract the CD changer* (
�page 49).
Ejecting CDs
iIf you are listening to a CD in the CD
changer and you eject another CD from
the changer:�
While ejecting the CD, the system
interrupts CD playback.
�
The CD you were last listening to
starts from the beginning once the
ejection procedure is completed.
If you eject the CD you are currently lis-
tening to:
�
The next available audio CD is
played.
�
If there are no other CDs available,
the system switches to the audio
source listened to before CD mode.
Page 87 of 168

86 Telephone*Phone bookThe following options are now available:�
Switching the phone book display from
COMAND (
�page 86).
�
Selecting a phone book entry and call
initiation (
�page 86).
�
Deleting a phone book entry from CO-
MAND (
�page 87).
Switching the phone book display
�
Open the phone book from COMAND
(�page 85).
�
Press the 123 soft key.
This switches the display to number
display. The name of the highlighted
entry is shown in the status bar;
or
�
Press the ABC soft key.
This switches the display to name dis-
play. The number of the highlighted en-
try is shown in the status bar.
On the COMAND control unit
�
Open the Phone Book main menu
(�page 85).
As described in the “COMAND phone
book display” section (
�page 85), a
list of phone book entries appears, be-
ginning with a specific first letter (ini-
tial).Changing initials:
�
Press� or � once or repeatedly.
Each time you press the button, the
display changes to the next letter up or
down. At the end of the list of letters is
the category Other.
This category combines all entries
without a name, or entries whose
names start with a special character
(e.g. * or #).
Selecting an entry:
�
If necessary, change the initial letter
(�page 86).
�
Select an entry. You can scroll through
the list using � or �.
If you press and hold either one of the
buttons, the scrolling up or down accel-
erates.
Selecting a phone book entry and es-
tablishing the connection
Page 95 of 168

94 Navigation*Important notesWarning
G
For safety reasons, you should only enter a
destination when the vehicle is stationary.
When the vehicle is in motion, a passenger
should enter the destination. Study manual
and select route before driving.
Do not watch display screen or operate but-
tons while the vehicle is in motion - let voice
instructions guide you. Stop at a safe loca-
tion before using buttons or making correc-
tions.
Traffic regulations always have priority over
any route recommendations given.
Bear in mind that at a speed of just 30 mph
(approximately 50 km/h), your vehicle is
covering a distance of 44 feet (approximate-
ly 14 m) every second.
The route calculated by COMAND is a rec-
ommendation on how to best reach your se-
lected destination.
During route guidance, you will not receive
any information on�
Traffic lights
�
Stop and yield signs
�
Parking or stopping zones
�
One-way streets
�
Narrow bridges
�
Similar traffic regulation data
You should therefore always strictly observe
traffic regulations while driving. Drive care-
fully and always obey traffic laws and road
signs even if they contradict COMAND in-
structions.
Warning
G
The Navigation DVD module contains a
Class 1 laser product. There is a danger of
invisible laser radiation if the cover is
opened or damaged.
Do not remove the cover. The Navigation
DVD module does not contain any parts
which can be serviced by the user. For safe-
ty reasons, have any service work which
may be necessary performed only by quali-
fied personnel.
Page 116 of 168
115 Navigation*
Destination entry
Selectable soft keys:�
soft key:
The map scale will change to display a
more detailed map.
�
soft key:
The map scale will change to display a
map that shows a wider area.
�
Memory soft key
The current location is stored
(�page 101).
This soft key is visible only if the map
has been called up using�.
.�
Move the cursor using�, �, �or
� to select the desired destination.
�
Release the buttons.If the system finds a street name at the
location the cursor is pointing to, the
corresponding street name is shown in
the status bar.
In this example: WATER ST
�
Press �.
The system sets the location the cursor
is pointing to as the destination.
The Start Route Guidance menu
(�page 116) appears.
iThe cursor can also be moved diagonal-
ly using � and �.
iThe destination selection will be lost
when pressing the Back soft key.
The system reverses to the details of
the previously entered destination.