Page 6 of 168

Contents
Route guidance . . . . . . . . . . . . . . . . . 116
Starting route guidance . . . . . . . . 116
Route calculation . . . . . . . . . . . . . 116
Route re-calculation . . . . . . . . . . . 116
Voice instructions . . . . . . . . . . . . . 117
Navigation displays. . . . . . . . . . . . 117
Destination reached . . . . . . . . . . . 120
Cancelling route guidance . . . . . . 120
During route guidance . . . . . . . . . . . . 121
Showing soft key displays . . . . . . 121
Info menu . . . . . . . . . . . . . . . . . . . 121
Displaying the route on the map . 122
Displaying the route list . . . . . . . . 123
Detour function . . . . . . . . . . . . . . 123
Stop-over . . . . . . . . . . . . . . . . . . . 125
Storing the current location . . . . . 127
Defining route guidance displays . 127
Setting symbol displays . . . . . . . . 128
Setting map orientation . . . . . . . . 129
Switching GPS position display
ON/OFF . . . . . . . . . . . . . . . . . . . . 130
Automatic map toggling . . . . . . . . 130
Scales for full-screen and
split-screen map display . . . . . . . . 131Last destinations and destination
memory . . . . . . . . . . . . . . . . . . . . . . . 132
Last destinations memory . . . . . . 132
Destination memory . . . . . . . . . . . 133
POIs (Points of Interest) . . . . . . . . . . . 136
Entering POIs . . . . . . . . . . . . . . . . 136
Selecting POI in the local area
of the current location . . . . . . . . . 137
Selecting POI for a selected city. . 138
Selecting POI for a long-distance
destination . . . . . . . . . . . . . . . . . . 138
Selecting a POI using the map . . . 140
Service . . . . . . . . . . . . . . . . . . . . . . . 141
Data entry . . . . . . . . . . . . . . . . . . . . . 142
Entry via Selection menu . . . . . . . 142
Entry via 12 button keypad. . . . . . 143
Tele Aid* . . . . . . . . . . . . . . . . . . . . . . 145
Emergency call system . . . . . . . . . 145
Roadside Assistance. . . . . . . . . . . 145
Information . . . . . . . . . . . . . . . . . . 146
System . . . . . . . . . . . . . . . . . . . . . . . 147
System settings . . . . . . . . . . . . . . . . . 148
Calling up the System menu . . . . . 148
Selectable soft keys . . . . . . . . . . . 148
Setting the date/time . . . . . . . . . . 148
Setting the language . . . . . . . . . . . 150
Switching confirmation beeps and
acoustic signals ON/OFF . . . . . . . 151
Display settings . . . . . . . . . . . . . . 151
Voice control settings . . . . . . . . . . 152
Reset function. . . . . . . . . . . . . . . . 155Glossary . . . . . . . . . . . . . . . . . . . . . . 157Index . . . . . . . . . . . . . . . . . . . . . . . . . 159
Page 39 of 168

38 AudioRadio operation�
Use �, �, � or � to choose a
preset and press�.
or
�
Press one of the number keys
� - �.
The system tunes to the station stored
under this number.
Tuning via scan search
Scan search is characterized as follows:
�
Scan search plays each receivable sta-
tion for approx. 8 seconds.
�
Scan search can be ended manually.
�
The scan search automatically stops at
the station listened to before the scan
search was started.
Starting scan search
�
Switch to the desired waveband
(�page 35).
�
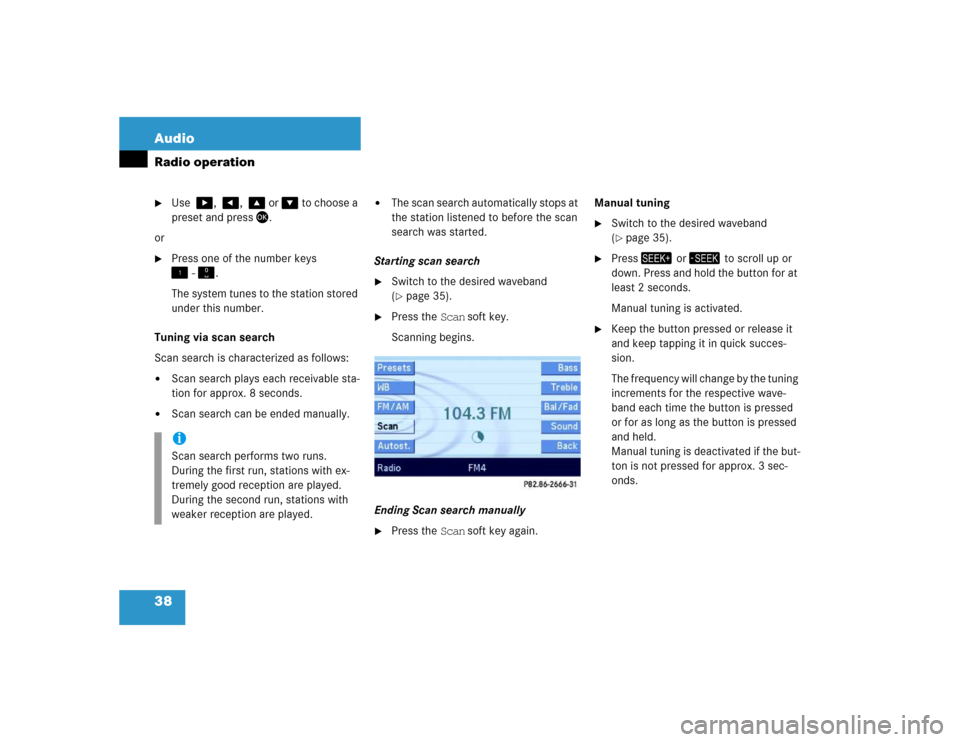
Press the Scan soft key.
Scanning begins.
Ending Scan search manually
�
Press the Scan soft key again.Manual tuning
�
Switch to the desired waveband
(�page 35).
�
Press� or � to scroll up or
down. Press and hold the button for at
least 2 seconds.
Manual tuning is activated.
�
Keep the button pressed or release it
and keep tapping it in quick succes-
sion.
The frequency will change by the tuning
increments for the respective wave-
band each time the button is pressed
or for as long as the button is pressed
and held.
Manual tuning is deactivated if the but-
ton is not pressed for approx. 3 sec-
onds.
iScan search performs two runs.
During the first run, stations with ex-
tremely good reception are played.
During the second run, stations with
weaker reception are played.
Page 52 of 168

51 Audio
CD changer* operation
The status of a magazine compartment can
also be seen when selecting a CD in the CD
Selection menu (
�page 56).
The CD slot 1 for loading CDs into the CD
changer is located above the buttons 2.
Loading options:
�
Loading all six magazine compart-
ments (
�page 52)
�
Loading a single magazine compart-
ment Loading a single magazine compart-
ment
�
Access the CD changer* (
�page 49).
�
Briefly press the button 2 of the emp-
ty magazine compartment to be load-
ed.
�
Wait until the LED in the button 2
flashes green.
This indicates that the CD changer* re-
quests a CD.
�
Insert an audio CD into the CD slot 1
within approx. 15 seconds. The label of
the CD must face up.The CD is retracted. The red LED in the
corresponding magazine compartment
button 2 lights up continuously. The
system starts playing the CD.
�
Retract the CD changer* (
�page 49).
The loading procedure is completed.
iButton LED off:
Magazine compartment empty
Button LED continuously red:
Magazine compartment loaded with a
CD
iLoading a magazine slot will stop the
playback of a CD in the changer*.