Page 30 of 168

29 At a glance
Quick reference COMAND
Setting the volume �
Turn the rotary control
located on
the COMAND control unit,
or
�
Pressæ or ç on the multifunc-
tion steering wheel
The volume changes up or down, de-
pending on the direction of rotation or
which button was pressed.The system stores the volume settings
when the device is switched OFF.
After switching the system back on again,
the volume may be lower than at the time
when the system was switched off.
This could be the case if�
the system was switched off for more
than 15 minutes, and
�
the volume had been set to a value in a
certain range at the time the device
was switched OFF.
Automatic volume control
The automatic volume control adjusts the
volume depending on
�
the vehicle’s speed (only in vehicles
without Sound-system*),
or on
the interior ambient noises of the vehi-
cle (only in vehicles with Sound-sys-
tem*)
�
other parameters (e.g. windows open
or closed)A common balance and fader setting ap-
plies to the following operating modes:
�
Radio
�
Single CD
�
CD changer*
�
AUX
�
Satellite radio*
When adjusting the balance or the fader,
the system automatically stores the set-
ting for the currently active operating
mode.Balance and faderiFor navigation* a different balance/
fader setting is possible. You find the
description under “Adjusting the
acoustics for navigation announce-
ments” (
�page 99).
Page 73 of 168

72 Telephone*Important notes�
Close the windows and reduce all ex-
ternal noise as much as possible when
using hands-free operation.
�
Make sure that the air vents are not
pointed in the direction of the micro-
phones located in the overhead control
panel near the rear view mirror. Adjust
air vents and/or reduce blower speed
if necessary.
�
A brief disconnection from the cellular
network is not a malfunction, as this
can occur when the network switches
areas. The phone automatically at-
tempts to again sign on with a network.
�
If the message Enter unlock code is
displayed, enter the unlock code
(�page 76). Only then will you be able
to use all the telephone functions.
You will still be able to make 911 emer-
gency calls (
�page 74) if the tele-
phone is locked. The telephone cannot, or not yet, be used
in the following situations:
�
The telephone is already unlocked, but
it is not yet registered with the net-
work.
The message NO SERV. appears in the
status bar. The telephone automatical-
ly attempts to register with a network.
If there is no network available, “911”
emergency calls can NOT be placed.
If you try to place an outgoing call, the
message Call not possible is dis-
played temporarily.
�
If the message Telephone being
activated, please wait is dis-
played,
�
If the message Please insert phone
is displayed.�
Insert the cell phone into the tele-
phone cradle*.
Page 153 of 168
152 SystemSystem settingsSetting the display dimming
characteristics
You can select from 3 display dimming
modes:�
Day mode:
The display is constantly set to daytime
design.
�
Night mode:
The display is constantly set to night-
time design.
�
Automatic:
The display will change depending on
the illumination of the instrument clus-
ter.
�
Use� or � to select an entry.
�
Press�.Adjusting display brightness
�
In the Display Settings menu, press the
Bright. soft key.
The Brightness display appears.
�
Press� or �.
The brightness changes accordingly.
�
Press the Back soft key.
The new setting is stored.Use this function to:
�
start or delete voice control individual-
ization (
�page 153)
�
activate/deactivate the voice control
help window
Activate/deactivate the help window
�
Open the System menu (
�page 148).
�
Press the VC tips soft key.
The Voice control menu appears. Voice control settings
Page 154 of 168

153 System
System settings
�
Press the � key to select the Help
Window menu item.
The status bar shows you whether the
help window is activated or deactivat-
ed.
�
Press�.
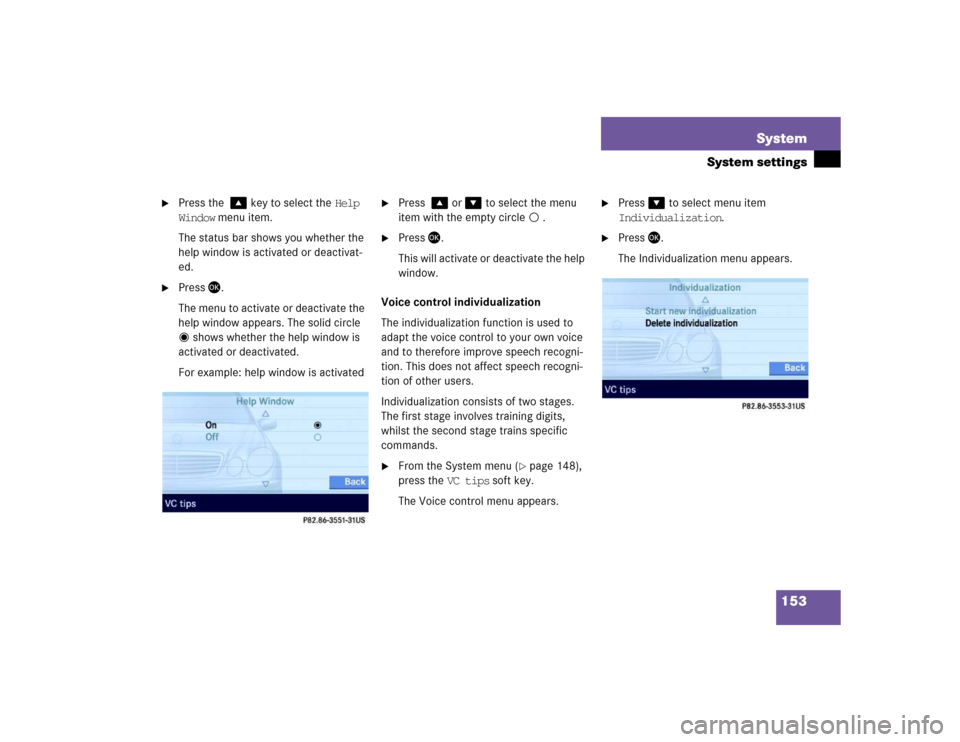
The menu to activate or deactivate the
help window appears. The solid circle
shows whether the help window is
activated or deactivated.
For example: help window is activated
�
Press � or � to select the menu
item with the empty circle .
�
Press�.
This will activate or deactivate the help
window.
Voice control individualization
The individualization function is used to
adapt the voice control to your own voice
and to therefore improve speech recogni-
tion. This does not affect speech recogni-
tion of other users.
Individualization consists of two stages.
The first stage involves training digits,
whilst the second stage trains specific
commands.
�
From the System menu (
�page 148),
press the VC tips soft key.
The Voice control menu appears.
�
Press� to select menu item
Individualization.
�
Press�.
The Individualization menu appears.