WW-52
REAR WIPER AND WASHER SYSTEM
Revision: August 20072004 QX56
1. Clean up the pivot area as illustrated. This will reduce possibility
of wiper arm looseness.
2. Install rear wiper motor to the vehicle.
3. Connect rear wiper motor connector.
4. Install hatch glass latch and adjust as necessary. Refer to BL-
136, "BACK DOOR LOCK" .
5. Install back door finisher lower. Refer to EI-41, "
BACK DOOR
TRIM" .
6. Attach pivot cap.
7. Attach wiper arm. Refer to WW-50, "
Removal and Installation of
Rear Wiper Arm, Adjustment of Rear Wiper Arm Stop Location"
.
Rear Washer Nozzle AdjustmentEKS007G2
�This vehicle is equipped with a non-adjustable rear washer nozzle.
�If not satisfied with washer fluid spray coverage, confirm that the washer nozzle is installed correctly.
�If the washer nozzle is installed correctly, and the washer fluid spray coverage is not satisfactory, replace
the washer nozzle.
Rear Washer Tube LayoutEKS007G3
Removal and Installation of Rear Washer NozzleEKS007G4
REMOVAL
1. Remove the rear spoiler. Refer to EI-26, "REAR SPOILER" .
2. Remove rear washer tube from nozzle.
3. Release retaining clips, and remove washer nozzle.
INSTALLATION
Installation is in the reverse order of removal.
SEL024J
WKIA1925E
LKIA0418E
REAR WIPER AND WASHER SYSTEM
WW-53
C
D
E
F
G
H
I
J
L
MA
B
WW
Revision: August 20072004 QX56
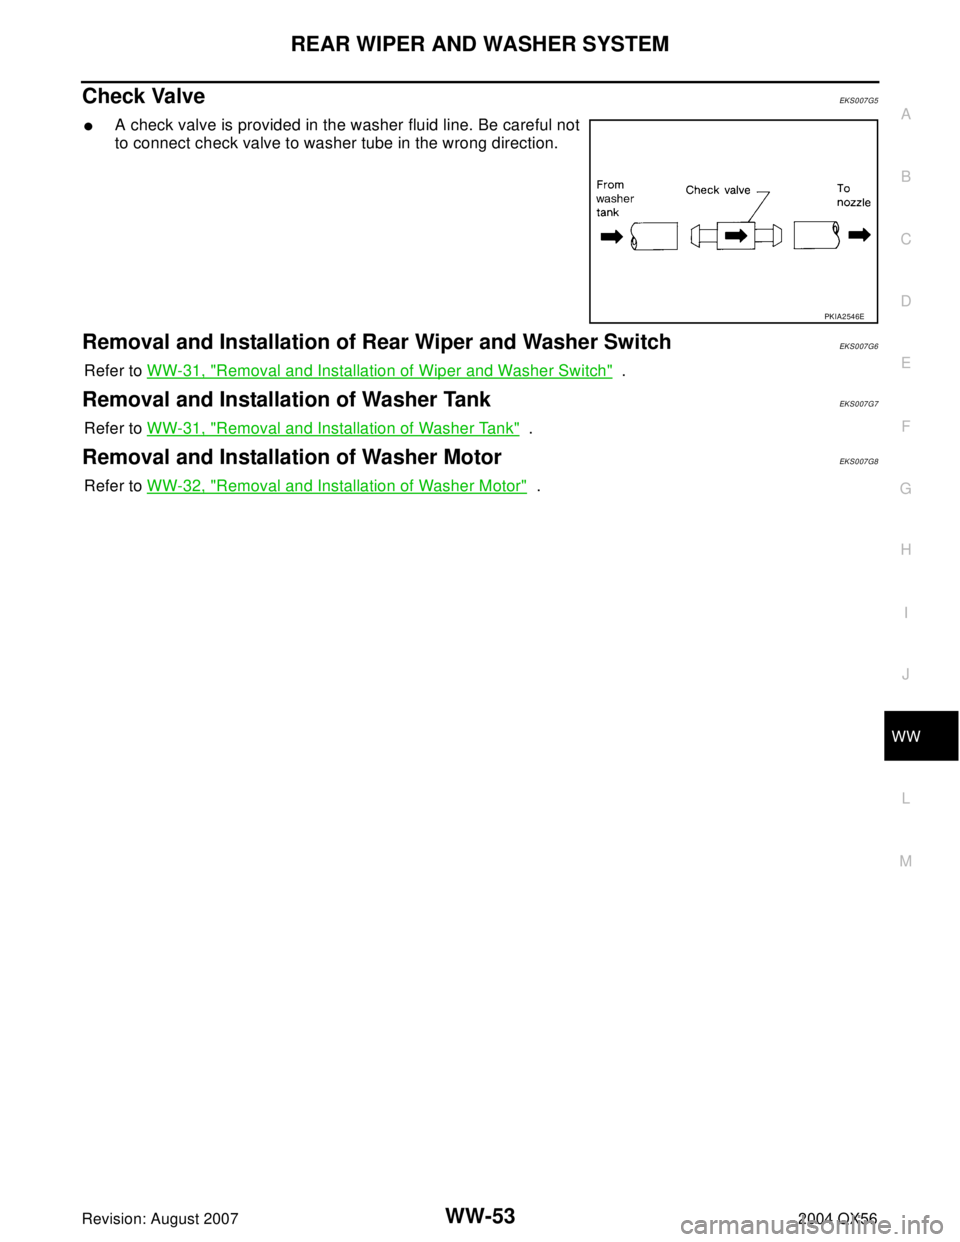
Check ValveEKS007G5
�A check valve is provided in the washer fluid line. Be careful not
to connect check valve to washer tube in the wrong direction.
Removal and Installation of Rear Wiper and Washer SwitchEKS007G6
Refer to WW-31, "Removal and Installation of Wiper and Washer Switch" .
Removal and Installation of Washer TankEKS007G7
Refer to WW-31, "Removal and Installation of Washer Tank" .
Removal and Installation of Washer MotorEKS007G8
Refer to WW-32, "Removal and Installation of Washer Motor" .
PKIA2546E