Page 102 of 588
Doors and Locks
Door Locks
{CAUTION:
Unlocked doors can be dangerous.
·Passengers Ð especially children Ð can
easily open the doors and fall out of a
moving vehicle. When a door is locked, the
handle will not open it. You increase the
chance of being thrown out of the vehicle
in a crash if the doors are not locked. So,
wear safety belts properly and lock the
doors whenever you drive.
·Young children who get into unlocked
vehicles may be unable to get out. A child
can be overcome by extreme heat and can
suffer permanent injuries or even death
from heat stroke. Always lock your vehicle
whenever you leave it.
·Outsiders can easily enter through an
unlocked door when you slow down or
stop your vehicle. Locking your doors can
help prevent this from happening.There are several ways to lock and unlock your vehicle.
You can use the keyless entry system, if equipped,
or you can also use your key.
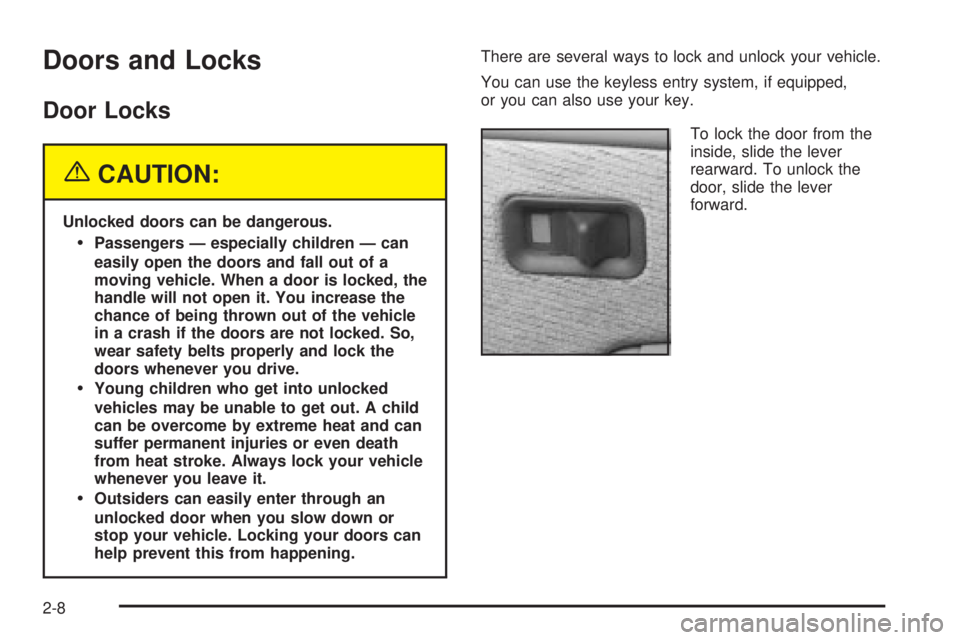
To lock the door from the
inside, slide the lever
rearward. To unlock the
door, slide the lever
forward.
2-8
Page 106 of 588
The following instructions tell you how to change the
automatic door unlock mode. Choose one of the
four programming options listed above before entering
the program mode. To enter the program mode, do
the following:
1. Begin with the ignition off. Then pull the turn
signal/multifunction lever toward you and hold
it there while you perform the next step.
2. Turn the key to RUN and LOCK twice. Then, with
the key in LOCK, release the turn
signal/multifunction lever. Once you do this, the
doors will lock and unlock, the horn will chirp twice,
and a 30-second timer will begin. You are now
ready to program the automatic door unlock feature.
3. Press the door unlock switch once. You will hear
one, two, three, or four chimes. The number of
chimes tells you which unlock mode is currently
selected. Continue to press the door unlock switch
until the number of chimes that you hear matches the
number of the mode that you want. If you take longer
than 30 seconds, the locks will automatically lock and
unlock and the horn will chirp twice to indicate that
you have left the program mode. If this occurs, you
can repeat the procedure beginning with Step 1 to
re-enter the programming mode.
You can exit the program mode any time by turning the
ignition to RUN. The doors will automatically lock
and unlock and the horn will chirp twice to indicate thatyou are leaving the program mode. If the lock/unlock
switches are not pressed while in the programming
mode, the current automatic settings will not be
modi®ed.
See your dealer for more information.
Rear Door Security Locks
(Crew Cab)
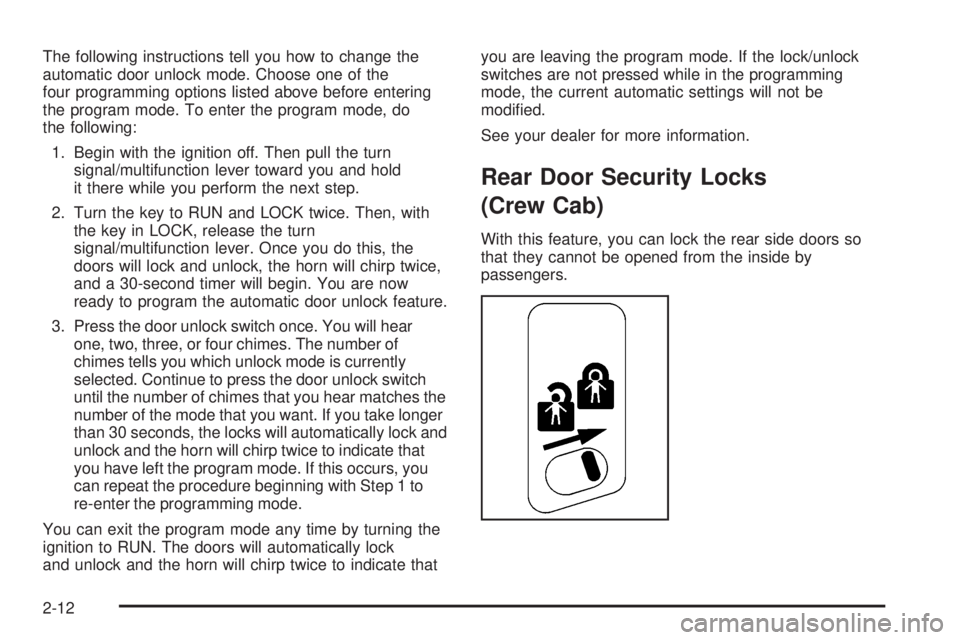
With this feature, you can lock the rear side doors so
that they cannot be opened from the inside by
passengers.
2-12
Page 107 of 588
This feature is located on the inside edge of the rear
doors.
1. To use one of the locks do the following:
2. Open one of the rear doors.
3. To engage the rear door security lock, move the
lever forward.
4. To disengage the lock, move the lever rearward.
5. Close the door.
6. Do the same thing to the other rear door.
The rear doors of your vehicle cannot be opened from
the inside when this feature is in use. If you want to
open the rear door while the security lock is engaged,
unlock the door and open the door from the outside.
Lockout Protection
This feature protects you from locking your key in the
vehicle when the key is in the ignition and a door
is open.
If the power lock switch is pressed when a door is open
and the key is in the ignition, all of the doors will lock
and then the driver's door will unlock.
Rear Doors
Your vehicle may be equipped with a rear access
door(s) that allows easier access to the rear area of the
extended cab.
To open a rear access
door from the outside, ®rst
open the front door.
Then, use the handle
located on the front edge
of the rear access door
to open it.
You must fully close a rear access door before you can
close the front door.
2-13
Page 108 of 588
To open a rear access
door from the inside, the
front door must be opened
®rst. Then, use the
handle located on the
inside of the rear access
door to open it.
If your vehicle is a Crew Cab
ž, you can open your
doors from the inside or outside. Your vehicle may also
have a feature which prevents children from opening
the rear doors. See
Rear Door Security Locks
(Crew Cab) on page 2-12for more information.
Tailgate
You can open the tailgate by lifting up on its handle
while pulling the tailgate toward you.
To shut the tailgate, ®rmly push it upward until it
latches.
After you put the tailgate back up, pull it back towards
you to be sure it latches securely.
Tailgate Removal
The tailgate on your vehicle can be removed to allow for
different loading situations. Although the tailgate can
be removed without assistance, you may want someone
to assist you with the removal to avoid possible
damage to the vehicle.
2-14
Page 111 of 588
Power Windows
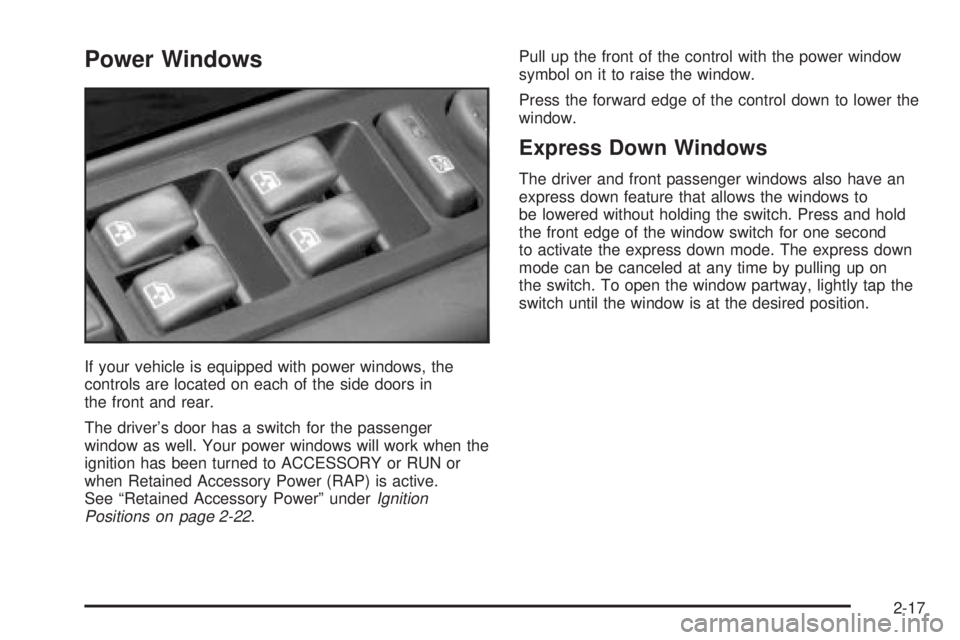
If your vehicle is equipped with power windows, the
controls are located on each of the side doors in
the front and rear.
The driver's door has a switch for the passenger
window as well. Your power windows will work when the
ignition has been turned to ACCESSORY or RUN or
when Retained Accessory Power (RAP) is active.
See ªRetained Accessory Powerº under
Ignition
Positions on page 2-22.Pull up the front of the control with the power window
symbol on it to raise the window.
Press the forward edge of the control down to lower the
window.
Express Down Windows
The driver and front passenger windows also have an
express down feature that allows the windows to
be lowered without holding the switch. Press and hold
the front edge of the window switch for one second
to activate the express down mode. The express down
mode can be canceled at any time by pulling up on
the switch. To open the window partway, lightly tap the
switch until the window is at the desired position.
2-17
Page 112 of 588
Lock-Out Switch
If you have power windows on a Crew Cabž, the
driver's door power window switch has a lockout feature.
The lockout switch is located in front of the window
switches. This feature prevents all windows from
operating, except from the driver's position, when the
driver's door button is engaged. To engage the lock-out
feature press the switch, and an indicator light on the
switch will illuminate. To disengage the lock-out feature
press the switch again, and the indicator light will
turn off. When the button is not engaged, the rear power
windows will operate.
Swing-Out Windows
To open a rear swing-out
window, ¯ip the latch open
and swing the glass out.
The latch will catch when the window is fully open and it
will also hold it in the open position.
Sun Visors
To block out glare, you can swing down the visors. You
can also swing them out to help block glare at the
front and side windows.
The passenger's side sun visor may have a vanity
mirror.
2-18
Page 120 of 588
How long should you keep the coolant heater plugged
in? The answer depends on the outside temperature, the
kind of oil you have, and some other things. Instead
of trying to list everything here, we ask that you contact
your dealer in the area where you'll be parking your
vehicle. The dealer can give you the best advice for that
particular area.
Automatic Transmission Operation
If your vehicle is equipped with an automatic
transmission, it features an electronic shift position
indicator within the instrument panel cluster. This display
must be powered anytime the shift lever is capable of
being moved out of PARK (P). See
Fuses and
Circuit Breakers on page 5-126.
There are several different positions for your shift lever.
PARK (P):This position locks your rear wheels. It's
the best position to use when you start your engine
because your vehicle can't move easily. If your vehicle
is equipped with the Allison
žTransmission, use
PARK (P) for stationary operation of the Power Takeoff
(PTO), if equipped.
{CAUTION:
It is dangerous to get out of your vehicle if the
shift lever is not fully in PARK (P) with the
parking brake ®rmly set. Your vehicle can roll.
Do not leave your vehicle when the engine is
running unless you have to. If you have left the
engine running, the vehicle can move
suddenly. You or others could be injured. To
be sure your vehicle will not move, even when
you are on fairly level ground, always set your
parking brake and move the shift lever to
PARK (P). See
Shifting Into Park (P) on
page 2-49
. If you are pulling a trailer, see
Towing a Trailer on page 4-70.
2-26
Page 122 of 588

DRIVE (D):This position is for normal driving. If you
need more power for passing, and you're:
·Going less than about 35 mph (55 km/h), push your
accelerator pedal about halfway down.
·Going about 35 mph (55 km/h) or more, push the
accelerator all the way down.
You'll shift down to the next gear and have more power.
Drive (D) can be used when towing a trailer, carrying
a heavy load, driving on steep hills or for off-road driving.
You may want to shift the transmission to THIRD (3)
or, if necessary, a lower gear selection if the
transmission shifts too often.
Notice:Extended idling for more than ®ve minutes
in DRIVE (D) on vehicles equipped with the Allison
Transmission may cause transmission overheating
and damage. Always put the gearshift lever in
PARK (P) if idle time is longer than ®ve minutes.
If your vehicle is equipped with the Allison
ž
Transmission, it will initially attain ®rst range when
DRIVE (D) is selected. As vehicle speed increases, the
transmission will upshift automatically through each
available range up to FIFTH (5). As the vehicle slows,
the transmission will downshift automatically.
THIRD (3):This position is also used for normal driving,
however it offers more power and lower fuel economy
than DRIVE (D).SECOND (2):This position gives you more power but
lower fuel economy. You can use SECOND (2) on
hills. It can help control your speed as you go down
steep mountain roads, but then you would also want to
use your brakes off and on.
If you manually select SECOND (2) in a light duty
automatic transmission, the transmission will drive in
second gear. You may use this feature for reducing the
speed of the rear wheels when you are trying to start
your vehicle from a stop on slippery road surfaces.
FIRST (1):This position gives you even more power
(but lower fuel economy) than SECOND (2). You
can use it on very steep hills, or in deep snow or mud.
If the selector lever is put in FIRST (1) while the
vehicle is moving forward, the transmission won't shift
into ®rst gear until the vehicle is going slowly enough.
Notice:Spinning the tires or holding the vehicle in
one place on a hill using only the accelerator
pedal may damage the transmission. If you are
stuck, do not spin the tires. When stopping on a hill,
use the brakes to hold the vehicle in place.
On cold days, approximately 32ÉF (0ÉC) or colder, your
transmission is designed to shift differently until the
engine reaches normal operating temperature. This is
intended to improve heater performance.
2-28