2004 GMC SIERRA radio
[x] Cancel search: radioPage 98 of 588
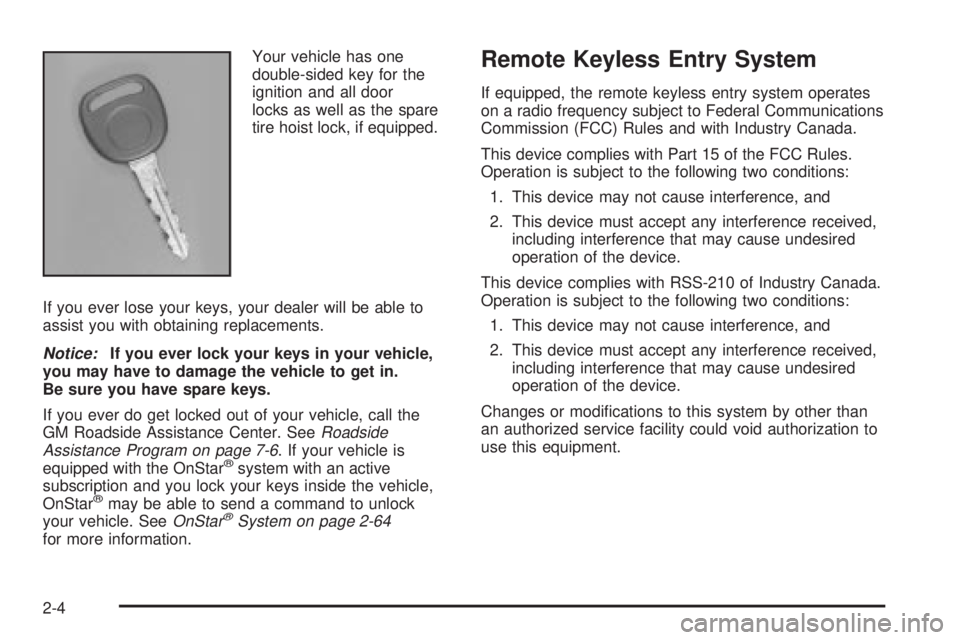
Your vehicle has one
double-sided key for the
ignition and all door
locks as well as the spare
tire hoist lock, if equipped.
If you ever lose your keys, your dealer will be able to
assist you with obtaining replacements.
Notice:If you ever lock your keys in your vehicle,
you may have to damage the vehicle to get in.
Be sure you have spare keys.
If you ever do get locked out of your vehicle, call the
GM Roadside Assistance Center. See
Roadside
Assistance Program on page 7-6. If your vehicle is
equipped with the OnStaržsystem with an active
subscription and you lock your keys inside the vehicle,
OnStar
žmay be able to send a command to unlock
your vehicle. SeeOnStaržSystem on page 2-64for more information.
Remote Keyless Entry System
If equipped, the remote keyless entry system operates
on a radio frequency subject to Federal Communications
Commission (FCC) Rules and with Industry Canada.
This device complies with Part 15 of the FCC Rules.
Operation is subject to the following two conditions:
1. This device may not cause interference, and
2. This device must accept any interference received,
including interference that may cause undesired
operation of the device.
This device complies with RSS-210 of Industry Canada.
Operation is subject to the following two conditions:
1. This device may not cause interference, and
2. This device must accept any interference received,
including interference that may cause undesired
operation of the device.
Changes or modi®cations to this system by other than
an authorized service facility could void authorization to
use this equipment.
2-4
Page 116 of 588
Ignition Positions
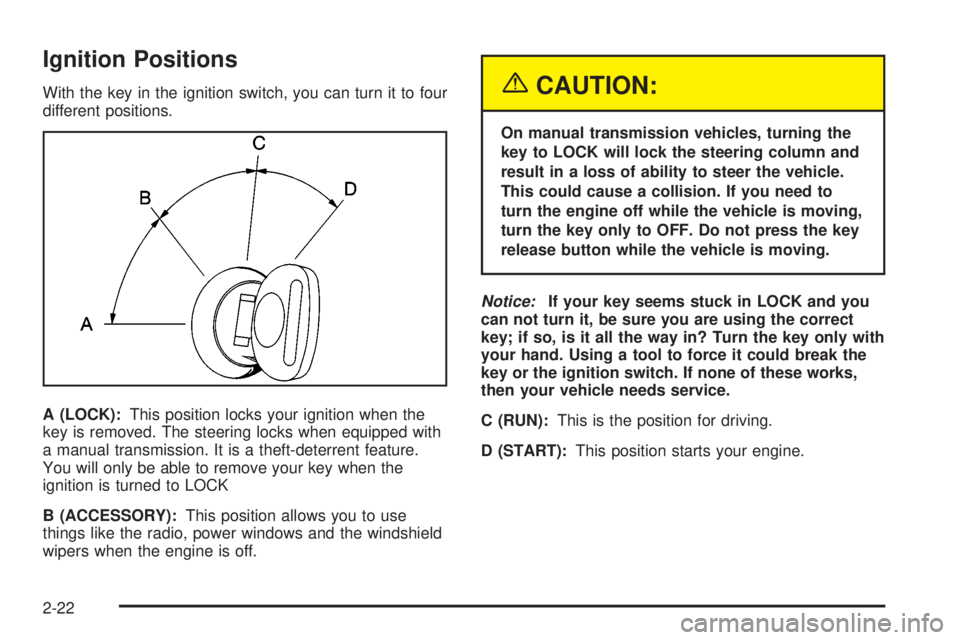
With the key in the ignition switch, you can turn it to four
different positions.
A (LOCK):This position locks your ignition when the
key is removed. The steering locks when equipped with
a manual transmission. It is a theft-deterrent feature.
You will only be able to remove your key when the
ignition is turned to LOCK
B (ACCESSORY):This position allows you to use
things like the radio, power windows and the windshield
wipers when the engine is off.{CAUTION:
On manual transmission vehicles, turning the
key to LOCK will lock the steering column and
result in a loss of ability to steer the vehicle.
This could cause a collision. If you need to
turn the engine off while the vehicle is moving,
turn the key only to OFF. Do not press the key
release button while the vehicle is moving.
Notice:If your key seems stuck in LOCK and you
can not turn it, be sure you are using the correct
key; if so, is it all the way in? Turn the key only with
your hand. Using a tool to force it could break the
key or the ignition switch. If none of these works,
then your vehicle needs service.
C (RUN):This is the position for driving.
D (START):This position starts your engine.
2-22
Page 117 of 588

Key Release Button (Manual
Transmission)
The ignition key cannot be
removed from the ignition
of manual transmission
vehicles unless the
key release button is used.
To remove the key on manual transmission vehicles,
turn the key to ACC, then press the button and turn the
key to LOCK. Do not hold the button in while turning
the key to ACC. Pull the key straight out.
Retained Accessory Power (RAP)
Your vehicle may be equipped with a Retained
Accessory Power (RAP) feature which will allow certain
features on your vehicle to continue to work up to
10 minutes after the ignition key is turned to OFF.
Your radio, power windows and overhead console will
work when the ignition key is in RUN or ACCESSORY.
Once the key is turned from RUN to LOCK, these
features will continue to work for up to 10 minutes or
until a door is opened.
Starting Your Engine
Automatic Transmission
Move your shift lever to PARK (P) or NEUTRAL (N).
Your engine won't start in any other position ± that's a
safety feature. To restart when you're already moving,
use NEUTRAL (N) only. If you have a diesel engine refer
to the diesel supplement for starting procedure.
Notice:Do not try to shift to PARK (P) if your
vehicle is moving. If you do, you could damage the
transmission. Shift to PARK (P) only when your
vehicle is stopped.
2-23
Page 163 of 588
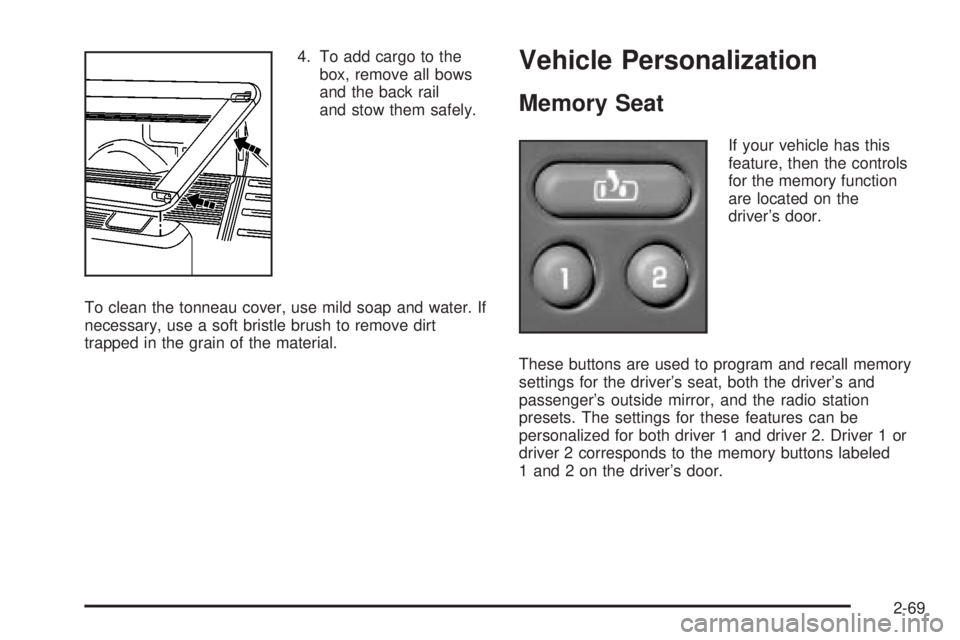
4. To add cargo to the
box, remove all bows
and the back rail
and stow them safely.
To clean the tonneau cover, use mild soap and water. If
necessary, use a soft bristle brush to remove dirt
trapped in the grain of the material.Vehicle Personalization
Memory Seat
If your vehicle has this
feature, then the controls
for the memory function
are located on the
driver's door.
These buttons are used to program and recall memory
settings for the driver's seat, both the driver's and
passenger's outside mirror, and the radio station
presets. The settings for these features can be
personalized for both driver 1 and driver 2. Driver 1 or
driver 2 corresponds to the memory buttons labeled
1 and 2 on the driver's door.
2-69
Page 164 of 588
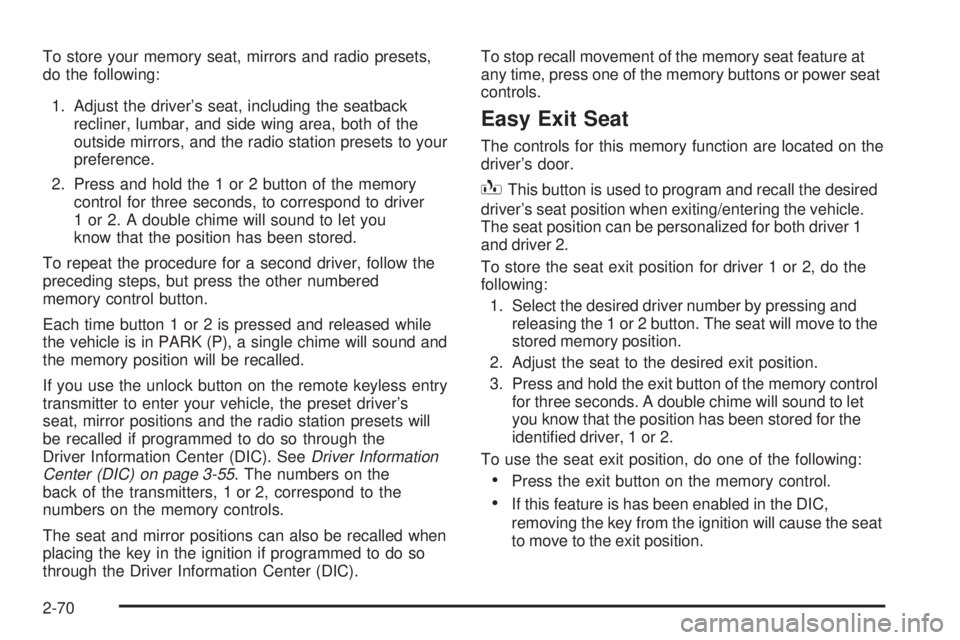
To store your memory seat, mirrors and radio presets,
do the following:
1. Adjust the driver's seat, including the seatback
recliner, lumbar, and side wing area, both of the
outside mirrors, and the radio station presets to your
preference.
2. Press and hold the 1 or 2 button of the memory
control for three seconds, to correspond to driver
1 or 2. A double chime will sound to let you
know that the position has been stored.
To repeat the procedure for a second driver, follow the
preceding steps, but press the other numbered
memory control button.
Each time button 1 or 2 is pressed and released while
the vehicle is in PARK (P), a single chime will sound and
the memory position will be recalled.
If you use the unlock button on the remote keyless entry
transmitter to enter your vehicle, the preset driver's
seat, mirror positions and the radio station presets will
be recalled if programmed to do so through the
Driver Information Center (DIC). See
Driver Information
Center (DIC) on page 3-55. The numbers on the
back of the transmitters, 1 or 2, correspond to the
numbers on the memory controls.
The seat and mirror positions can also be recalled when
placing the key in the ignition if programmed to do so
through the Driver Information Center (DIC).To stop recall movement of the memory seat feature at
any time, press one of the memory buttons or power seat
controls.
Easy Exit Seat
The controls for this memory function are located on the
driver's door.
BThis button is used to program and recall the desired
driver's seat position when exiting/entering the vehicle.
The seat position can be personalized for both driver 1
and driver 2.
To store the seat exit position for driver 1 or 2, do the
following:
1. Select the desired driver number by pressing and
releasing the 1 or 2 button. The seat will move to the
stored memory position.
2. Adjust the seat to the desired exit position.
3. Press and hold the exit button of the memory control
for three seconds. A double chime will sound to let
you know that the position has been stored for the
identi®ed driver, 1 or 2.
To use the seat exit position, do one of the following:
·Press the exit button on the memory control.
·If this feature is has been enabled in the DIC,
removing the key from the ignition will cause the seat
to move to the exit position.
2-70
Page 166 of 588
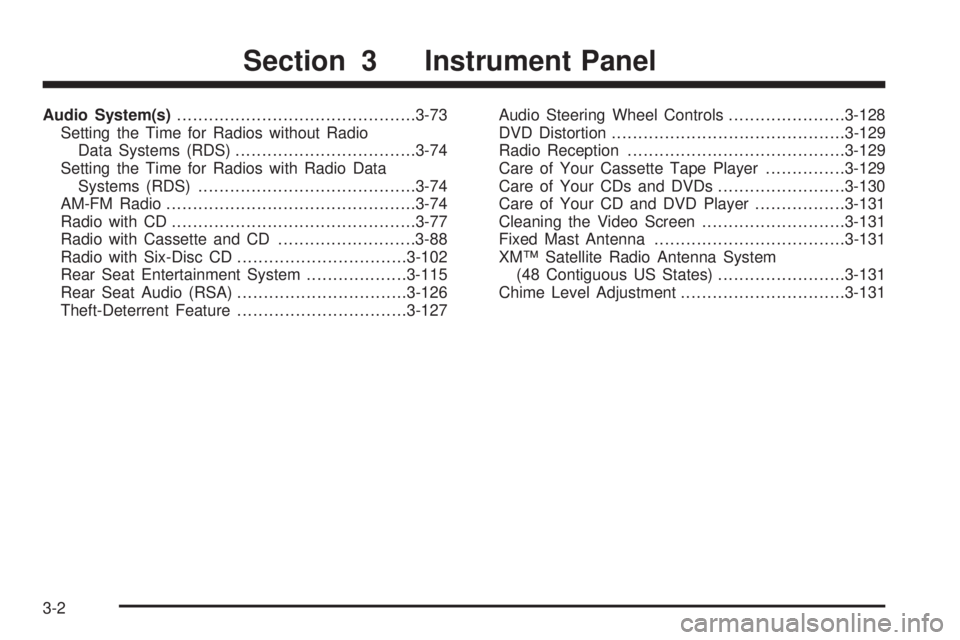
Audio System(s).............................................3-73
Setting the Time for Radios without Radio
Data Systems (RDS)..................................3-74
Setting the Time for Radios with Radio Data
Systems (RDS).........................................3-74
AM-FM Radio...............................................3-74
Radio with CD..............................................3-77
Radio with Cassette and CD..........................3-88
Radio with Six-Disc CD................................3-102
Rear Seat Entertainment System...................3-115
Rear Seat Audio (RSA)................................3-126
Theft-Deterrent Feature................................3-127Audio Steering Wheel Controls......................3-128
DVD Distortion............................................3-129
Radio Reception.........................................3-129
Care of Your Cassette Tape Player...............3-129
Care of Your CDs and DVDs........................3-130
Care of Your CD and DVD Player.................3-131
Cleaning the Video Screen...........................3-131
Fixed Mast Antenna....................................3-131
XMŸ Satellite Radio Antenna System
(48 Contiguous US States)........................3-131
Chime Level Adjustment...............................3-131
Section 3 Instrument Panel
3-2
Page 179 of 588

;(Parking Lamps):Turning the control to this
position turns on the parking lamps, together with the
following:
·Sidemarker Lamps
·Taillamps
·License Plate Lamps
·Instrument Panel Lights
·Roof Marker Lamps, if equipped
2(Headlamps):Turning the switch to this position
turns on the headlamps, together with the previously
listed lamps and lights.
You can switch your headlamps from high to low-beam
by pushing the turn signal/high-beam lever towards
the instrument panel.
A circuit breaker protects your headlamps. If you have
an electrical overload, your headlamps will ¯icker on and
off. Have your headlamp wiring checked right away if
this happens.
Automatic Headlamp System
When it is dark enough outside, your automatic
headlamp system will turn on your headlamps at the
normal brightness along with other lamps such as
the taillamps, sidemarker, parking lamps and the
instrument panel lights. The radio lights will also be dim.
Your vehicle is equipped with a light sensor located
on the top of the instrument panel in the defroster grille.
Be sure it is not covered, or the system will be on
whenever the ignition is on.
The system may also turn on your headlamps when
driving through a parking garage, heavy overcast
weather or a tunnel. This is normal.
There is a delay in the transition between the daytime
and nighttime operation of the Daytime Running
Lamps (DRL) and the automatic headlamp systems so
that driving under bridges or bright overhead street
lights does not affect the system. The DRL and
automatic headlamp system will only be affected when
the light sensor sees a change in lighting lasting
longer than the delay.
3-15
Page 183 of 588

Interior Lamps
Instrument Panel Brightness Control
D
:This feature controls the brightness of the
instrument panel lights.
The thumbwheel for this feature is located next to the
headlamp control.
Turn the thumbwheel up, or down, to adjust the
instrument panel lights. Turn the thumbwheel up to
return the radio display to full brightness when the
headlamps or parking lamps are on. To turn on the
dome lamps, turn the thumbwheel all the way up.
Exit Lighting
With exit lighting, the interior lamps will come on when
you remove the key from the ignition. The lights will
not come on if the dome override button is pressed in.
Entry Lighting
Your vehicle is equipped with an illuminated entry
feature.
When a door is opened, the dome lamps will come on if
the dome override button is in the out position. If the
dome override button is pressed in, the lamps will
not come on.
Front Reading Lamps
If equipped, the reading
lamps are located on the
overhead console.
To turn the reading lamps on or off, press the button
located next to each lamp.
The lamps can be adjusted to point in the direction you
want them to go.
3-19