2004 GMC SIERRA Rear
[x] Cancel search: RearPage 166 of 588
Audio System(s).............................................3-73
Setting the Time for Radios without Radio
Data Systems (RDS)..................................3-74
Setting the Time for Radios with Radio Data
Systems (RDS).........................................3-74
AM-FM Radio...............................................3-74
Radio with CD..............................................3-77
Radio with Cassette and CD..........................3-88
Radio with Six-Disc CD................................3-102
Rear Seat Entertainment System...................3-115
Rear Seat Audio (RSA)................................3-126
Theft-Deterrent Feature................................3-127Audio Steering Wheel Controls......................3-128
DVD Distortion............................................3-129
Radio Reception.........................................3-129
Care of Your Cassette Tape Player...............3-129
Care of Your CDs and DVDs........................3-130
Care of Your CD and DVD Player.................3-131
Cleaning the Video Screen...........................3-131
Fixed Mast Antenna....................................3-131
XMŸ Satellite Radio Antenna System
(48 Contiguous US States)........................3-131
Chime Level Adjustment...............................3-131
Section 3 Instrument Panel
3-2
Page 170 of 588
Hazard Warning Flashers
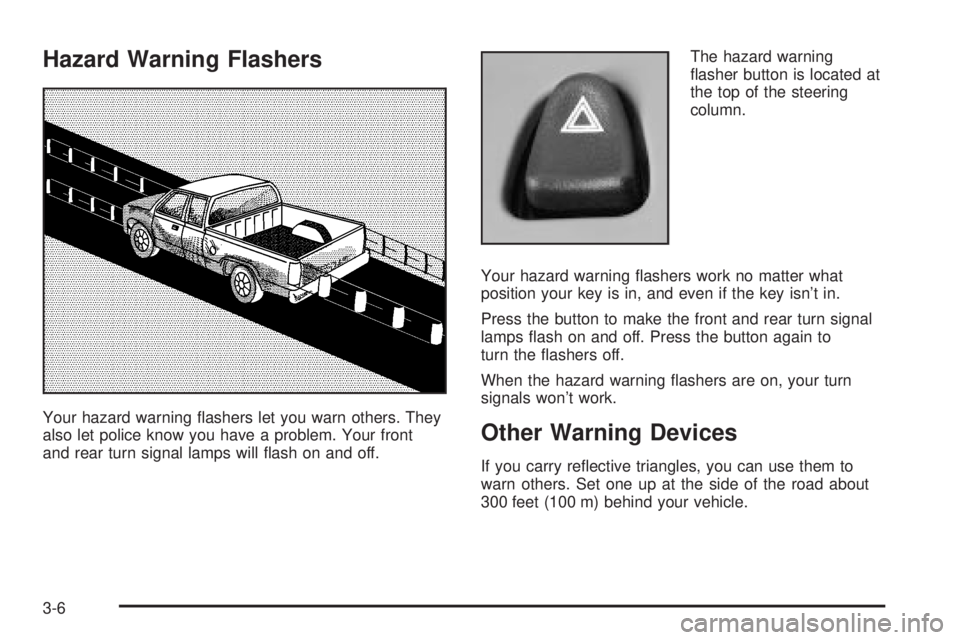
Your hazard warning ¯ashers let you warn others. They
also let police know you have a problem. Your front
and rear turn signal lamps will ¯ash on and off.The hazard warning
¯asher button is located at
the top of the steering
column.
Your hazard warning ¯ashers work no matter what
position your key is in, and even if the key isn't in.
Press the button to make the front and rear turn signal
lamps ¯ash on and off. Press the button again to
turn the ¯ashers off.
When the hazard warning ¯ashers are on, your turn
signals won't work.Other Warning Devices
If you carry re¯ective triangles, you can use them to
warn others. Set one up at the side of the road about
300 feet (100 m) behind your vehicle.
3-6
Page 188 of 588
Defogging and Defrosting
Fog on the inside of the windows is a result of high
humidity (moisture) condensing on the cool window
glass. This can be minimized if the climate control
system is used properly. There are two modes to choose
from to clear fog or frost from your windshield. Use
the defog mode to clear the windows of fog or moisture
and warm the passengers. Use the defrost mode to
remove fog or frost from the windshield more quickly.
Turn the right knob clockwise or counterclockwise
to select one of the following modes:
-(Defog):This mode directs the air to the ¯oor outlets,
windshield and the side window vents. The air
conditioning compressor will run automatically to
dehumidify the air to prevent window fogging. The
recirculation mode cannot be selected while in the
defog mode.
1(Defrost):This mode directs most of the air to the
windshield and the side window vents, with only a
little air directed to the ¯oor vents. The air conditioning
compressor will run automatically to dehumidify the
air to prevent window fogging. The recirculation mode
cannot be selected while in defrost mode.
Do not drive the vehicle until all the windows are clear.
Rear Window Defogger
The lines you see on the rear window warm the glass.
The rear window defogger uses a warming grid to
remove fog from the rear window.
<(Rear):Press this button to turn the rear window
defogger on or off. An indicator light in the button
will come on to let you know that the rear window
defogger is activated.
The rear window defogger will automatically turn off
several minutes after the button is pressed. Pressing the
button while the defogger is running can also turn off
the defogger.
If your vehicle is equipped with heated mirrors this
button will activate them.
Notice:Don't use anything sharp on the inside of
the rear window. If you do, you could cut or damage
the warming grid, and the repairs wouldn't be
covered by your warranty. Do not attach a temporary
vehicle license, tape, a decal or anything similar
to the defogger grid.
3-24
Page 189 of 588
Outlet Adjustment
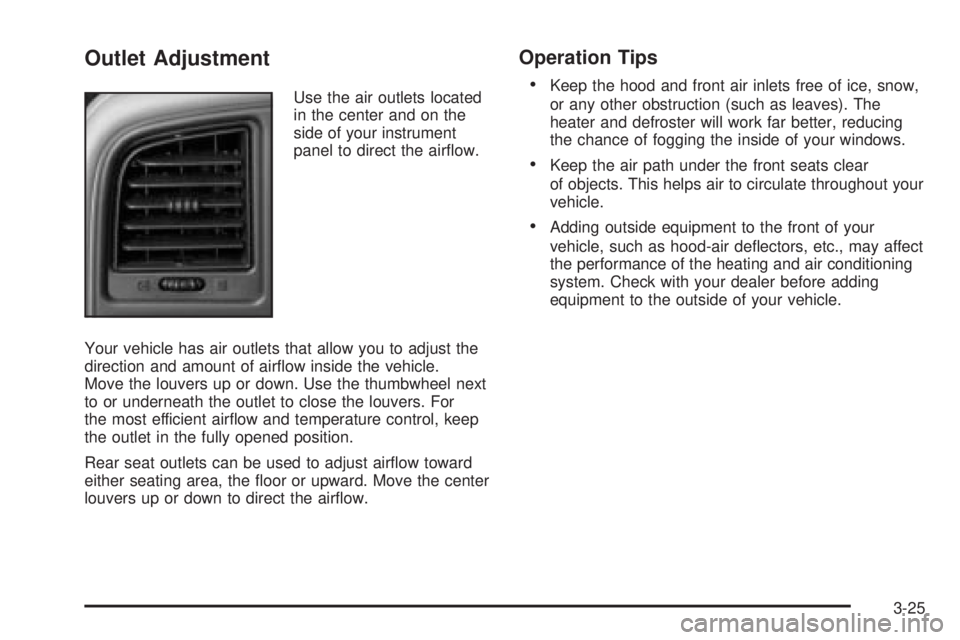
Use the air outlets located
in the center and on the
side of your instrument
panel to direct the air¯ow.
Your vehicle has air outlets that allow you to adjust the
direction and amount of air¯ow inside the vehicle.
Move the louvers up or down. Use the thumbwheel next
to or underneath the outlet to close the louvers. For
the most efficient air¯ow and temperature control, keep
the outlet in the fully opened position.
Rear seat outlets can be used to adjust air¯ow toward
either seating area, the ¯oor or upward. Move the center
louvers up or down to direct the air¯ow.
Operation Tips
·
Keep the hood and front air inlets free of ice, snow,
or any other obstruction (such as leaves). The
heater and defroster will work far better, reducing
the chance of fogging the inside of your windows.
·Keep the air path under the front seats clear
of objects. This helps air to circulate throughout your
vehicle.
·Adding outside equipment to the front of your
vehicle, such as hood-air de¯ectors, etc., may affect
the performance of the heating and air conditioning
system. Check with your dealer before adding
equipment to the outside of your vehicle.
3-25
Page 196 of 588
Rear Window Defogger
If your vehicle has this feature, the lines you see on the
rear window warm the glass. The rear window
defogger uses a warming grid to remove fog from the
rear window.
<(Rear):Press this button to turn the rear window
defogger on or off. An indicator light in the button
will come on to let you know that the rear window
defogger is activated.
The rear window defogger will turn off about 10 minutes
after the button is pressed. If you need additional
warming time, press the button again.
If your vehicle is equipped with heated mirrors this
button will activate them.
Notice:Using a razor blade or sharp object to clear
the inside rear window may damage the rear
window defogger. Repairs would not be covered by
your warranty. Do not clear the inside of the rear
window with sharp objects.
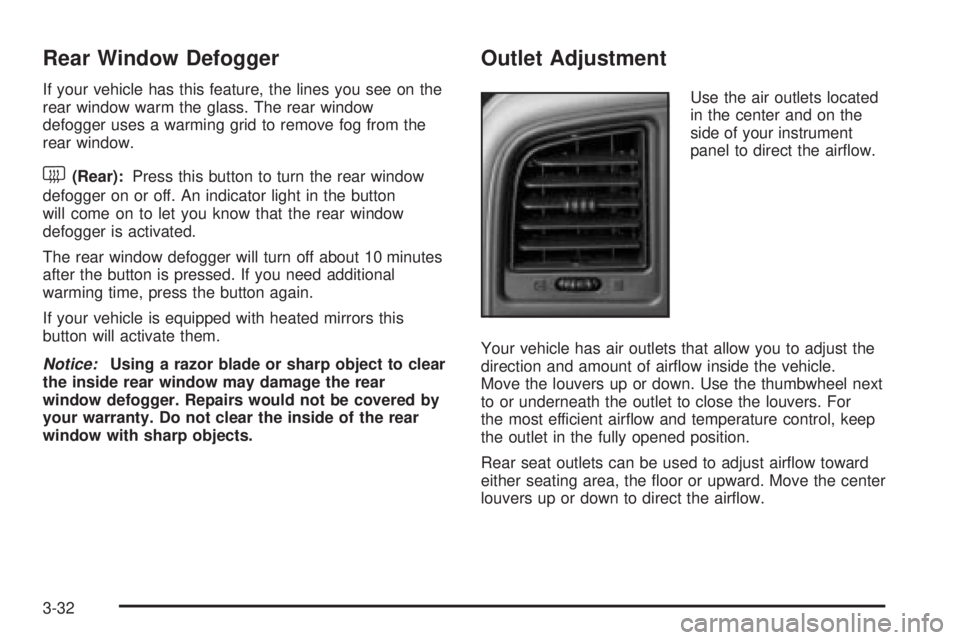
Outlet Adjustment
Use the air outlets located
in the center and on the
side of your instrument
panel to direct the air¯ow.
Your vehicle has air outlets that allow you to adjust the
direction and amount of air¯ow inside the vehicle.
Move the louvers up or down. Use the thumbwheel next
to or underneath the outlet to close the louvers. For
the most efficient air¯ow and temperature control, keep
the outlet in the fully opened position.
Rear seat outlets can be used to adjust air¯ow toward
either seating area, the ¯oor or upward. Move the center
louvers up or down to direct the air¯ow.
3-32
Page 203 of 588
{CAUTION:
If the right front passenger's air bag is turned
off for a person who isn't in a risk group
identi®ed by the national government, that
person won't have the extra protection of an
air bag. In a crash, the air bag wouldn't be able
to in¯ate and help protect the person sitting
there. Don't turn off the passenger's air bag
unless the person sitting there is in a risk
group. See²Air Bag Off Switch²in the Index
for more on this, including important safety
information.
{CAUTION:
If the air bag readiness light ever comes on
when you have turned off the air bag, it means
that something may be wrong with the air bag
system. The right front passenger's air bag
could in¯ate even though the switch is off.
If your vehicle is a regular cab pickup and this
ever happens, do not let anyone whom the
national government has identi®ed as a
member of a passenger air bag risk group sit
in the right front passenger's position (for
example, do not secure a rear-facing child
restraint in your vehicle) until you have your
vehicle serviced.
If your vehicle is an extended cab pickup and
this ever happens, do not let anyone whom the
national government has identi®ed as a
member of the passenger air bag risk group sit
in the right front passenger's position (for
example, do not secure a rear-facing child
restraint in the right front passenger's seat)
until you have your vehicle serviced.
3-39
Page 204 of 588
Passenger Air Bag Status Indicator
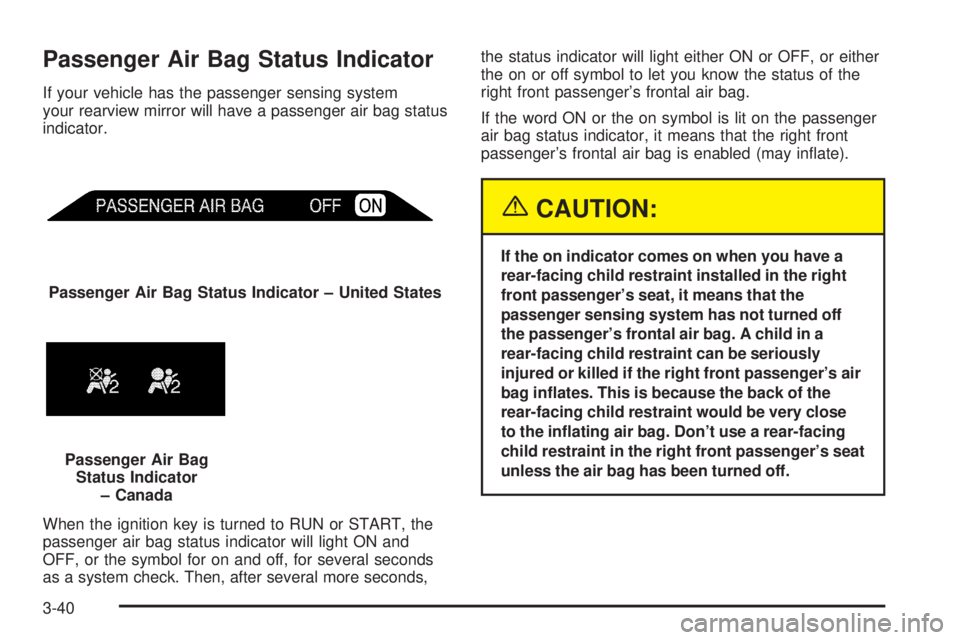
If your vehicle has the passenger sensing system
your rearview mirror will have a passenger air bag status
indicator.
When the ignition key is turned to RUN or START, the
passenger air bag status indicator will light ON and
OFF, or the symbol for on and off, for several seconds
as a system check. Then, after several more seconds,the status indicator will light either ON or OFF, or either
the on or off symbol to let you know the status of the
right front passenger's frontal air bag.
If the word ON or the on symbol is lit on the passenger
air bag status indicator, it means that the right front
passenger's frontal air bag is enabled (may in¯ate).
{CAUTION:
If the on indicator comes on when you have a
rear-facing child restraint installed in the right
front passenger's seat, it means that the
passenger sensing system has not turned off
the passenger's frontal air bag. A child in a
rear-facing child restraint can be seriously
injured or killed if the right front passenger's air
bag in¯ates. This is because the back of the
rear-facing child restraint would be very close
to the in¯ating air bag. Don't use a rear-facing
child restraint in the right front passenger's seat
unless the air bag has been turned off. Passenger Air Bag Status Indicator ± United States
Passenger Air Bag
Status Indicator
± Canada
3-40
Page 233 of 588

LEFT REAR DOOR AJAR (Crew Cab)
If the driver's side rear door is not fully closed, this
message will appear on the display and you will hear a
chime. Stop and turn off the vehicle, check the door
for obstacles, and close the door again. Check to see if
the message still appears on the DIC. Press the
select button to acknowledge the message and clear it
from the DIC display.
LOW COOLANT LEVEL
If your vehicle is equipped with a low coolant level
sensor, this message will appear on the DIC if
the engine coolant level is low. Adding coolant will clear
the message.
OIL PRESSURE LOW
If low oil pressure levels occur, this message will be
displayed on the DIC and a chime will sound. Stop the
vehicle as soon as safely possible and do not operate
it until the cause of the low oil pressure has been
corrected. Check your oil as soon as possible and have
your vehicle serviced.
OIL LIFE RESET
This message will appear on the display for about 10
seconds after resetting the change engine oil message.
PASSENGER DOOR AJAR
If the passenger's door is not fully closed, this message
will appear on the display and you will hear a chime.
Stop and turn off the vehicle, check the door for
obstacles, and close the door again. Check to see if the
message still appears on the DIC. Press the select
button to acknowledge the message and clear it from
the DIC display.
RANGE SHIFT INHIBITED (Allison
TransmissionžOnly)
If the transmission is unable to shift into a selected gear
this message will appear on the DIC. The electronic shift
position indicator on the instrument panel cluster may
blink when this occurs. To make the vehicle shift to the
requested gear you may have to shift back to PARK (P)
or NEUTRAL (N) and re-select the desired gear.
3-69