Page 171 of 202

170
CONNECT NAV
NAVIGATOR
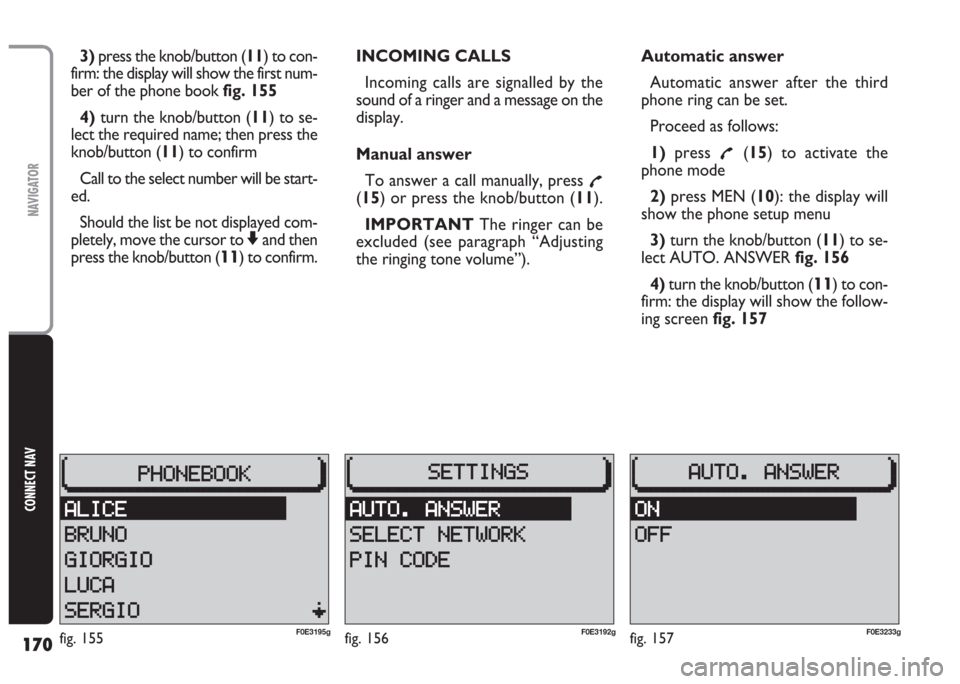
3)press the knob/button (11) to con-
firm: the display will show the first num-
ber of the phone book fig. 155
4) turn the knob/button (11) to se-
lect the required name; then press the
knob/button (11) to confirm
Call to the select number will be start-
ed.
Should the list be not displayed com-
pletely, move the cursor to
Zand then
press the knob/button (
11) to confirm.INCOMING CALLS
Incoming calls are signalled by the
sound of a ringer and a message on the
display.
Manual answer
To answer a call manually, press
£(15) or press the knob/button (11).
IMPORTANT The ringer can be
excluded (see paragraph “Adjusting
the ringing tone volume”).Automatic answer
Automatic answer after the third
phone ring can be set.
Proceed as follows:
1)press
£(15) to activate the
phone mode
2)press MEN (10): the display will
show the phone setup menu
3)turn the knob/button (11) to se-
lect AUTO. ANSWER fig. 156
4)turn the knob/button (
11) to con-
firm: the display will show the follow-
ing screen fig. 157
fig. 156F0E3192gfig. 155F0E3195gfig. 157F0E3233g
Page 176 of 202

175
CONNECT NAV
NAVIGATOR
10)press the knob/button (11) to
confirm: the display will show the list
of the available networks
11) turn the knob/button (11) to se-
lect the required network
12)press the knob/button (11) to
confirm the selection
Should the selected network be not
available (e.g.: overload or poor signal),
the display will show a dedicated
warning message.
In this case another network shall be
selected.Displaying the selected
network
Use this function to display the se-
lected network.
Proceed as follows:
1)press
£(15) to activate the
phone mode
2) press MEN (10): the display will
show the phone setup menu
3)turn the knob/button (11) to
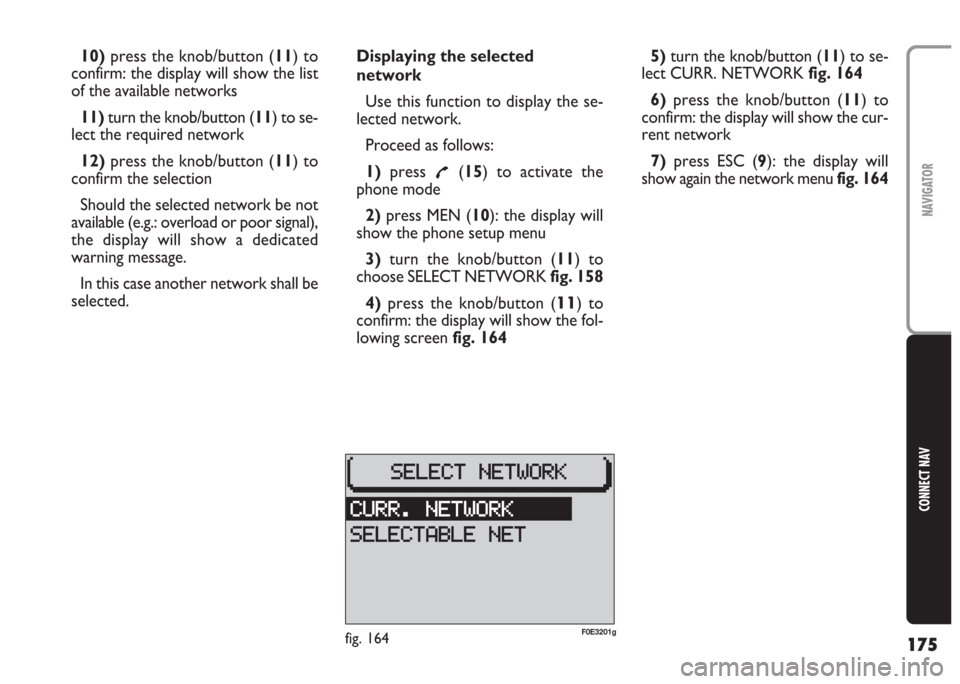
choose SELECT NETWORK fig. 158
4) press the knob/button (
11) to
confirm: the display will show the fol-
lowing screen fig. 1645)turn the knob/button (11) to se-
lect CURR. NETWORK fig. 164
6) press the knob/button (11) to
confirm: the display will show the cur-
rent network
7)press ESC (9): the display will
show again the network menu fig. 164
fig. 164F0E3201g
Page 190 of 202

189
CONNECT NAV
NAVIGATOR
Switching the time status
on and off
Proceed as follows to switch the
time status function on and off:
1)open the SETTINGS menu
fig. 185as described previously
2) turn the knob/button (11) to se-
lect CLOCK
3) press the knob/button (11) to
confirm
4)turn the knob/button (11) to se-
lect STATUS CLOCK
5) press the knob/button (11) to dis-
play ON or OFF
Setting the exact time
manually
Proceed as follows to set manually
the exact time (e.g.: when no GPS
satellite signal is received):
1) open the SETTINGS menu
fig. 185as described previously2) turn the knob/button (11) to se-
lect CLOCK
3)press the knob/button (11) to
confirm
4)turn the knob/button (11) to se-
lect SETTINGS
5) turn the knob/button (11) to se-
lect SYSTEM TIME
6)press the knob/button (11) to
confirm: hours will be displayed with
reverse writing
7)turn the knob/button (11) to set
hours
8) press the knob/button (11) to
confirm: minutes will be displayed with
reverse writing
9)turn the knob/button (11) to set
minutes
10)press the knob/button (11) to
confirmSELECTING THE LANGUAGE
You can select the language for mes-
sages on the display. “Metric” (dis-
tances in kilometres) and “imperial”
(distances in miles) versions are of-
fered for English
1)open the SETTINGS menu
fig. 185as described previously
2)turn the knob/button (11) to se-
lect LANGUAGE
3) press the knob/button (11) to
confirm: the display will show the list
of the available languages
4)select the required language by
turning the knob/button (
11)
5)confirm the selection by pressing
the knob/button (11).