Page 146 of 397

N Time Button .........................186
N Changing Modes ......................186
N Removing Discs From The CD Changer .....187
N CD Changer Operation With The Changer
Off ...............................187
m 6 Disc CD/Digital Video Disc (DVD)
Changer Ð If Equipped ..................187
N Operating Instructions Ð CD/DVD Changer . . 188
N Eject (EJT) Button .....................189
N Operating Instructions Ð Remote Control ....189
N Operating Instructions Ð Video Screen ......191
N Operating Instructions Ð Headphones ......192
N Operating Instructions Ð MP3 Player .......194 N Operating Instructions Ð Video
Games/Camcorders ...................195
m Remote Sound System Controls Ð If Equipped . . 195
N Radio Operation ......................196
N Tape Player .........................196
N CD Player ..........................197
m Cassette Tape And Player Maintenance .......197
m CD/DVD Disc Maintenance ...............198
m Radio Operation And Cellular Phones ........198
m Climate Controls .......................199
N Manual Air Conditioning And Heating
System .............................199
N Front Mode Control ...................200146 UNDERSTANDING YOUR INSTRUMENT PANEL
Page 147 of 397
N Manual Air Conditioning Operation ........203
N Manual Rear Zone Climate Control Ð If
Equipped ...........................206
N Infrared Three-Zone Automatic Temperature
Control Ð If Equipped .................208
m Rear Window Features ...................219
N Intermittent Rear Wiper Operation Ð Manual
Temperature Control Only ...............219
N Rear Washer Operation Ð Manual Temperature
Control Only ........................219 N Rear Wiper Operation Ð Automatic
Temperature Control Only ...............220
N Intermittent Rear Wiper Operation Ð
Automatic Temperature Control Only .......220
N Rear Washer Operation Ð Automatic
Temperature Control Only ...............221
N Electric Rear Window Defroster Ð If
Equipped ...........................222 UNDERSTANDING YOUR INSTRUMENT PANEL 147
4
Page 148 of 397
INSTRUMENTS AND CONTROLS 148 UNDERSTANDING YOUR INSTRUMENT PANEL
Page 149 of 397
BASE INSTRUMENT CLUSTER UNDERSTANDING YOUR INSTRUMENT PANEL 149
4
Page 150 of 397
INSTRUMENT CLUSTER WITH TACH 150 UNDERSTANDING YOUR INSTRUMENT PANEL
Page 151 of 397

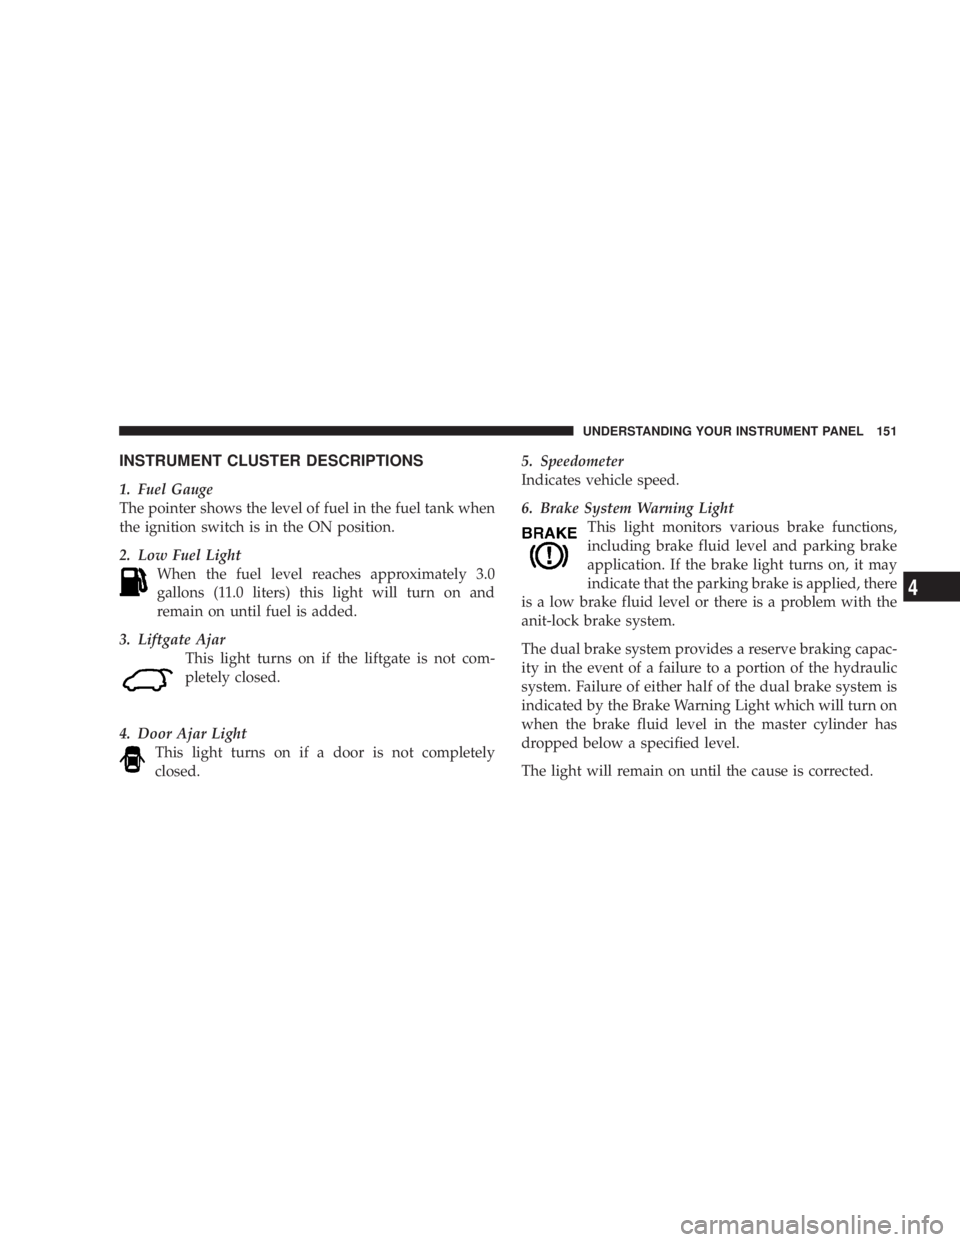
INSTRUMENT CLUSTER DESCRIPTIONS
1. Fuel Gauge
The pointer shows the level of fuel in the fuel tank when
the ignition switch is in the ON position.
2. Low Fuel Light
When the fuel level reaches approximately 3.0
gallons (11.0 liters) this light will turn on and
remain on until fuel is added.
3. Liftgate Ajar
This light turns on if the liftgate is not com-
pletely closed.
4. Door Ajar Light
This light turns on if a door is not completely
closed. 5. Speedometer
Indicates vehicle speed.
6. Brake System Warning Light
This light monitors various brake functions,
including brake fluid level and parking brake
application. If the brake light turns on, it may
indicate that the parking brake is applied, there
is a low brake fluid level or there is a problem with the
anit-lock brake system.
The dual brake system provides a reserve braking capac-
ity in the event of a failure to a portion of the hydraulic
system. Failure of either half of the dual brake system is
indicated by the Brake Warning Light which will turn on
when the brake fluid level in the master cylinder has
dropped below a specified level.
The light will remain on until the cause is corrected. UNDERSTANDING YOUR INSTRUMENT PANEL 151
4
Page 152 of 397

NOTE: The light may flash momentarily during sharp
cornering maneuvers which change fluid level condi-
tions. The vehicle should have service performed.
If brake failure is indicated, immediate repair is neces-
sary.
WARNING!Driving a vehicle with the brake light on is danger-
ous. Part of the brake system may have failed. It will
take longer to stop the vehicle. You could have an
accident. Have the vehicle checked immediately.
Vehicles equipped with Anti-Lock brakes (ABS), are also
equipped with Electronic Brake Force Distribution (EBD).
In the event of an EBD failure, the Brake Warning Light
will turn on along with the ABS Light. Immediate repair
to the ABS system is required. The operation of the Brake Warning Light can be checked
by turning the ignition switch from the OFF position to
the ON position. The light should illuminate for approxi-
mately four seconds. The light should then turn off
unless the parking brake is applied or a brake fault is
detected. If the light does not illuminate, have the light
inspected by an authorized dealer.
The light also will turn on when the parking brake is
applied with the ignition switch in the ON position.
NOTE: This light shows only that the parking brake is
applied. It does not show the degree of brake application.
7. Airbag Light
This light turns on and remains on for 6 to 8
seconds as a bulb check when the ignition
switch is first turned ON. If the light is not on
during starting, stays on, or turns on while
driving, have the system inspected by an authorized
dealer as soon as possible.152 UNDERSTANDING YOUR INSTRUMENT PANEL
Page 153 of 397

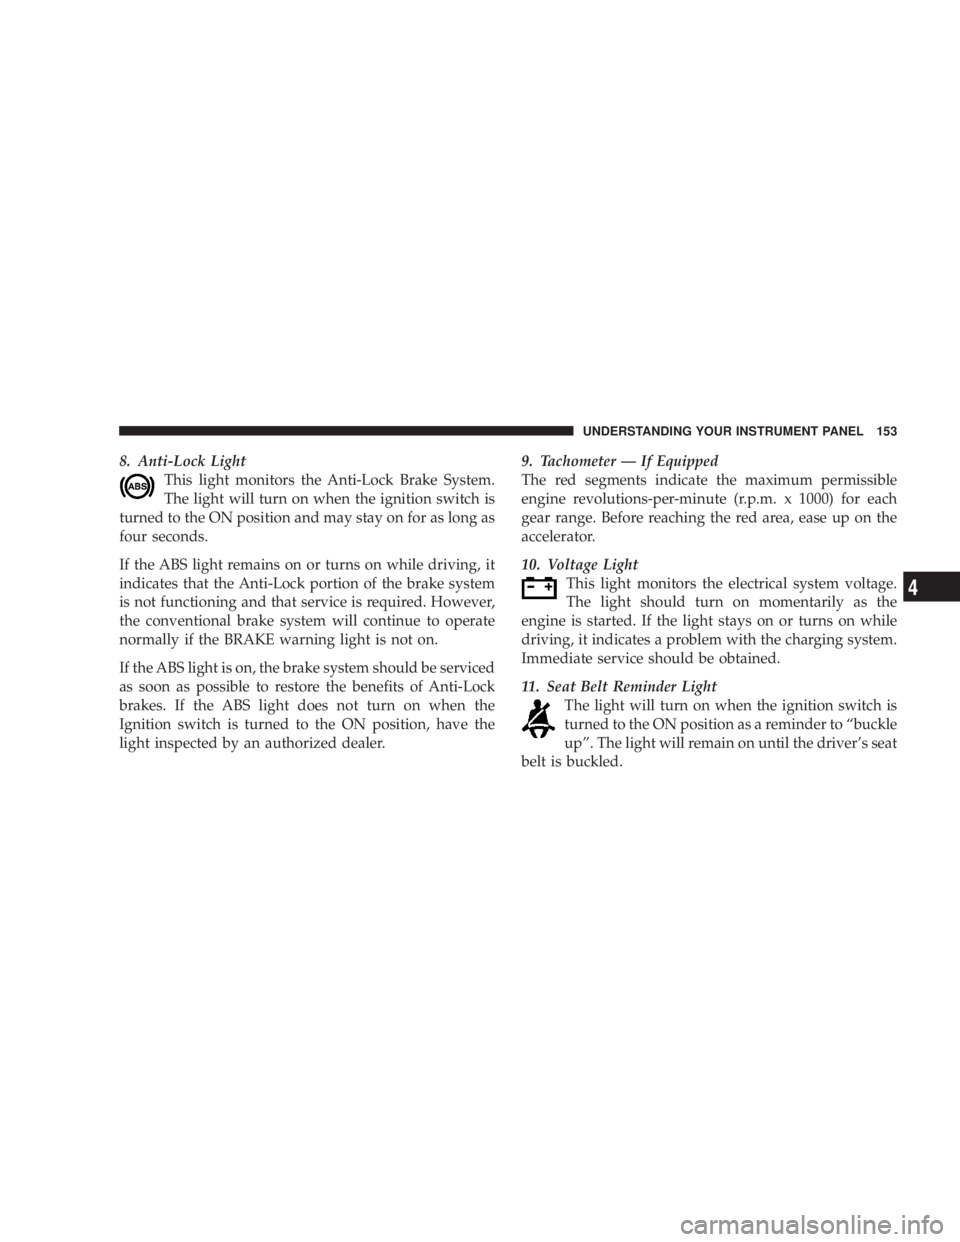
8. Anti-Lock Light
This light monitors the Anti-Lock Brake System.
The light will turn on when the ignition switch is
turned to the ON position and may stay on for as long as
four seconds.
If the ABS light remains on or turns on while driving, it
indicates that the Anti-Lock portion of the brake system
is not functioning and that service is required. However,
the conventional brake system will continue to operate
normally if the BRAKE warning light is not on.
If the ABS light is on, the brake system should be serviced
as soon as possible to restore the benefits of Anti-Lock
brakes. If the ABS light does not turn on when the
Ignition switch is turned to the ON position, have the
light inspected by an authorized dealer. 9. Tachometer Ð If Equipped
The red segments indicate the maximum permissible
engine revolutions-per-minute (r.p.m. x 1000) for each
gear range. Before reaching the red area, ease up on the
accelerator.
10. Voltage Light
This light monitors the electrical system voltage.
The light should turn on momentarily as the
engine is started. If the light stays on or turns on while
driving, it indicates a problem with the charging system.
Immediate service should be obtained.
11. Seat Belt Reminder Light
The light will turn on when the ignition switch is
turned to the ON position as a reminder to ªbuckle
upº. The light will remain on until the driver's seat
belt is buckled. UNDERSTANDING YOUR INSTRUMENT PANEL 153
4