Page 57 of 397

Maintaining Your Airbag System
WARNING!² Modifications to any part of the airbag system
could cause it to fail when you need it. You could
be injured because the airbags are not there to
protect you. Do not modify the components or
wiring, including adding any kind of badges or
stickers to the steering wheel hub trim cover or
the upper right side of the instrument panel. Do
not modify the front bumper, vehicle body struc-
ture, or frame.
² You need proper knee impact protection in a
collision. Do not mount or locate any aftermarket
equipment on or behind the knee bolsters.
² It is dangerous to try to repair any part of the
airbag system yourself. Be sure to tell anyone who
works on your vehicle that it has airbags. Airbag Light
You will want to have the airbags ready to inflate for your
protection in a collision. While the airbag system is
designed to be maintenance free, if any of the following
occurs, have an authorized dealer service the system
immediately.
² The AIRBAG light does not come on or flickers during
the 6 to 8 seconds when the ignition switch is first
turned on.
² The light remains on or flickers after the 6 to 8 second
interval.
² The light flickers or comes on and remains on while
driving. THINGS TO KNOW BEFORE STARTING YOUR VEHICLE 57
2
Page 72 of 397

Airbag Light
The light should come on and remain on for 6 to 8
seconds as a bulb check when the ignition switch is first
turned ON. If the LED is not lit during starting, have it
checked. If the light stays on or comes on while driving,
have the system checked by an authorized dealer.
Defroster
Check operation by selecting the defrost mode and place
the blower control on high speed. You should be able to
feel the air directed against the windshield.
Periodic Safety Checks You Should Make Outside
The Vehicle
Tires
Examine tires for excessive tread wear or uneven wear
patterns. Check for stones, nails, glass, or other objects
lodged in the tread. Inspect tread and sidewall for cuts or
cracks. Check wheel nuts for tightness, and tires (includ-
ing spare) for proper pressure. Lights
Have someone observe the operation of exterior lights
while you work the controls. Check turn signal and high
beam indicator lights on the instrument panel.
Fluid Leaks
Check area under vehicle after overnight parking for fuel,
engine coolant, oil or other fluid leaks. Also, if gasoline
fumes are detected or fuel, power steering fluid or brake
fluid leaks are suspected, the cause should be located and
corrected immediately.72 THINGS TO KNOW BEFORE STARTING YOUR VEHICLE
Page 76 of 397

N Erasing Homelink Buttons ...............124
N Reprogramming a Single Homelink Button . . . 124
N Security ............................124
m Power Sunroof Ð If Equipped .............125
N Express Open Feature ..................126
N Wind Buffeting .......................127
N Sunroof Maintenance ...................127
m Electrical Power Outlets Ð If Equipped .......127
N Electrical Outlet Use With Engine Off .......129
m Convenience Tray Drawer And Cup Holders . . . 129
N Instrument Panel Cup Holders ............129 N Convenience Tray And Optional Smoker's
Package Kit .........................130
N Rear Cupholders ......................130
m Storage ..............................132
N Front Seat Storage Bin Ð If Equipped .......132
N Removable Floor Console Ð If Equipped ....132
N Rear Compartment Storage Bins ...........135
N Cargo Area Storage ....................135
N Cargo Organizer Ð If Equipped ...........136
m Roof Luggage Rack Ð If Equipped ..........139
m Load Leveling System ...................14176 UNDERSTANDING THE FEATURES OF YOUR VEHICLE
Page 79 of 397
WARNING!Vehicles and other objects seen in the right side
convex mirror will look smaller and farther away
than they really are. Relying too much on your right
side mirror could cause you to collide with another
vehicle or other object.
Use your inside mirror when judging the size or
distance of a vehicle seen in this convex mirror.
Power Remote-Control Mirrors Ð If Equipped
Use the mirror select switch, located on the instrument
panel to the left of the steering column, to adjust the view
obtained in the outside mirrors. Press the rocker switch to
the L or R for Left or Right mirror selection. Use the
center off position to guard against accidentally moving
a mirror position. Select a mirror and press one of the four arrows for the
direction you want the mirror to move. UNDERSTANDING THE FEATURES OF YOUR VEHICLE 79
3
Page 82 of 397
CAUTION!Do not place any article under a power seat or
impede its ability to move as it may cause damage to
the seat controls. Seat travel may become limited if
movement is stopped by an obstruction in the seat's
path.
Adjustable Head Restraints Ð If Equipped
Head restraints can reduce the risk of whiplash injury in
the event of impact from the rear. Pull up or push down
on the head restraint so that the upper edge is as high as
practical. To raise the head restraint, pull up on the head
restraint. To lower the head restraint, depress the release
tab located at the base of the head restraint and push
down on the head restraint. Heated Seats Ð If Equipped
This feature heats the front driver and passenger seats.
The controls for the heated seats are located on the
instrument panel above the radio. You may choose LOW,
HIGH or No Heat. The switch position as well as an
indicator light will show when the LOW or HIGH heat is
ON.82 UNDERSTANDING THE FEATURES OF YOUR VEHICLE
Page 96 of 397

WARNING!² Not all head restraints in this vehicle are the same.
Head restraints from one seating position should
not be removed and installed in any other seating
position. In a collision, serious injury or death may
result if the proper head restraint is not installed on
each seat.
² The cargo area in the rear of the vehicle should not
be used as a play area by children. They could be
seriously injured in a collision. Children should be
seated and using the proper restraint system.
² It is extremely dangerous to ride in a cargo area,
inside or outside of a vehicle. In a collision, people
riding in these areas are more likely to be seriously
injured or killed.
² Do not allow people to ride in any area of your
vehicle that is not equipped with seats and seat belts.
² Be sure everyone in your vehicle is in a seat and
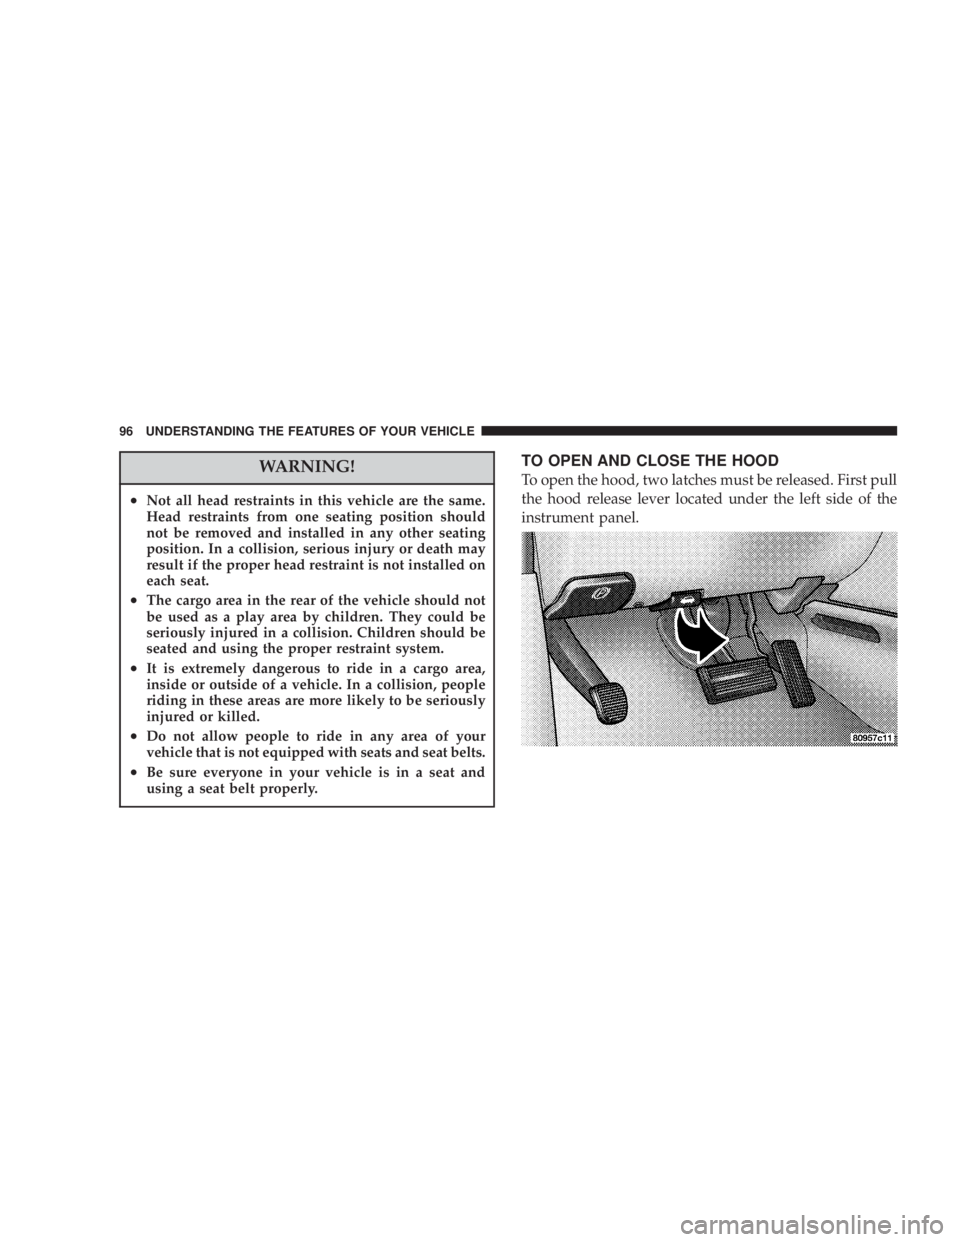
using a seat belt properly. TO OPEN AND CLOSE THE HOOD
To open the hood, two latches must be released. First pull
the hood release lever located under the left side of the
instrument panel.96 UNDERSTANDING THE FEATURES OF YOUR VEHICLE
Page 98 of 397
LIGHTS
All of the lights, except the hazard warning lights, are
controlled by switches to the left of the steering column
on the instrument panel. Interior Lights
Interior lights are turned on when a door or liftgate is
opened, the keyless entry transmitter is activated, or
when the dimmer control is moved to the extreme top.
NOTE: On long wheel base vehicles the dome lights for
the second row seat passenger's can be turned on or off
by pressing the lens. The lights will remain on until the
lens is pressed a second time, so be sure they have been
turned off before leaving the vehicle.
The interior lights will automatically turn off in about 15
minutes if any of the following occur.
² A door, sliding door or the liftgate is left open.
² Any overhead reading light is left on.
² If the dimmer control is in the extreme top position.98 UNDERSTANDING THE FEATURES OF YOUR VEHICLE
Page 99 of 397

NOTE: The key must be out of the ignition switch or the
ignition switch must be in the OFF position for this
feature to operate.
Park Lights
Turn this switch to the first detent to turn the park
lights on. This also turns on all instrument panel
lighting.
Headlights
Turn the headlight switch to the 2nd detent to
turn the headlights and park lights on. This
also turns on all instrument panel lighting.
To change the brightness of the instrument panel lights,
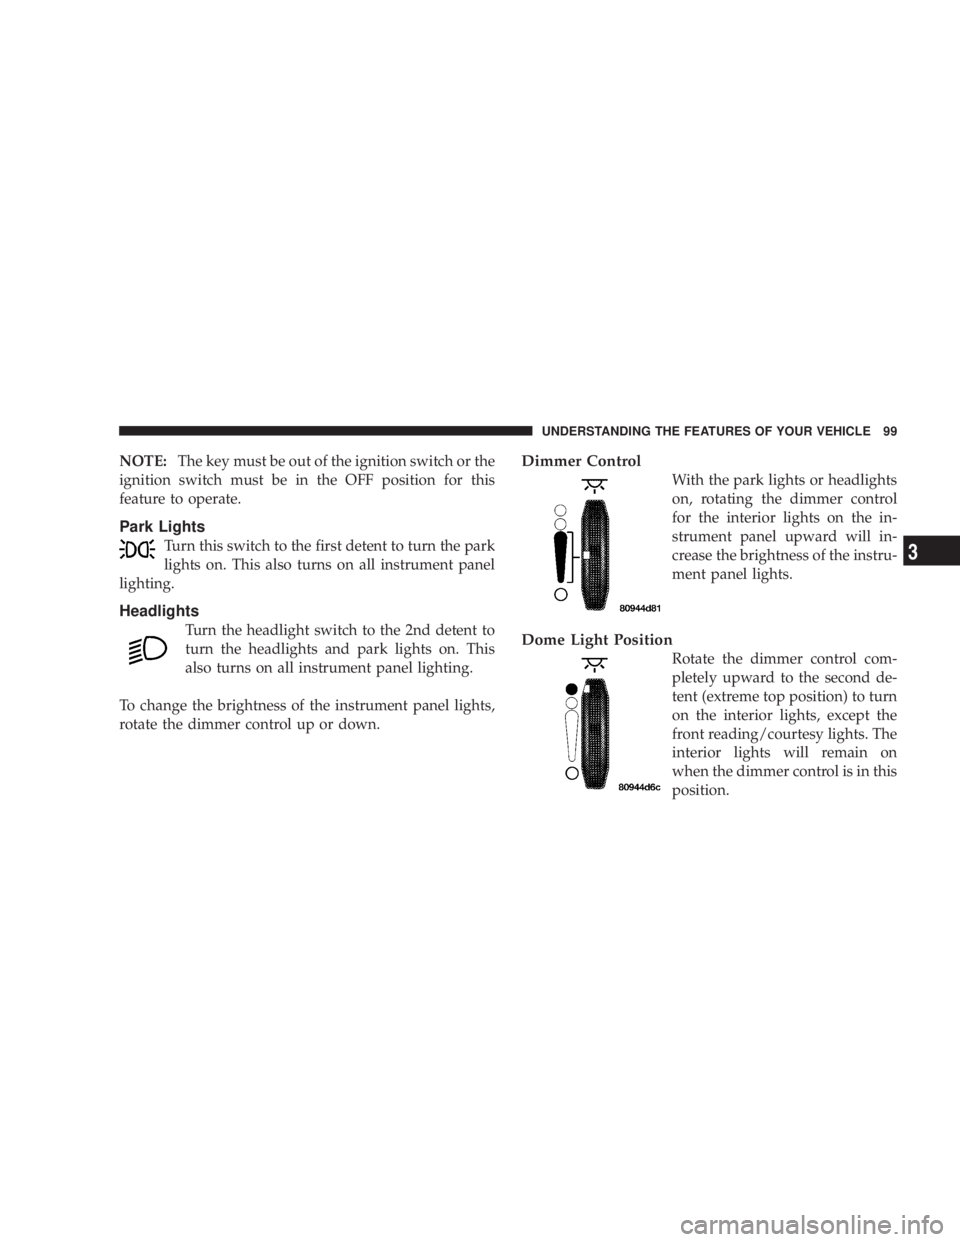
rotate the dimmer control up or down. Dimmer Control
With the park lights or headlights
on, rotating the dimmer control
for the interior lights on the in-
strument panel upward will in-
crease the brightness of the instru-
ment panel lights.
Dome Light Position
Rotate the dimmer control com-
pletely upward to the second de-
tent (extreme top position) to turn
on the interior lights, except the
front reading/courtesy lights. The
interior lights will remain on
when the dimmer control is in this
position.UNDERSTANDING THE FEATURES OF YOUR VEHICLE 99
3