Page 9 of 397
THINGS TO KNOW BEFORE STARTING YOUR VEHICLE CONTENTS m A Word About Your Keys ..................12
N Ignition Key Removal ...................12
N Key-In-Ignition Reminder ................13
m Sentry Key ............................13
N Replacement Keys ......................15
N Sentry Key Programming .................15
N General Information ....................16
m Illuminated Entry System Ð If Equipped .......16
m Door Locks ............................17 N Manual Door Locks .....................17
N Power Door Locks Ð If Equipped ..........18
m Remote Keyless Entry Ð If Equipped .........20
N To Unlock The Doors And Liftgate ..........22
N To Lock The Doors And Liftgate ............22
N Using The Panic Alarm ..................22
N To Program Transmitters .................23
N General Information ....................25
N Transmitter Battery Service ...............252
Page 25 of 397

General Information
This device complies with part 15 of the FCC rules and
RSS 210 of Industry Canada. Operation is subject to the
following conditions:
² This device may not cause harmful interference.
² This device must accept any interference received,
including interference that may cause undesired op-
eration.
If your Remote Keyless Entry transmitter fails to operate
from a normal distance, check for these two conditions.
1. A weak battery in the transmitter. The expected life of
the battery is a minimum of three years.
2. Closeness to a radio transmitter such as a radio station
tower, airport transmitter, and some mobile or CB radios. Transmitter Battery Service
The recommended replacement battery is one CR2032
battery.
NOTE: Do not touch the battery terminals that are on
the back housing or the printed circuit board.
1. With the transmitter buttons facing down, use a thin
coin to pry the two halves of the transmitter apart. Make
sure not to damage the rubber gasket during removal. THINGS TO KNOW BEFORE STARTING YOUR VEHICLE 25
2
Page 26 of 397

2. Remove and replace the batteries. Avoid touching the
new batteries with your fingers. Skin oils may cause
battery deterioration. If you touch a battery, clean it with
rubbing alcohol.
3. To reassemble the transmitter case snap two halves
together. Make sure there is an even ªgapº between the
two halves. Test transmitter operation.
VEHICLE THEFT ALARM Ð IF EQUIPPED
This system monitors the vehicle doors and ignition
switch for unauthorized entry or operation. When the
alarm is activated, the system provides both audible and
visual signals. The horn will pulse, headlights/park
lights will flash, the Vehicle Theft Alarm/Immobilizer
light, located in the instrument cluster, will flash, and the
vehicle will not start. If the alarm is triggered and no
action is taken to disarm it, the system will turn off the
horn after three minutes and after 15 minutes of light
only operation the system will then rearm itself. To arm the system: Remove the key from the ignition
switch and either:
1. Press a power door lock button while the driver's or
passenger's door is open.
2. Press the LOCK button on the keyless entry transmit-
ter.
After the last door is closed, or if all doors are closed, the
system will arm itself in about 16 seconds. During that
time, the Vehicle Theft Alarm/Immobilizer light will
flash. If it does not illuminate, the system is not arming.
If you open a door during this arming period, the system
will cancel the arming process. You must repeat one of
the previously described arming sequences to rearm the
system.
To disarm the system: Press the UNLOCK button on the
keyless entry transmitter. Also, using a valid sentry key26 THINGS TO KNOW BEFORE STARTING YOUR VEHICLE
Page 27 of 397

and moving the ignition switch to the ON/START posi-
tion will disarm the system. If you disarm the system and
access the liftgate area, the system must be rearmed, as
described previously, when closing the liftgate. If some-
thing has triggered the system in your absence, the horn
will sound three times when you disarm the system.
Check the vehicle for tampering.
NOTE:
² The driver's door and liftgate key cylinders cannot
arm or disarm the system.
² Once the alarm is set, and the liftgate button on the
keyless entry transmitter is pressed, on a non-power
liftgate vehicle, you have a 30 second one time access
into the liftgate area. If the liftgate is not opened within
30 seconds the liftgate will remain locked. ² The system remains armed during liftgate entry, press-
ing the liftgate button will not disarm the system, if
someone enters the vehicle through the liftgate and
opens any door the alarm will sound.
² When the system is armed, the doors can not be
unlocked from the interior power door lock switches.
The Vehicle Theft Alarm system is designed to protect
your vehicle, however, you can create conditions where
the system will give you a false alarm. If one of the
previously described arming sequences has occurred, the
system will arm regardless of whether you are in the
vehicle or not. If you remain in the vehicle and open a
door, the alarm will sound. If this occurs, disarm the
system.
The alarm system will be activated when the battery is
connected if the system was previously armed. The THINGS TO KNOW BEFORE STARTING YOUR VEHICLE 27
2
Page 119 of 397

30, 60, or 90 seconds, or not remain on. Pressing the
ªSTEPº button when in this display will select 30, 60, 90,
or ªOFF.º
Headlamp On With Wipers (Available with Auto
Headlights Only)
When this feature is selected and the headlight switch
has been moved to the ªAUTOº position, the engine is
running and, the front wipers are turned on for 10
seconds, the headlights will turn ON. The display will
remain on Parade Mode (Daytime Brightness) for ease of
viewing. Pressing the ªSTEPº button when in this display
will select ªYesº or ªNo.º
Power Accessory Delay
When this feature is selected, accessory power will be
supplied for up to 45 seconds for the power windows, radio, power vent windows, power outlets, and remov-
able center console, when the ignition switch is turned off
or until the key is removed and either front door is
opened.
GARAGE DOOR OPENER Ð IF EQUIPPED
The HomeLink t Universal Transceiver replaces up to
three remote controls (hand held transmitters) that oper-
ate devices such as garage door openers, motorized
gates, or home lighting. It triggers these devices at the
push of a button. The Universal Transceiver operates off
your vehicle's battery and charging system; no batteries
are needed.
For additional information on HomeLink t , call 1±800±
355±3515, or on the internet at www.homelink.com. UNDERSTANDING THE FEATURES OF YOUR VEHICLE 119
3
Page 128 of 397

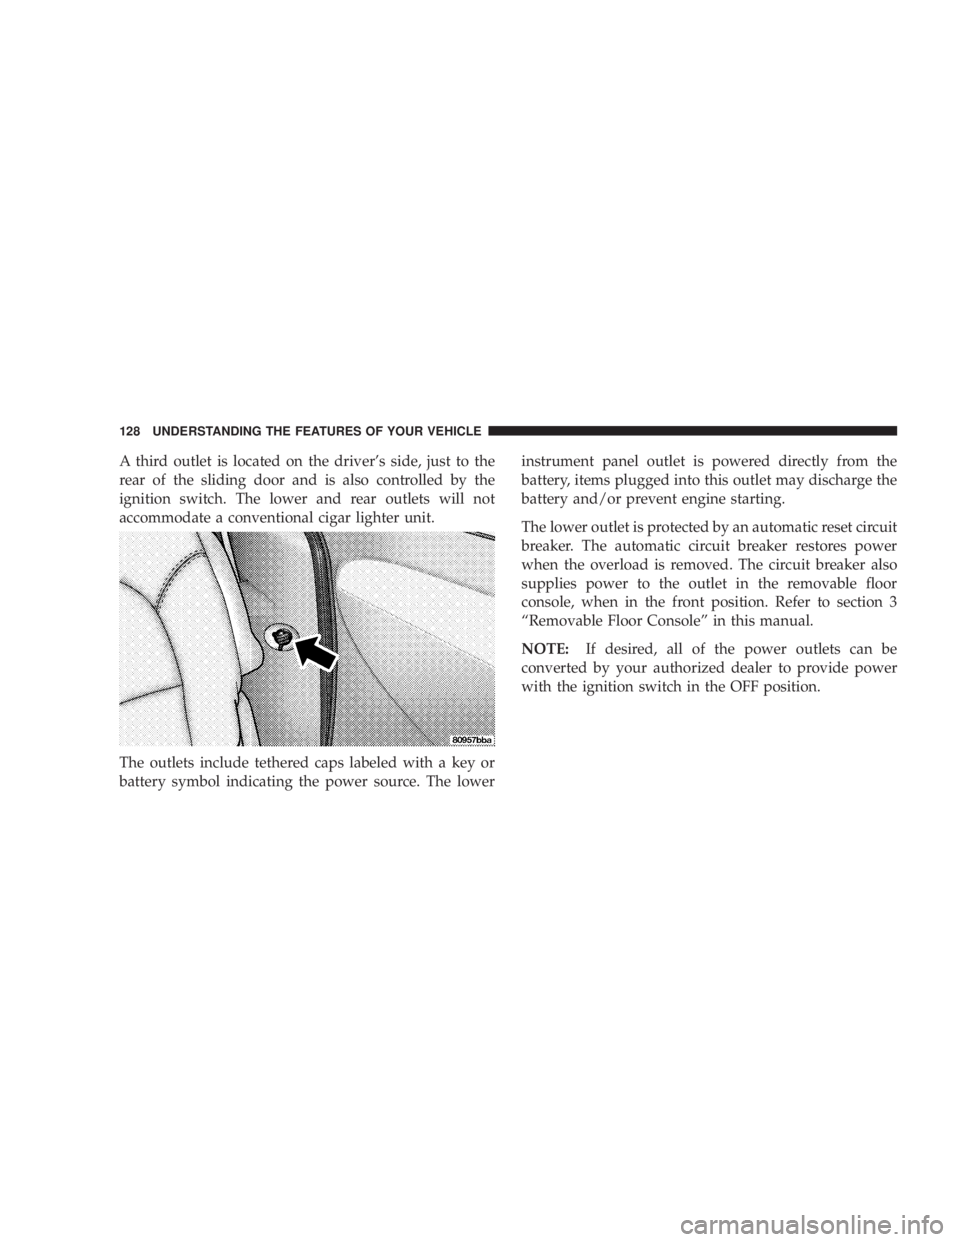
A third outlet is located on the driver's side, just to the
rear of the sliding door and is also controlled by the
ignition switch. The lower and rear outlets will not
accommodate a conventional cigar lighter unit.
The outlets include tethered caps labeled with a key or
battery symbol indicating the power source. The lower instrument panel outlet is powered directly from the
battery, items plugged into this outlet may discharge the
battery and/or prevent engine starting.
The lower outlet is protected by an automatic reset circuit
breaker. The automatic circuit breaker restores power
when the overload is removed. The circuit breaker also
supplies power to the outlet in the removable floor
console, when in the front position. Refer to section 3
ªRemovable Floor Consoleº in this manual.
NOTE: If desired, all of the power outlets can be
converted by your authorized dealer to provide power
with the ignition switch in the OFF position.128 UNDERSTANDING THE FEATURES OF YOUR VEHICLE
Page 132 of 397
STORAGE
Front Seat Storage Bin Ð If Equipped
The storage bin is located under the front passenger's
seat. If equipped with a lock, it can be locked with the
ignition key. Removable Floor Console Ð If Equipped
The removal floor console has a power outlet, storage
tray, light, cell phone holder, tissue holder, and a map
holder. It can be placed between either the front seats or
middle seats.
NOTE: When the console is located between the front
seats the outlet is protected by an automatic circuit
breaker and is powered directly from the battery, items
plugged into this outlet may discharge the battery
and/or prevent engine starting.132 UNDERSTANDING THE FEATURES OF YOUR VEHICLE
Page 194 of 397

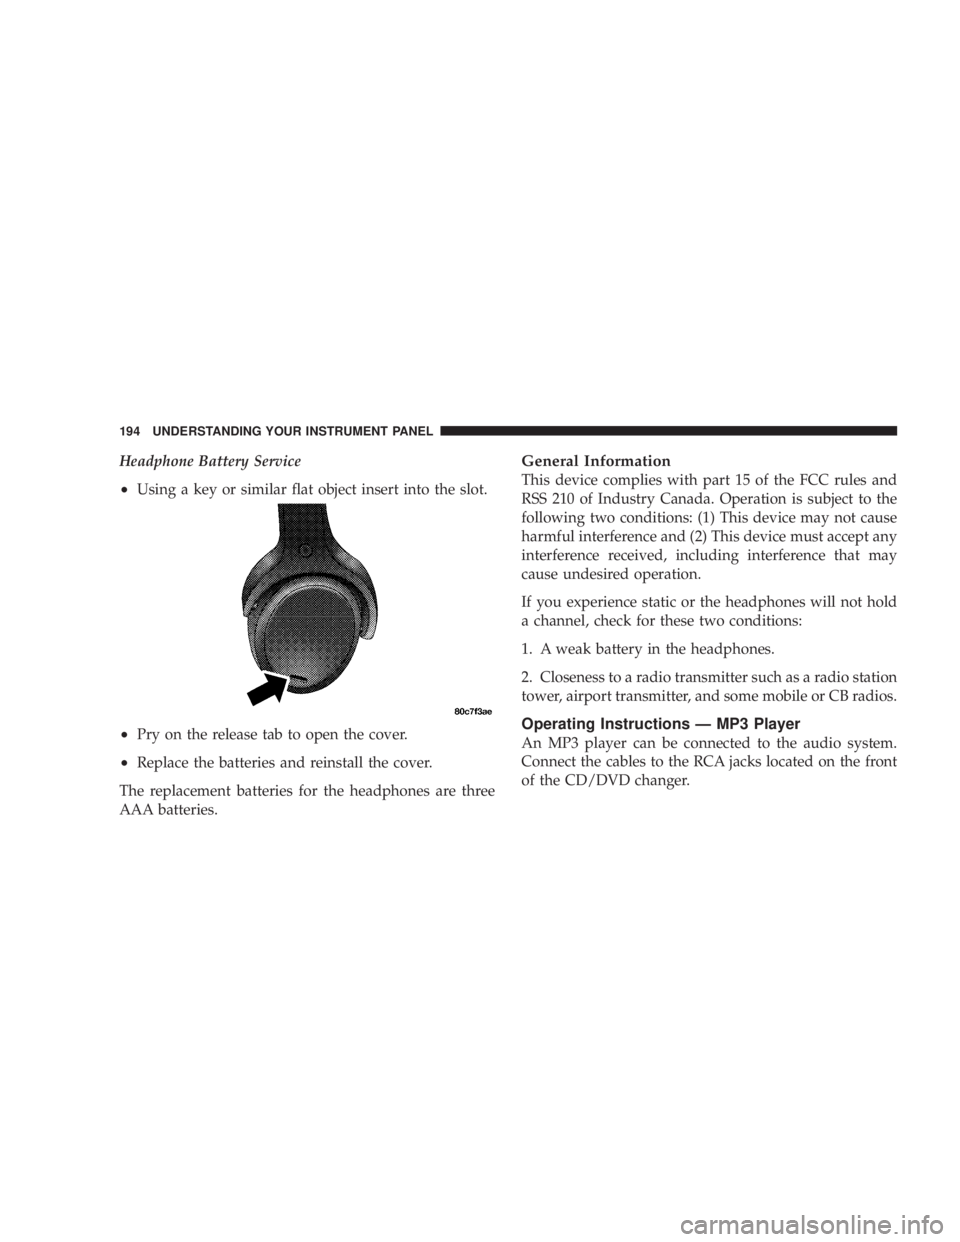
Headphone Battery Service
² Using a key or similar flat object insert into the slot.
² Pry on the release tab to open the cover.
² Replace the batteries and reinstall the cover.
The replacement batteries for the headphones are three
AAA batteries. General Information
This device complies with part 15 of the FCC rules and
RSS 210 of Industry Canada. Operation is subject to the
following two conditions: (1) This device may not cause
harmful interference and (2) This device must accept any
interference received, including interference that may
cause undesired operation.
If you experience static or the headphones will not hold
a channel, check for these two conditions:
1. A weak battery in the headphones.
2. Closeness to a radio transmitter such as a radio station
tower, airport transmitter, and some mobile or CB radios.
Operating Instructions Ð MP3 Player
An MP3 player can be connected to the audio system.
Connect the cables to the RCA jacks located on the front
of the CD/DVD changer.194 UNDERSTANDING YOUR INSTRUMENT PANEL