2004 DODGE DAKOTA fuel cap
[x] Cancel search: fuel capPage 142 of 300

NTire Markings........................167
NTire Identification Number (TIN)..........171
NTire Loading And Tire Pressure...........172
mTiresÐGeneral Information...............175
NTire Pressure.........................175
NTire Inflation Pressures.................176
NRadial-Ply Tires......................178
NCompact Spare Tire Ð If Equipped.........178
NTire Spinning........................179
NTread Wear Indicators..................180
NReplacement Tires.....................180
NAlignment And Balance.................181
mSupplemental Tire Pressure Information.....182
mTire Chains...........................182
mSnow Tires...........................183
mTire Rotation Recommendations...........183
mFuel Requirements.....................184
NReformulated Gasoline.................184
NGasoline/Oxygenate Blends..............185
NMMT In Gasoline.....................185
NSulfur In Gasoline.....................185
NMaterials Added To Fuel................186
mAdding Fuel..........................186
NFuel Filler Cap (Gas Cap)...............186
NFuel Tank Filler Tube...................187
NFuel System Cautions..................188
NCarbon Monoxide Warnings..............189
mCatalytic Converter.....................189
mVehicle Loading.......................191
NCertification Label.....................191
NCurb Weight.........................192
NLoading............................192
142 STARTING AND OPERATING
Page 186 of 300

sulfur to determine if the problem is fuel related prior to
returning your vehicle to an authorized dealer for ser-
vice.
CAUTION!
If the Check Engine or Service Engine Soon light is
flashing, immediate service is required; see onboard
diagnostics system section.
Materials Added To Fuel
All gasolines sold in the United States are required to
contain effective detergent additives. Use of additional
detergents or other additives is not needed under normal
conditions and would result in unnecessary cost. There-
fore, you should not have to add anything to the fuel.
ADDING FUEL
Fuel Filler Cap (Gas Cap)
The gas cap is behind the fuel filler door. If the gas cap is
lost or damaged, be sure the replacement cap is for use
with this vehicle.
CAUTION!
Damage to the fuel system or emission control
system could result from using an improper fuel
tank filler tube cap (gas cap). A poorly fitting cap
could let impurities into the fuel system.
186 STARTING AND OPERATING
Page 187 of 300

WARNING!
²Remove the fuel tank filler tube cap (gas cap)
slowly to prevent fuel spray from the filler neck
which may cause injury.
²The volatility of some gasolines may cause a
buildup of pressure in the fuel tank that may
increase while you drive. This pressure can result
in a spray of gasoline and/or vapors when the cap
is removed from a hot vehicle. Removing the cap
slowly allows the pressure to vent and prevents
fuel spray.
²Never allow any lit smoking materials near the
vehicles while removing the cap or filling the
tank.
²Never add fuel to the vehicle when the engine is
running.
Fuel Tank Filler Tube
NOTE:
On some models, the fuel tank filler tube has a
restricting door about 2 inches (50 mm) down from the
opening. If fuel is poured from a portable container, the
container should have a flexible nozzle long enough to
force open the restricting door.
CAUTION!
To avoid fuel spillage and overfilling, do not ªtop
offº the fuel tank after filling.
NOTE:When the fuel nozzle ªclicksº or shuts off, the
fuel tank is full.
NOTE:Tighten the gas cap until you hear a ªclickingº
sound. This is an indication that the gas cap is properly
tightened.
The Check Engine light will come on if the gas cap is
not properly secured. Make sure that the gas cap is
tightened each time the vehicle is refueled.
STARTING AND OPERATING 187
5
Page 192 of 300

Heavier axles or suspension components sometimes
specified by purchasers for increased durability do not
necessarily increase the vehicle's GVWR.
Tire Size
This is the minimum allowable tire size for your vehicle.
Replacement tires must be equal to the load capacity of
this tire size.
Rim Size
This is the rim size that is appropriate for the tire size
listed.
Inflation Pressure (Cold)
This is the cold tire inflation pressure for your vehicle for
all loading conditions up to full GAWR.
Curb Weight
The curb weight of a vehicle is defined as the total weight
of the vehicle with all fluids, including vehicle fuel, at full
capacity conditions, and with no occupants or cargo
loaded into the vehicle. The front and rear curb weight
values are determined by weighing your vehicle on a
commercial scale before any occupants or cargo are
added.
Loading
The actual total weight and the weight of the front and
rear of your vehicle at the ground can best be determined
by weighing it when it is loaded and ready for operation.
The entire vehicle should first be weighed on a commer-
cial scale to insure that the GVWR has not been exceeded.
The weight on the front and rear of the vehicle should
then be determined separately to be sure that the load is
properly distributed over front and rear axle. Weighing
the vehicle may show that the GAWR of either the front
or rear axles has been exceeded but the total load is
within the specified GVWR. If so, weight must be shifted
from front to rear or rear to front as appropriate until the
specified weight limitations are met.
Store heavier items down low and be sure that the weight
is distributed equally. Stow all loose items securely before
driving.
Improper weight distribution can have an adverse effect
on the way your vehicle steers and handles and the way
the brakes operate.
192 STARTING AND OPERATING
Page 209 of 300

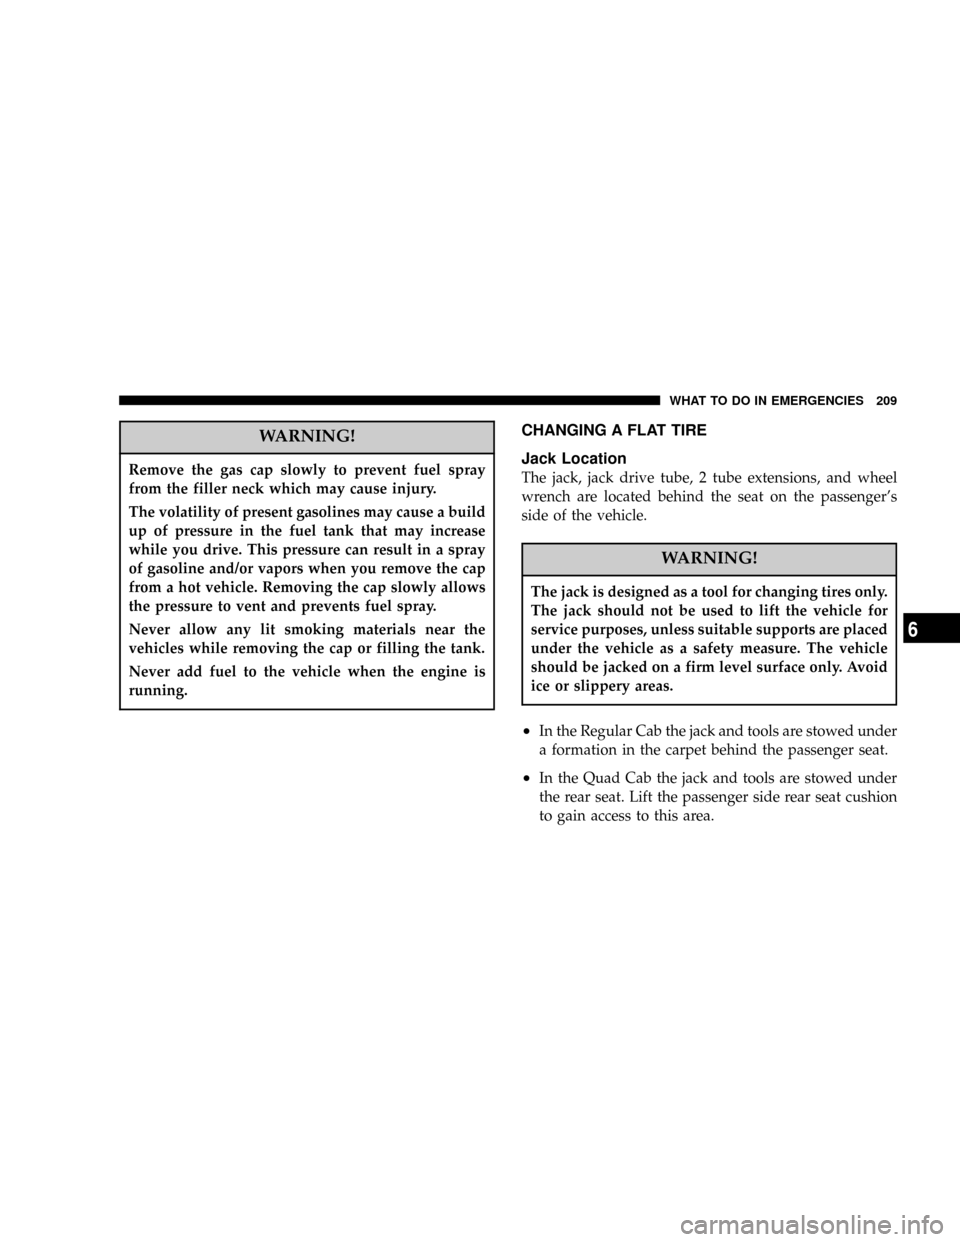
WARNING!
Remove the gas cap slowly to prevent fuel spray
from the filler neck which may cause injury.
The volatility of present gasolines may cause a build
up of pressure in the fuel tank that may increase
while you drive. This pressure can result in a spray
of gasoline and/or vapors when you remove the cap
from a hot vehicle. Removing the cap slowly allows
the pressure to vent and prevents fuel spray.
Never allow any lit smoking materials near the
vehicles while removing the cap or filling the tank.
Never add fuel to the vehicle when the engine is
running.
CHANGING A FLAT TIRE
Jack Location
The jack, jack drive tube, 2 tube extensions, and wheel
wrench are located behind the seat on the passenger's
side of the vehicle.
WARNING!
The jack is designed as a tool for changing tires only.
The jack should not be used to lift the vehicle for
service purposes, unless suitable supports are placed
under the vehicle as a safety measure. The vehicle
should be jacked on a firm level surface only. Avoid
ice or slippery areas.
²In the Regular Cab the jack and tools are stowed under
a formation in the carpet behind the passenger seat.
²In the Quad Cab the jack and tools are stowed under
the rear seat. Lift the passenger side rear seat cushion
to gain access to this area.
WHAT TO DO IN EMERGENCIES 209
6
Page 241 of 300

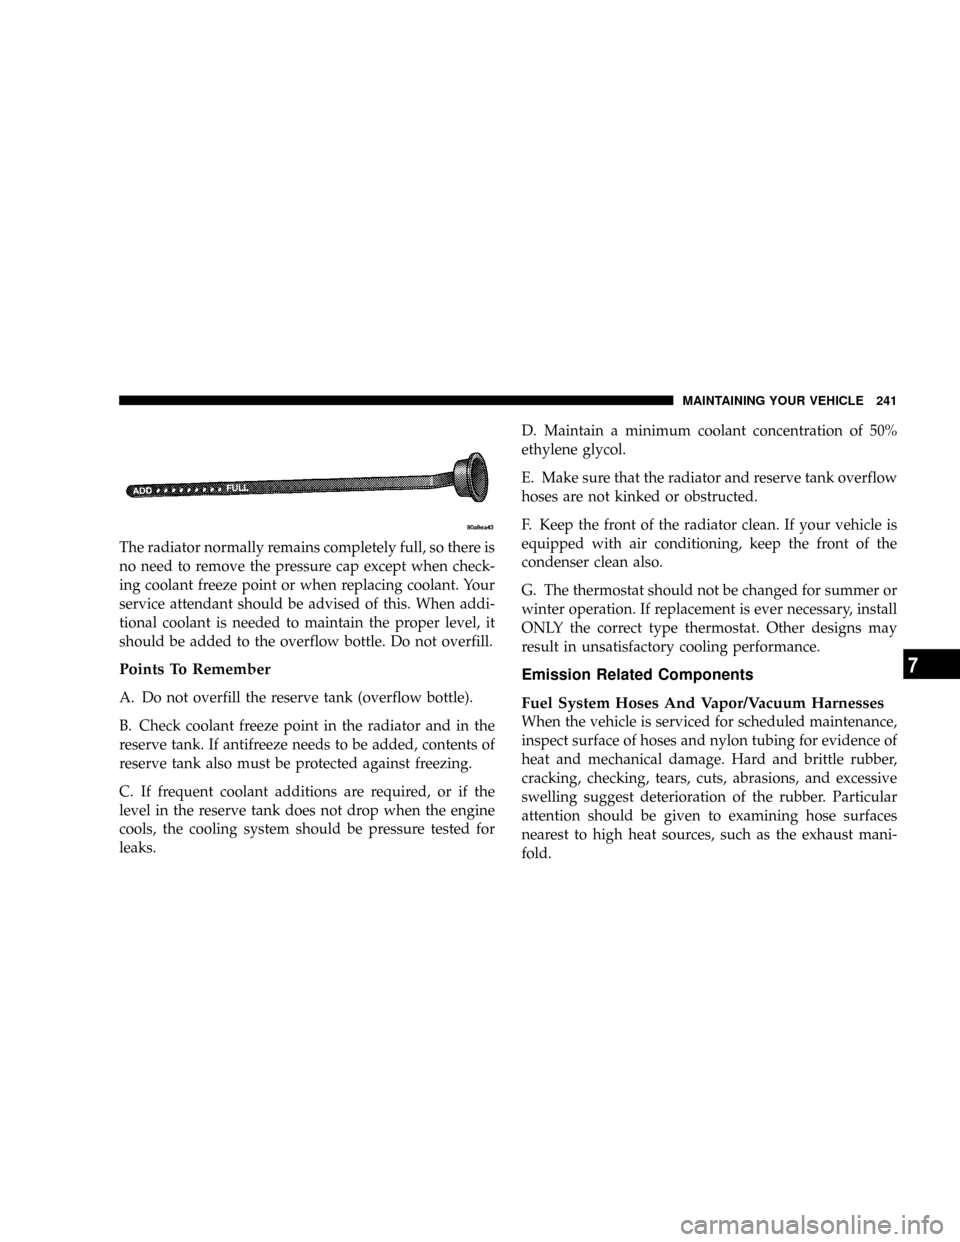
The radiator normally remains completely full, so there is
no need to remove the pressure cap except when check-
ing coolant freeze point or when replacing coolant. Your
service attendant should be advised of this. When addi-
tional coolant is needed to maintain the proper level, it
should be added to the overflow bottle. Do not overfill.
Points To Remember
A. Do not overfill the reserve tank (overflow bottle).
B. Check coolant freeze point in the radiator and in the
reserve tank. If antifreeze needs to be added, contents of
reserve tank also must be protected against freezing.
C. If frequent coolant additions are required, or if the
level in the reserve tank does not drop when the engine
cools, the cooling system should be pressure tested for
leaks.D. Maintain a minimum coolant concentration of 50%
ethylene glycol.
E. Make sure that the radiator and reserve tank overflow
hoses are not kinked or obstructed.
F. Keep the front of the radiator clean. If your vehicle is
equipped with air conditioning, keep the front of the
condenser clean also.
G. The thermostat should not be changed for summer or
winter operation. If replacement is ever necessary, install
ONLY the correct type thermostat. Other designs may
result in unsatisfactory cooling performance.
Emission Related Components
Fuel System Hoses And Vapor/Vacuum Harnesses
When the vehicle is serviced for scheduled maintenance,
inspect surface of hoses and nylon tubing for evidence of
heat and mechanical damage. Hard and brittle rubber,
cracking, checking, tears, cuts, abrasions, and excessive
swelling suggest deterioration of the rubber. Particular
attention should be given to examining hose surfaces
nearest to high heat sources, such as the exhaust mani-
fold.
MAINTAINING YOUR VEHICLE 241
7
Page 258 of 300

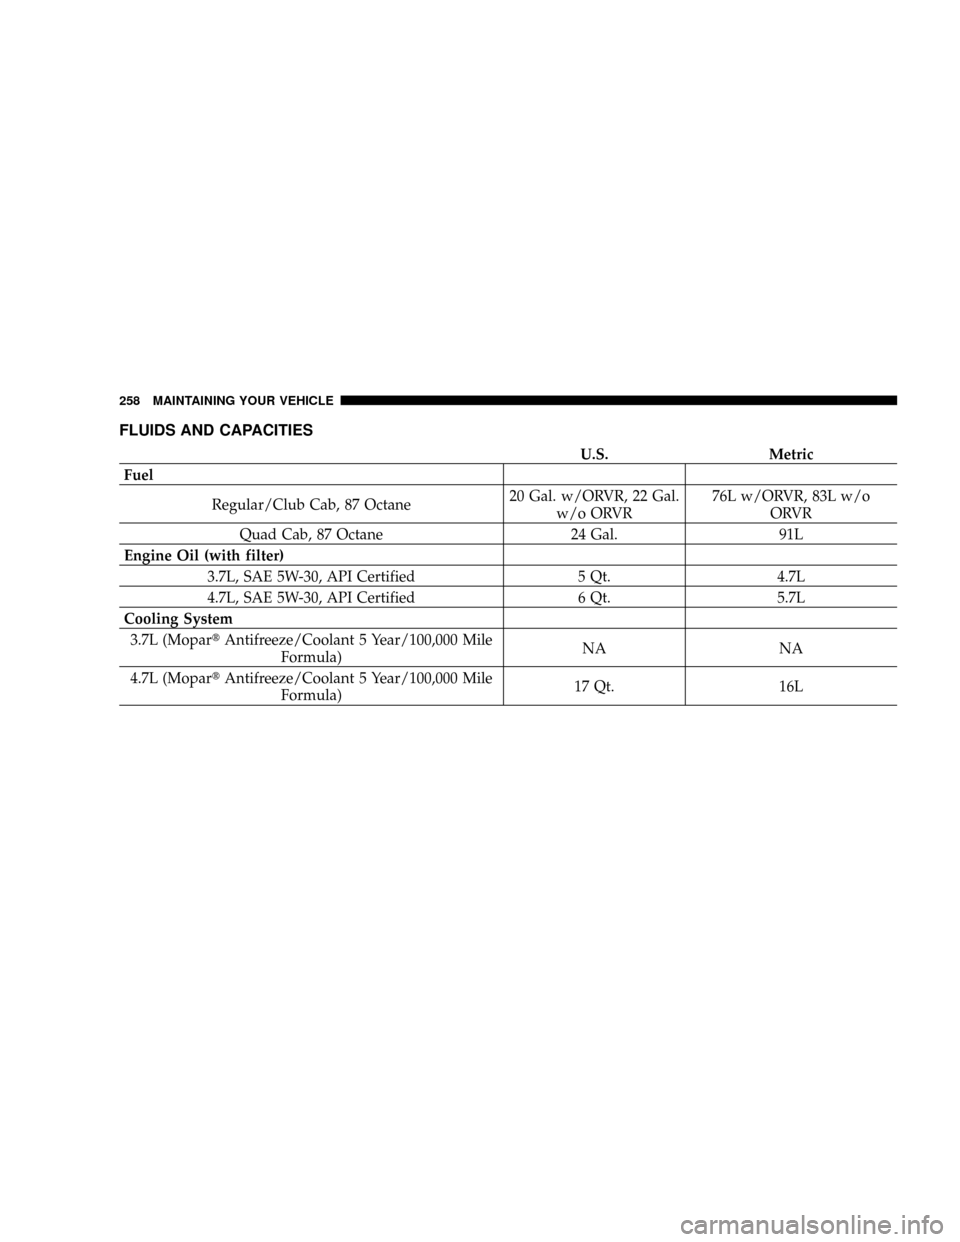
FLUIDS AND CAPACITIES
U.S. Metric
Fuel
Regular/Club Cab, 87 Octane20 Gal. w/ORVR, 22 Gal.
w/o ORVR76L w/ORVR, 83L w/o
ORVR
Quad Cab, 87 Octane 24 Gal. 91L
Engine Oil (with filter)
3.7L, SAE 5W-30, API Certified 5 Qt. 4.7L
4.7L, SAE 5W-30, API Certified 6 Qt. 5.7L
Cooling System
3.7L (MopartAntifreeze/Coolant 5 Year/100,000 Mile
Formula)NA NA
4.7L (MopartAntifreeze/Coolant 5 Year/100,000 Mile
Formula)17 Qt. 16L
258 MAINTAINING YOUR VEHICLE
Page 289 of 300

Brake Fluid........................... 260
Brake System.......................164,243
Anti-Lock........................164,165
Disc Brakes.......................... 243
Fluid Check......................... 243
Hoses.............................. 244
Master Cylinder...................... 243
Parking............................ 163
Self-Adjusting Rear.................... 243
Warning Light....................... 101
Brake/Transmission Interlock.............. 146
Break-In Recommendations, New Vehicle...... 52
Bulb Replacement...................... 255
Bulbs, Light........................... 254
Camper............................... 90
Capacities, Fluid....................... 258
Capacity, Cargo Weight.................. 191
Caps, Filler
Fuel............................... 186
Power Steering....................... 234
Car Washes........................... 250
Carbon Monoxide Warning.............91,189Cargo ............................... 191
Cargo Area Features..................... 194
Cargo Light.........................70,102
Cassette Tape and Player Maintenance....... 131
Cassette Tape Player...............106,119,121
Catalytic Converter..................189,231
CD Changer..................... 113,117,122
CD Player................. 110,114,116,124,126
Cellular Phone......................... 132
Center High Mounted Stop Light........... 257
Center Lap Belts........................ 30
Center Seat Storage Compartment........... 89
Certification Label...................... 191
Changing A Flat Tire.................... 209
Charging............................. 215
Chart, Tire Sizing....................... 169
Child Restraint.....................38,39,52
Child Restraint Tether Anchors...........42,46
Child Safety Locks....................... 16
Child Seat............................. 45
Climate Control........................ 133
Clock................................ 105
Club Cab............................24,64
INDEX 289
10