2004 CHEVROLET EXPRESS CARGO VAN ECO mode
[x] Cancel search: ECO modePage 179 of 406
Setting Preset PTYs
The six numbered pushbuttons let you return to your
favorite PTYs. These buttons have factory PTY presets.
You can set up to 12 PTYs (six FM1 and six FM2) by
performing the following steps:
1. Press BAND to select FM1 or FM2.
2. Turn the P-TYPE LIST knob to activate program
type select mode. TYPE and a PTY will appear
on the display.
3. Turn the P-TYPE LIST knob to select a PTY.
4. Press and hold one of the six numbered
pushbuttons until you hear a beep. Whenever you
press that numbered pushbutton, the PTY you
set will return.
5. Repeat the steps for each pushbutton.
RDS Messages
ALERT!:Alert warns of local or national emergencies.
When an alert announcement comes on the current
radio station, ALERT! will appear on the display. You will
hear the announcement, even if the volume is muted
or a cassette tape or CD is playing. If a cassette tape or
CD is playing, play will stop during the announcement.
You will not be able to turn off alert announcements.ALERT! will not be affected by tests of the emergency
broadcast system. This feature is not supported by
all RDS stations.
INFO (Information):If the current station has a
message, the information symbol will appear on the
display. Press this button to see the message. The
message may display the artist, song title, call in phone
numbers, etc.
If the whole message is not displayed, parts of the
message will appear every three seconds. To scroll
through the message at your own speed, press
the INFO button repeatedly. A new group of words will
appear on the display with each press. Once the
complete message has been displayed, the information
symbol will disappear from the display until another
new message is received. The old message can
be displayed by pressing the INFO button. You can
view an old message until a new message is received
or a different station is tuned to.
When a message is not available from a station, NO
INFO will appear on the display.
3-55
Page 181 of 406
1 PREV (Previous):Your tape must have at least three
seconds of silence between each selection for previous
to work. Press this pushbutton to go to the previous
selection on the tape if the current selection has been
playing for less than three seconds. If pressed when the
current selection has been playing from 3 to 13 seconds,
it will go to the beginning of the previous selection or
the beginning of the current selection, depending upon
the position on the tape. If pressed when the current
selection has been playing for more than 13 seconds, it
will go to the beginning of the current selection.
SEEK and a negative number will appear on the display
while the cassette player is in the previous mode.
Pressing this pushbutton multiple times will increase the
number of selections to be searched back, up to -9.
2 NEXT:Your tape must have at least three seconds of
silence between each selection for next to work.
Press this pushbutton to go to the next selection on the
tape. If you press the pushbutton more than once,
the player will continue moving forward through the tape.
SEEK and a positive number will appear on the
display.
3 REV (Reverse):Press this pushbutton to reverse the
tape rapidly. Press this pushbutton again to return to
playing speed. The radio will play while the tape
reverses. The station frequency and REV will appear on
the display. You may select stations during reverse
operation by using TUNE and SEEK.4 FWD (Forward):Press this pushbutton to advance
the tape rapidly. Press this pushbutton again to return to
playing speed. The radio will play while the tape
advances. The station frequency and FWD will appear
on the display. You may select stations during
forward operation by using TUNE and SEEK.
5 SIDE:Press this pushbutton to play the other side of
the tape.
qSEEKr:The right arrow is the same as the
NEXT pushbutton, and the left arrow is the same as the
PREV pushbutton. If you hold either arrow or press it
more than once, the player will continue moving forward
or backward through the tape. SEEK and a positive
or negative number will appear on the display.
qSCANr:Press and hold either SCAN arrow for
more than two seconds until SCAN appears on the
display and you hear a beep. The radio will go to the
next selection, play for 10 seconds, then go on to
the next selection. Your tape must have at least three
seconds of silence between each selection for scan
to work. Press either SCAN arrow to stop scanning.
BAND:Press this button to listen to the radio when a
cassette tape or CD is playing. The inactive tape or CD
will remain safely inside the radio for future listening.
3-57
Page 189 of 406
To use the PTY interrupt feature, press and hold the
P-TYPE button until you hear a beep on the PTY
you want to interrupt with. When selected, an asterisk
will appear beside that PTY on the display. You
may select multiple interrupts if desired. When you are
listening to a CD, the last selected RDS station will
interrupt play if that selected program type format
is broadcast.
SCAN:You can scan the stations within a PTY by
performing the following:
1. Press the P-TYPE button to activate program type
select mode. P-TYPE and the last selected PTY will
appear on the display.
2. Turn the P-TYPE knob to select a PTY.
3. Once the desired PTY is displayed, press and hold
either SCAN arrow, and the radio will begin
scanning the stations in the PTY.
4. Press either SCAN arrow to stop at a station.
If both P-TYPE and TRAF are on, the radio will scan for
stations with the selected PTY and traffic
announcements.BAND (Alternate Frequency):Alternate frequency
allows the radio to switch to a stronger station with the
same program type. To turn alternate frequency on,
press and hold BAND for two seconds. AF ON will
appear on the display. The radio may switch to stronger
stations.
To turn alternate frequency off, press and hold BAND
again for two seconds. AF OFF will appear on the
display. The radio will not switch to other stations.
Setting Preset PTYs
The six numbered pushbuttons let you return to your
favorite PTYs. These buttons have factory PTY presets.
You can set up to 12 PTYs (six FM1 and six FM2) by
performing the following steps:
1. Press BAND to select FM1 or FM2.
2. Press the P-TYPE button to activate program type
select mode. P-TYPE and the last selected PTY will
appear on the display.
3. Turn the P-TYPE knob to select a PTY.
4. Press and hold one of the six numbered
pushbuttons until you hear a beep. Whenever you
press that numbered pushbutton, the PTY you
set will return.
5. Repeat the steps for each pushbutton.
3-65
Page 194 of 406
sSCANt:To scan one CD, press and hold either
SCAN arrow for more than two seconds until SCAN
appears on the display and you hear a beep. The radio
will go to the next track, play for 10 seconds, then go
on to the next track. Press either SCAN arrow again, to
stop scanning.
To scan all loaded CDs, press and hold either SCAN
arrow for more than four seconds until CD SCAN
appears on the display and you hear a beep. The radio
will go to the next track, play for 10 seconds, then go
on to the next track. Press either SCAN arrow again, to
stop scanning.
RCL (Recall):Press this knob to see how long the
current track has been playing. To change the default
on the display (track or elapsed time), press the
knob until you see the display you want, then hold the
knob until the display �ashes. The selected display
will now be the default.
BAND:Press this button to listen to the radio when a
CD(s) is playing.Using Song List Mode
The six-disc CD changer has a feature called song list.
This feature is capable of saving 20 track selections.
To save tracks into the song list feature, perform
the following steps:
1. Turn the CD player on and load it with at least one
CD. See “LOAD CD” listed previously in this section
for more information.
2. Check to see that the CD changer is not in song list
mode. S-LIST should not appear on the display. If
S-LIST is present, press the SONG LIST button
to turn it off.
3. Select the desired CD by pressing the numbered
pushbutton and then use the SEEK SCAN right
arrow button to locate the track that you want
to save. The track will begin to play.
4. Press and hold the SONG LIST button to save the
track into memory. When SONG LIST is pressed a
beep will be heard immediately. After two seconds
of continuously pressing SONG LIST, two beeps will
sound to con�rm that the track has been saved.
5. Repeat Steps 3 and 4 for saving other selections.
S-LIST FULL will appear on the display if you try to save
more than 20 selections.
3-70
Page 195 of 406
To play the song list, press the SONG LIST button.
One beep will be heard and S-LIST will appear on the
display. The recorded tracks will begin to play in
the order that they were saved.
You may seek through the song list by using the SEEK
SCAN arrows. Seeking past the last saved track will
return you to the �rst saved track.
To delete tracks from the song list, perform the following
steps:
1. Turn the CD player on.
2. Press the SONG LIST button to turn song list on.
S-LIST will appear on the display.
3. Press either SEEK SCAN arrow to select the
desired track to be deleted.
4. Press and hold the SONG LIST button for two
seconds. When SONG LIST is pressed a beep
will be heard immediately. After two seconds
of continuously pressing the SONG LIST button,
two beeps will be heard to con�rm that the track has
been deleted.
After a track has been deleted, the remaining tracks are
moved up the list. When another track is added to
the song list, the track will be added to the end of
the list.To delete the entire song list, perform the following
steps:
1. Turn the CD player on.
2. Press the SONG LIST button to turn song list on.
S-LIST will appear on the display.
3. Press and hold the SONG LIST button for more
than four seconds. A beep will be heard, followed
by two beeps after two seconds and a �nal beep will
be heard after four seconds. S-LIST EMPTY will
appear on the display indicating that the song
list has been deleted.
If a CD is ejected, and the song list contains saved
tracks from that CD, those tracks are automatically
deleted from the song list. Any tracks saved to the song
list again are added to the bottom of the list.
To end song list mode, press the SONG LIST button.
One beep will be heard and S-LIST will be removed from
the display.
3-71
Page 239 of 406
If yours was built with trailering options, as many are,
it’s ready for heavier trailers. But trailering is different
than just driving your vehicle by itself. Trailering means
changes in handling, durability and fuel economy.
Successful, safe trailering takes correct equipment, and
it has to be used properly.
That’s the reason for this part. In it are many time-tested,
important trailering tips and safety rules. Many of
these are important for your safety and that of your
passengers. So please read this section carefully before
you pull a trailer.
If You Do Decide To Pull A Trailer
If you do, here are some important points:
There are many different laws, including speed limit
restrictions, having to do with trailering. Make sure
your rig will be legal, not only where you live
but also where you’ll be driving. A good source for
this information can be state or provincial police.
Consider using a sway control. See “Hitches” later
in this section.
Don’t tow a trailer at all during the �rst 500 miles
(800 km) your new vehicle is driven. Your engine,
axle or other parts could be damaged.
Then, during the �rst 500 miles (800 km) that you
tow a trailer, don’t drive over 50 mph (80 km/h)
and don’t make starts at full throttle. This helps your
engine and other parts of your vehicle wear in at
the heavier loads.
See also “Driving on Grades” later in this section.
Three important considerations have to do with weight:
the weight of the trailer,
the weight of the trailer tongue
and the weight on your vehicle’s tires.
Tow/Haul Mode
Tow/haul is designed to assist while your vehicle is
pulling a large or heavy load or trailer. Tow/haul is most
useful while pulling such a load in rolling terrain, in
stop-and-go traffic, or when you need improved
low-speed control, such as when parking. The purpose
of the tow/haul mode is to:
Reduce the frequency and improve the predictability
of transmission shifts,
provide the same solid shift feel when pulling a
heavy load as when the vehicle is unloaded, and
improve control of vehicle speed while requiring less
throttle pedal activity.
4-39
Page 240 of 406
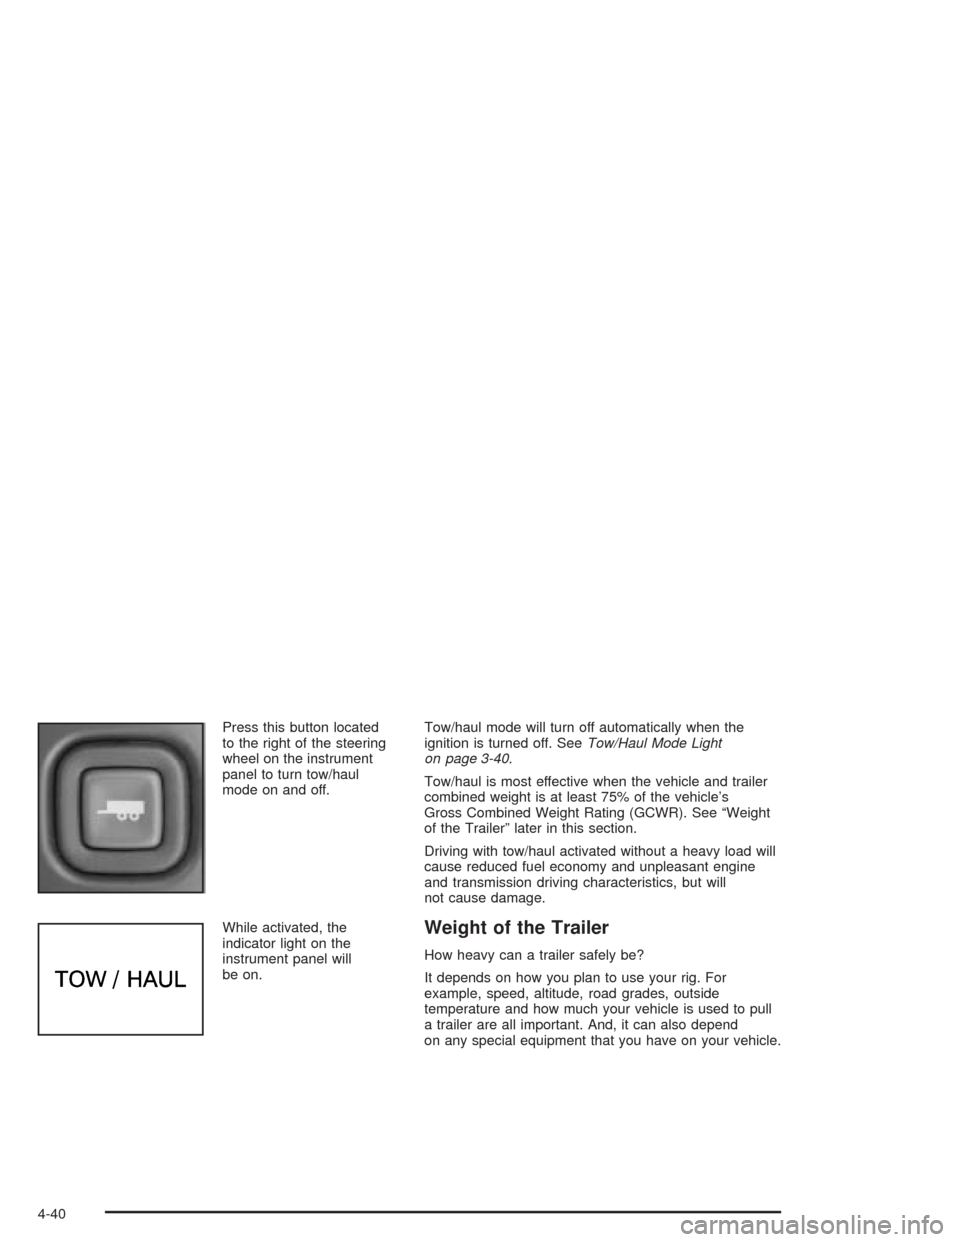
Press this button located
to the right of the steering
wheel on the instrument
panel to turn tow/haul
mode on and off.
While activated, the
indicator light on the
instrument panel will
be on.Tow/haul mode will turn off automatically when the
ignition is turned off. SeeTow/Haul Mode Light
on page 3-40.
Tow/haul is most effective when the vehicle and trailer
combined weight is at least 75% of the vehicle’s
Gross Combined Weight Rating (GCWR). See “Weight
of the Trailer” later in this section.
Driving with tow/haul activated without a heavy load will
cause reduced fuel economy and unpleasant engine
and transmission driving characteristics, but will
not cause damage.
Weight of the Trailer
How heavy can a trailer safely be?
It depends on how you plan to use your rig. For
example, speed, altitude, road grades, outside
temperature and how much your vehicle is used to pull
a trailer are all important. And, it can also depend
on any special equipment that you have on your vehicle.
4-40
Page 317 of 406
Light Truck (LT-Metric) Tire:A tire used on light duty
trucks and some multipurpose passenger vehicles.
Load Index:An assigned number ranging from 1 to 279
that corresponds to the load carrying capacity of a tire.
Maximum In�ation Pressure:The maximum air
pressure to which a cold tire may be in�ated. The
maximum air pressure is molded onto the sidewall.
Maximum Load Rating:The load rating for a tire at the
maximum permissible in�ation pressure for that tire.
Maximum Loaded Vehicle Weight:The sum of curb
weight; accessory weight; vehicle capacity weight;
and production options weight.
Normal Occupant Weight:The number of occupants a
vehicle is designed to seat multiplied by 150 pounds
(68 kg). SeeLoading Your Vehicle on page 4-33.
Occupant Distribution:Designated seating positions.
Outward Facing Sidewall:The side of a asymmetrical
tire that has a particular side that faces outward
when mounted on a vehicle. The side of the tire that
contains a whitewall, bears white lettering or bears
manufacturer, brand and or model name molding that is
higher or deeper than the same moldings on the
other sidewall of the tire.Passenger (P-Metric) Tire:A tire used on passenger
cars and some light duty trucks and multipurpose
vehicles.
Recommended In�ation Pressure:Vehicle
manufacturer’s recommended tire in�ation pressure and
shown on the tire placard. SeeIn�ation - Tire Pressure
on page 5-66andLoading Your Vehicle on page 4-33.
Radial Ply tire:A pneumatic tire in which the ply cords
that extend to the beads are laid at 90 degrees to the
centerline of the tread.
Rim:A metal support for a tire and upon which the tire
beads are seated.
Sidewall:The portion of a tire between the tread and
the bead.
Speed Rating:An alphanumeric code assigned to a
tire indicating the maximum speed at which a tire
can operate.
Traction:The friction between the tire and the road
surface. The amount of grip provided.
Tread:The portion of a tire that comes into contact
with the road.
5-65