Page 12 of 406
Rear Seats
Rear Seat Operation
Removing the Rear Seat
1. Disconnect the quick
release latch plates for
the lap shoulder belts
on the bench seat to be
removed. To do this,
press the tip of a key
into the release hole of
the safety belt buckle
while pulling up on the
safety belt.2. Locate the pins.
There are two pins located on the inboard sides
of the rear seats. If the vehicle has �oor mats,
the pins will be located under a �ap that has
been cut into the mat. The driver’s side pin has
a gray cap with a black “L” marked on it and
will look like this:
1-6
Page 13 of 406
The passenger’s side pin has a black cap with a
white “R” marked on it and will look like this:
3. Pull the pin handle up to disengage the pin from
the retaining clip, then pull the pin out.
4. Repeat this procedure for the pin on the other
seat base.
5. Pull the seat rearward about two inches (5 cm) and
then lift the seat from the �oor rails.
6. Remove the seat from the vehicle.7. For the �rst row rear
seat, stow the safety
belt latch by attaching
the clip on the safety
belt latch to the trim just
inside the side door. For
the remaining rear
seats, stow the safety
belt latch plate on the
clip at the window trim.
1-7
Page 61 of 406

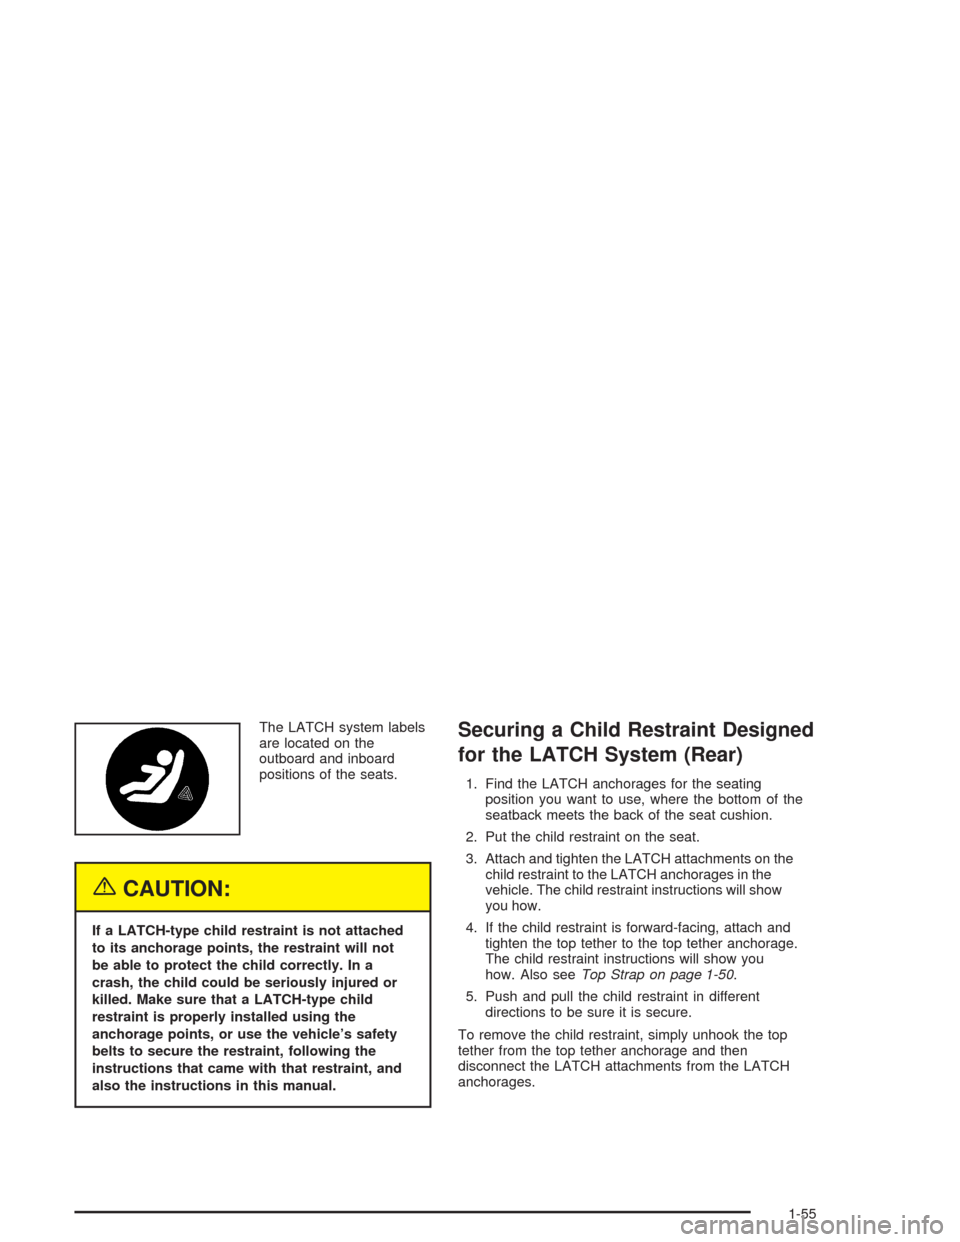
The LATCH system labels
are located on the
outboard and inboard
positions of the seats.
{CAUTION:
If a LATCH-type child restraint is not attached
to its anchorage points, the restraint will not
be able to protect the child correctly. In a
crash, the child could be seriously injured or
killed. Make sure that a LATCH-type child
restraint is properly installed using the
anchorage points, or use the vehicle’s safety
belts to secure the restraint, following the
instructions that came with that restraint, and
also the instructions in this manual.
Securing a Child Restraint Designed
for the LATCH System (Rear)
1. Find the LATCH anchorages for the seating
position you want to use, where the bottom of the
seatback meets the back of the seat cushion.
2. Put the child restraint on the seat.
3. Attach and tighten the LATCH attachments on the
child restraint to the LATCH anchorages in the
vehicle. The child restraint instructions will show
you how.
4. If the child restraint is forward-facing, attach and
tighten the top tether to the top tether anchorage.
The child restraint instructions will show you
how. Also seeTop Strap on page 1-50.
5. Push and pull the child restraint in different
directions to be sure it is secure.
To remove the child restraint, simply unhook the top
tether from the top tether anchorage and then
disconnect the LATCH attachments from the LATCH
anchorages.
1-55
Page 63 of 406

{CAUTION:
If the air bag readiness light ever comes on
when you have turned off the air bag, it means
that something may be wrong with the air bag
system. The right front passenger’s air bag
could in�ate even though the switch is off. If
this ever happens, don’t let anyone whom the
national government has identi�ed as a
member of a passenger air bag risk group sit
in the right front passenger’s position (for
example, don’t secure a rear-facing child
restraint in your vehicle) until you have your
vehicle serviced. See″Air Bag Off Switch″in
the Index.
1. If your vehicle has a passenger air bag and an air
bag off switch, and you are using a rear-facing child
restraint in this seat, make sure the air bag is
turned off. SeeAir Bag Off Switch on page 1-77.
If your child restraint is forward-facing, always move
the seat as far back as it will go before securing
it in this seat. SeePower Seat on page 1-4or
Manual Seats on page 1-3.2. Find the LATCH anchorages for the seating
position you want to use, where the bottom of the
seatback meets the back of the seat cushion.
3. Put the child restraint on the seat.
4. Attach and tighten the LATCH attachments on the
child restraint to the LATCH anchorages in the
vehicle. The child restraint instructions will show
you how.
5. If the child restraint is forward-facing, attach and
tighten the top tether to the top tether anchorage.
The child restraint instructions will show you
how. Also seeTop Strap on page 1-50.
6. Push and pull the child restraint in different
directions to be sure it is secure.
To remove the child restraint, simply unhook the top
tether from the top tether anchorage and then
disconnect the LATCH attachments from the LATCH
anchorages.
1-57
Page 145 of 406

Rear Window Defogger
<
R. DEF (Rear Defrost):Press this button to turn
the rear window defogger on or off. Be sure to clear
as much snow from the window as possible.
The rear window defogger uses a warming grid to
remove fog or frost from the rear window and will only
work when the ignition is RUN.
The rear window defogger will turn off several minutes
after the button is pressed. If turned on again, the
defogger will run for several more minutes before turning
off. The defogger can also be turned off by pressing
the button again or by turning off the engine.
Notice:Using a razor blade or sharp object to clear
the inside rear window may damage the rear
window defogger. Repairs would not be covered by
your warranty. Do not clear the inside of the rear
window with sharp objects.
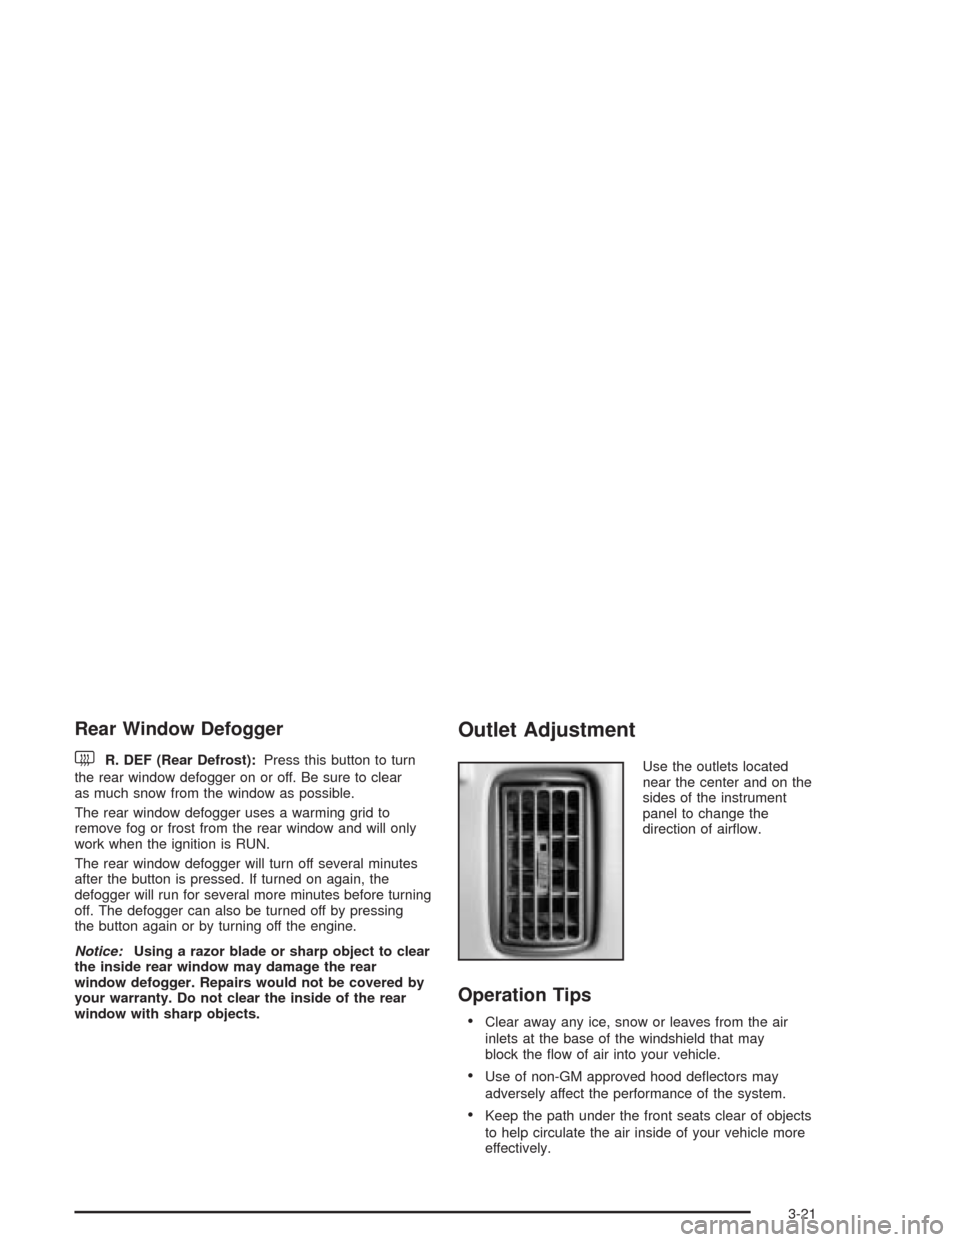
Outlet Adjustment
Use the outlets located
near the center and on the
sides of the instrument
panel to change the
direction of air�ow.
Operation Tips
Clear away any ice, snow or leaves from the air
inlets at the base of the windshield that may
block the �ow of air into your vehicle.
Use of non-GM approved hood de�ectors may
adversely affect the performance of the system.
Keep the path under the front seats clear of objects
to help circulate the air inside of your vehicle more
effectively.
3-21