2004 CHEVROLET CORVETTE ECO mode
[x] Cancel search: ECO modePage 29 of 384
CAUTION: (Continued)
For example, in a crash at only 25 mph
(40 km/h), a 12-lb. (5.5 kg) baby will suddenly
become a 240-lb. (110 kg) force on a person’s
arms. A baby should be secured in an
appropriate restraint.
{CAUTION:
Children who are up against, or very close to,
any air bag when it in�ates can be seriously
injured or killed. Air bags plus lap-shoulder
belts offer outstanding protection for adults
and older children, but not for young children
and infants. Neither the vehicle’s safety belt
system nor its air bag system is designed for
them. Young children and infants need the
protection that a child restraint system can
provide.
Q:What are the different types of add-on child
restraints?
A:Add-on child restraints, which are purchased by the
vehicle’s owner, are available in four basic types.
Selection of a particular restraint should take
into consideration not only the child’s weight, height
and age but also whether or not the restraint will
be compatible with the motor vehicle in which it will
be used.
For most basic types of child restraints, there are
many different models available. When purchasing a
child restraint, be sure it is designed to be used
in a motor vehicle. If it is, the restraint will have a
label saying that it meets federal motor vehicle
safety standards.
The restraint manufacturer’s instructions that come
with the restraint state the weight and height
limitations for a particular child restraint. In addition,
there are many kinds of restraints available for
children with special needs.
1-23
Page 64 of 384
5. Press and hold the lock and unlock buttons on the
first transmitter simultaneously for five seconds.
6. When a transmitter is learned (matched), the DIC
will display FOB LEARNED and then prompt you to
learn the second transmitter.
7. Repeat Steps 5 and 6 for the third transmitter.
8. Remove the key from the ignition.
The programming mode will shut off if any of following
has occurred:
•You do not program any transmitters for
two minutes.
•You take the key out of the ignition.
•You have programmed three transmitters.
Battery Replacement
Under normal use, the battery in your remote keyless
entry transmitter should last about three years.
You can tell the battery is weak if the transmitter will not
work at the normal range in any location. If you have
to get close to your vehicle before the transmitter works,
it is probably time to change the battery.
Notice:When replacing the battery, use care not to
touch any of the circuitry. Static from your body
transferred to these surfaces may damage the
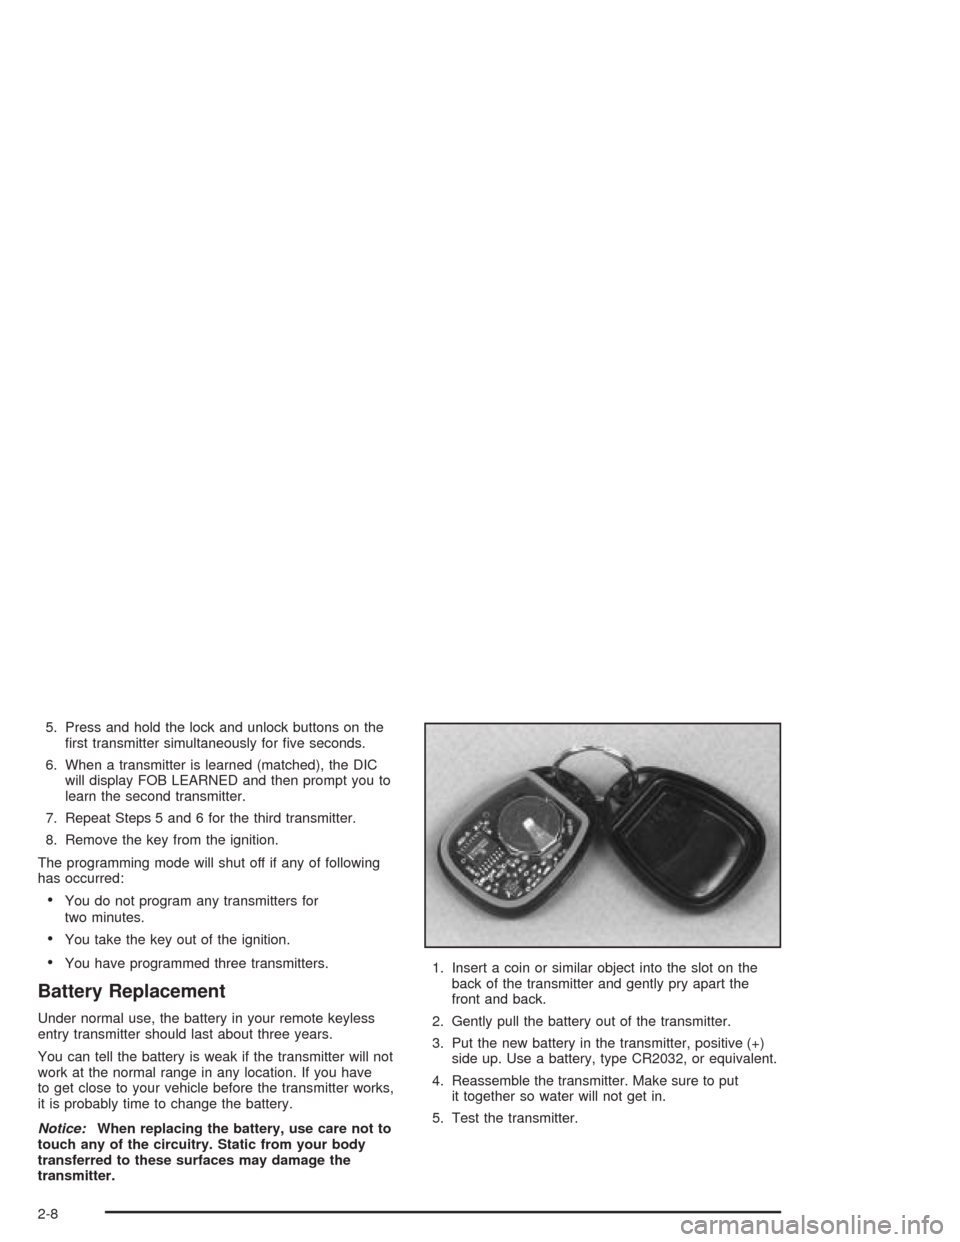
transmitter.1. Insert a coin or similar object into the slot on the
back of the transmitter and gently pry apart the
front and back.
2. Gently pull the battery out of the transmitter.
3. Put the new battery in the transmitter, positive (+)
side up. Use a battery, type CR2032, or equivalent.
4. Reassemble the transmitter. Make sure to put
it together so water will not get in.
5. Test the transmitter.
2-8
Page 113 of 384
Vehicle Personalization
Memory
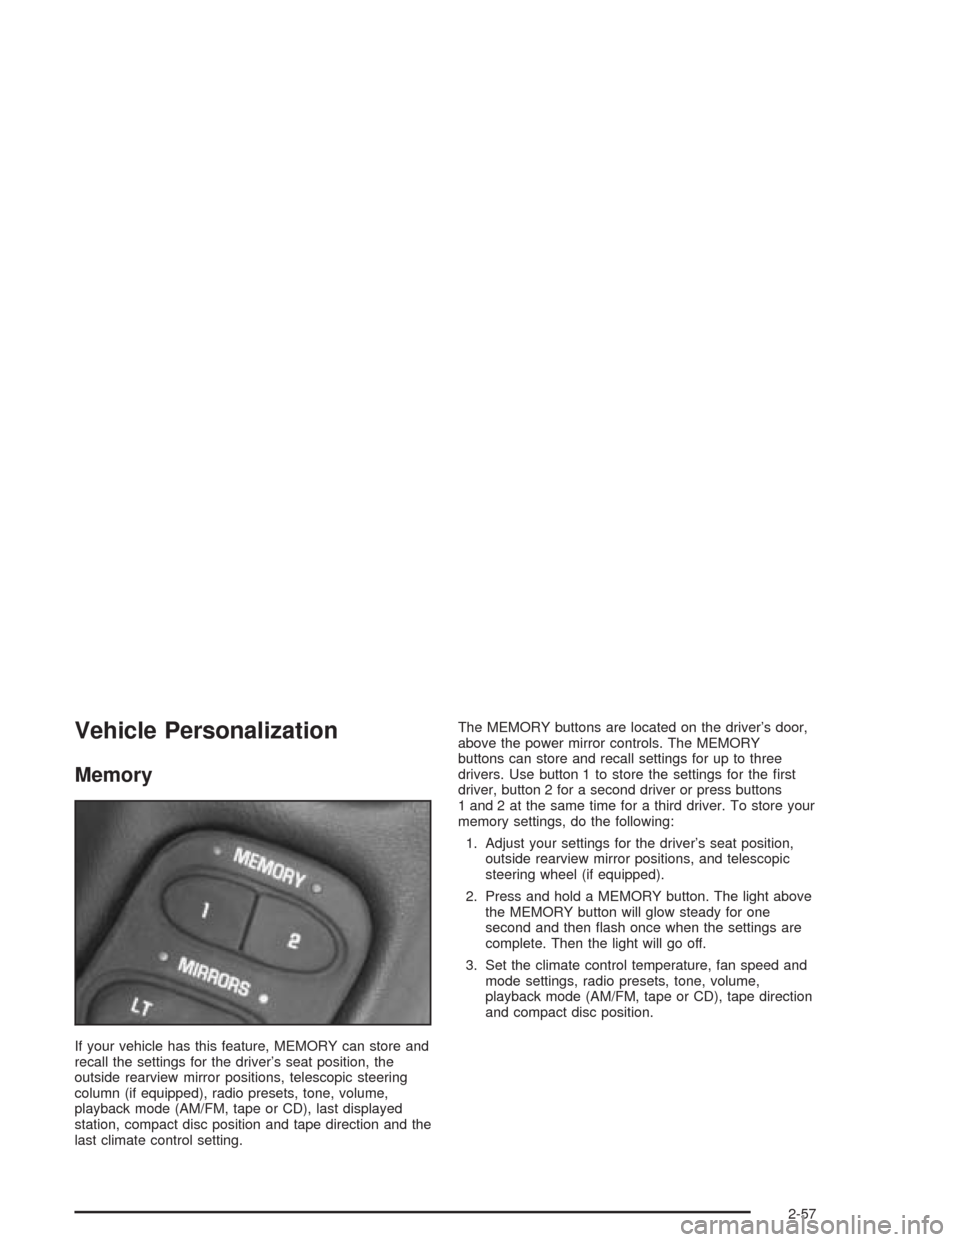
If your vehicle has this feature, MEMORY can store and
recall the settings for the driver’s seat position, the
outside rearview mirror positions, telescopic steering
column (if equipped), radio presets, tone, volume,
playback mode (AM/FM, tape or CD), last displayed
station, compact disc position and tape direction and the
last climate control setting.The MEMORY buttons are located on the driver’s door,
above the power mirror controls. The MEMORY
buttons can store and recall settings for up to three
drivers. Use button 1 to store the settings for the first
driver, button 2 for a second driver or press buttons
1 and 2 at the same time for a third driver. To store your
memory settings, do the following:
1. Adjust your settings for the driver’s seat position,
outside rearview mirror positions, and telescopic
steering wheel (if equipped).
2. Press and hold a MEMORY button. The light above
the MEMORY button will glow steady for one
second and then flash once when the settings are
complete. Then the light will go off.
3. Set the climate control temperature, fan speed and
mode settings, radio presets, tone, volume,
playback mode (AM/FM, tape or CD), tape direction
and compact disc position.
2-57
Page 131 of 384
Interior Lamps
Instrument Panel Brightness
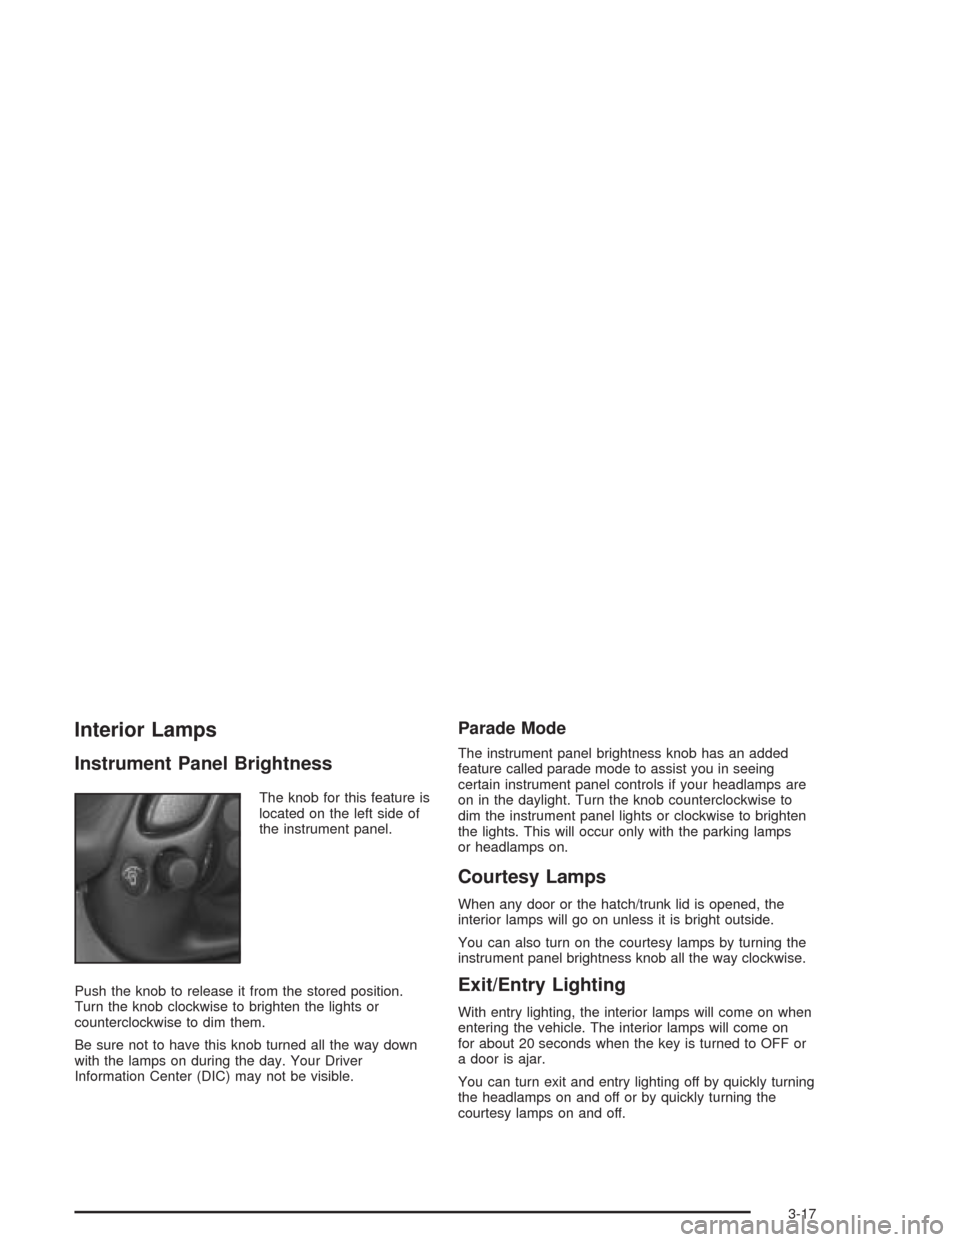
The knob for this feature is
located on the left side of
the instrument panel.
Push the knob to release it from the stored position.
Turn the knob clockwise to brighten the lights or
counterclockwise to dim them.
Be sure not to have this knob turned all the way down
with the lamps on during the day. Your Driver
Information Center (DIC) may not be visible.
Parade Mode
The instrument panel brightness knob has an added
feature called parade mode to assist you in seeing
certain instrument panel controls if your headlamps are
on in the daylight. Turn the knob counterclockwise to
dim the instrument panel lights or clockwise to brighten
the lights. This will occur only with the parking lamps
or headlamps on.
Courtesy Lamps
When any door or the hatch/trunk lid is opened, the
interior lamps will go on unless it is bright outside.
You can also turn on the courtesy lamps by turning the
instrument panel brightness knob all the way clockwise.
Exit/Entry Lighting
With entry lighting, the interior lamps will come on when
entering the vehicle. The interior lamps will come on
for about 20 seconds when the key is turned to OFF or
a door is ajar.
You can turn exit and entry lighting off by quickly turning
the headlamps on and off or by quickly turning the
courtesy lamps on and off.
3-17
Page 138 of 384
Automatic Operation
AUTO (Automatic):Press the AUTO button to place
the entire system in the automatic mode. When
automatic operation is active, the system will
automatically control the inside temperature, the air
delivery mode and the fan speed.
After a five-second display of the current settings, only
the word AUTO and the outside temperature will be
shown on the digital display unless the system is set to
full cold 60°F (16°C) or full hot 90°F (32°C), then the
word AUTO will not display. The system will operate to
achieve your comfort set temperature as quickly as
possible. The AUTO control system works best with the
windows up and the removable roof installed or the
convertible top up.1. Press the AUTO button.
2. Adjust the temperature to a comfortable setting
between 60°F (16°C) or full hot 90°F (32°C).
Choosing the coldest or warmest temperature
setting will not cause the system to heat or cool any
faster. If you set the system at the coldest or
warmest temperature setting, the system will remain
in manual mode at that temperature and it will not
go into automatic mode.
In cold weather, the system will start at reduced fan
speeds at avoid blowing cold air into your vehicle
until warmer air is available. The system will
start out blowing air at the floor but may change
modes automatically as the vehicle warms up
to maintain the chosen temperature setting. The
length of time needed for warm up will depend on
the outside temperature and the length of time
that has elapsed since your vehicle was last driven.
3. Wait for the system to regulate. This may take from
10 to 30 minutes. Then adjust the temperature, if
necessary.
Do not cover the solar sensor located in the center of
the instrument panel, near the windshield. For more
information on the solar sensor, see “Sensor” later in
this section.
3-24
Page 140 of 384
9(Fan):Press the button with the fan symbol to
manually increase or decrease the fan speed. Keep
pressing the up or down arrow on this switch until the
desired fan speed appears on the display.
Pressing the arrows will delete AUTO from the digital
display. The fan graphics with the fan speed bars will be
shown. To increase the fan speed so that more air
flows into the vehicle, press the up arrow on the
fan switch. To decrease the fan speed and airflow,
press the down arrow. The AUTO button must be
pressed to return to the automatic fan control.:(Outside Air):Press this button to turn the
outside air mode on or off. When this mode is on,
outside air will circulate throughout your vehicle. When
the button is pressed, an indicator light in the button
will come on to let you know that it is activated.
The outside air mode can be used with all modes, but
cannot be used with the recirculation mode.
When in the AUTO mode, the system automatically
selects outside air instead of recirculation, as required,
to control the temperature in the vehicle. By pressing
outside air, the system will lock into the outside air
mode. Any adjustment to the air intake must then be
made manually. Outside air should be used when trying
to defrost or defog windows to help reduce moisture
inside of the vehicle.
If you are in city traffic, your vehicle is stopped and
idling, or the weather is hot, the system may switch from
the outside air mode to the recirculation mode. To
prevent the air inside of your vehicle from becoming
stale, be sure to return to the outside air mode
periodically.
3-26
Page 141 of 384
?(Recirculation):This mode keeps outside air
from coming in the vehicle. It can be used to prevent
outside air and odors from entering your vehicle or
to help cool the air inside your vehicle more quickly.
Press this button to turn the recirculation mode on or off.
When the button is pressed, an indicator light will
come on. The air-conditioning compressor also comes
on. The recirculation mode cannot be used with the
outside air mode.
When in the AUTO mode, the system automatically
selects recirculation to cool the vehicle’s temperature.
By pressing this button, the system will lock into
recirculation mode. Any adjustment to the air intake
must then be made manually. Recirculation is not
available when using the defrost or defog mode because
outside air is needed to reduce moisture inside of the
vehicle.
Operating the system in the recirculation mode may
cause fogging of the vehicle’s windows when the
weather is cold and damp. To clear the fog, switch the
system to either the defog or defrost mode and
increase the fan speed. To avoid re-fogging of the
windows, operate the system in the outside air mode.Temperature Control:The DRIVER knob changes the
temperature on the driver’s and passenger’s side of
the vehicle. Turn the knob clockwise or counterclockwise
to manually increase or decrease the temperature
inside your vehicle. Whenever you turn this knob, the
temperature will be displayed for about five seconds
along with the current fan speed and air delivery mode.
The PASSENGER knob changes the temperature on
the passenger’s side of the vehicle. When the knob is in
the 12 o’clock position, the passenger’s temperature
is the same as the driver’s. Turn the knob clockwise for
warmer air on the passenger’s side or counterclockwise
for cooler air. If the driver-set temperature is set at
full cold 60°F (16°C) or full hot 90°F (32°C), turning the
PASSENGER knob has no effect because the system
is locked at a maximum setting.
3-27
Page 142 of 384
#A/C (Air Conditioning):Press this button to
override the automatic system and turn the
air-conditioning system on or off. When A/C is pressed,
an indicator light in the button will come on to let you
know that the air conditioning is activated. When
in AUTO, the air-conditioning compressor will come on
automatically, as necessary.
Air conditioning does not operate at temperatures below
about 35°F to 40°F (2°C to 4°C). In temperatures
above 40°F (4°C), the air conditioning cannot be turned
off in defrost and defog, as it helps to remove moisture
from the vehicle. It also helps to keep the windows clear.
You may notice a slight change in engine performance
when the air-conditioning compressor shuts off and
turns on again. This is normal. The system is designed
to make adjustments to help with fuel economy while
still maintaining the selected temperature.
On hot days, open the windows to let hot inside air
escape; then close them. This helps to reduce the time
it takes for your vehicle to cool down. It also helps
the system to operate more efficiently.For quick cool down on hot days, do the following:
1. Select the vent mode.
2. Select recirculation mode.
3. Select the A/C.
4. Select the coolest temperature.
5. Select the highest fan speed.
Using these settings together for long periods of time
may cause the air inside of your vehicle to become too
dry. To prevent this from happening, after the air in
your vehicle has cooled, turn the recirculation mode off.
The air-conditioning system removes moisture from
the air, so you may sometimes notice a small amount of
water dripping underneath your vehicle while idling or
after turning off the engine. This is normal.
3-28