2004 CHEVROLET CORVETTE instrument cluster
[x] Cancel search: instrument clusterPage 76 of 384
Ignition Positions
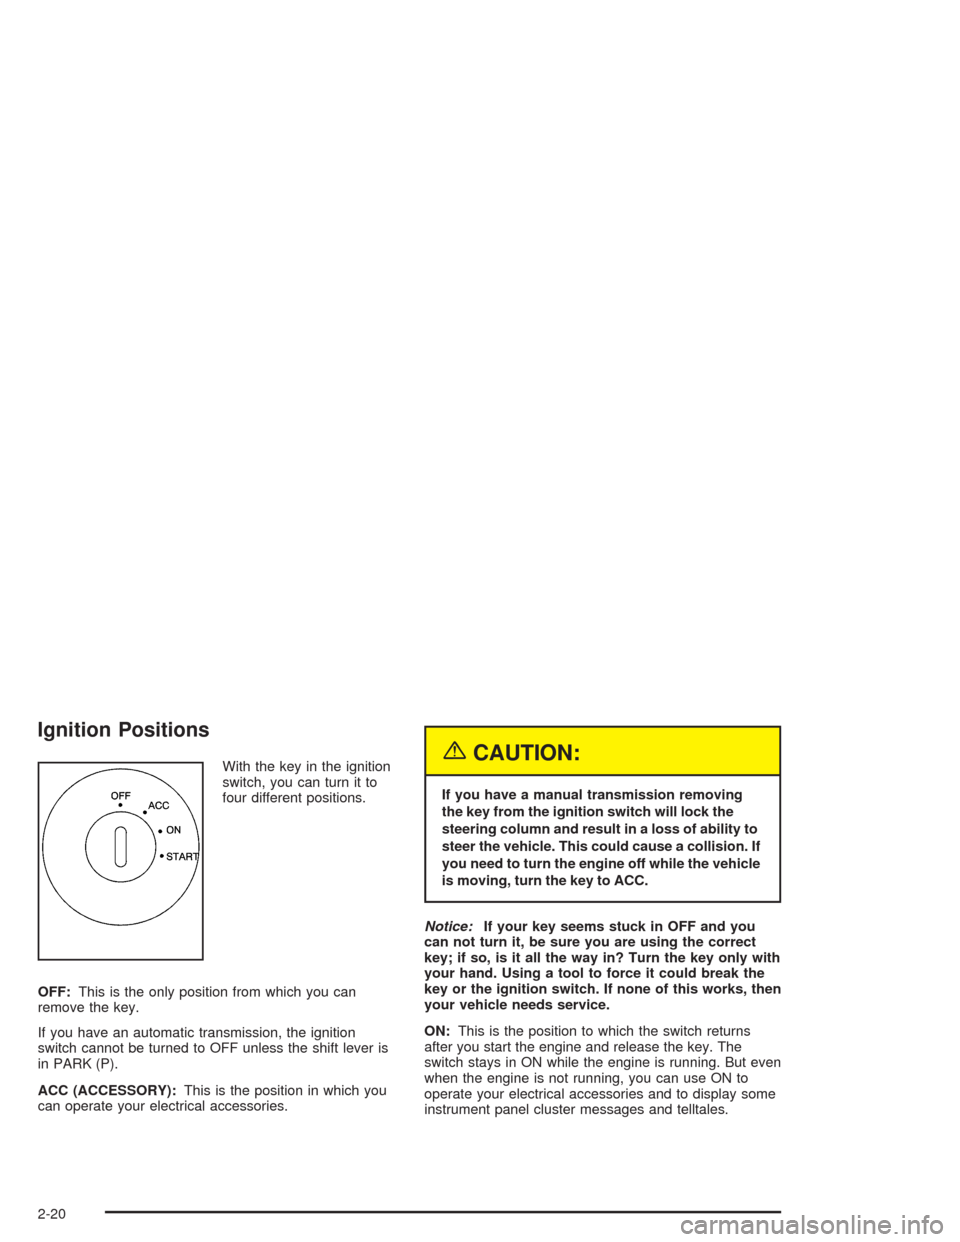
With the key in the ignition
switch, you can turn it to
four different positions.
OFF:This is the only position from which you can
remove the key.
If you have an automatic transmission, the ignition
switch cannot be turned to OFF unless the shift lever is
in PARK (P).
ACC (ACCESSORY):This is the position in which you
can operate your electrical accessories.{CAUTION:
If you have a manual transmission removing
the key from the ignition switch will lock the
steering column and result in a loss of ability to
steer the vehicle. This could cause a collision. If
you need to turn the engine off while the vehicle
is moving, turn the key to ACC.
Notice:If your key seems stuck in OFF and you
can not turn it, be sure you are using the correct
key; if so, is it all the way in? Turn the key only with
your hand. Using a tool to force it could break the
key or the ignition switch. If none of this works, then
your vehicle needs service.
ON:This is the position to which the switch returns
after you start the engine and release the key. The
switch stays in ON while the engine is running. But even
when the engine is not running, you can use ON to
operate your electrical accessories and to display some
instrument panel cluster messages and telltales.
2-20
Page 115 of 384
Instrument Panel Overview...............................3-2
Hazard Warning Flashers................................3-4
Other Warning Devices...................................3-5
Horn.............................................................3-5
Tilt Wheel.....................................................3-5
Turn Signal/Multifunction Lever.........................3-6
Exterior Lamps.............................................3-13
Interior Lamps..............................................3-17
Head-Up Display (HUD).................................3-18
Accessory Power Outlets...............................3-22
Ashtrays and Cigarette Lighter........................3-23
Climate Controls............................................3-23
Dual Automatic Climate
Control System.........................................3-23
Outlet Adjustment.........................................3-31
Warning Lights, Gages, and Indicators............3-32
Instrument Panel Cluster................................3-33
Speedometer and Odometer...........................3-34
Tachometer.................................................3-34
Safety Belt Reminder Light.............................3-34
Air Bag Readiness Light................................3-35
Air Bag Off Light..........................................3-36
Voltmeter Gage............................................3-37
Brake System Warning Light..........................3-38
Anti-Lock Brake System Warning Light.............3-39
Traction Control System (TCS) Warning Light . . .3-39Active Handling System Light.........................3-40
Engine Coolant Temperature Gage..................3-41
Malfunction Indicator Lamp.............................3-41
Engine Oil Pressure Gage.............................3-44
Security Light...............................................3-45
Check Gages Warning Light...........................3-46
Fuel Gage...................................................3-46
Driver Information Center (DIC).......................3-48
DIC Controls and Displays.............................3-49
DIC Warnings and Messages.........................3-58
Other Messages...........................................3-68
Audio System(s).............................................3-69
Setting the Time...........................................3-69
Radio with Cassette......................................3-70
Radio with CD..............................................3-76
Trunk-Mounted CD Changer...........................3-81
Theft-Deterrent Feature..................................3-86
Radio Reception...........................................3-88
Care of Your Cassette Tape Player.................3-88
Care of Your CDs.........................................3-89
Care of Your CD Player................................3-89
Fixed Mast Antenna (Z06)..............................3-89
Power Antenna Mast Care (Convertible)...........3-90
Integrated Windshield and Rear Window
Antennas (Coupe).....................................3-90
Section 3 Instrument Panel
3-1
Page 117 of 384
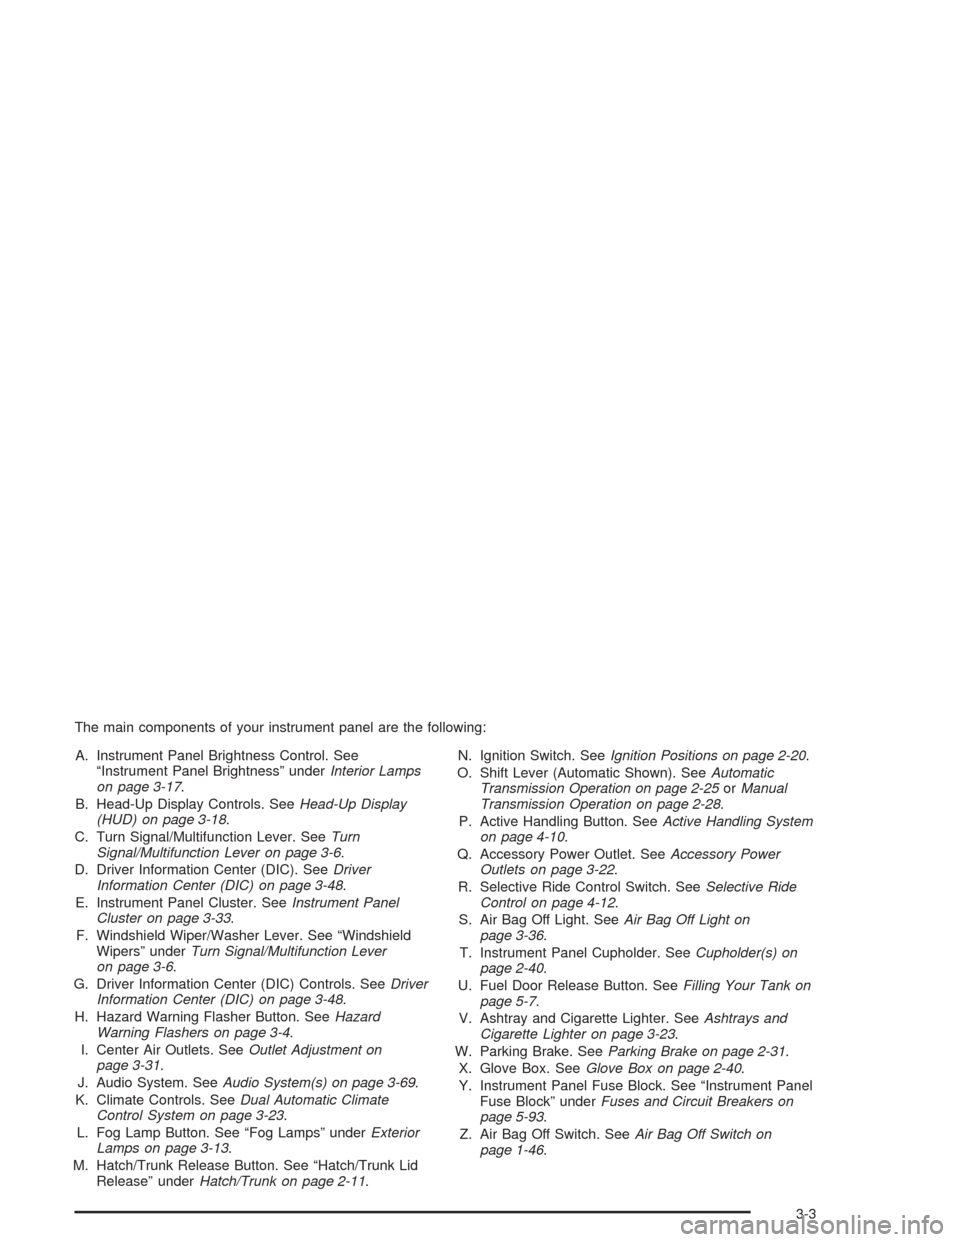
The main components of your instrument panel are the following:
A. Instrument Panel Brightness Control. See
“Instrument Panel Brightness” underInterior Lamps
on page 3-17.
B. Head-Up Display Controls. SeeHead-Up Display
(HUD) on page 3-18.
C. Turn Signal/Multifunction Lever. SeeTurn
Signal/Multifunction Lever on page 3-6.
D. Driver Information Center (DIC). SeeDriver
Information Center (DIC) on page 3-48.
E. Instrument Panel Cluster. SeeInstrument Panel
Cluster on page 3-33.
F. Windshield Wiper/Washer Lever. See “Windshield
Wipers” underTurn Signal/Multifunction Lever
on page 3-6.
G. Driver Information Center (DIC) Controls. SeeDriver
Information Center (DIC) on page 3-48.
H. Hazard Warning Flasher Button. SeeHazard
Warning Flashers on page 3-4.
I. Center Air Outlets. SeeOutlet Adjustment on
page 3-31.
J. Audio System. SeeAudio System(s) on page 3-69.
K. Climate Controls. SeeDual Automatic Climate
Control System on page 3-23.
L. Fog Lamp Button. See “Fog Lamps” underExterior
Lamps on page 3-13.
M. Hatch/Trunk Release Button. See “Hatch/Trunk Lid
Release” underHatch/Trunk on page 2-11.N. Ignition Switch. SeeIgnition Positions on page 2-20.
O. Shift Lever (Automatic Shown). SeeAutomatic
Transmission Operation on page 2-25orManual
Transmission Operation on page 2-28.
P. Active Handling Button. SeeActive Handling System
on page 4-10.
Q. Accessory Power Outlet. SeeAccessory Power
Outlets on page 3-22.
R. Selective Ride Control Switch. SeeSelective Ride
Control on page 4-12.
S. Air Bag Off Light. SeeAir Bag Off Light on
page 3-36.
T. Instrument Panel Cupholder. SeeCupholder(s) on
page 2-40.
U. Fuel Door Release Button. SeeFilling Your Tank on
page 5-7.
V. Ashtray and Cigarette Lighter. SeeAshtrays and
Cigarette Lighter on page 3-23.
W. Parking Brake. SeeParking Brake on page 2-31.
X. Glove Box. SeeGlove Box on page 2-40.
Y. Instrument Panel Fuse Block. See “Instrument Panel
Fuse Block” underFuses and Circuit Breakers on
page 5-93.
Z. Air Bag Off Switch. SeeAir Bag Off Switch on
page 1-46.
3-3
Page 121 of 384
Turn and Lane-Change Signals
The turn signal has two upward (for right) and two
downward (for left) positions. These positions allow you
to signal a turn or a lane change.
To signal a turn, move the multifunction lever all the
way up or down. When the turn is finished, the lever will
return automatically.
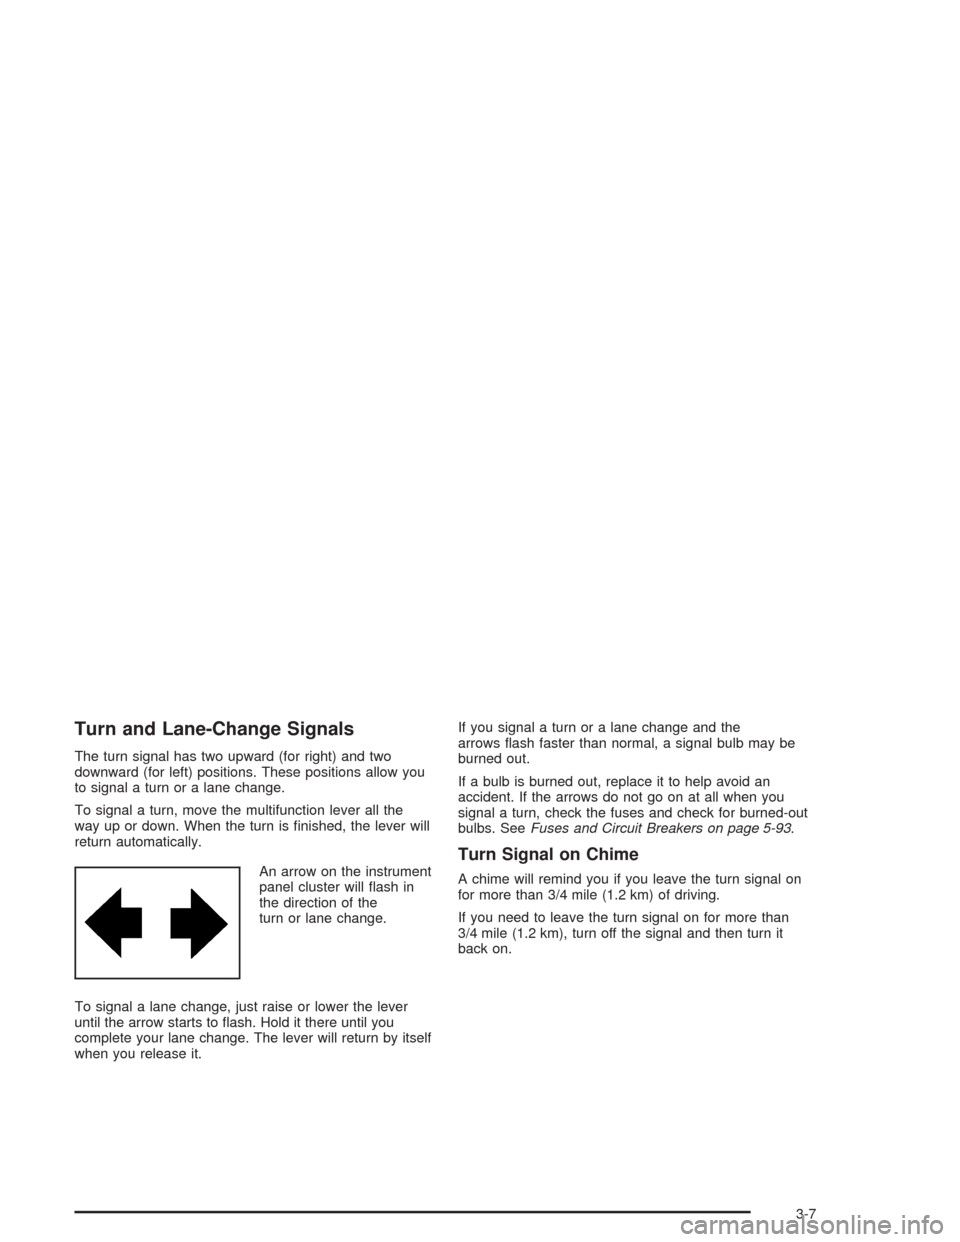
An arrow on the instrument
panel cluster will flash in
the direction of the
turn or lane change.
To signal a lane change, just raise or lower the lever
until the arrow starts to flash. Hold it there until you
complete your lane change. The lever will return by itself
when you release it.If you signal a turn or a lane change and the
arrows flash faster than normal, a signal bulb may be
burned out.
If a bulb is burned out, replace it to help avoid an
accident. If the arrows do not go on at all when you
signal a turn, check the fuses and check for burned-out
bulbs. SeeFuses and Circuit Breakers on page 5-93.
Turn Signal on Chime
A chime will remind you if you leave the turn signal on
for more than 3/4 mile (1.2 km) of driving.
If you need to leave the turn signal on for more than
3/4 mile (1.2 km), turn off the signal and then turn it
back on.
3-7
Page 122 of 384
Headlamp High/Low-Beam Changer
To change the headlamps from low beam to high or high
to low, push the turn signal lever all the way forward.
While the high beams are
on, this light on the
instrument panel cluster
also will be on. To change
the headlamps from
high to low, pull the lever
rearward.
Headlamps on Reminder
If you turn the ignition off and leave the headlamps or
parking lamps on and open a door, you will hear a chime
reminding you to turn off the lamps.
Flash-to-Pass
To use the flash-to-pass feature, momentarily pull the
turn signal lever toward you. The high-beam indicator
will flash to indicate to the other driver that you intend to
pass. If the low-beam headlamps are off and you
have the optional fog lamps on, the fog lamps will flash.
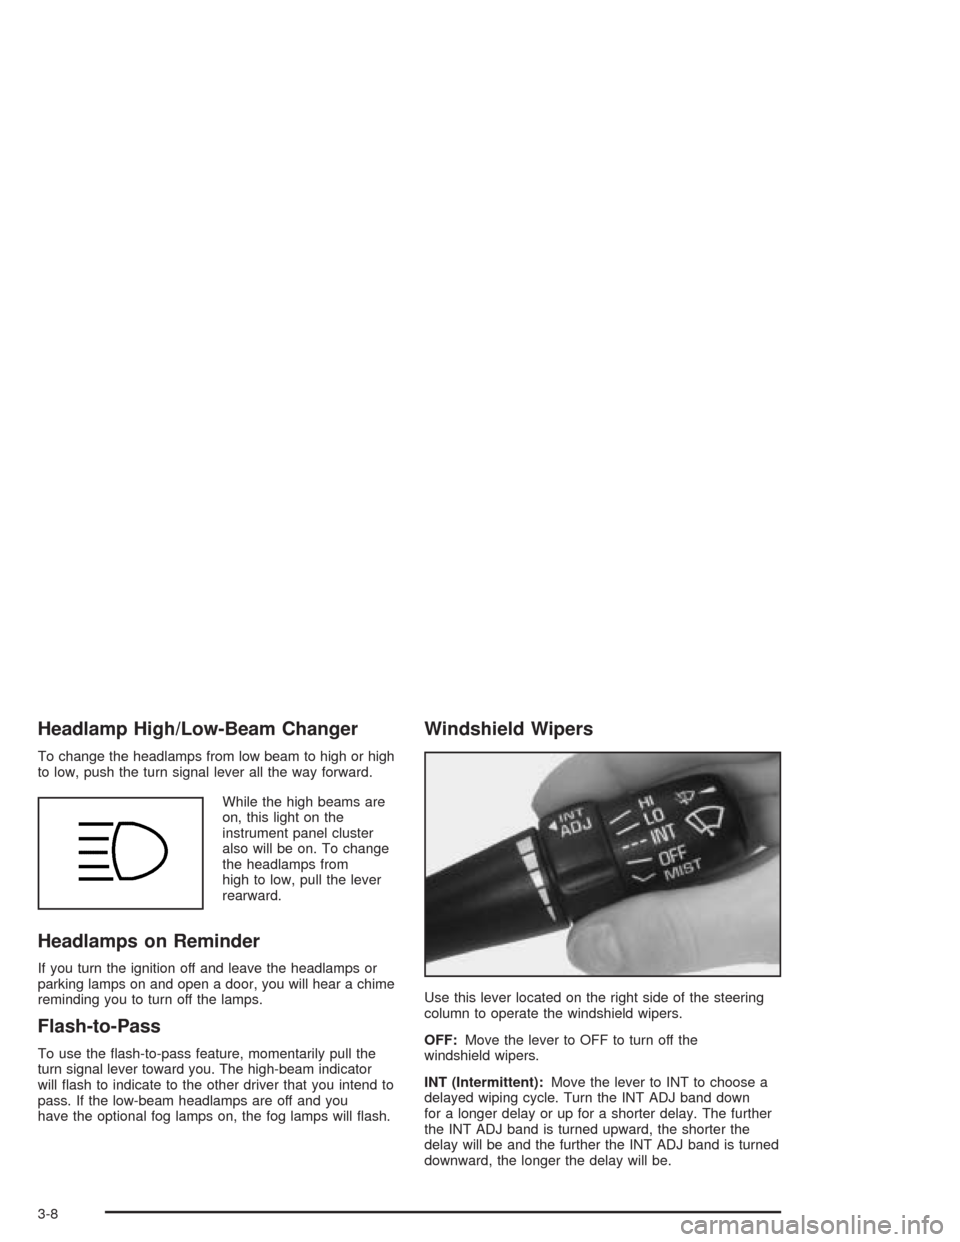
Windshield Wipers
Use this lever located on the right side of the steering
column to operate the windshield wipers.
OFF:Move the lever to OFF to turn off the
windshield wipers.
INT (Intermittent):Move the lever to INT to choose a
delayed wiping cycle. Turn the INT ADJ band down
for a longer delay or up for a shorter delay. The further
the INT ADJ band is turned upward, the shorter the
delay will be and the further the INT ADJ band is turned
downward, the longer the delay will be.
3-8
Page 130 of 384
Twilight Sentinel®(Optional in United
States, Standard in Canada)
Twilight Sentinel®can turn your lamps on and off for
you. A light sensor on top of the instrument panel makes
the Twilight Sentinel
®work, so be sure it is not covered.
You can customize your vehicle to turn Twilight
Sentinel
®on or off, except for vehicles first sold in
Canada. SeeDriver Information Center (DIC) on
page 3-48to turn this feature on or off.
When Twilight Sentinel
®is turned on, you will see the
following happen:
•When it is dark enough outside, the front turn signal
lamps (DRL) will go off, and the headlamps and
parking lamps will come on. The other lamps
that come on with headlamps will also come on.
•When it is bright enough outside, the headlamps
will go off, and the front turn signal lamps (DRL)
will come on, as long as the exterior lamp switch is
in the OFF position.
If you start your vehicle in a dark garage, the automatic
headlamp system will come on immediately. Once
you leave the garage, it will take about one minute for
the automatic headlamp system to change to DRL if it is
light outside. During that delay, your instrument panel
cluster may not be as bright as usual.Make sure your instrument panel brightness control is in
full bright position. See “Instrument Panel Brightness
Control” underInterior Lamps on page 3-17.
With Twilight Sentinel
®turned on, you can idle the
vehicle with the lamps off, even when it is dark outside.
First set the parking brake while the ignition is in
OFF. Then start the vehicle. The lamps will stay off until
you release the parking brake.
Twilight Sentinel
®also provides exterior illumination as
you leave the vehicle. If Twilight Sentinel®has turned
on the lamps when you turn off the ignition, your lamps
will remain on until:
•The exterior lamp switch is moved from OFF to the
parking lamp position, or
•a delay time that you select has elapsed.
SeeDriver Information Center (DIC) on page 3-48to
select the delay time that you want. You can also select
no delay time.
If you turn off the ignition with the exterior lamp switch
in the parking lamp or headlamp position, the Twilight
Sentinel
®delay will not occur. The lamps will turn off as
soon as the switch is turned off.
As with any vehicle, you should turn on the regular
headlamp system when you need it.
3-16
Page 132 of 384
Reading Lamps
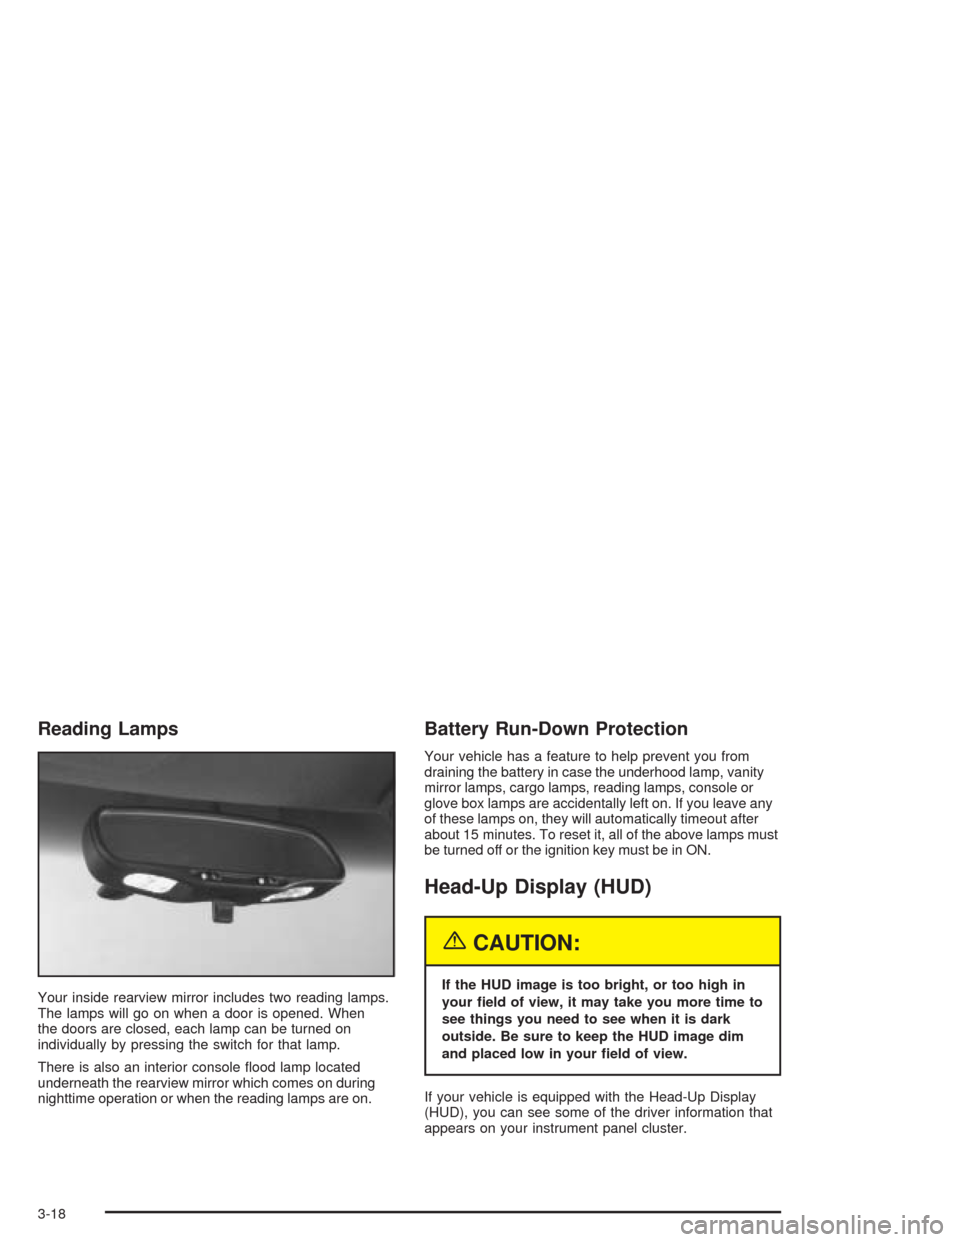
Your inside rearview mirror includes two reading lamps.
The lamps will go on when a door is opened. When
the doors are closed, each lamp can be turned on
individually by pressing the switch for that lamp.
There is also an interior console flood lamp located
underneath the rearview mirror which comes on during
nighttime operation or when the reading lamps are on.
Battery Run-Down Protection
Your vehicle has a feature to help prevent you from
draining the battery in case the underhood lamp, vanity
mirror lamps, cargo lamps, reading lamps, console or
glove box lamps are accidentally left on. If you leave any
of these lamps on, they will automatically timeout after
about 15 minutes. To reset it, all of the above lamps must
be turned off or the ignition key must be in ON.
Head-Up Display (HUD)
{CAUTION:
If the HUD image is too bright, or too high in
your �eld of view, it may take you more time to
see things you need to see when it is dark
outside. Be sure to keep the HUD image dim
and placed low in your �eld of view.
If your vehicle is equipped with the Head-Up Display
(HUD), you can see some of the driver information that
appears on your instrument panel cluster.
3-18
Page 134 of 384

Be sure to continue scanning your displays, controls
and driving environment just as you would in a vehicle
without HUD. If you never look at your instrument
panel cluster, you may not see something important,
such as a warning light. Under important warning
conditions, the CHECK GAGES icon will illuminate in
the HUD. View your Driver Information Center (DIC) for
more information.The HUD controls are located to the left of the
steering wheel.
To adjust the HUD so you can see it properly, do the
following:
1. Start your engine and slide the HUD dimmer control
all the way up.
The brightness of the HUD image is determined by
the light conditions in the direction your vehicle is
facing and where you have the HUD dimmer control
set. If you are facing a dark object or a heavily
shaded area, your HUD may anticipate that you are
entering a dark area and may begin to dim.
3-20