2004 CHEVROLET CORVETTE fuse
[x] Cancel search: fusePage 73 of 384
Testing the Alarm
To test the system, do the following:
1. Make sure the hatch/trunk lid is latched.
2. Lower the window on the driver’s door.
3. Manually arm the system.
4. Close the doors and wait 15 seconds.
5. Reach through the open window and manually
unlock the driver’s door.
6. Open the door. The alarm should sound.
7. Turn off the alarm.
If the alarm is inoperative, check to see if the horn
works. If not, check the horn fuse. SeeFuses and Circuit
Breakers on page 5-93. If the horn works, but the
alarm does not go off, see your dealer.
Disarming the System
Always use your key or the remote keyless entry
transmitter to unlock a door. Unlocking a door any other
way will set off the alarm. If your alarm sounds, listed
below are the ways you can disarm it.
•Unlock the driver’s door with your key.
•Put the key in the ignition.
•Press the unlock button on the remote keyless
entry transmitter.
2-17
Page 74 of 384
PASS-Key®
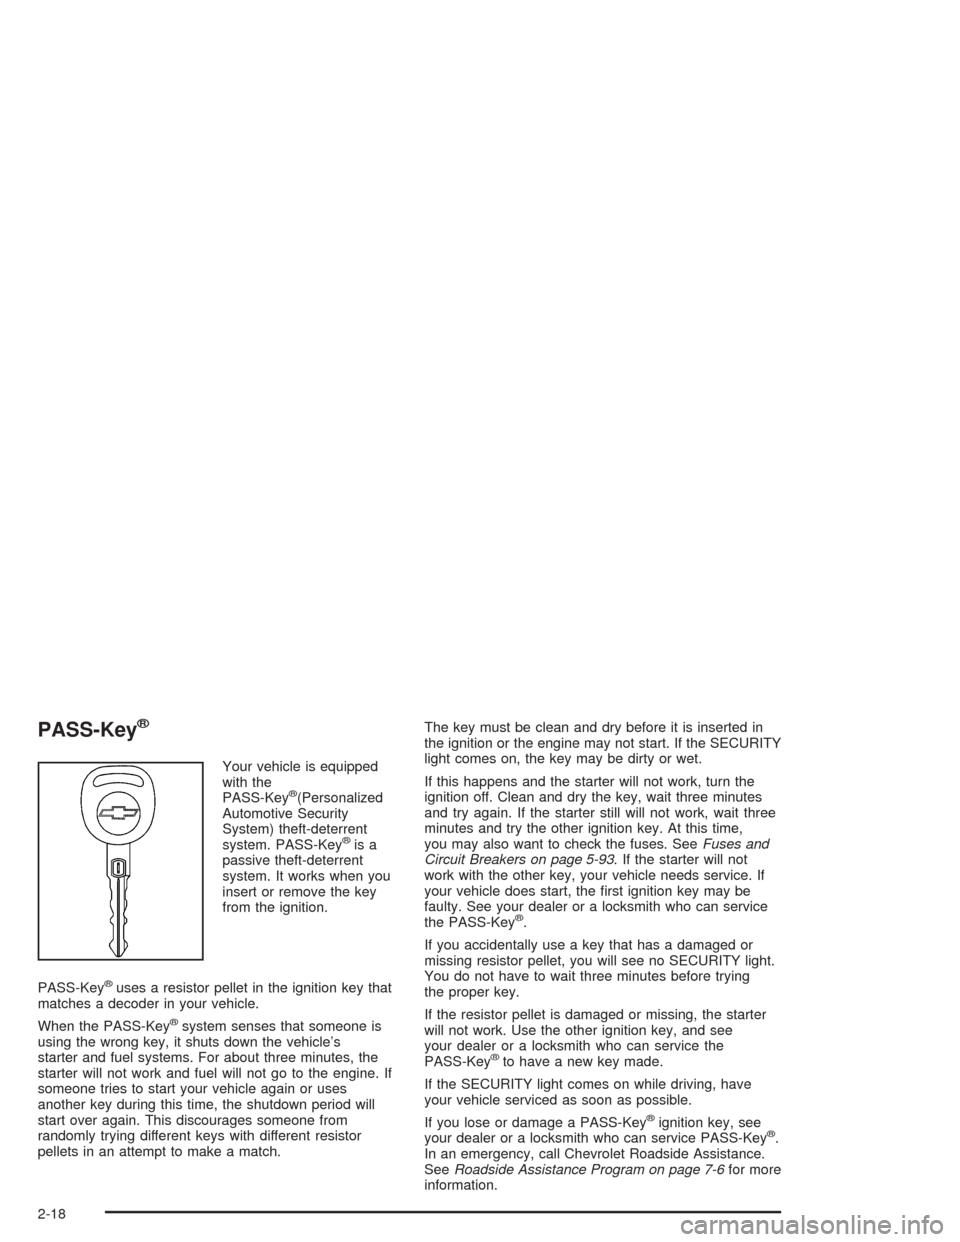
Your vehicle is equipped
with the
PASS-Key
®(Personalized
Automotive Security
System) theft-deterrent
system. PASS-Key
®is a
passive theft-deterrent
system. It works when you
insert or remove the key
from the ignition.
PASS-Key
®uses a resistor pellet in the ignition key that
matches a decoder in your vehicle.
When the PASS-Key
®system senses that someone is
using the wrong key, it shuts down the vehicle’s
starter and fuel systems. For about three minutes, the
starter will not work and fuel will not go to the engine. If
someone tries to start your vehicle again or uses
another key during this time, the shutdown period will
start over again. This discourages someone from
randomly trying different keys with different resistor
pellets in an attempt to make a match.The key must be clean and dry before it is inserted in
the ignition or the engine may not start. If the SECURITY
light comes on, the key may be dirty or wet.
If this happens and the starter will not work, turn the
ignition off. Clean and dry the key, wait three minutes
and try again. If the starter still will not work, wait three
minutes and try the other ignition key. At this time,
you may also want to check the fuses. SeeFuses and
Circuit Breakers on page 5-93. If the starter will not
work with the other key, your vehicle needs service. If
your vehicle does start, the first ignition key may be
faulty. See your dealer or a locksmith who can service
the PASS-Key
®.
If you accidentally use a key that has a damaged or
missing resistor pellet, you will see no SECURITY light.
You do not have to wait three minutes before trying
the proper key.
If the resistor pellet is damaged or missing, the starter
will not work. Use the other ignition key, and see
your dealer or a locksmith who can service the
PASS-Key
®to have a new key made.
If the SECURITY light comes on while driving, have
your vehicle serviced as soon as possible.
If you lose or damage a PASS-Key
®ignition key, see
your dealer or a locksmith who can service PASS-Key®.
In an emergency, call Chevrolet Roadside Assistance.
SeeRoadside Assistance Program on page 7-6for more
information.
2-18
Page 117 of 384
The main components of your instrument panel are the following:
A. Instrument Panel Brightness Control. See
“Instrument Panel Brightness” underInterior Lamps
on page 3-17.
B. Head-Up Display Controls. SeeHead-Up Display
(HUD) on page 3-18.
C. Turn Signal/Multifunction Lever. SeeTurn
Signal/Multifunction Lever on page 3-6.
D. Driver Information Center (DIC). SeeDriver
Information Center (DIC) on page 3-48.
E. Instrument Panel Cluster. SeeInstrument Panel
Cluster on page 3-33.
F. Windshield Wiper/Washer Lever. See “Windshield
Wipers” underTurn Signal/Multifunction Lever
on page 3-6.
G. Driver Information Center (DIC) Controls. SeeDriver
Information Center (DIC) on page 3-48.
H. Hazard Warning Flasher Button. SeeHazard
Warning Flashers on page 3-4.
I. Center Air Outlets. SeeOutlet Adjustment on
page 3-31.
J. Audio System. SeeAudio System(s) on page 3-69.
K. Climate Controls. SeeDual Automatic Climate
Control System on page 3-23.
L. Fog Lamp Button. See “Fog Lamps” underExterior
Lamps on page 3-13.
M. Hatch/Trunk Release Button. See “Hatch/Trunk Lid
Release” underHatch/Trunk on page 2-11.N. Ignition Switch. SeeIgnition Positions on page 2-20.
O. Shift Lever (Automatic Shown). SeeAutomatic
Transmission Operation on page 2-25orManual
Transmission Operation on page 2-28.
P. Active Handling Button. SeeActive Handling System
on page 4-10.
Q. Accessory Power Outlet. SeeAccessory Power
Outlets on page 3-22.
R. Selective Ride Control Switch. SeeSelective Ride
Control on page 4-12.
S. Air Bag Off Light. SeeAir Bag Off Light on
page 3-36.
T. Instrument Panel Cupholder. SeeCupholder(s) on
page 2-40.
U. Fuel Door Release Button. SeeFilling Your Tank on
page 5-7.
V. Ashtray and Cigarette Lighter. SeeAshtrays and
Cigarette Lighter on page 3-23.
W. Parking Brake. SeeParking Brake on page 2-31.
X. Glove Box. SeeGlove Box on page 2-40.
Y. Instrument Panel Fuse Block. See “Instrument Panel
Fuse Block” underFuses and Circuit Breakers on
page 5-93.
Z. Air Bag Off Switch. SeeAir Bag Off Switch on
page 1-46.
3-3
Page 121 of 384
Turn and Lane-Change Signals
The turn signal has two upward (for right) and two
downward (for left) positions. These positions allow you
to signal a turn or a lane change.
To signal a turn, move the multifunction lever all the
way up or down. When the turn is finished, the lever will
return automatically.
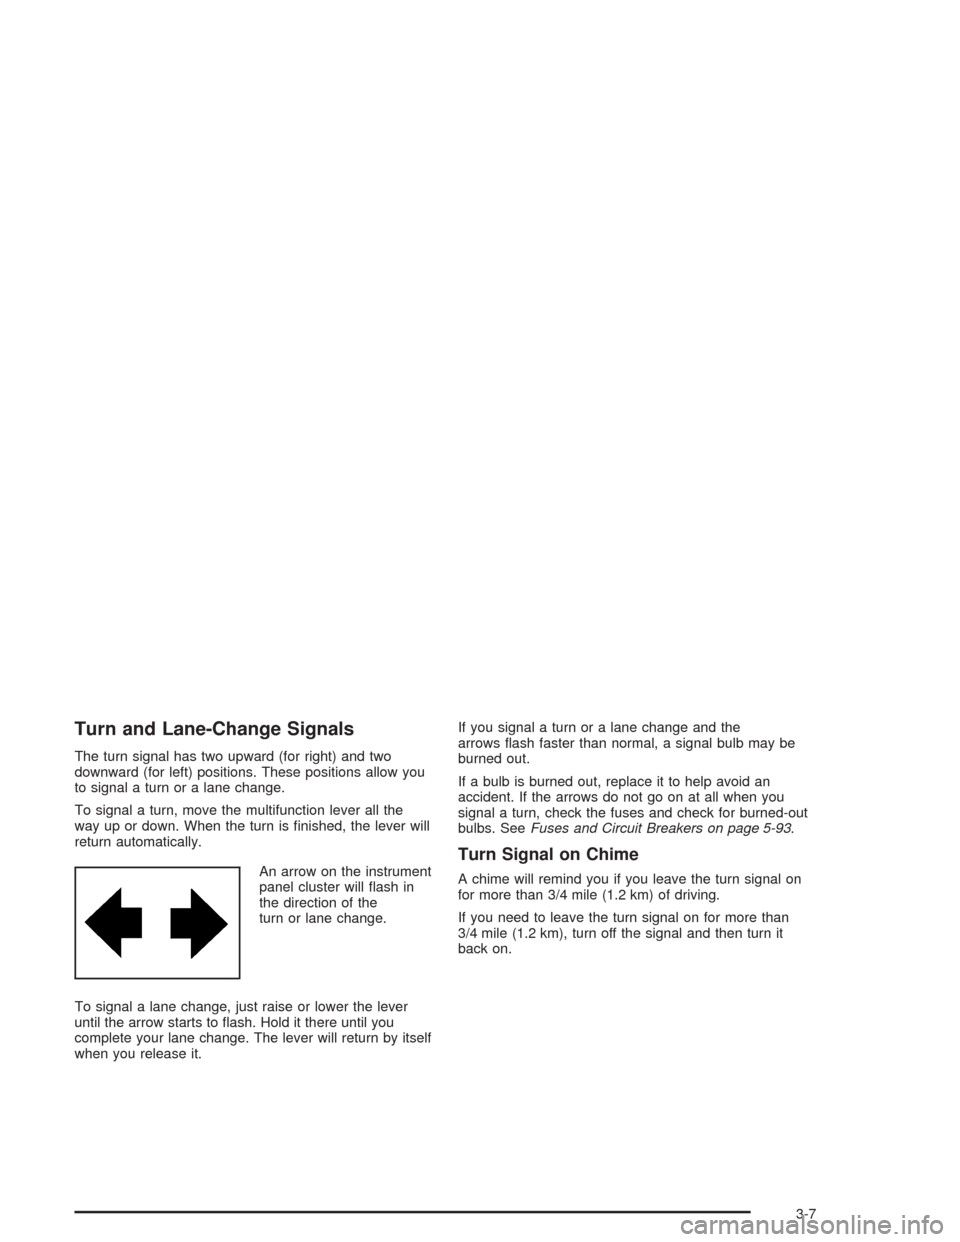
An arrow on the instrument
panel cluster will flash in
the direction of the
turn or lane change.
To signal a lane change, just raise or lower the lever
until the arrow starts to flash. Hold it there until you
complete your lane change. The lever will return by itself
when you release it.If you signal a turn or a lane change and the
arrows flash faster than normal, a signal bulb may be
burned out.
If a bulb is burned out, replace it to help avoid an
accident. If the arrows do not go on at all when you
signal a turn, check the fuses and check for burned-out
bulbs. SeeFuses and Circuit Breakers on page 5-93.
Turn Signal on Chime
A chime will remind you if you leave the turn signal on
for more than 3/4 mile (1.2 km) of driving.
If you need to leave the turn signal on for more than
3/4 mile (1.2 km), turn off the signal and then turn it
back on.
3-7
Page 135 of 384
It is possible for sunlight to enter the HUD causing
all of the graphics to light up. The display will
return to normal when the sunlight is no longer
entering the HUD.
2. Adjust the seat to a comfortable driving position. If
you change your seat position later, you may have
to re-adjust your HUD.
3. Press the top or bottom of the DISPLAY switch to
center the HUD image in your view.
The HUD image can only be adjusted up and down,
not side-to-side.
4. Slide the dimmer control downward until the HUD
image is no brighter than necessary.
To turn HUD off, slide the switch to OFF.
If the sun comes out or it becomes cloudy, you may
need to adjust the HUD brightness again using
the dimmer control. Polarized sunglasses could make
the HUD image harder to see.
To change from English to metric units, press the
E/M button located to the right of the steering wheel.Clean the inside of the windshield as needed to remove
any dirt or film that reduces the sharpness or clarity
of the HUD image.
To clean the HUD, spray household glass cleaner on a
soft, clean cloth. Wipe the HUD lens gently, then dry
it. Do not spray cleaner directly on the lens because the
cleaner could leak into the unit.
If the ignition is on and you can’t see the HUD image,
check to see if:
•Something is covering the HUD unit.
•The HUD dimmer control is adjusted properly.
•The HUD image is adjusted to the proper height.
•Ambient light, in the direction your vehicle is facing,
is low.
•A fuse is blown. SeeFuses and Circuit Breakers on
page 5-93.
Keep in mind that your windshield is part of the HUD
system. If you ever have to have your windshield
replaced, be sure to get one that is designed for HUD
or your HUD image may look blurred and out of focus.
3-21
Page 136 of 384
Accessory Power Outlets
The accessory power outlet can be used to connect
electrical equipment such as a cellular phone or
CB radio.
The accessory power outlet is located inside the center
console storage compartment, on the forward left side.
To use the outlet, remove the tethered cap. When not
using it, always cover the outlet with the protective cap.
Notice:Leaving electrical equipment on for
extended periods will drain the battery. Always turn
off electrical equipment when not in use and do
not plug in equipment that exceeds the maximum
amperage rating.
Certain electrical accessories may not be compatible
with the accessory power outlet and could result
in blown vehicle or adapter fuses. If you experience a
problem, see your dealer for additional information
on accessory power outlets.Notice:Adding any electrical equipment to your
vehicle may damage it or keep other components
from working as they should. The repairs would not
be covered by your warranty. Check with your
dealer before adding electrical equipment.
When adding electrical equipment, be sure to follow the
installation instructions included with the equipment.
We recommend that you see a qualified technician or
your dealer for the proper installation of your equipment.
Notice:Improper use of the power outlet can
cause damage not covered by your warranty. Do not
hang any type of accessory or accessory bracket
from the plug because the power outlets are
designed for accessory power plugs only.
3-22
Page 137 of 384
Ashtrays and Cigarette Lighter
The ashtray and cigarette lighter are located on the
instrument panel, in front of the shift lever. To use the
ashtray, lift up on the bottom of the door.
Notice:If you put papers or other �ammable items
in the ashtray, hot cigarettes or other smoking
materials could ignite them and possibly damage
your vehicle. Never put �ammable items in the
ashtray.
Loose objects, such as paper clips, can lodge behind
and beneath the ashtray lid and prevent movement
of the lid. You should avoid putting small, loose objects
near the ashtray.
To use the cigarette lighter, push it in all the way and let
go. When it is ready, it will pop back out by itself.
Notice:Holding a cigarette lighter in while it is
heating will not allow the lighter to back away from
the heating element when it is hot. Damage from
overheating may occur to the lighter or heating
element, or a fuse could be blown. Do not hold a
cigarette lighter in while it is heating.
Climate Controls
Dual Automatic Climate
Control System
With this system you can control the heating, cooling
and ventilation for your vehicle.
When your vehicle is first started, the display will show
the driver’s temperature setting, the fan speed and
the air delivery for about five seconds; then it will show
the outside temperature.
The digital display will show readings in Fahrenheit or
Celsius by pressing the E/M (English/metric) button
on the Driver Information Center (DIC).
3-23
Page 244 of 384
Appearance Care............................................5-82
Cleaning the Inside of Your Vehicle.................5-83
Care of Safety Belts......................................5-85
Weatherstrips...............................................5-85
Cleaning the Outside of Your Vehicle..............5-85
Finish Damage.............................................5-89
Carbon Fiber Hood (Z06 Commemorative
Edition Model Only)...................................5-89
Magnesium Wheel Finish...............................5-89
Underbody Maintenance................................5-89
Titanium Exhaust System (Z06 Only)...............5-89
Fiberglass Springs........................................5-90
Chemical Paint Spotting.................................5-90
Vehicle Care/Appearance Materials..................5-90Vehicle Identi�cation......................................5-91
Vehicle Identification Number (VIN).................5-91
Service Parts Identification Label.....................5-92
Electrical System............................................5-92
Add-On Electrical Equipment..........................5-92
Headlamp Wiring..........................................5-92
Windshield Wiper Fuses................................5-92
Power Windows and Other Power Options.......5-92
Fuses and Circuit Breakers............................5-93
Capacities and Speci�cations..........................5-99
Section 5 Service and Appearance Care
5-2