2004 CHEVROLET CORVETTE fog light
[x] Cancel search: fog lightPage 117 of 384
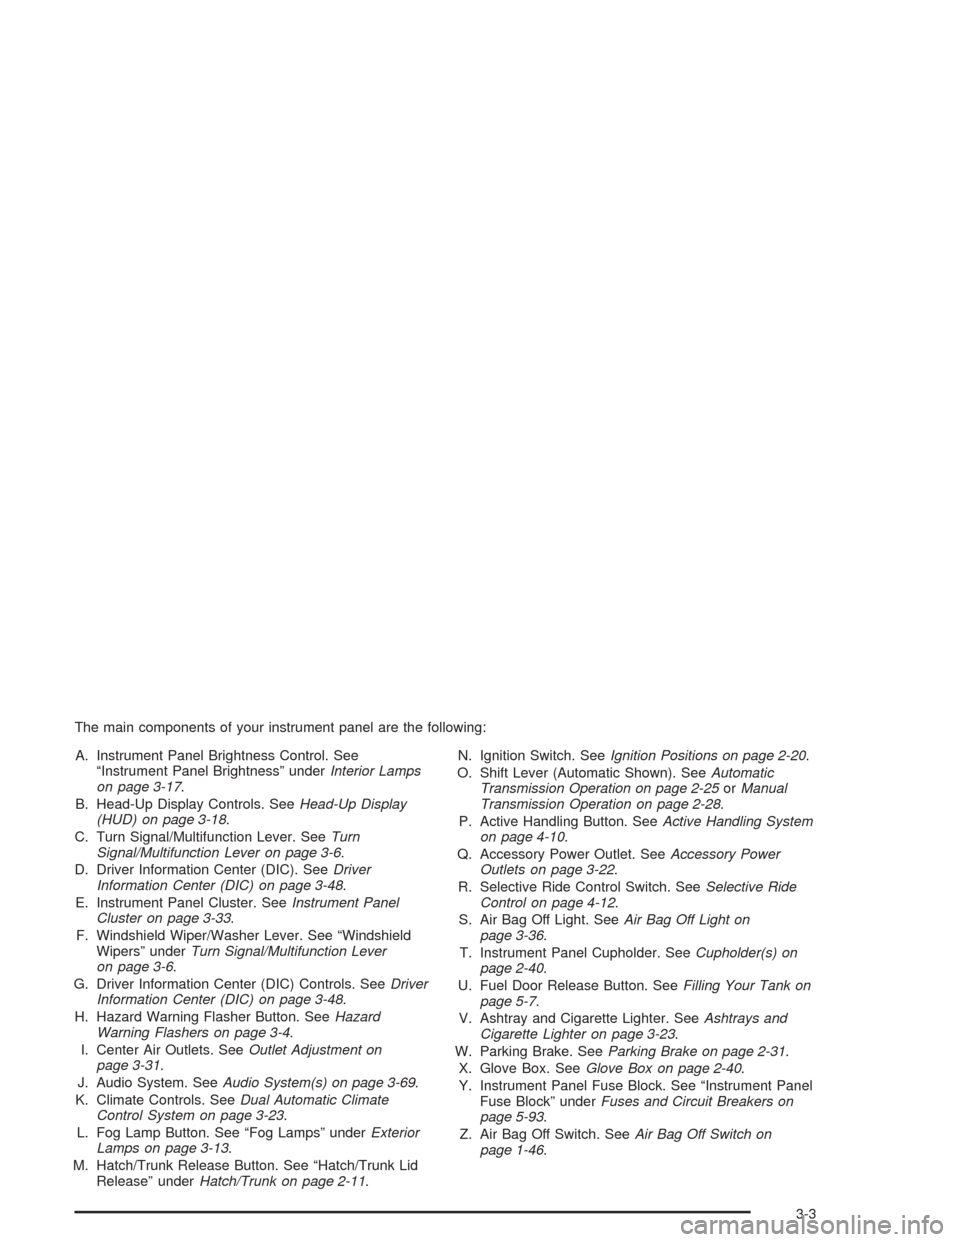
The main components of your instrument panel are the following:
A. Instrument Panel Brightness Control. See
“Instrument Panel Brightness” underInterior Lamps
on page 3-17.
B. Head-Up Display Controls. SeeHead-Up Display
(HUD) on page 3-18.
C. Turn Signal/Multifunction Lever. SeeTurn
Signal/Multifunction Lever on page 3-6.
D. Driver Information Center (DIC). SeeDriver
Information Center (DIC) on page 3-48.
E. Instrument Panel Cluster. SeeInstrument Panel
Cluster on page 3-33.
F. Windshield Wiper/Washer Lever. See “Windshield
Wipers” underTurn Signal/Multifunction Lever
on page 3-6.
G. Driver Information Center (DIC) Controls. SeeDriver
Information Center (DIC) on page 3-48.
H. Hazard Warning Flasher Button. SeeHazard
Warning Flashers on page 3-4.
I. Center Air Outlets. SeeOutlet Adjustment on
page 3-31.
J. Audio System. SeeAudio System(s) on page 3-69.
K. Climate Controls. SeeDual Automatic Climate
Control System on page 3-23.
L. Fog Lamp Button. See “Fog Lamps” underExterior
Lamps on page 3-13.
M. Hatch/Trunk Release Button. See “Hatch/Trunk Lid
Release” underHatch/Trunk on page 2-11.N. Ignition Switch. SeeIgnition Positions on page 2-20.
O. Shift Lever (Automatic Shown). SeeAutomatic
Transmission Operation on page 2-25orManual
Transmission Operation on page 2-28.
P. Active Handling Button. SeeActive Handling System
on page 4-10.
Q. Accessory Power Outlet. SeeAccessory Power
Outlets on page 3-22.
R. Selective Ride Control Switch. SeeSelective Ride
Control on page 4-12.
S. Air Bag Off Light. SeeAir Bag Off Light on
page 3-36.
T. Instrument Panel Cupholder. SeeCupholder(s) on
page 2-40.
U. Fuel Door Release Button. SeeFilling Your Tank on
page 5-7.
V. Ashtray and Cigarette Lighter. SeeAshtrays and
Cigarette Lighter on page 3-23.
W. Parking Brake. SeeParking Brake on page 2-31.
X. Glove Box. SeeGlove Box on page 2-40.
Y. Instrument Panel Fuse Block. See “Instrument Panel
Fuse Block” underFuses and Circuit Breakers on
page 5-93.
Z. Air Bag Off Switch. SeeAir Bag Off Switch on
page 1-46.
3-3
Page 122 of 384
Headlamp High/Low-Beam Changer
To change the headlamps from low beam to high or high
to low, push the turn signal lever all the way forward.
While the high beams are
on, this light on the
instrument panel cluster
also will be on. To change
the headlamps from
high to low, pull the lever
rearward.
Headlamps on Reminder
If you turn the ignition off and leave the headlamps or
parking lamps on and open a door, you will hear a chime
reminding you to turn off the lamps.
Flash-to-Pass
To use the flash-to-pass feature, momentarily pull the
turn signal lever toward you. The high-beam indicator
will flash to indicate to the other driver that you intend to
pass. If the low-beam headlamps are off and you
have the optional fog lamps on, the fog lamps will flash.
Windshield Wipers
Use this lever located on the right side of the steering
column to operate the windshield wipers.
OFF:Move the lever to OFF to turn off the
windshield wipers.
INT (Intermittent):Move the lever to INT to choose a
delayed wiping cycle. Turn the INT ADJ band down
for a longer delay or up for a shorter delay. The further
the INT ADJ band is turned upward, the shorter the
delay will be and the further the INT ADJ band is turned
downward, the longer the delay will be.
3-8
Page 129 of 384
Daytime Running Lamps
Daytime Running Lamps (DRL) can make it easier for
others to see the front of your vehicle during the
day. DRL can be helpful in many different driving
conditions, but they can be especially helpful in the short
periods after dawn and before sunset. Fully functional
daytime running lamps are required on all vehicles
first sold in Canada.
The DRL system will make the front turn signal lamps
come on when the following conditions are met:
•The ignition is on,
•the exterior lamp switch is off and
•the parking brake is released.
When the DRL are on, only the front turn signal lamps
will be on. The headlamps, taillamps, sidemarker
and other lamps will not be on. Your instrument panel
will not be lit up either.
To idle the vehicle with the DRL off, set the parking
brake while the ignition is in OFF. Then start the vehicle.
The DRL, headlamps and parking lamps will stay off
until you release the parking brake.
As with any vehicle, you should turn on the regular
headlamp system when you need it.
Fog Lamps
Your vehicle may have this feature. Use the fog lamps
for better vision in foggy or misty conditions. Your
parking lamps or low-beam headlamps must be on or
the fog lamps will not work.
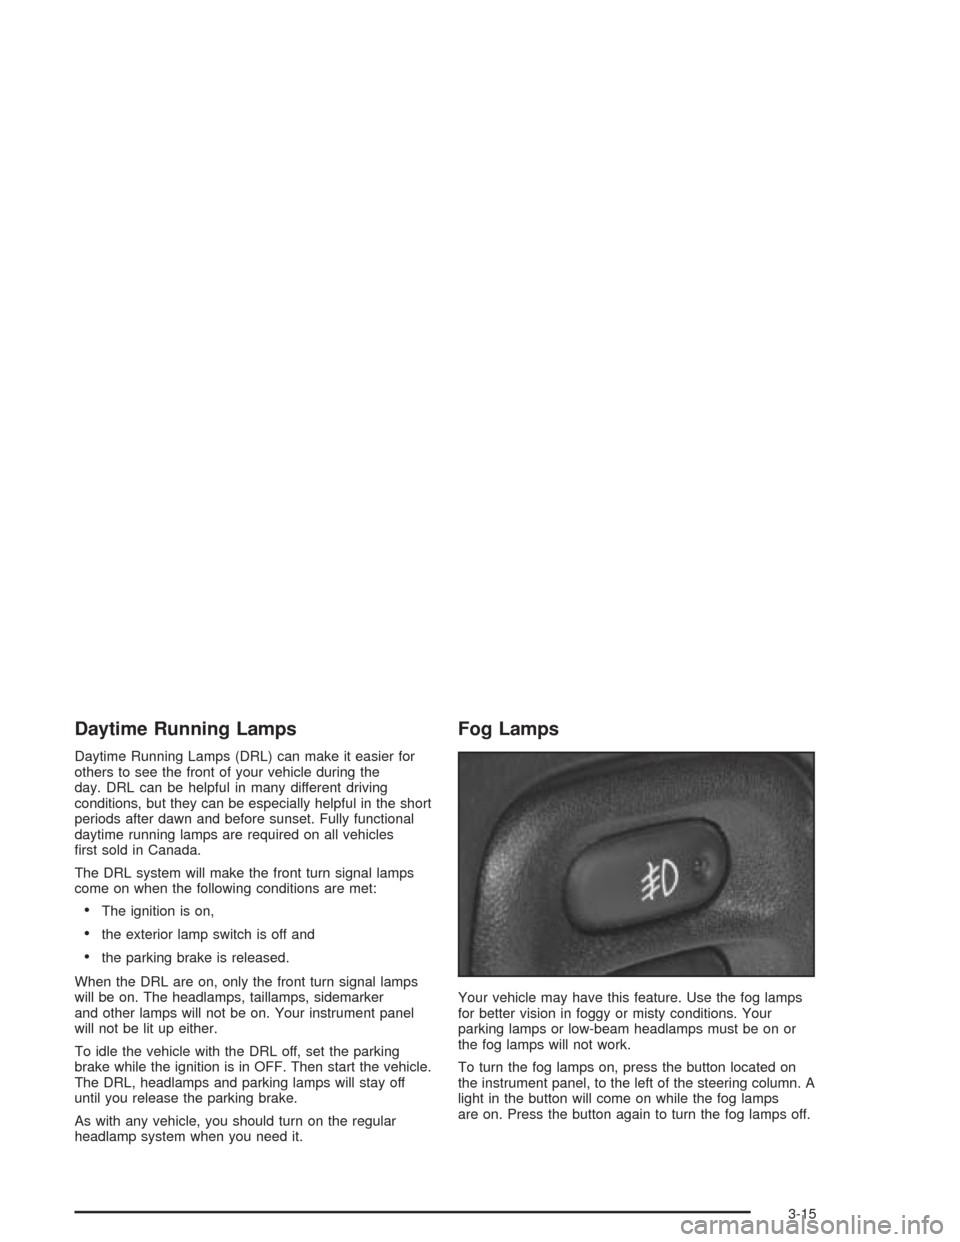
To turn the fog lamps on, press the button located on
the instrument panel, to the left of the steering column. A
light in the button will come on while the fog lamps
are on. Press the button again to turn the fog lamps off.
3-15
Page 140 of 384
9(Fan):Press the button with the fan symbol to
manually increase or decrease the fan speed. Keep
pressing the up or down arrow on this switch until the
desired fan speed appears on the display.
Pressing the arrows will delete AUTO from the digital
display. The fan graphics with the fan speed bars will be
shown. To increase the fan speed so that more air
flows into the vehicle, press the up arrow on the
fan switch. To decrease the fan speed and airflow,
press the down arrow. The AUTO button must be
pressed to return to the automatic fan control.:(Outside Air):Press this button to turn the
outside air mode on or off. When this mode is on,
outside air will circulate throughout your vehicle. When
the button is pressed, an indicator light in the button
will come on to let you know that it is activated.
The outside air mode can be used with all modes, but
cannot be used with the recirculation mode.
When in the AUTO mode, the system automatically
selects outside air instead of recirculation, as required,
to control the temperature in the vehicle. By pressing
outside air, the system will lock into the outside air
mode. Any adjustment to the air intake must then be
made manually. Outside air should be used when trying
to defrost or defog windows to help reduce moisture
inside of the vehicle.
If you are in city traffic, your vehicle is stopped and
idling, or the weather is hot, the system may switch from
the outside air mode to the recirculation mode. To
prevent the air inside of your vehicle from becoming
stale, be sure to return to the outside air mode
periodically.
3-26
Page 141 of 384
?(Recirculation):This mode keeps outside air
from coming in the vehicle. It can be used to prevent
outside air and odors from entering your vehicle or
to help cool the air inside your vehicle more quickly.
Press this button to turn the recirculation mode on or off.
When the button is pressed, an indicator light will
come on. The air-conditioning compressor also comes
on. The recirculation mode cannot be used with the
outside air mode.
When in the AUTO mode, the system automatically
selects recirculation to cool the vehicle’s temperature.
By pressing this button, the system will lock into
recirculation mode. Any adjustment to the air intake
must then be made manually. Recirculation is not
available when using the defrost or defog mode because
outside air is needed to reduce moisture inside of the
vehicle.
Operating the system in the recirculation mode may
cause fogging of the vehicle’s windows when the
weather is cold and damp. To clear the fog, switch the
system to either the defog or defrost mode and
increase the fan speed. To avoid re-fogging of the
windows, operate the system in the outside air mode.Temperature Control:The DRIVER knob changes the
temperature on the driver’s and passenger’s side of
the vehicle. Turn the knob clockwise or counterclockwise
to manually increase or decrease the temperature
inside your vehicle. Whenever you turn this knob, the
temperature will be displayed for about five seconds
along with the current fan speed and air delivery mode.
The PASSENGER knob changes the temperature on
the passenger’s side of the vehicle. When the knob is in
the 12 o’clock position, the passenger’s temperature
is the same as the driver’s. Turn the knob clockwise for
warmer air on the passenger’s side or counterclockwise
for cooler air. If the driver-set temperature is set at
full cold 60°F (16°C) or full hot 90°F (32°C), turning the
PASSENGER knob has no effect because the system
is locked at a maximum setting.
3-27
Page 142 of 384
#A/C (Air Conditioning):Press this button to
override the automatic system and turn the
air-conditioning system on or off. When A/C is pressed,
an indicator light in the button will come on to let you
know that the air conditioning is activated. When
in AUTO, the air-conditioning compressor will come on
automatically, as necessary.
Air conditioning does not operate at temperatures below
about 35°F to 40°F (2°C to 4°C). In temperatures
above 40°F (4°C), the air conditioning cannot be turned
off in defrost and defog, as it helps to remove moisture
from the vehicle. It also helps to keep the windows clear.
You may notice a slight change in engine performance
when the air-conditioning compressor shuts off and
turns on again. This is normal. The system is designed
to make adjustments to help with fuel economy while
still maintaining the selected temperature.
On hot days, open the windows to let hot inside air
escape; then close them. This helps to reduce the time
it takes for your vehicle to cool down. It also helps
the system to operate more efficiently.For quick cool down on hot days, do the following:
1. Select the vent mode.
2. Select recirculation mode.
3. Select the A/C.
4. Select the coolest temperature.
5. Select the highest fan speed.
Using these settings together for long periods of time
may cause the air inside of your vehicle to become too
dry. To prevent this from happening, after the air in
your vehicle has cooled, turn the recirculation mode off.
The air-conditioning system removes moisture from
the air, so you may sometimes notice a small amount of
water dripping underneath your vehicle while idling or
after turning off the engine. This is normal.
3-28
Page 144 of 384
Defogging and Defrosting
Fog on the inside of windows is a result of high humidity
(moisture) condensing on the cool window glass. This
can be minimized if the climate control system is
used properly. There are two modes to clear fog or frost
from your windshield. Use the defog mode to clear
the windows of fog or moisture and warm the
passengers. Use FRONT to remove fog or frost from
the windshield more quickly.
Press the MODE button until the defog mode appears
on the display.
-(Defog):This mode directs the air equally between
the windshield and the floor outlets with a small
amount to the side window outlets. When you select this
mode, the system turns off recirculation and runs the
air-conditioning compressor unless the outside
temperature is at or below freezing. An indicator light in
the A/C button will come on to let you know that the
air-conditioning compressor is activated. The
recirculation mode cannot be selected while in the
defog mode.
1FRONT:Pressing this button directs most of the
air to the windshield, with a small amount directed to the
side window outlets. The light on the button will come
on and the digital display will show the defrost mode
symbol and fan speed when the front defrost mode is
being used. In this mode, the system will automatically
turn off the recirculation and run the air-conditioning
compressor, unless the outside temperature is at
or below freezing. An indicator light in the A/C button
will come on to let you know that the air-conditioning
compressor is activated. Recirculation cannot be
selected while in the defrost mode. Pressing this button
again will return the system to the last operating
mode and the air intake mode will be in outside air.
If the system is in FRONT defrost when you shut the
engine off, it will restart in FRONT defrost unless
the engine is off for longer than 40 minutes. If the engine
is off longer than 40 minutes, the system will restart in
the operating mode that was set prior to FRONT defrost
and the air intake mode will be in outside air. Do not
drive the vehicle until all the windows are clear.
3-30
Page 145 of 384
Rear Window Defogger
The rear window defogger uses a warming grid to
remove fog or frost from the rear window.
The rear window defogger will only work when the
engine is running.
=REAR:Press this button to turn the rear window
defogger on. Be sure to clear as much snow from
the rear window as possible. An indicator light in the
button will come on to let you know that the rear window
defogger is activated.
The rear window defogger will automatically turn off
about 15 minutes after the button is pressed. If turned
on again, the defogger will only run for about seven
minutes before turning off. The defogger can also
be turned off by pressing the button again or by turning
off the engine.
Your vehicle has heated outside rearview mirrors. The
mirrors will heat to help clear fog or frost from the
surface of the mirrors when the rear window defog
button is pressed.
Notice:Don’t use anything sharp on the inside of
the rear window. If you do, you could cut or damage
the warming grid, and the repairs wouldn’t be
covered by your warranty. Do not attach a temporary
vehicle license, tape, a decal or anything similar
to the defogger grid.
Outlet Adjustment
Use the tab located on the air outlets to change the
direction of the airflow.
Operation Tips
•
Clear away any ice, snow or leaves from the air
inlets at the base of the windshield that may
block the flow of air into your vehicle.
•Use of non-GM approved hood deflectors may
adversely affect the performance of the system.
•Keep the area around the base of the instrument
panel console and air path under the seats clear
of objects to help circulate the air inside of
your vehicle more effectively.
3-31