2004 CADILLAC SEVILLE clock
[x] Cancel search: clockPage 107 of 410
Storage Areas
Glove Box
The glove box is located in front of the passenger’s seat
on the instrument panel. To lock the glove box door,
insert the master key into the lock cylinder and
turn it clockwise. Turn the key counterclockwise to
unlock the door.
Cellular Telephone
Your vehicle may have been prewired for dealer
installation of a portable cellular telephone system.
The system has steering wheel telephone controls and
information output through the Driver Information
Center (DIC). Voice activation with remote record and
hands-free operation are standard features. For
more information, contact your dealer. A user’s guide is
provided with the telephone.
Center Console Storage Area
The center console comes with a storage tray, a
storage compartment for CDs or tapes, a dual cupholder
that unfolds, a coinholder, an optional phone and an
armrest. The cupholder can be opened by pressing on
the surface panel located in front of the armrest and
unfolding it. Close the lid to secure it.
Map Pocket
The map/storage pockets are located on each front door
as well as on the passenger’s and driver’s seatbacks.
Assist Handles
A handle above each door can be used when getting
out of your vehicle.
Garment Hooks
For your convenience, a garment hook is attached to
each rear assist handle.
2-49
Page 134 of 410
Interior Lamps
Instrument Panel Brightness
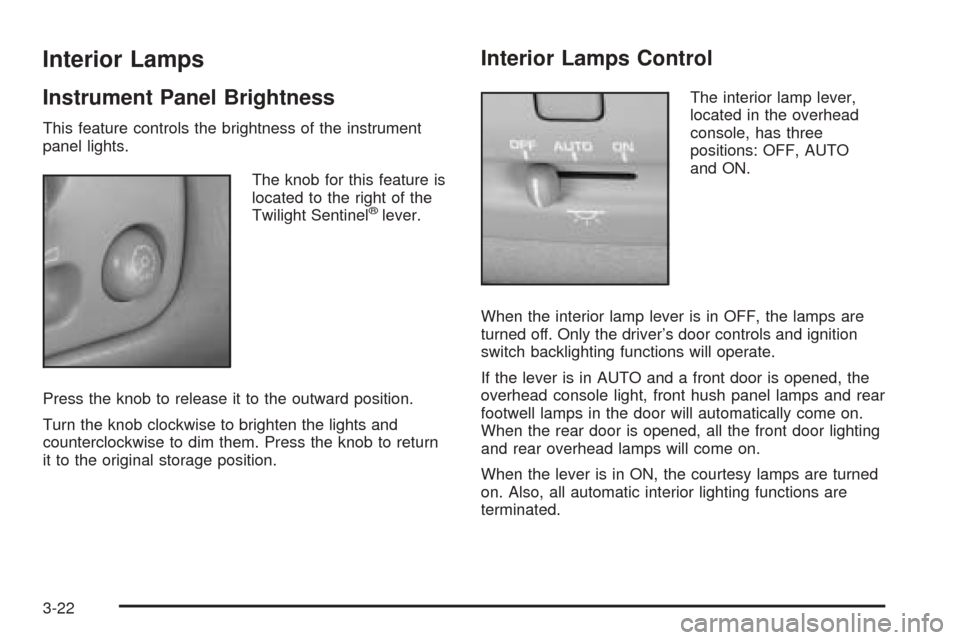
This feature controls the brightness of the instrument
panel lights.
The knob for this feature is
located to the right of the
Twilight Sentinel
®lever.
Press the knob to release it to the outward position.
Turn the knob clockwise to brighten the lights and
counterclockwise to dim them. Press the knob to return
it to the original storage position.
Interior Lamps Control
The interior lamp lever,
located in the overhead
console, has three
positions: OFF, AUTO
and ON.
When the interior lamp lever is in OFF, the lamps are
turned off. Only the driver’s door controls and ignition
switch backlighting functions will operate.
If the lever is in AUTO and a front door is opened, the
overhead console light, front hush panel lamps and rear
footwell lamps in the door will automatically come on.
When the rear door is opened, all the front door lighting
and rear overhead lamps will come on.
When the lever is in ON, the courtesy lamps are turned
on. Also, all automatic interior lighting functions are
terminated.
3-22
Page 135 of 410
Entry Lighting
The entry lighting system automatically turns on the
courtesy lamps and the backlighting to the door switches
and to the exterior lamp control when a door is opened
or if you press the remote keyless entry transmitter
unlock button. If activated due to the transmitter,
the lighting will remain active for about 40 seconds.
Since the entry lighting system uses the light sensor, it
must be dark outside in order for the courtesy lamps
to turn on. The courtesy lamps turn off approximately
25 seconds after the last door is closed. They will dim to
off if the ignition key is placed in ON, or immediately
deactivate if the power locks are activated.
Parade Dimming
This feature prohibits dimming of the digital displays and
backlighting during daylight hours when the key is in
the ignition and the headlamps are on. This feature
operates with the light sensor for the Twilight
Sentinel
®and is fully automatic. When the light sensor
reads darkness outside and the parking lamps are
active, the digital displays can be adjusted by turning
the instrument panel brightness knob counterclockwise
to dim and clockwise to brighten lighting.
Reading Lamps
The front reading lamps are located in the overhead
console. These lamps and the interior courtesy lamps
come on when a door is opened and it is dark outside.
The rear reading lamps will not come on when a
front door is opened.
The rear courtesy lamps are located on the rear
headliner above the rear seat outboard positions. When
a rear door is opened, both the front and rear reading
lamps come on with the courtesy lamps.
Press the button near each lamp to turn it on and off.
If the reading lamps are left on, they automatically shut
off 10 minutes after the ignition has been turned off.
Battery Load Management
The battery load management feature is designed to
monitor the vehicle’s electrical load and determine when
the battery is in a heavy discharge condition. During
times of high electrical loading, the engine may idle at a
higher revolutions per minute (rpm) setting than
normal to make sure the battery charges. High electrical
loads may occur when several of the following are
on: headlamps, high beams, fog lamps, rear window
defogger, the climate control fan at high speeds, heated
seats and engine cooling fans.
3-23
Page 142 of 410
?(Recirculation):This mode keeps outside air
from coming in the vehicle. It can be used to prevent
outside air and odors from entering your vehicle or
to help heat or cool the air inside your vehicle more
quickly. Press this button to turn the recirculation mode
on or off. When the button is pressed, an indicator
light will come on. The air-conditioning compressor also
comes on.
TEMP (Driver’s Temperature Knob):Press this knob
to turn the climate control system on or off. Turn this
knob clockwise or counterclockwise to manually
increase or decrease the temperature inside your
vehicle.
TEMP (Passenger’s Temperature Knob):Press this
knob to turn the passengers’ climate control system
controls on or off. Turn this knob to manually increase
or decrease the temperature for the front passenger.
If the passenger’s climate controls are turned off,
the driver’s temperature knob will control the
temperature for the entire vehicle.
A/C (Air Conditioning):Press this button to override
the automatic system and turn the air-conditioning
system on or off. When in AUTO the air-conditioning
compressor will come on automatically, as necessary.On hot days, open the windows to let hot inside air
escape; then close them. This helps to reduce the time
it takes for your vehicle to cool down. It also helps
the system to operate more efficiently.
For quick cool down on hot days:
1. Select the vent mode.
2. Select the recirculation mode.
3. Select A/C.
4. Select the coolest temperature.
5. Select the highest fan speed.
6. Open all outlets.
Using these settings together for long periods of time
may cause the air inside your vehicle to become too dry.
To prevent this from happening, after the air in your
vehicle has cooled, turn the recirculation mode off.
The air-conditioning system removes moisture from the
air, so you may sometimes notice a small amount of
water dripping underneath your vehicle while idling
or after turning off the engine. This is normal.
If your vehicle has the memory option, it can be used to
recall your climate control settings. For more information,
seeClimate Controls Personalization on page 3-36.
3-30
Page 165 of 410
•AVG MPH (Average Miles per Hour):This
message shows the average speed you have
traveled at since the last time you reset the value.
To reset the value, press the INFO button to
display AVG MPH then press and hold the INFO
RESET button until 0.0 AVG MPH is displayed.
•TIMER:This feature is like a stopwatch, in that you
can clock the time it takes to get from one point to
another.
To operate, press the INFO button to display
TIMER. Each of the fields for the hours, minutes
and seconds are two numeric digits.
Once TIMER 00:00:00 is displayed, press the
ON/OFF button to start the timing feature. Press the
ON/OFF button again to stop it. If you will be starting
and stopping your vehicle, during a trip for instance,
the TIMER feature will automatically start timing
where it left off when you last stopped. To reset it,
press and hold the INFO RESET button until the
display reads TIMER 00:00:00. Press the INFO
button to exit from the TIMER display.
•ENGINE OIL LIFE:Press the INFO button to display
ENGINE OIL LIFE, then press and hold the INFO
RESET button until 100% ENGINE OIL LIFE is
displayed. (This only needs to be reset after you
have had the oil changed.)
•TRANSMISSION FLUID LIFE MONITOR:Under
normal conditions, the rate of deterioration of the
transmission fluid is slow. SeeScheduled
Maintenance on page 6-4for proper fluid and change
intervals. To reset the transmission fluid life, press
the INFO button to display TRANS FLUID LIFE, then
press and hold the INFO RESET button until 100%
TRANS FLUID LIFE is displayed. (This only needs to
be reset after you have had the fluid changed.)
ON/OFF:Pressing this button turns the Personalization
Features on and off. (FEATURE PROGRAMMING must
be displayed on the DIC to begin actual programming.)
This button also starts and stops the timer.
OUTSIDE TEMP (Temperature):This message shows
the outside temperature. After this display has been on
the DIC for about five seconds, the words OUTSIDE
TEMP will disappear so that only the temperature
remains.
3-53
Page 204 of 410
¦SEEK¥:Your tape must have at least three
seconds of silence between each selection for the SEEK
arrows to work. Press the up or the down arrow to
seek to the next or to the previous selection on the tape.
SCAN:Press this button to listen to each selection
for a few seconds. The tape will go to a selection, play
for a few seconds, then go on to the next selection.
Press this button again to stop scanning.
SOURCE:Press this button to lay a cassette tape or
CD when listening to the radio. The audio source
must be loaded to play. Available loaded sources are
shown on the display. If a source is being used, it will be
underlined on the display. If none of the audio sources
are loaded, NO SOURCE LOADED will appear on
the display.
BAND:Press this button to listen to the radio when
playing a cassette tape or CD. The inactive tape or CD
will remain safely inside the radio for future listening.
SIDE:Press this button to play the other side of
the tape.
Z(Eject):Press this button, located to the right of
the cassette tape slot, to stop a tape when it is playing
or to eject a tape when it is not playing. Eject may
be activated with the radio and the ignition off.
Cassette Tape Messages
If an error occurs while trying to play a cassette tape, it
could be one of the following has occurred:
•The cassette tape is tight and the cassette player
cannot turn the hubs of the tape. Hold the cassette
tape with the open end down and try turning
the right hub counterclockwise with a pencil. Flip
the tape over and repeat. If the hubs do not
turn easily, your cassette tape may be damaged
and should not be used in the player. Try a
new tape to be sure your player is working properly.
•The cassette tape is broken. (Check to see if
your tape is broken. Try a new tape.)
CLEAN TAPE:If this message appears on the display,
the cassette tape player needs to be cleaned. It will
still play tapes, but you should clean it as soon as
possible to prevent damage to the tapes and player.
SeeCare of Your Cassette Tape Player on page 3-101.
If any error occurs repeatedly or if an error cannot be
corrected, contact your dealer.
3-92
Page 227 of 410
Try to adjust your speed so you can “drive” through the
curve. Maintain a reasonable, steady speed. Wait to
accelerate until you are out of the curve, and then
accelerate gently into the straightaway.
To help you steer in the direction you want to go, during
certain sharp or sudden cornering maneuvers, gear
selection is controlled. This will maximize the available
drive wheel torque and minimize the transaxle
response time and shift activity. During this kind of
maneuver, the transaxle shifts automatically as vehicle
speed changes.
Steering in Emergencies
There are times when steering can be more effective
than braking. For example, you come over a hill and find
a truck stopped in your lane, or a car suddenly pulls
out from nowhere, or a child darts out from between
parked cars and stops right in front of you. You
can avoid these problems by braking — if you can stop
in time. But sometimes you can not; there is not
room. That is the time for evasive action — steering
around the problem.
Your vehicle can perform very well in emergencies like
these. First apply your brakes.
SeeBraking on page 4-6. It is better to remove as much
speed as you can from a possible collision. Then
steer around the problem, to the left or right depending
on the space available.An emergency like this requires close attention and a
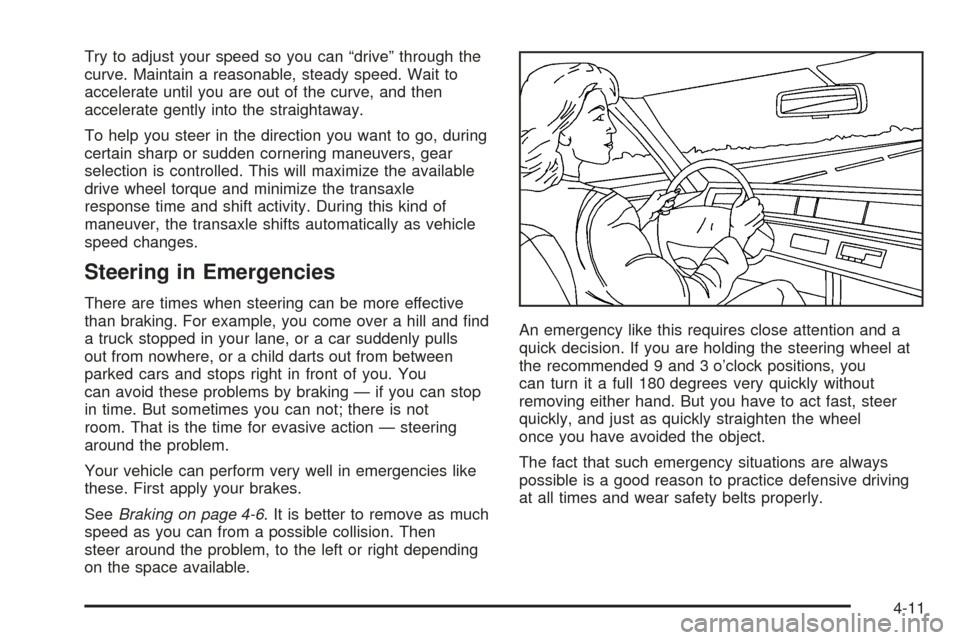
quick decision. If you are holding the steering wheel at
the recommended 9 and 3 o’clock positions, you
can turn it a full 180 degrees very quickly without
removing either hand. But you have to act fast, steer
quickly, and just as quickly straighten the wheel
once you have avoided the object.
The fact that such emergency situations are always
possible is a good reason to practice defensive driving
at all times and wear safety belts properly.
4-11
Page 268 of 410
To open the fuel door, press the fuel door release
button upward. The vehicle must be in PARK (P) or
NEUTRAL (N) and the valet lockout button must be
in OFF.
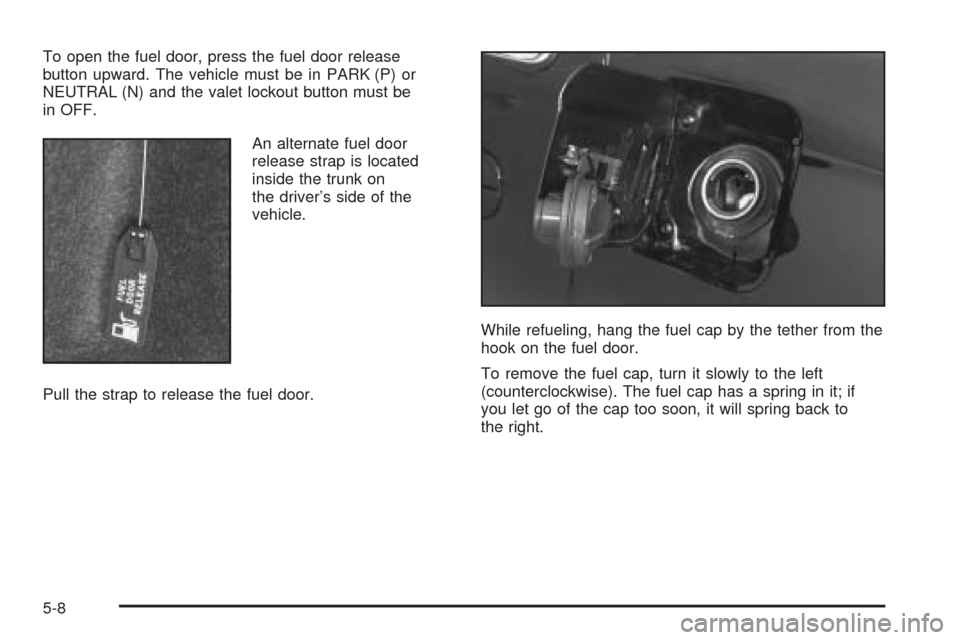
An alternate fuel door
release strap is located
inside the trunk on
the driver’s side of the
vehicle.
Pull the strap to release the fuel door.While refueling, hang the fuel cap by the tether from the
hook on the fuel door.
To remove the fuel cap, turn it slowly to the left
(counterclockwise). The fuel cap has a spring in it; if
you let go of the cap too soon, it will spring back to
the right.
5-8