2004 CADILLAC SEVILLE change wheel
[x] Cancel search: change wheelPage 114 of 410
Audio System(s).............................................3-75
Setting the Time for Radios without Radio
Data Systems (RDS)..................................3-75
Setting the Time for Radios with Radio Data
Systems (RDS).........................................3-75
Radio with CD..............................................3-76
Radio with Cassette and CD..........................3-83
Navigation/Radio System...............................3-95
Console-Mounted CD Changer........................3-95
Radio Personalization with Home and Away
Feature....................................................3-98Theft-Deterrent Feature..................................3-99
Audio Steering Wheel Controls......................3-100
Radio Reception.........................................3-100
Care of Your Cassette Tape Player...............3-101
Care of Your CDs.......................................3-102
Care of Your CD Player...............................3-102
Diversity Antenna System.............................3-103
XM™ Satellite Radio Antenna System
(48 Contiguous US States)........................3-103
Section 3 Instrument Panel
3-2
Page 121 of 410
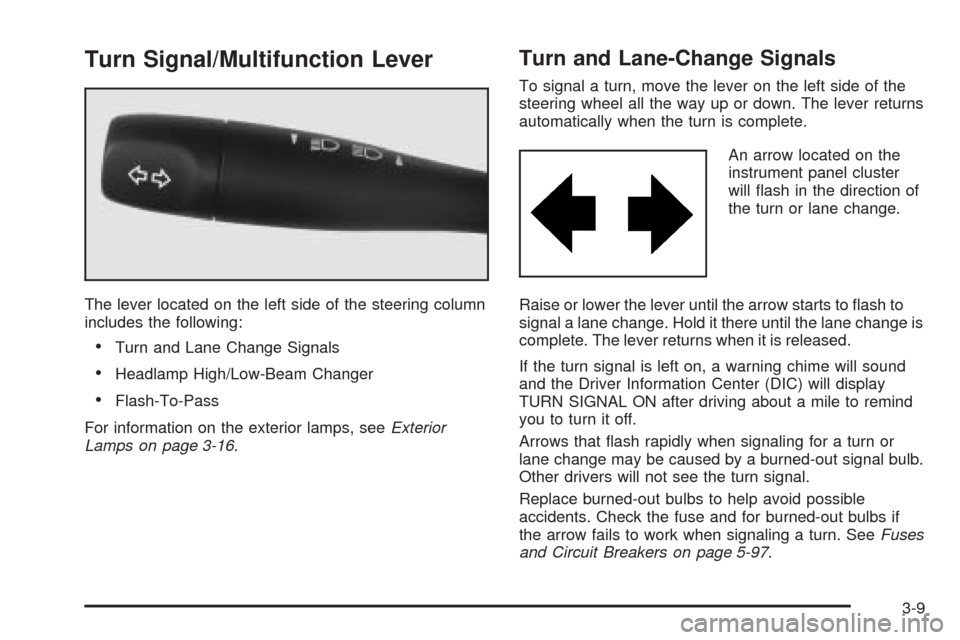
Turn Signal/Multifunction Lever
The lever located on the left side of the steering column
includes the following:
•Turn and Lane Change Signals
•Headlamp High/Low-Beam Changer
•Flash-To-Pass
For information on the exterior lamps, seeExterior
Lamps on page 3-16.
Turn and Lane-Change Signals
To signal a turn, move the lever on the left side of the
steering wheel all the way up or down. The lever returns
automatically when the turn is complete.
An arrow located on the
instrument panel cluster
will flash in the direction of
the turn or lane change.
Raise or lower the lever until the arrow starts to flash to
signal a lane change. Hold it there until the lane change is
complete. The lever returns when it is released.
If the turn signal is left on, a warning chime will sound
and the Driver Information Center (DIC) will display
TURN SIGNAL ON after driving about a mile to remind
you to turn it off.
Arrows that flash rapidly when signaling for a turn or
lane change may be caused by a burned-out signal bulb.
Other drivers will not see the turn signal.
Replace burned-out bulbs to help avoid possible
accidents. Check the fuse and for burned-out bulbs if
the arrow fails to work when signaling a turn. SeeFuses
and Circuit Breakers on page 5-97.
3-9
Page 125 of 410
Windshield Washer
The windshield washer has both a “demand” mode and
a “programmed” mode, depending on the amount of
windshield washer fluid you need.
{CAUTION:
In freezing weather, do not use your washer
until the windshield is warmed. Otherwise the
washer fluid can form ice on the windshield,
blocking your vision.
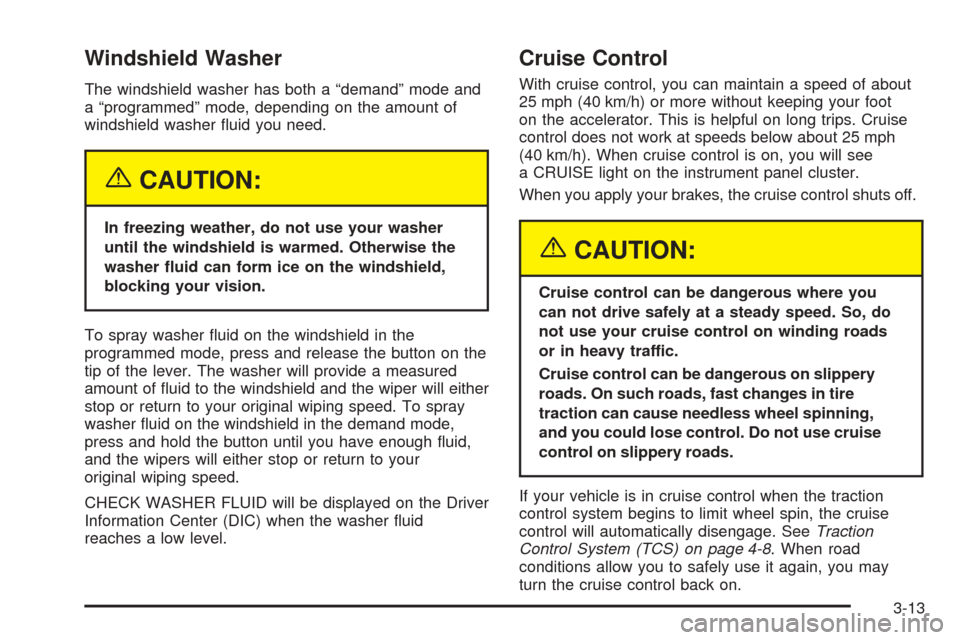
To spray washer fluid on the windshield in the
programmed mode, press and release the button on the
tip of the lever. The washer will provide a measured
amount of fluid to the windshield and the wiper will either
stop or return to your original wiping speed. To spray
washer fluid on the windshield in the demand mode,
press and hold the button until you have enough fluid,
and the wipers will either stop or return to your
original wiping speed.
CHECK WASHER FLUID will be displayed on the Driver
Information Center (DIC) when the washer fluid
reaches a low level.
Cruise Control
With cruise control, you can maintain a speed of about
25 mph (40 km/h) or more without keeping your foot
on the accelerator. This is helpful on long trips. Cruise
control does not work at speeds below about 25 mph
(40 km/h). When cruise control is on, you will see
a CRUISE light on the instrument panel cluster.
When you apply your brakes, the cruise control shuts off.
{CAUTION:
Cruise control can be dangerous where you
can not drive safely at a steady speed. So, do
not use your cruise control on winding roads
or in heavy traffic.
Cruise control can be dangerous on slippery
roads. On such roads, fast changes in tire
traction can cause needless wheel spinning,
and you could lose control. Do not use cruise
control on slippery roads.
If your vehicle is in cruise control when the traction
control system begins to limit wheel spin, the cruise
control will automatically disengage. SeeTraction
Control System (TCS) on page 4-8. When road
conditions allow you to safely use it again, you may
turn the cruise control back on.
3-13
Page 145 of 410
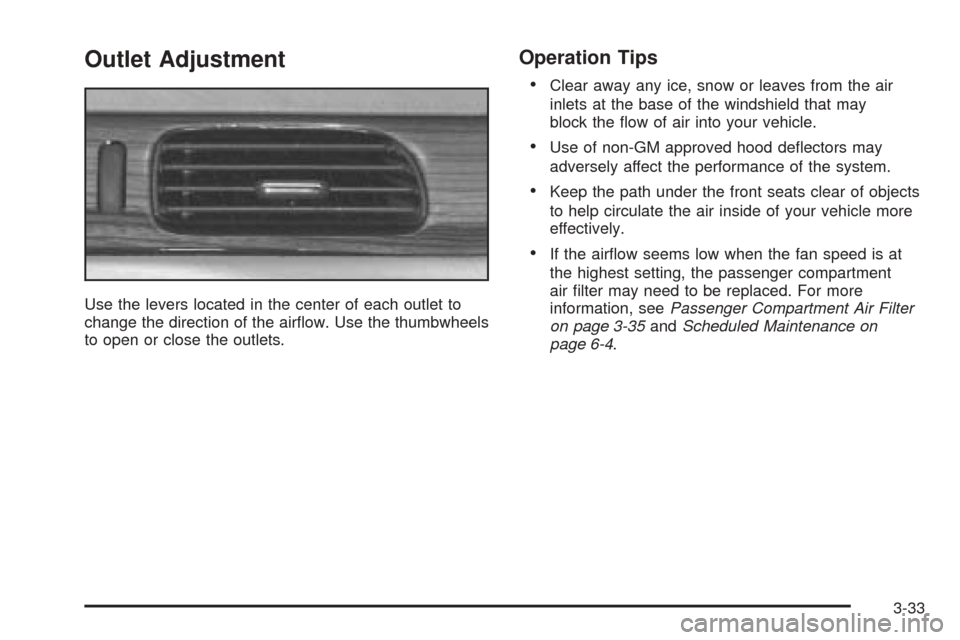
Outlet Adjustment
Use the levers located in the center of each outlet to
change the direction of the airflow. Use the thumbwheels
to open or close the outlets.
Operation Tips
•
Clear away any ice, snow or leaves from the air
inlets at the base of the windshield that may
block the flow of air into your vehicle.
•Use of non-GM approved hood deflectors may
adversely affect the performance of the system.
•Keep the path under the front seats clear of objects
to help circulate the air inside of your vehicle more
effectively.
•If the airflow seems low when the fan speed is at
the highest setting, the passenger compartment
air filter may need to be replaced. For more
information, seePassenger Compartment Air Filter
on page 3-35andScheduled Maintenance on
page 6-4.
3-33
Page 148 of 410
Steering Wheel Climate Controls
You can adjust the temperature using the steering wheel
controls.
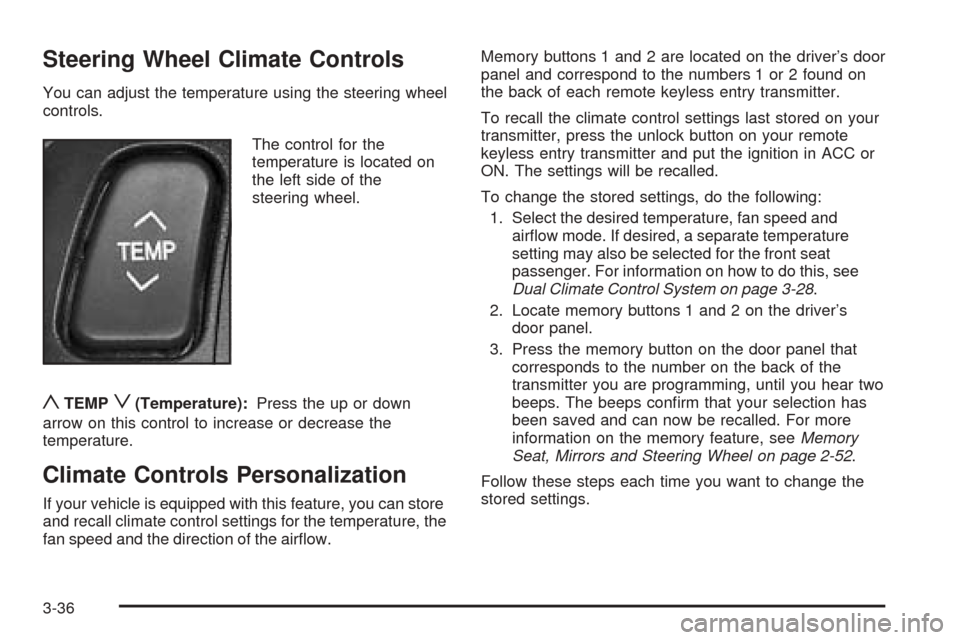
The control for the
temperature is located on
the left side of the
steering wheel.
yTEMPz(Temperature):Press the up or down
arrow on this control to increase or decrease the
temperature.
Climate Controls Personalization
If your vehicle is equipped with this feature, you can store
and recall climate control settings for the temperature, the
fan speed and the direction of the airflow.Memory buttons 1 and 2 are located on the driver’s door
panel and correspond to the numbers 1 or 2 found on
the back of each remote keyless entry transmitter.
To recall the climate control settings last stored on your
transmitter, press the unlock button on your remote
keyless entry transmitter and put the ignition in ACC or
ON. The settings will be recalled.
To change the stored settings, do the following:
1. Select the desired temperature, fan speed and
airflow mode. If desired, a separate temperature
setting may also be selected for the front seat
passenger. For information on how to do this, see
Dual Climate Control System on page 3-28.
2. Locate memory buttons 1 and 2 on the driver’s
door panel.
3. Press the memory button on the door panel that
corresponds to the number on the back of the
transmitter you are programming, until you hear two
beeps. The beeps confirm that your selection has
been saved and can now be recalled. For more
information on the memory feature, seeMemory
Seat, Mirrors and Steering Wheel on page 2-52.
Follow these steps each time you want to change the
stored settings.
3-36
Page 151 of 410
Speedometer and Odometer
The speedometer lets you see your speed in both
miles per hour (mph) and kilometers per hour (km/h).
The odometer shows how far your vehicle has
been driven, in either miles (used in the United States)
or kilometers (used in Canada).
You may wonder what happens if a vehicle has to have
a new odometer installed. The new one may read
the correct mileage. This is because your vehicle’s
computer has stored the mileage in memory.
Trip Odometers
The trip odometer can record the number of miles or
kilometers traveled for up to two trips.
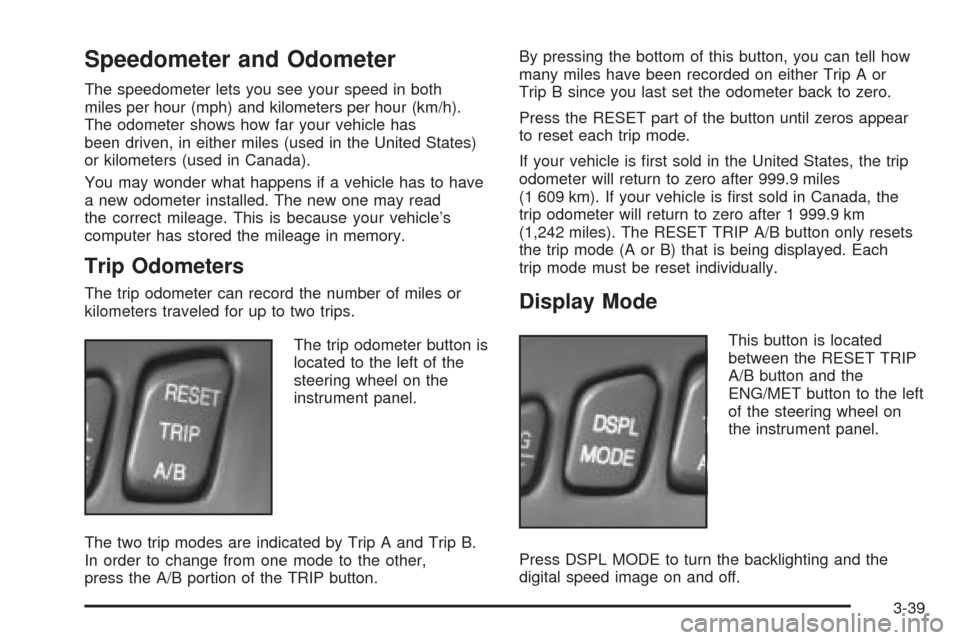
The trip odometer button is
located to the left of the
steering wheel on the
instrument panel.
The two trip modes are indicated by Trip A and Trip B.
In order to change from one mode to the other,
press the A/B portion of the TRIP button.By pressing the bottom of this button, you can tell how
many miles have been recorded on either Trip A or
Trip B since you last set the odometer back to zero.
Press the RESET part of the button until zeros appear
to reset each trip mode.
If your vehicle is first sold in the United States, the trip
odometer will return to zero after 999.9 miles
(1 609 km). If your vehicle is first sold in Canada, the
trip odometer will return to zero after 1 999.9 km
(1,242 miles). The RESET TRIP A/B button only resets
the trip mode (A or B) that is being displayed. Each
trip mode must be reset individually.Display Mode
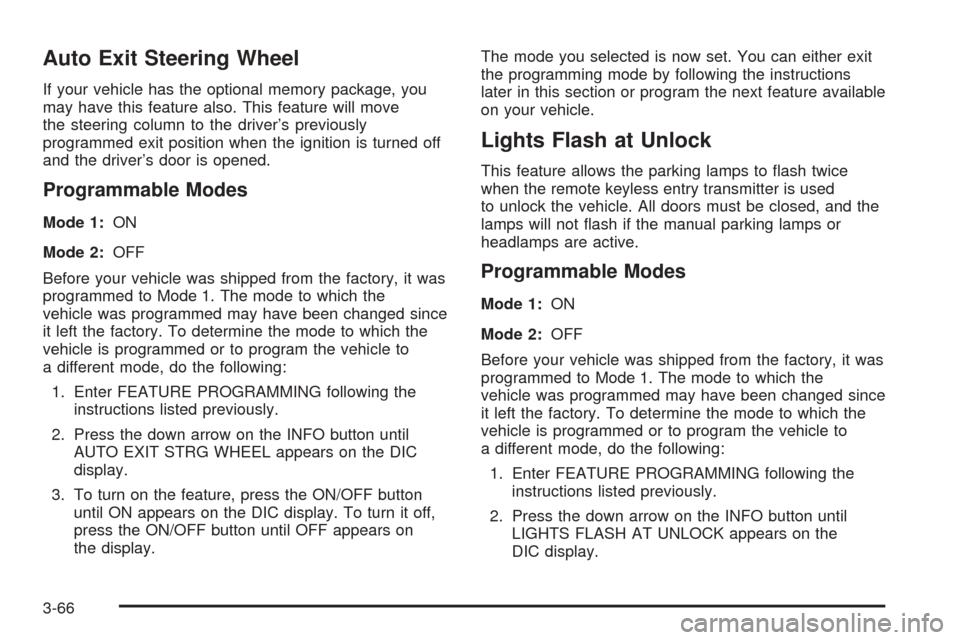
This button is located
between the RESET TRIP
A/B button and the
ENG/MET button to the left
of the steering wheel on
the instrument panel.
Press DSPL MODE to turn the backlighting and the
digital speed image on and off.
3-39
Page 178 of 410
Auto Exit Steering Wheel
If your vehicle has the optional memory package, you
may have this feature also. This feature will move
the steering column to the driver’s previously
programmed exit position when the ignition is turned off
and the driver’s door is opened.
Programmable Modes
Mode 1:ON
Mode 2:OFF
Before your vehicle was shipped from the factory, it was
programmed to Mode 1. The mode to which the
vehicle was programmed may have been changed since
it left the factory. To determine the mode to which the
vehicle is programmed or to program the vehicle to
a different mode, do the following:
1. Enter FEATURE PROGRAMMING following the
instructions listed previously.
2. Press the down arrow on the INFO button until
AUTO EXIT STRG WHEEL appears on the DIC
display.
3. To turn on the feature, press the ON/OFF button
until ON appears on the DIC display. To turn it off,
press the ON/OFF button until OFF appears on
the display.The mode you selected is now set. You can either exit
the programming mode by following the instructions
later in this section or program the next feature available
on your vehicle.
Lights Flash at Unlock
This feature allows the parking lamps to flash twice
when the remote keyless entry transmitter is used
to unlock the vehicle. All doors must be closed, and the
lamps will not flash if the manual parking lamps or
headlamps are active.
Programmable Modes
Mode 1:ON
Mode 2:OFF
Before your vehicle was shipped from the factory, it was
programmed to Mode 1. The mode to which the
vehicle was programmed may have been changed since
it left the factory. To determine the mode to which the
vehicle is programmed or to program the vehicle to
a different mode, do the following:
1. Enter FEATURE PROGRAMMING following the
instructions listed previously.
2. Press the down arrow on the INFO button until
LIGHTS FLASH AT UNLOCK appears on the
DIC display.
3-66
Page 223 of 410
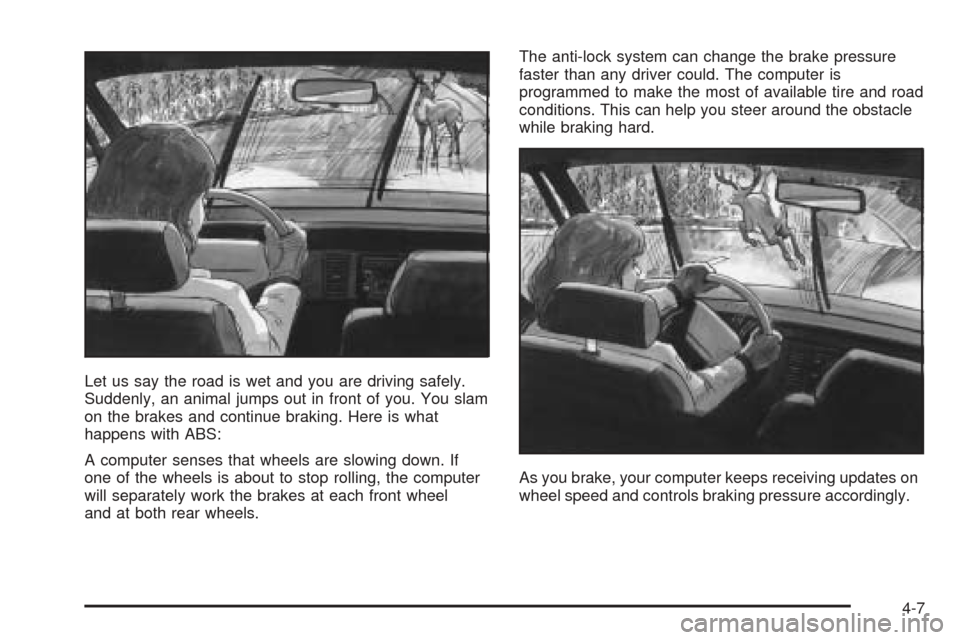
Let us say the road is wet and you are driving safely.
Suddenly, an animal jumps out in front of you. You slam
on the brakes and continue braking. Here is what
happens with ABS:
A computer senses that wheels are slowing down. If
one of the wheels is about to stop rolling, the computer
will separately work the brakes at each front wheel
and at both rear wheels.The anti-lock system can change the brake pressure
faster than any driver could. The computer is
programmed to make the most of available tire and road
conditions. This can help you steer around the obstacle
while braking hard.
As you brake, your computer keeps receiving updates on
wheel speed and controls braking pressure accordingly.
4-7