Page 57 of 162
455Riding
positions. Before conclusion
of the self-diagnosis, only
residual braking function
(b 71) is available.
• Release the brake lever.
• Switch on the ignition.
Phase 1
General warning light
lights up.
ABS warning light flashes
4 times per second.
Self-diagnosis is carried out.
Phase 2
ABS warning light flashes
once per second.
Self-diagnosis is complete. The warning light goes out
after completion of the start-
ing-off test (
b 58).
If the ignition is switched
on with the brake lever
operated and then the engine
is started and the motorcycle
moves off immediately, the
BMW Integral ABS is still in the
residual braking function
(
b 71). The self-diagnosis is
carried out as soon as the
brake lever is released com-
pletely for the first time. During
this period, neither the ABS
function nor the braking power
assistance is available.
When you start the engine,
wait until the ABS self-diagno-
sis has been carried out.cStarting on gradients:
Switch on the ignition
with the gear engaged, clutch
lever released and brake lever
released. Then press the
brake, press the clutch and
start the engine.c
Side-standIf the side stand is extended
and a gear is engaged, you
cannot start the motorcycle.
If the motorcycle has been
started in neutral and a gear is
then engaged while the side
stand is extended, the engine
switches off.
Page 60 of 162
Riding458
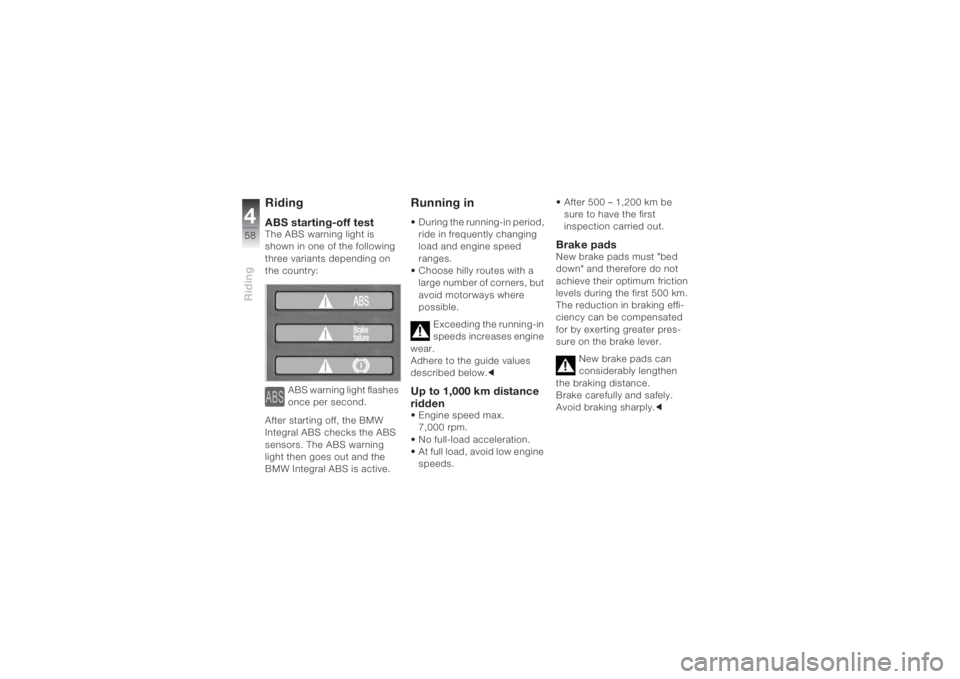
RidingABS starting-off testThe ABS warning light is
shown in one of the following
three variants depending on
the country:
ABS warning light flashes
once per second.
After starting off, the BMW
Integral ABS checks the ABS
sensors. The ABS warning
light then goes out and the
BMW Integral ABS is active.
Running in• During the running-in period,
ride in frequently changing
load and engine speed
ranges.
• Choose hilly routes with a
large number of corners, but
avoid motorways where
possible.
Exceeding the running-in
speeds increases engine
wear.
Adhere to the guide values
described below.cUp to 1,000 km distance
ridden• Engine speed max.
7,000 rpm.
• No full-load acceleration.
• At full load, avoid low engine
speeds. • After 500 – 1,200 km be
sure to have the first
inspection carried out.
Brake padsNew brake pads must "bed
down" and therefore do not
achieve their optimum friction
levels during the first 500 km.
The reduction in braking effi-
ciency can be compensated
for by exerting greater pres-
sure on the brake lever.
New brake pads can
considerably lengthen
the braking distance.
Brake carefully and safely.
Avoid braking sharply.c
Page 65 of 162
463Riding
Taking the motorcycle
off the side stand
With the ignition switched
off, there is no braking
power assistance; the motor-
cycle can begin to roll.
Especially on inclines, switch
on the ignition and wait for the
ABS self-diagnosis (
b 54).c
• Unlock the ignition lock,
switch on the ignition.
•Wait for the ABS self-
diagnosis.
• From the left, grip the
handlebars with both hands.
• Apply the handbrake.
• Swing your right leg over the
seat, straightening the
motorcycle as you do so.
• Place the motorcycle verti-
cally and balance it out.• Sit down and fold back the
side stand with your left foot.
An extended side stand
can catch on the ground
when the motorcycle is mov-
ing and lead to a fall.
Fold in the side stand before
moving the motorcycle.c
Page 69 of 162
467Riding
Pushing the motorcycle
off the centre stand
OA
With the ignition switched
off, there is no braking
power assistance; the motor-
cycle can begin to roll.
Especially on inclines, switch
on the ignition and wait for the
ABS self-diagnosis (
b 54).c
• Unlock the ignition lock,
switch on the ignition.
•Wait for the ABS self-
diagnosis.
• Place your left hand on the
left handlebar grip.
• With your right hand, take
hold of the pillion passenger
grab handle.
• Push the motorcycle for-
wards off the centre stand.• Check whether the centre
stand has folded in fully.
Fuel Refuelling
Fuel is a fire hazard and
explosive!
Do not smoke and make sure
that there are no naked flames
during all activities at the fuel
tank.c
Fuel expands under the
influence of high temper-
atures and exposure to sun-
light.
Fill up only to the lower edge of
the filler neck.c
Fuel can damage plastic
parts.
Avoid fuel coming into contact
with body panels.c• Place the motorcycle on the
centre stand
OA or side
stand, ensuring that the
ground is firm and level.
• Open the protective cap.
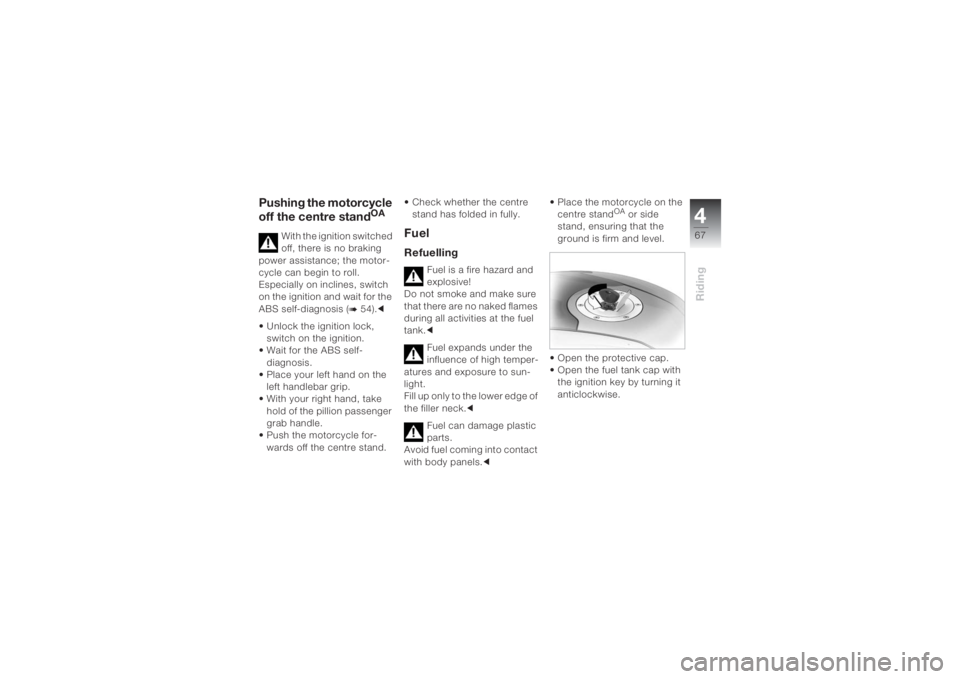
• Open the fuel tank cap with
the ignition key by turning it
anticlockwise.
Page 71 of 162
469Riding
Wet brakes
After washing the motor-
cycle, after riding through
water or when it is raining, the
braking effect can be delayed
due to damp brake discs and
brake pads.
Note that there will be an
extended braking distance
until the brakes have dried out
or the act of braking itself dries
them.c
Salt on brakes
The brakes may fail to
take effect immediately if
the motorcycle was ridden on
salt-covered roads and the
brakes were not applied for
some time.
Note that there will be an
extended braking distance until the salt layer on the brake
discs and brake pads is
removed by braking.c
Oil or grease on the brake
Oil and grease deposits
on brake discs and pads
considerably reduce the
braking effect.
Especially after repair and
maintenance work, make sure
that the brake discs and brake
pads are free of oil and
grease.c
Dirt or mud on brakes
When riding on loose sur-
faces or muddy roads,
the brakes may fail to take ef-
fect immediately because of
dirt or moisture on the discs or
brake pads.
Note that there will be an extended braking distance
until the brakes have been
cleaned by braking.c
BMW Integral ABSSensitive electronic control
It takes skill and sensitive con-
trol of the brakes to pull up
safely on a motorcycle. If the
front wheel brake locks and
the wheel skids, the necessary
longitudinal and lateral stabil-
ising forces are lost, and a fall
can result. For this reason, the
rider seldom makes full use of
available braking performance
in an emergency.
BMW Integral ABS provides
improved braking deceleration
by means of anti-lock braking
for both wheels and braking
force distribution by means of
the integral braking function
(b 50, 69). Making full use of
Page 72 of 162
Riding470
the motorcycle’s technical
braking capacity will minimise
braking distances noticeably,
even when road conditions are
poor.When riding straight
ahead, the BMW Integral ABS
enables secure, optimised
emergency braking which
corresponds to the
circumstances.
Reserves for safety
The potentially shorter braking
distances which BMW Integral
ABS permits must not be used
as an excuse for careless rid-
ing. ABS is primarily a means
of ensuring a safety margin in
genuine emergencies.
Take care when cornering.
When you apply the brakes on
a corner, the motorcycle’s
weight and momentum take over and even BMW Integral
ABS is unable to counteract
their effects.
Integral braking
The integral braking function
activates the front and rear
brakes jointly, which means
that both wheels are braked
when one brake lever is
pressed. The electronics in the
BMW Integral ABS controls
the braking force distribution
between the front and rear
brakes. Braking-force distribu-
tion depends on load and is
recalculated every time the
ABS controller comes into
action. Partial integral braking
Your motorcycle is fitted with
partial integral braking. In this
partially integral brake configu-
ration, the integral braking
function is activated only when
you pull the handbrake lever.
The footbrake lever acts only
on the rear brake.
Braking power assistance
On braking, BMW Integral
ABS boosts the brake force on
the wheel by means of a
hydraulic pump. By boosting
the braking force in this way,
BMW Integral ABS achieves
higher braking efficiency than
standard brake systems.
Page 73 of 162
471Riding
ABS anti-lock braking
system
ABS prevents the wheels from
locking on braking, making a
major contribution to road
safety.
Lifting up the rear wheel
With strong adhesion between
the tyres and the road, the
front wheel locks either very
late or not at all when the
brakes are applied hard.
Accordingly, the ABS control
only has to intervene very late
or not at all. In this case, the
rear wheel can lift up, which
can lead to the motorcycle
rolling over. Heavy braking can cause
the rear wheel to rise.
Bear in mind that the ABS
control is unable to prevent
the rear wheel from lifting up in
every instance.c
Residual braking function
With the ignition switched off,
during the self-diagnosis and
in the event of a fault in the
BMW Integral ABS, the brake
circuits concerned only have
the residual braking function.
The residual braking function
is the braking power without
the hydraulic servo assistance
of the BMW Integral ABS.
Under these circumstances,
therefore, you must apply con-
siderably higher pressure to
the brake levers in question in
order to apply the brakes, and
lever travel is longer. When the residual braking function is
active, the ABS function is
unavailable in the brake sys-
tem in question. When the
residual braking function is
active, the integral braking
function is partially or entirely
unavailable.
Without the ABS func-
tion, the wheels may lock
under braking; without braking
power assistance, considera-
bly greater force is required to
brake.
Brake carefully and safely.
Avoid braking sharply. Have
the fault remedied as soon as
possible by a specialist work-
shop, preferably an authorised
BMW motorcycle dealer.c
Page 91 of 162
689Maintenance
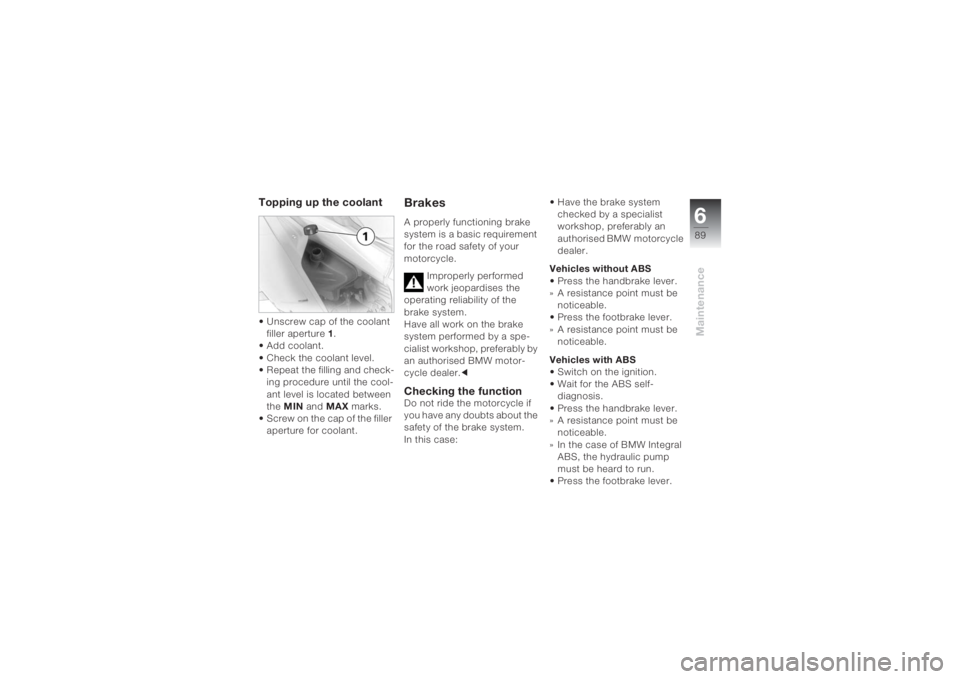
Topping up the coolant • Unscrew cap of the coolant
filler aperture 1.
• Add coolant.
• Check the coolant level.
• Repeat the filling and check-
ing procedure until the cool-
ant level is located between
the MIN and MAX marks.
• Screw on the cap of the filler
aperture for coolant.
BrakesA properly functioning brake
system is a basic requirement
for the road safety of your
motorcycle.
Improperly performed
work jeopardises the
operating reliability of the
brake system.
Have all work on the brake
system performed by a spe-
cialist workshop, preferably by
an authorised BMW motor-
cycle dealer.cChecking the functionDo not ride the motorcycle if
you have any doubts about the
safety of the brake system.
In this case:• Have the brake system
checked by a specialist
workshop, preferably an
authorised BMW motorcycle
dealer.
Vehicles without ABS
• Press the handbrake lever.
» A resistance point must be
noticeable.
• Press the footbrake lever.
» A resistance point must be
noticeable.
Vehicles with ABS
• Switch on the ignition.
•Wait for the ABS self-
diagnosis.
• Press the handbrake lever.
» A resistance point must be
noticeable.
» In the case of BMW Integral
ABS, the hydraulic pump
must be heard to run.
• Press the footbrake lever.