Page 46 of 162
Operation344
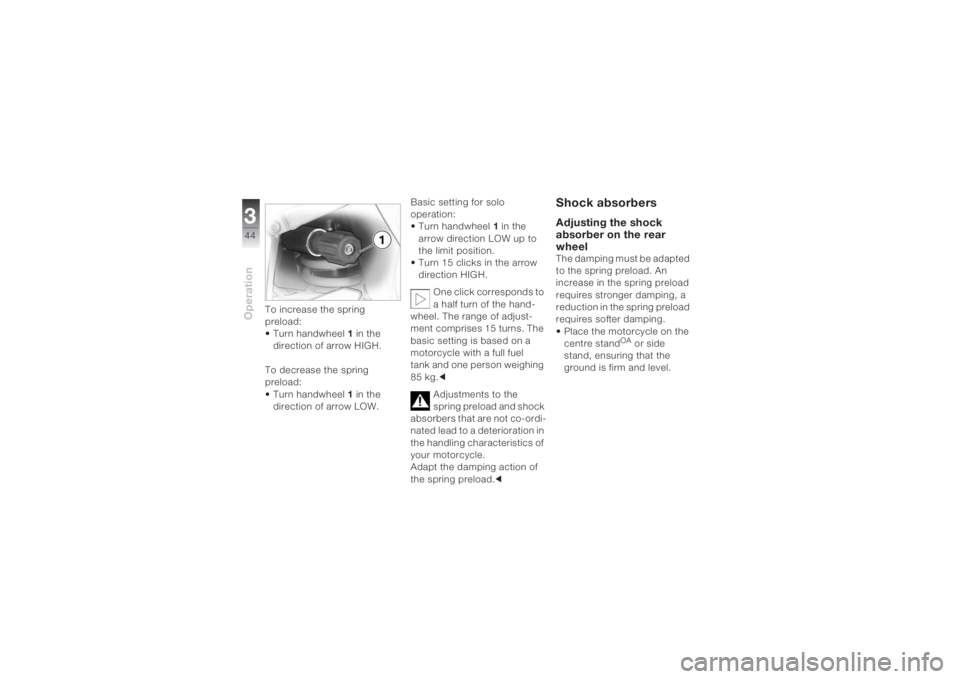
To increase the spring
preload:
• Turn handwheel 1 in the
direction of arrow HIGH.
To decrease the spring
preload:
• Turn handwheel 1 in the
direction of arrow LOW.Basic setting for solo
operation:
• Turn handwheel 1 in the
arrow direction LOW up to
the limit position.
• Turn 15 clicks in the arrow
direction HIGH.
One click corresponds to
a half turn of the hand-
wheel. The range of adjust-
ment comprises 15 turns. The
basic setting is based on a
motorcycle with a full fuel
tank and one person weighing
85 kg.c
Adjustments to the
spring preload and shock
absorbers that are not co-ordi-
nated lead to a deterioration in
the handling characteristics of
your motorcycle.
Adapt the damping action of
the spring preload.c
Shock absorbersAdjusting the shock
absorber on the rear
wheelThe damping must be adapted
to the spring preload. An
increase in the spring preload
requires stronger damping, a
reduction in the spring preload
requires softer damping.
• Place the motorcycle on the
centre stand
OA or side
stand, ensuring that the
ground is firm and level.
Page 47 of 162
345Operation
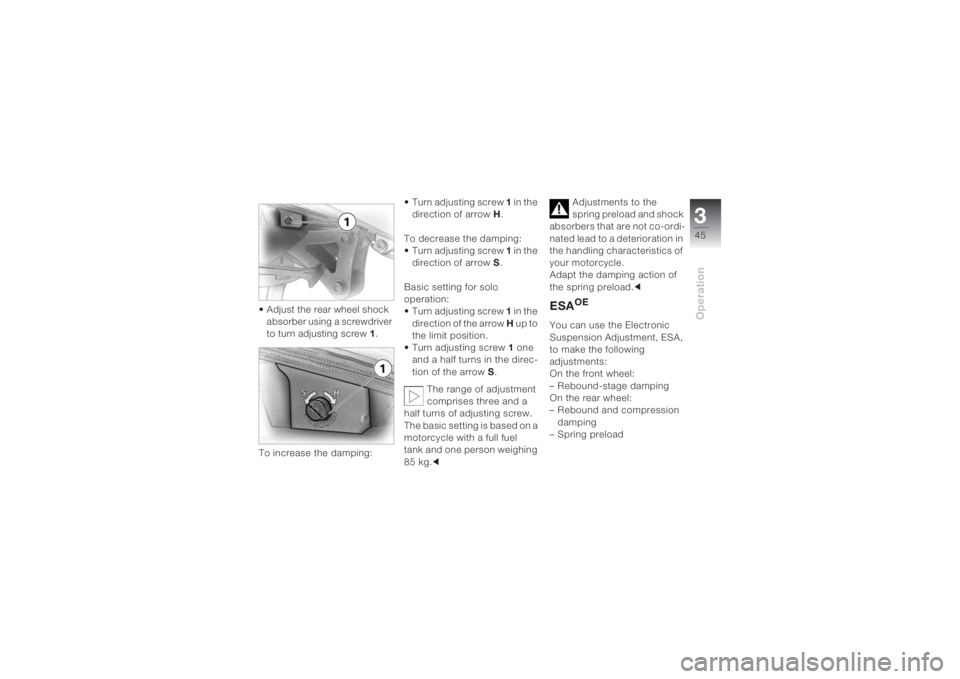
• Adjust the rear wheel shock
absorber using a screwdriver
to turn adjusting screw 1.
To increase the damping:• Turn adjusting screw 1 in the
direction of arrow H.
To decrease the damping:
• Turn adjusting screw 1 in the
direction of arrow S.
Basic setting for solo
operation:
• Turn adjusting screw 1 in the
direction of the arrow H up to
the limit position.
• Turn adjusting screw 1 one
and a half turns in the direc-
tion of the arrow S.
The range of adjustment
comprises three and a
half turns of adjusting screw.
The basic setting is based on a
motorcycle with a full fuel
tank and one person weighing
85 kg.cAdjustments to the
spring preload and shock
absorbers that are not co-ordi-
nated lead to a deterioration in
the handling characteristics of
your motorcycle.
Adapt the damping action of
the spring preload.c
ESA
OE
You can use the Electronic
Suspension Adjustment, ESA,
to make the following
adjustments:
On the front wheel:
– Rebound-stage damping
On the rear wheel:
– Rebound and compression
damping
– Spring preload
Page 48 of 162
Operation346
Calling up settings• Switch on the ignition.
• Press button1 briefly.
» The current setting is
displayed.
2Damping set3Spring preload set
If button 1 is not pressed for
longer than two seconds, the
display goes out.
Adjusting the shock
absorbersThree adjustments are possi-
ble; these are shown in the
field2 as follows:
Comfort,
soft damping
Normal,
medium dampingSport,
hard damping
• Switch on the ignition.
• Press button1 briefly.
» The current setting is
displayed.
• Press button1 once briefly.
» Starting from the current
status, the display is in the
following order:
–Comfort
–Normal
–Sport
Page 49 of 162
347Operation
If button1 is not pressed for
longer than one second, the
shock absorbers are set as
displayed.
During the setting procedure,
the display flashes.Adjusting the spring
preloadThe spring preload cannot be
adjusted while the motorcycle
is being ridden.
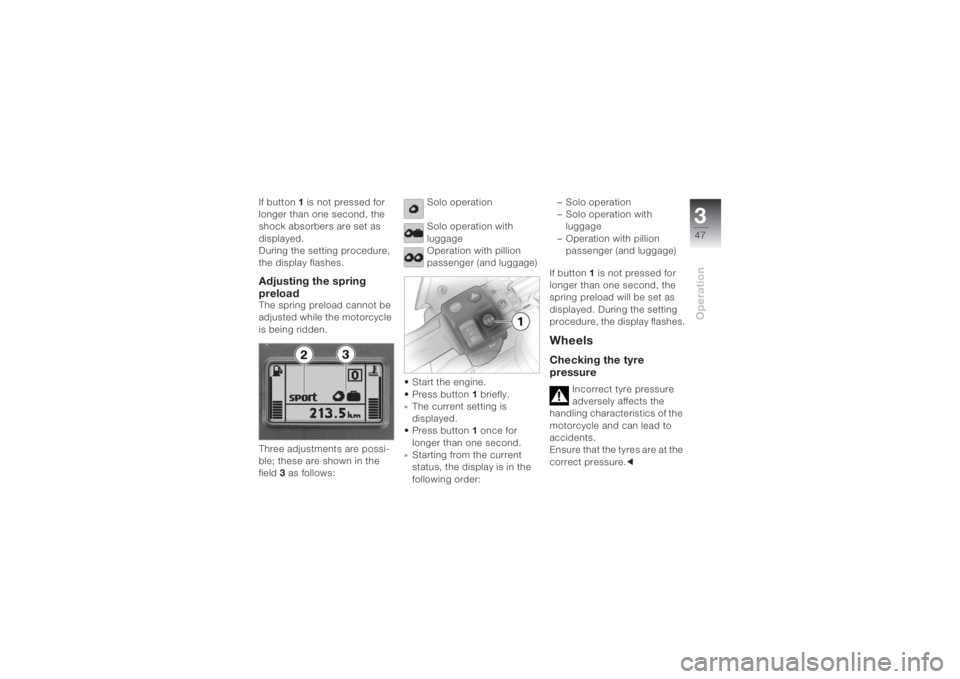
Three adjustments are possi-
ble; these are shown in the
field3 as follows:Solo operation
Solo operation with
luggage
Operation with pillion
passenger (and luggage)
•Start the engine.
• Press button1 briefly.
» The current setting is
displayed.
• Press button1 once for
longer than one second.
» Starting from the current
status, the display is in the
following order:– Solo operation
– Solo operation with
luggage
– Operation with pillion
passenger (and luggage)
If button1 is not pressed for
longer than one second, the
spring preload will be set as
displayed. During the setting
procedure, the display flashes.
WheelsChecking the tyre
pressure
Incorrect tyre pressure
adversely affects the
handling characteristics of the
motorcycle and can lead to
accidents.
Ensure that the tyres are at the
correct pressure.c
Page 52 of 162
Riding450
Safety instructionsSpeedWhen riding at high speed,
various marginal conditions
can adversely affect the
handling characteristics of the
motorcycle:
– adjustment of the spring-
strut and shock absorber
system
– unequally distributed load
– loose clothing
– insufficient tyre pressure
– poor tyre tread
–etc.Correct loading
Overloading can ad-
versely affect the riding
stability of the motorcycle.
Do not exceed the permissible
gross weight and permissible
wheel loads (
b 137).c
Alcohol and drugs
Even small amounts of
alcohol or drugs can
considerably adversely affect
your perception, judgement
and ability to make decisions,
as well as your reflexes. Taking
medication can increase these
effects.
Do not ride your motorcycle
after consuming alcohol,
drugs and/or medication.c
Risk of poisoningExhaust fumes contain carbon
monoxide, which is colourless
and odourless but highly toxic.
Inhaling exhaust fumes is
a health hazard and can
lead to loss of consciousness
or death.
Do not inhale exhaust fumes.
Do not run the engine in en-
closed spaces.cHigh voltage
Touching live parts of the
ignition system with the
engine running can lead to
electric shocks.
Do not touch any parts of the
ignition system when the en-
gine is running.c
Page 54 of 162
Riding452
Safety checkPrior to every journeyUse the following checklist to
check important functions,
settings and wear limits before
starting to ride. Checklist–Brakes (
b 93)
– Brake fluid level (
b 91)
– Clutch function (b 93)
– Clutch fluid level (b 93)
– Warning and telltale lights
(
b 18)
– Shock absorber setting
(b 44, 46) and spring
preload (
b 47)
–Rims (
b 94), tread depth
(
b 94) and tyre pressure
(b 47)
– Load, gross weight (
b 137)
– Secure luggage systemAt regular intervals:
– Engine oil level (every time
you refuel) (
b 86)
– Brake pads (every second/
third time you refuel)
(
b 90, 91)
Making your first tripSafe handling of your
motorcycleEach motorcycle has its 'own
life' that you have to get used
to:
– Acceleration capability
– Road holding
– Cornering characteristics
–Braking power
The engine also has to be
run in during the first 1,000 km
(b 58).You will find information on
BMW Integral ABS from
(
b 69) onwards.
BMW Integral ABS incor-
porates braking power
assistance, so that braking
power is significantly higher
than with conventional brake
systems. Especially when
cornering, unintentionally hard
braking can lead to dangerous
situations.
Practice braking with
BMW Integral ABS in safe
situations.c
Page 55 of 162
453Riding
Before you startSwitching on the ignition• Read the information on the
EWS (
b 22).
• Kill switch1 in operating
positionA.
• Switch on the ignition.
» Pre-ride check is carried out.
» With BMW Integral ABS:
ABS self-diagnosis is
performed.
Pre-ride checkAfter the ignition has been
switched on, a pre-ride check
is carried out. Here, the func-
tions of all warning lights and
warning symbols are checked.
The following are displayed in
succession in the multifunc-
tion display:
Phase 1
General warning light
lights up red.
Engine oil pressure
symbol is displayed.Battery charge current
symbol is displayed.
Phase 2
General warning light
lights up yellow.
Engine electronics
symbol is displayed.
EWS symbol is
displayed.
Page 56 of 162
Riding454
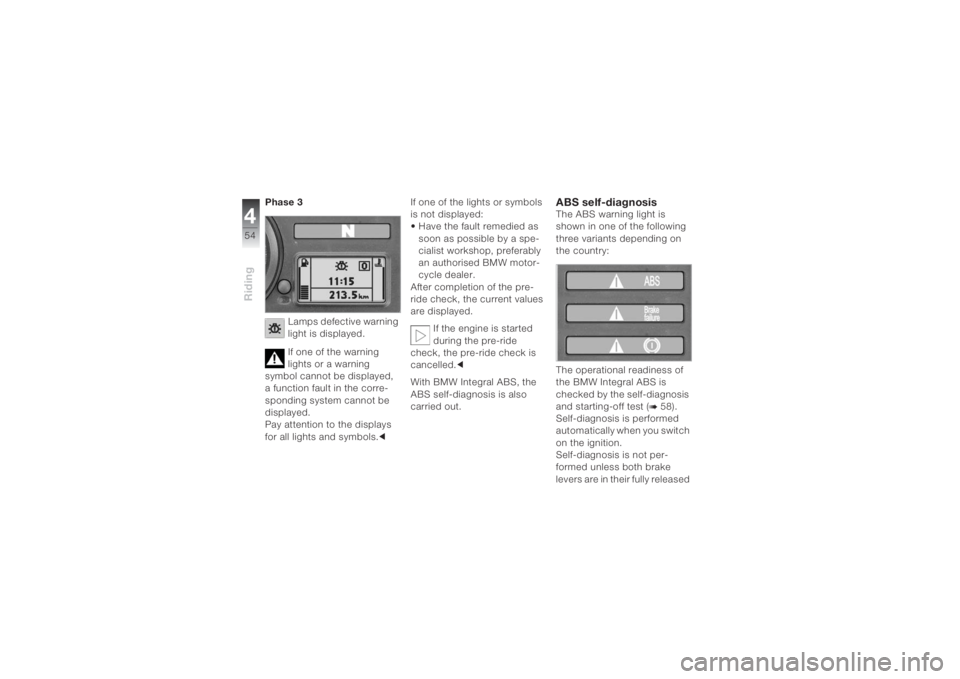
Phase 3
Lamps defective warning
light is displayed.
If one of the warning
lights or a warning
symbol cannot be displayed,
a function fault in the corre-
sponding system cannot be
displayed.
Pay attention to the displays
for all lights and symbols.cIf one of the lights or symbols
is not displayed:
• Have the fault remedied as
soon as possible by a spe-
cialist workshop, preferably
an authorised BMW motor-
cycle dealer.
After completion of the pre-
ride check, the current values
are displayed.
If the engine is started
during the pre-ride
check, the pre-ride check is
cancelled.c
With BMW Integral ABS, the
ABS self-diagnosis is also
carried out.
ABS self-diagnosisThe ABS warning light is
shown in one of the following
three variants depending on
the country:
The operational readiness of
the BMW Integral ABS is
checked by the self-diagnosis
and starting-off test (
b 58).
Self-diagnosis is performed
automatically when you switch
on the ignition.
Self-diagnosis is not per-
formed unless both brake
levers are in their fully released