Page 29 of 162

227Status indicators
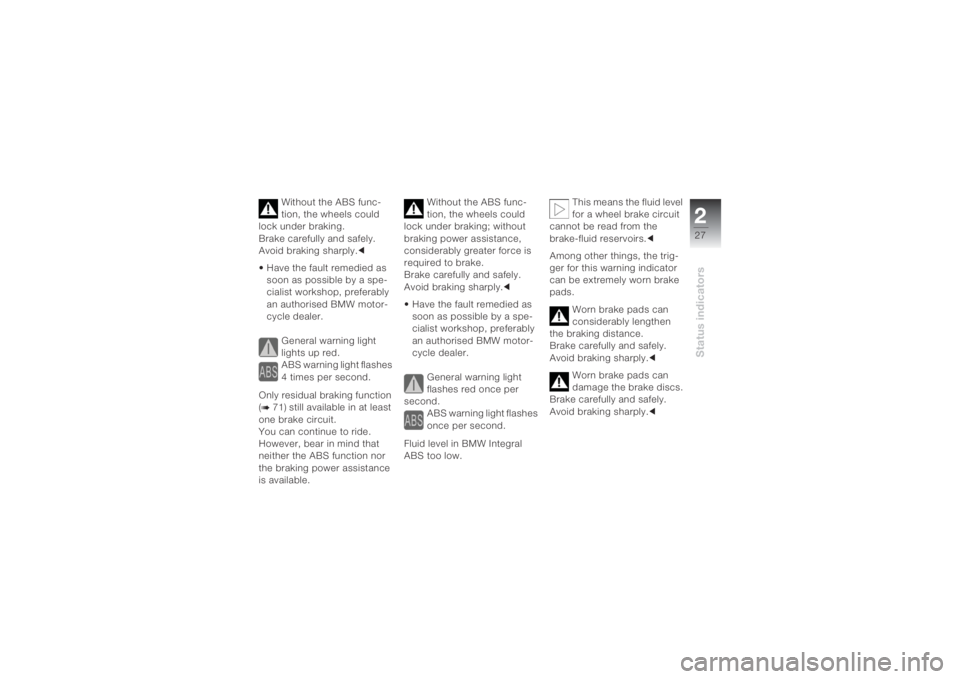
Without the ABS func-
tion, the wheels could
lock under braking.
Brake carefully and safely.
Avoid braking sharply.c
• Have the fault remedied as
soon as possible by a spe-
cialist workshop, preferably
an authorised BMW motor-
cycle dealer.
General warning light
lights up red.
ABS warning light flashes
4 times per second.
Only residual braking function
(
b 71)
still available in at least
one brake circuit.
You can continue to ride.
However, bear in mind that
neither the ABS function nor
the braking power assistance
is available.Without the ABS func-
tion, the wheels could
lock under braking; without
braking power assistance,
considerably greater force is
required to brake.
Brake carefully and safely.
Avoid braking sharply.c
• Have the fault remedied as
soon as possible by a spe-
cialist workshop, preferably
an authorised BMW motor-
cycle dealer.
General warning light
flashes red once per
second.
ABS warning light flashes
once per second.
Fluid level in BMW Integral
ABS too low.This means the fluid level
for a wheel brake circuit
cannot be read from the
brake-fluid reservoirs.c
Among other things, the trig-
ger for this warning indicator
can be extremely worn brake
pads.
Worn brake pads can
considerably lengthen
the braking distance.
Brake carefully and safely.
Avoid braking sharply.c
Worn brake pads can
damage the brake discs.
Brake carefully and safely.
Avoid braking sharply.c
Page 30 of 162

Status indicators228
• Stop and check the thick-
ness of the brake pads (b 90-
91).
• Have worn brake pads
replaced as soon as possi-
ble by a specialist workshop,
preferably an authorised
BMW motorcycle dealer.
If the brake pad thickness is
sufficient:
• Check the following
functions:
– Ignition off, brake pressure
present at the brake levers.
– Brakes acting on both
wheels.
– Brake system leaktight, no
signs of brake fluid
escaping.If the functions are not shown:
There is a defect in the
brake system.
Do not continue to ride.c
If these functions are in order,
you can continue riding. How-
ever, bear in mind that a loss
of brake fluid that cannot be
detected might be the cause
of the warning.
There is a fault in the
brake system that can
lead to decreased braking
efficiency.
Brake carefully and safely.
Avoid braking sharply.c
• Have the fault remedied as
soon as possible by a spe-
cialist workshop, preferably
an authorised BMW motor-
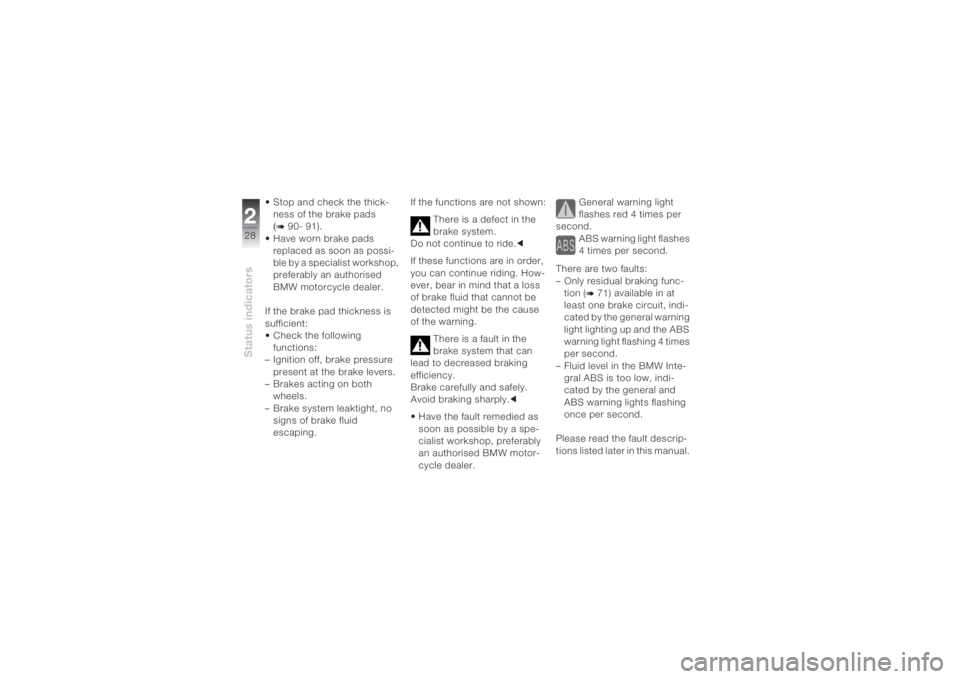
cycle dealer. General warning light
flashes red 4 times per
second.
ABS warning light flashes
4 times per second.
There are two faults:
– Only residual braking func-
tion
(b 71) available in at
least one brake circuit, indi-
cated by the general warning
light lighting up and the ABS
warning light flashing 4 times
per second.
– Fluid level in the BMW Inte-
gral ABS is too low, indi-
cated by the general and
ABS warning lights flashing
once per second.
Please read the fault descrip-
tions listed later in this manual.
Page 31 of 162
329Operation
Ignition switch and
steering lock .................................. 30
Electronic immobiliser .................. 31
Hazard warning flashers............... 32
Tripmaster...................................... 33
Kill switch....................................... 34
Grip heating
OE
............................... 35
Clock .............................................. 35
Handlebar levers ........................... 36
Lights.............................................. 37
Turn indicators .............................. 39
Seat ................................................ 40
Helmet holder ................................ 41
Luggage loops ............................... 42
Mirrors ............................................ 43
Spring preload ............................... 43Shock absorbers ........................... 44
ESA
OE
............................................. 45
Wheels ............................................ 47
Page 32 of 162
Operation330
Ignition switch and
steering lockKeysYou will receive one master
key and one spare key. If a key
is lost, please note the infor-
mation on the EWS electronic
immobiliser (
b 22).
Ignition switch and steer-
ing lock, tank filler cap
lock and seat lock are all oper-
ated with the same key.
System casesOA can also be
operated on request using the
same key.c
Switching on the ignition• Turn the key to position U.
» Parking light and all function
circuits switched on.
» Pre-ride check is carried out
(b 53).
» ABS self-diagnosis is
performed (
b 54).
» Engine can be started.
Switching off the ignition• Turn the key to position V.
» Light switched off.
» Steering lock unsecured.
» In this position, you can
remove the key.
Page 35 of 162
333Operation
» Left/right turn indicator tell-
tale lights off.
The hazard warning
flashers can also be
switched on by simultaneously
pressing the buttons for the
left and right turn indicators.c
The hazard warning
flashers places a load on
the battery. Do not use the
hazard warning flashers for
longer than absolutely
necessary.cSwitching off the hazard
warning flashers• Press the hazard warning
flashers button 1 or switch
on ignition.
» Hazard warning flashers
ceases to operate.
TripmasterSelecting the display
When you switch on the
ignition, the information
shown by the Tripmaster when
the ignition was switched off
always reappears on the multi-
function display.c
• Switch on the ignition.
• Press the Tripmaster
button1 once briefly.» The following appear in the
display field2 in this order:
– Total distance covered
– Trip odometer 1 (Trip I)
– Trip odometer 2 (Trip II)
– Residual range
Page 37 of 162
335Operation
» The engine cannot be
started in this position.
If the kill switch is moved
to positionB when the
ignition is on, the BMW Inte-
gral ABS is still functioning
(b 50, 69).cGrip heating
OE
1Grip heating switch 2Heating function off
350% heat output
(one dot visible)
4100% heat output
(three dots visible)
Grip heating can only be
activated when the engine is
running.
The increased power
consumption caused by
the grip heating can lead to the
battery discharging on jour-
neys in the lower engine speed
range. If the battery is inade-quately charged, the grip heat-
ing is switched off to ensure
starting capability.c
Clock
Adjusting the clock while
the motorcycle is being
ridden can lead to accidents.
Adjust the clock only when the
motorcycle is stationary.c
• Switch on the ignition.
• Press button1 for longer
than 2 seconds.
Page 39 of 162

337Operation
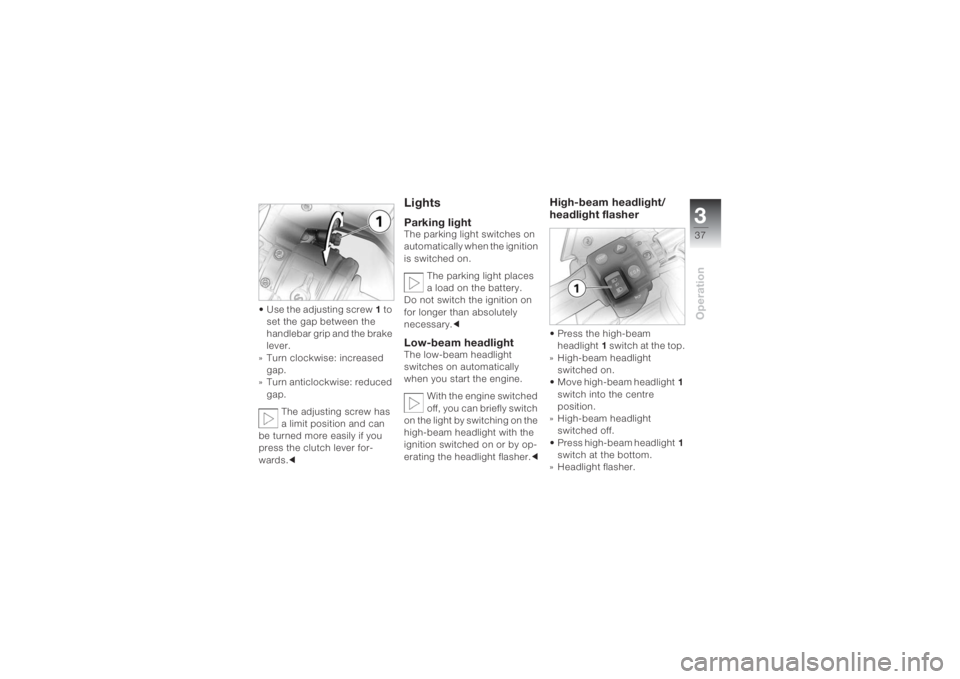
• Use the adjusting screw1 to
set the gap between the
handlebar grip and the brake
lever.
» Turn clockwise: increased
gap.
» Turn anticlockwise: reduced
gap.
The adjusting screw has
a limit position and can
be turned more easily if you
press the clutch lever for-
wards.c
LightsParking lightThe parking light switches on
automatically when the ignition
is switched on.
The parking light places
a load on the battery.
Do not switch the ignition on
for longer than absolutely
necessary.cLow-beam headlight The low-beam headlight
switches on automatically
when you start the engine.
With the engine switched
off, you can briefly switch
on the light by switching on the
high-beam headlight with the
ignition switched on or by op-
erating the headlight flasher.c
High-beam headlight/
headlight flasher • Press the high-beam
headlight1 s w i t c h a t t h e t o p .
» High-beam headlight
switched on.
• Move high-beam headlight1
switch into the centre
position.
» High-beam headlight
switched off.
• Press high-beam headlight1
switch at the bottom.
» Headlight flasher.
Page 40 of 162

Operation338
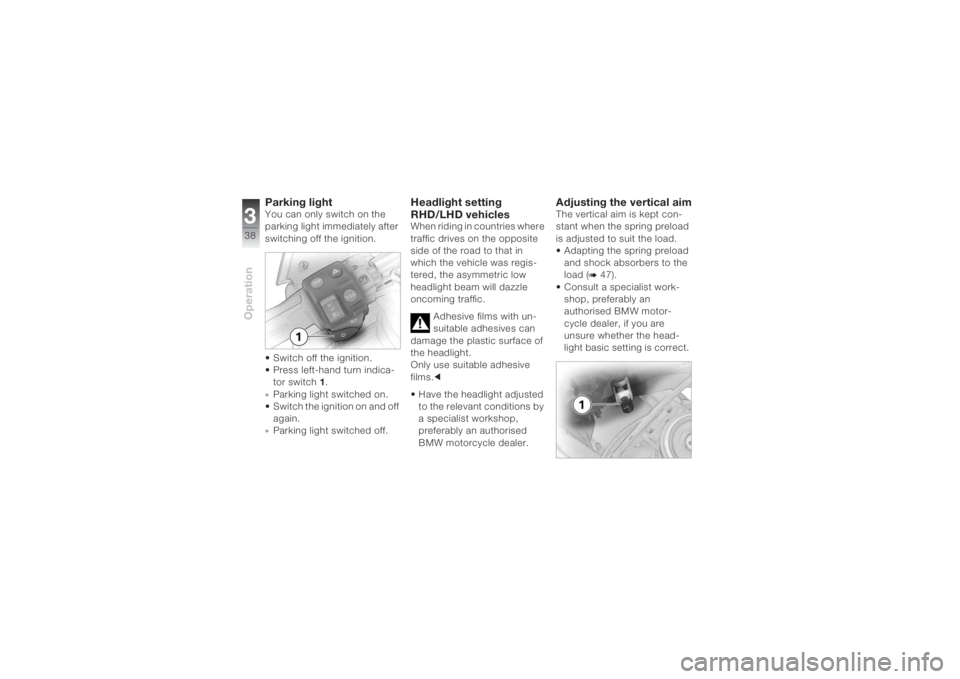
Parking lightYou can only switch on the
parking light immediately after
switching off the ignition.
• Switch off the ignition.
• Press left-hand turn indica-
tor switch1.
» Parking light switched on.
• Switch the ignition on and off
again.
» Parking light switched off.
Headlight setting
RHD/LHD vehiclesWhen riding in countries where
traffic drives on the opposite
side of the road to that in
which the vehicle was regis-
tered, the asymmetric low
headlight beam will dazzle
oncoming traffic.
Adhesive films with un-
suitable adhesives can
damage the plastic surface of
the headlight.
Only use suitable adhesive
films.c
• Have the headlight adjusted
to the relevant conditions by
a specialist workshop,
preferably an authorised
BMW motorcycle dealer.
Adjusting the vertical aimThe vertical aim is kept con-
stant when the spring preload
is adjusted to suit the load.
• Adapting the spring preload
and shock absorbers to the
load (
b 47).
• Consult a specialist work-
shop, preferably an
authorised BMW motor-
cycle dealer, if you are
unsure whether the head-
light basic setting is correct.