2004 BMW MOTORRAD K 1200 S oil pressure
[x] Cancel search: oil pressurePage 5 of 162
i3Introduction
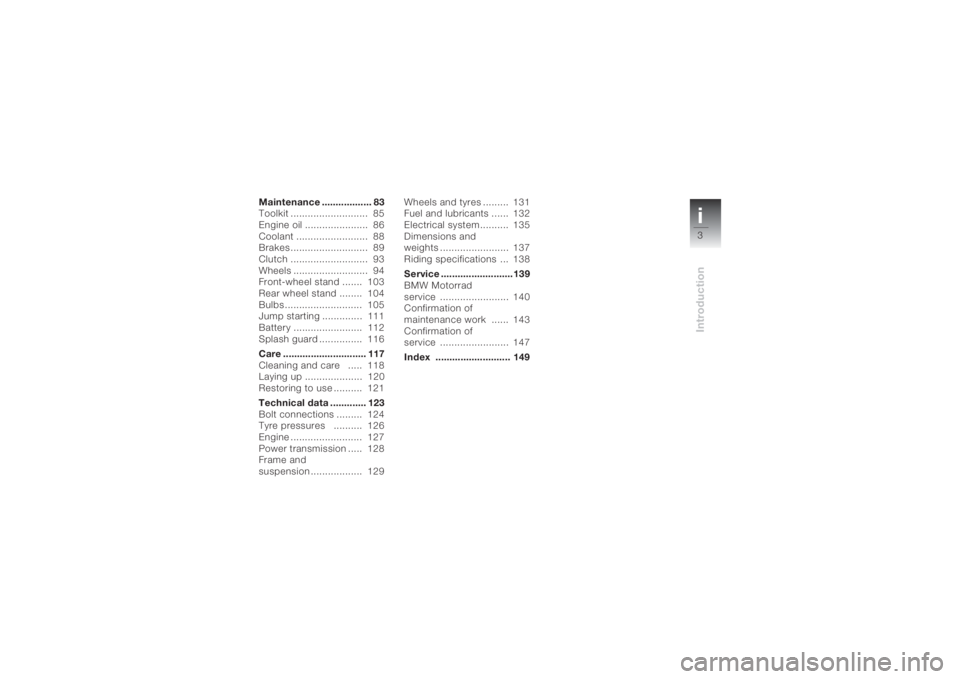
Maintenance .................. 83
Toolkit ........................... 85
Engine oil ...................... 86
Coolant ......................... 88
Brakes ........................... 89
Clutch ........................... 93
Wheels .......................... 94
Front-wheel stand ....... 103
Rear wheel stand ........ 104
Bulbs ........................... 105
Jump starting .............. 111
Battery ........................ 112
Splash guard ............... 116
Care .............................. 117
Cleaning and care ..... 118
Laying up .................... 120
Restoring to use .......... 121
Technical data ............. 123
Bolt connections ......... 124
Tyre pressures .......... 126
Engine ......................... 127
Power transmission ..... 128
Frame and
suspension .................. 129Wheels and tyres ......... 131
Fuel and lubricants ...... 132
Electrical system.......... 135
Dimensions and
weights ........................ 137
Riding specifications ... 138
Service .......................... 139
BMW Motorrad
service ........................ 140
Confirmation of
maintenance work ...... 143
Confirmation of
service ........................ 147
Index ........................... 149
Page 22 of 162
Status indicators220
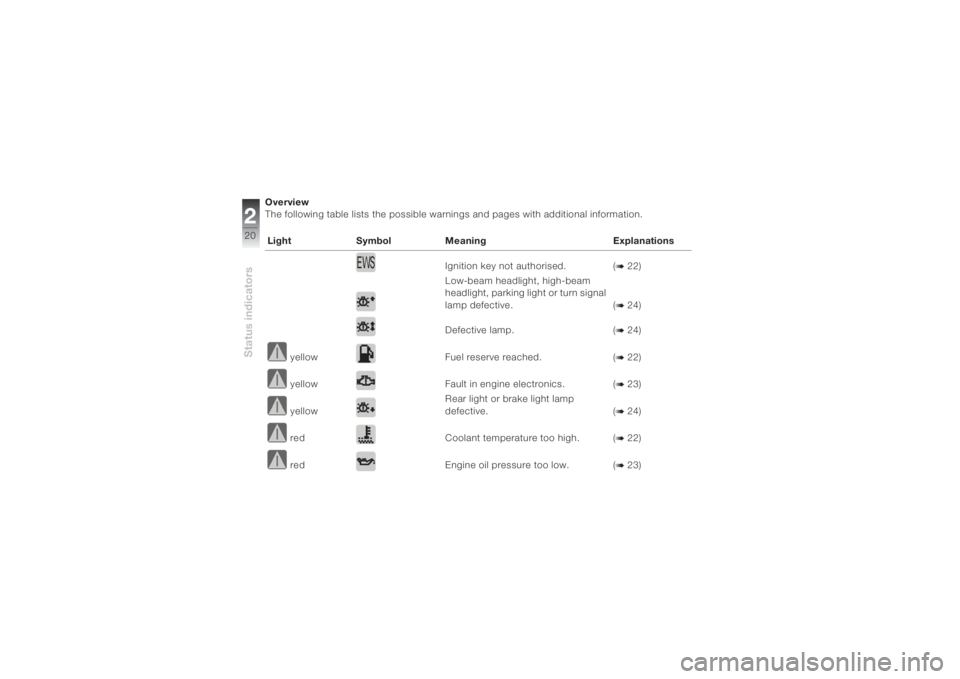
Overview
The following table lists the possible warnings and pages with additional information.
Light Symbol Meaning Explanations
Ignition key not authorised. (
b 22)
Low-beam headlight, high-beam
headlight, parking light or turn signal
lamp defective. (b 24)
Defective lamp. (b 24)
yellow Fuel reserve reached. (b 22)
yellow Fault in engine electronics. (b 23)
yellowRear light or brake light lamp
defective. (b 24)
red Coolant temperature too high. (b 22)
red Engine oil pressure too low. (b 23)
Page 25 of 162
223Status indicators
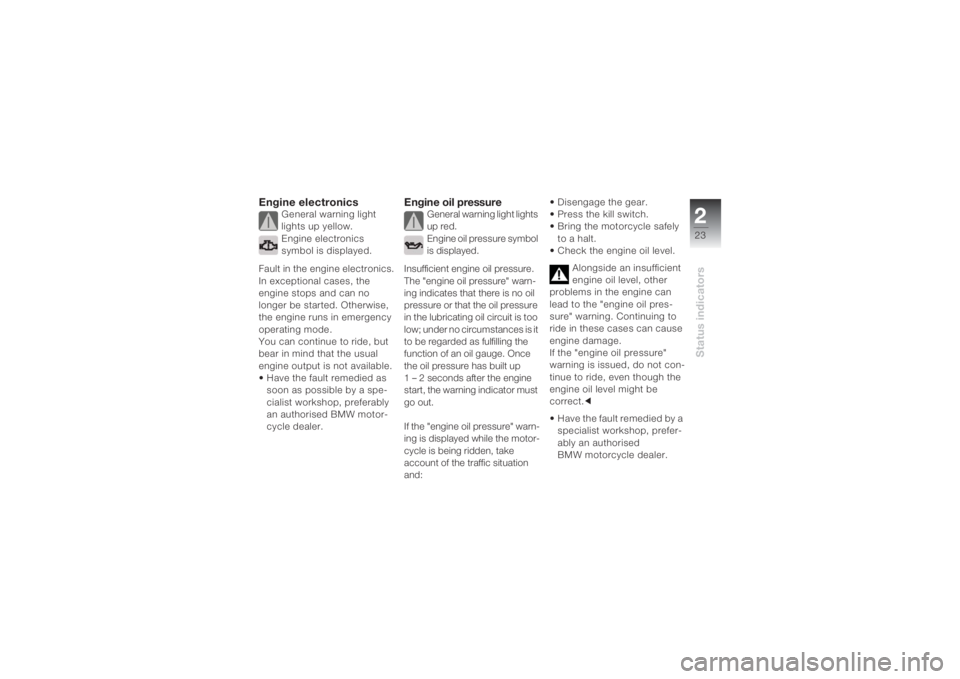
Engine electronics
General warning light
lights up yellow.
Engine electronics
symbol is displayed.
Fault in the engine electronics.
In exceptional cases, the
engine stops and can no
longer be started. Otherwise,
the engine runs in emergency
operating mode.
You can continue to ride, but
bear in mind that the usual
engine output is not available.
• Have the fault remedied as
soon as possible by a spe-
cialist workshop, preferably
an authorised BMW motor-
cycle dealer.
Engine oil pressure
General warning light lights
up red.
Engine oil pressure symbol
is displayed.
Insufficient engine oil pressure.
The "engine oil pressure" warn-
ing indicates that there is no oil
pressure or that the oil pressure
in the lubricating oil circuit is too
low; under no circumstances is it
to be regarded as fulfilling the
function of an oil gauge. Once
the oil pressure has built up
1 – 2 seconds after the engine
start, the warning indicator must
go out.
If the "engine oil pressure" warn-
ing is displayed while the motor-
cycle is being ridden, take
account of the traffic situation
and:• Disengage the gear.
• Press the kill switch.
•Bring the motorcycle safely
to a halt.
• Check the engine oil level.
Alongside an insufficient
engine oil level, other
problems in the engine can
lead to the "engine oil pres-
sure" warning. Continuing to
ride in these cases can cause
engine damage.
If the "engine oil pressure"
warning is issued, do not con-
tinue to ride, even though the
engine oil level might be
correct.c
• Have the fault remedied by a
specialist workshop, prefer-
ably an authorised
BMW motorcycle dealer.
Page 54 of 162
Riding452
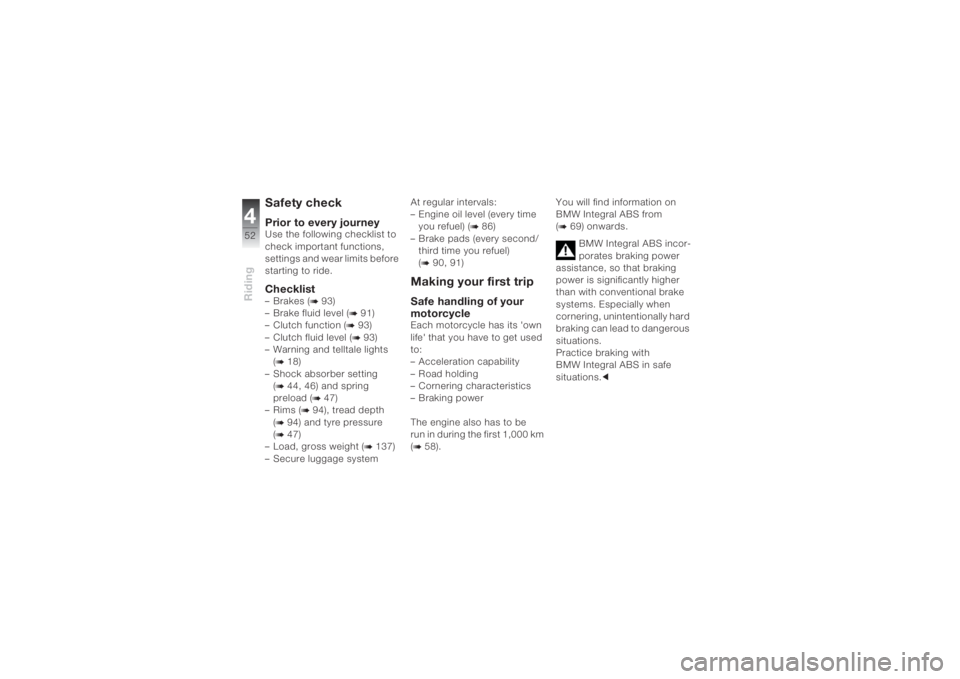
Safety checkPrior to every journeyUse the following checklist to
check important functions,
settings and wear limits before
starting to ride. Checklist–Brakes (
b 93)
– Brake fluid level (
b 91)
– Clutch function (b 93)
– Clutch fluid level (b 93)
– Warning and telltale lights
(
b 18)
– Shock absorber setting
(b 44, 46) and spring
preload (
b 47)
–Rims (
b 94), tread depth
(
b 94) and tyre pressure
(b 47)
– Load, gross weight (
b 137)
– Secure luggage systemAt regular intervals:
– Engine oil level (every time
you refuel) (
b 86)
– Brake pads (every second/
third time you refuel)
(
b 90, 91)
Making your first tripSafe handling of your
motorcycleEach motorcycle has its 'own
life' that you have to get used
to:
– Acceleration capability
– Road holding
– Cornering characteristics
–Braking power
The engine also has to be
run in during the first 1,000 km
(b 58).You will find information on
BMW Integral ABS from
(
b 69) onwards.
BMW Integral ABS incor-
porates braking power
assistance, so that braking
power is significantly higher
than with conventional brake
systems. Especially when
cornering, unintentionally hard
braking can lead to dangerous
situations.
Practice braking with
BMW Integral ABS in safe
situations.c
Page 55 of 162
453Riding
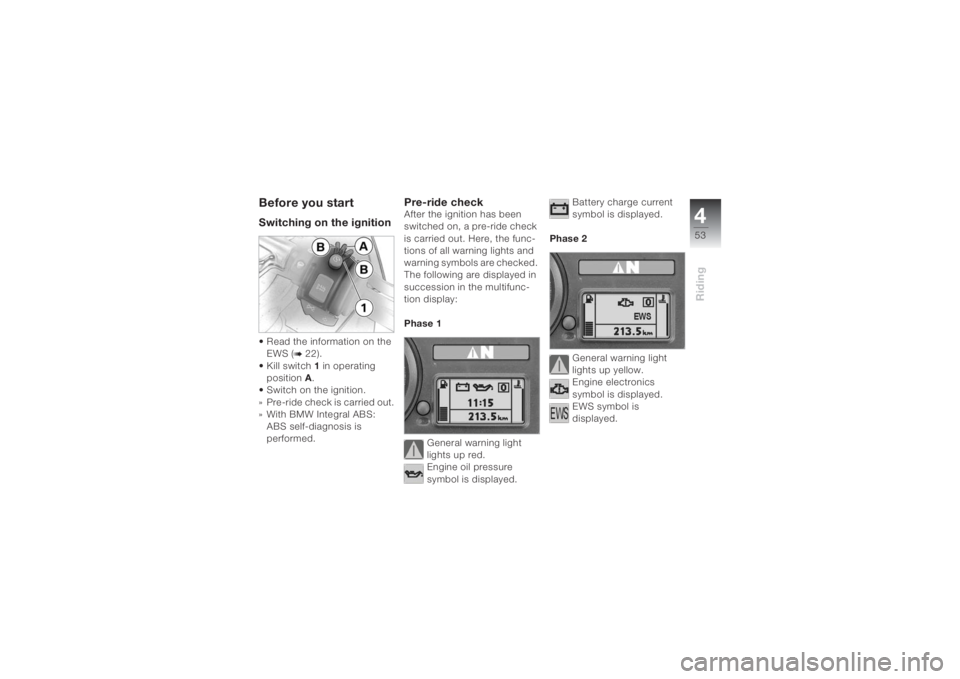
Before you startSwitching on the ignition• Read the information on the
EWS (
b 22).
• Kill switch1 in operating
positionA.
• Switch on the ignition.
» Pre-ride check is carried out.
» With BMW Integral ABS:
ABS self-diagnosis is
performed.
Pre-ride checkAfter the ignition has been
switched on, a pre-ride check
is carried out. Here, the func-
tions of all warning lights and
warning symbols are checked.
The following are displayed in
succession in the multifunc-
tion display:
Phase 1
General warning light
lights up red.
Engine oil pressure
symbol is displayed.Battery charge current
symbol is displayed.
Phase 2
General warning light
lights up yellow.
Engine electronics
symbol is displayed.
EWS symbol is
displayed.
Page 121 of 162
7119
Care
Do not use steam jet cleaners
or high-pressure cleaners.cPlasticsClean plastic parts with water
and BMW plastic care
emulsion. This includes in
particular:
– Windscreens
– Headlight lenses made of
plastic
– Covering glass of the
instrument cluster
– Black, unpainted parts
If plastic parts are
cleaned using unsuitable
cleaning agents, the surfaces
can be damaged.
Do not use cleaning agents
that contain alcohol, solvents
or abrasives to clean plastic
parts. "Fly sponges" or spong-
es with hard surfaces can also
lead to scratches.cSoften resilient dirt and
insects by applying a wet
cloth.c
WindscreenRemove dirt and insects with a
soft sponge and lots of water.
Fuel and chemical
solvents attack the
windscreen.
Do not use cleaning agents.cChromeEspecially in the case of road
salt, carefully clean chrome
with plenty of water and BMW
vehicle shampoo. Use chrome
polish for additional treatment.RadiatorClean the radiator regularly to
prevent overheating of the
engine due to inadequate cooling. For example, use a
garden hose with low water
pressure.
Cooling fins can be bent
easily.
When cleaning the radiator,
ensure that the fins are not
bent.c
Paint careRegular washing of the motor-
cycle counteracts the long-
term effects of materials that
damage the paint, especially if
your motorcycle is ridden in
areas with high air pollution or
natural sources of dirt, e.g.
tree resins or pollen.
However, remove particularly
aggressive materials immedi-
ately; otherwise changes in
the paint or discolouration can
occur. These include, e.g.,
spilt fuel, oil, grease, brake
Page 123 of 162
7121
Care
• Place the motorcycle in a dry
room on the centre stand
OA
or rear wheel stand.
• Raise the engine with the
front wheel stand in such a
way that both wheels are
without load.
Before laying the vehicle
up, have the engine oil
and the oil filter element
changed by a specialist work-
shop, preferably your author-
ised BMW motorcycle dealer.
Combine work for laying up/
restoring to use with a mainte-
nance service or inspection.c
Restoring to use• Remove the protective wax
coating.
•Clean the motorcycle
(b 118-120).• Install a charged battery
(
b 115).
• Perform the safety checks
(b 52).
• Check the brakes (
b 89-91).
• Check the tyre pressures
(
b 47).
Page 152 of 162
Indexi150
CCare
Care products, 118
Chrome, 119
Paint, 119
Plastics, 119
Protective wax coating, 120
Radiator, 119
Rubber, 120
Touching up, 120
Washing the motorcycle, 118
Windscreen, 119
Cases
Adapting, 81
Adjusting the volume, 80
Closing, 79
Correct loading, 77
Fitting, 80
Key positions, 77
Opening, 78
Release levers, 77
Removing, 81
Catalytic converter, safety
information, 51Centre stand
Extending, 65
Folding in, 67
Checklist, 52
Clock
Adjusting, 14, 35
Display, 18
Clutch
Checking the fluid level, 93
Checking the function, 93
Fluid reservoir, 9
Coolant
Checking the level, 88
Filler aperture, 9
Temperature display, 18
Temperature warning, 22
Topping up, 89
Currency, 5
DDWA telltale light, 14EEngine, 132Engine electronics
Manipulation of the engine
electronics control unit, 51
Warning indicator, 23
Engine oil
Checking the oil level, 11, 86
Draining off, 88
Technical data, 132
Topping up, 87
Warning indicator for oil
pressure, 23
Engine, technical data, 127
ESA
Adjusting the shock
absorbers, 46
Adjusting the spring
preload, 47
Calling up settings, 46
Explanations, 45
Operation, 12
EWS
Display, 22
Explanations, 31