Page 31 of 2234
ÐOPOPÐ
Head")
MO
NEW MODEL OUTLINEMO-29
�
: Standard OP: Option
EuropeGeneral
ENTRYMID
TECHNICALMID
ELEGANTGeneralCountries
Body Electrical
HeadlightProjector����HeadlightHID (High lntensity Discharge)ÐOPOPÐ
Headlight BeamManual���Ð
Level Control SystemAutomaticÐOPOPÐ
Headlight Cleaner SystemOP*5OPOPÐ
FrontExcept for 1AZ-FEOP��Ð
Fog LightFront1AZ-FEÐOPOPOP*4
Rear���Ð
Illuminated Entry System����
Navigation SystemÐOPOPÐ
Multi information DisplayOP��Ð
8-speaker OnlyOPOPOPOP
Audio SystemRadio / CD / Cassette / 8-speaker����
Steering Switch���Ð
Manual�ÐÐ�
Air ConditionerAutomaticÐ��Ð
WithoutOPÐÐOP
Conventional TypeExcept for 1CD-FTV����
HeaterPTC Type1CD-FTVOPÐÐÐHeaterHot Gas Type1CD-FTV���Ð
Combustion TypeLHD of 1CD-FTVÐOPOPÐ
WiperFrontAdjustment Interval INT Function�ÐÐ�Wiper
SystemFrontRaindrop Sensing FunctionÐ��ÐSystemRearIntermittent FunctionLiftback & Wagon���Ð
Power Window
Front Door One-Motion Auto Up-and-Down,
Jam Protection Function�ÐÐ�
SystemAll-Door One-Motion Auto Up-and-Down,
Jam Protection FunctionOP��OP
Door Lock ControlPower Door Look Control System����Door Lock Control
SystemWireless Door Look Remote Control System���ÐSystemDouble Locking SystemExcept for 1AZ-FE & LHD���Ð
Engine ImmobiliserExcept for 1AZ-FE���
System1AZ-FEÐOPOPÐ
Theft Deterrent SystemExcept for 1AZ-FE & 1CD-FTV���Ð
5
Driver & Front Passenger & SideExcept for 1AZ-FEOPÐÐÐ
SRS*5 Airbag& Knee Airbags1AZ-FE���
SystemDriver & Front Passenger & SideExcept for 1AZ-FE���
& Knee & Curtain Shield Airbags1AZ-FEÐOPOPÐ
Cruise Control System1AZ-FSE & 1CD-FTVÐOPOPÐ
Outside RearElectrical Retractable with HeaterÐ��Ð
View MirrorElectrical RetractableÐÐÐ�
Inside RearAutomatic Glare-Resistant EC (Electrical) TypeÐ��Ð
View MirrorManual Glare-Resistant Type�ÐÐ�
Power Tilt Up-and-Sliding Moon RoofExcept for 1AZ-FSEOPOPOPÐ
(with Jam Protection Function)1AZ-FSEÐOP*6OP*6Ð
*4: LHD Models
*5: Supplemental Restraint System
*6: Except for Automatic Transaxle of Wagon Models
http://vnx.su
Page 156 of 2234
022L7±01
±
PREPARATION WINDSHIELD/WINDOWGLASS/MIRROR
02±57
AVENSIS REPAIR MANUAL (RM1018E)
WINDSHIELD/WINDOWGLASS/MIRROR
PREPARATION
Recomended Tools
09070±20010Moulding RemoverWINDSHIELD GLASS
09082±00040TOYOTA Electrical TesterPOWER WINDOW CONTROL
SYSTEM
WINDOW DEFOGGER SYSTEM
POWER MIRROR CONTROL
SYSTEM
(09083±00150)Test Lead SetPOWER WINDOW CONTROL
SYSTEM
(09083±00350)AC/DC 400 A ProbePOWER WINDOW CONTROL
SYSTEM
Equipment
Knife
Piano wireWindshield
Plastic sheetTo avoid surface damage.
Sealer gun
TapeTo avoid surface damage.
Torque wrench
Wooden block or similar objectFor tying both piano wire ends
SSM
08850±00065Butyl Tape SetINNER REAR VIEW MIRROR ASSY
08850±00801Windshield Glass Adhesive Set
or equivalentWINDSHIELD GLASS
BACK DOOR GLASS(LIFTBACK
MODELS)
BACK WINDOW GLASS(SEDAN
MODELS)
QUARTER WINDOW ASSY
LH(WAGON MODELS)
BACK DOOR GLASS(WAGON
MODELS)
http://vnx.su
Page 180 of 2234

ENGINE HOOD/DOOR
TORQUE SPECIFICATION
Part TightenedN�mkgf �cmft �lbf
HOOD
Hood hinge x Hood1313310
Hood h")
031GG±01
±
SERVICE SPECIFICATIONS ENGINE HOOD/DOOR
03±73
AVENSIS REPAIR MANUAL (RM1018E)
ENGINE HOOD/DOOR
TORQUE SPECIFICATION
Part TightenedN�mkgf �cmft �lbf
HOOD
Hood hinge x Hood1313310
Hood hinge x Body5.55649 in.� lbf
Hood lock x Hood8.08271 in.�lbf
FRONT DOOR
Door check x Body3030622
Door check x Door panel5.55646 in.�lbf
Door frame sub±assy rear lower x Door panel8.08271 in.�lbf
Door glass x Front door window regulator5.55649 in.�lbf
Door hinge x Body2626519
Door hinge x Door panel2626519
Door lock x Door panel5.05144 in.�lbf
Door lock striker x Body2323517
Door outside handle cover x Door panel7.07162 in.�lbf
Door outside handle frame x Door panel4.04135 in.�lbf
Outer view mirror x Door panel101027
Window regulator x Door panel8.08271 in.�lbf
REAR DOOR
Door check x Body3030622
Door check x Door panel5.55649 in.�lbf
Door hinge x Body2626519
Door hinge x Door panel2626519
Door lock x Door panel5.05144 in.�lbf
Door lock striker x Body2323517
Door outside handle cover x Door panel4.04135 in.�lbf
Door outside handle frame x Door panel7.07162 in.�lbf
Window division bar sub±assy x Door panel5.55649 in.�lbf
LAGGAGE COMPERTMENT DOOR
Back door striker assy x Body11.51208.0
Luggage compertment door x Hinge7.07062 in.�lbf
Luggage lock assy x Luggage compertment door5.05144 in.�lbf
Luggage compertment outside garnish x Luggage compertment door4.94943 in.�lbf
BACK DOOR (LIFTBACK MODEL)
Back door femaie stopper x Door panel5.55649 in.�lbf
Back door hinge assy x Body19.520014
Back door hinge assy x Door panel19.520014
Back door lock assy x Door panel8.08271 in.�lbf
Back door lock Striker x Body11.51208.0
Back door stay sub±assy x Body7.07162 in.�lbf
Back door stay sub±assy x Door panel2222416
Center stop lamp assy x Door panel5.55649 in.�lbf
BACK DOOR (WAGON MODEL)
Back door femaie stopper x Door panel5.55649 in.�lbf
Back door hinge assy x Body19.520014
Back door hinge assy x Door panel19.520014
Back door lock assy x Door panel8.08271 in.�lbf
Back door lock Striker x Body11.51208.0
Back door stay sub±assy x Body7.07162 in.�lbf
http://vnx.su
Page 231 of 2234
031HO±01
±
SERVICE SPECIFICATIONS WINDSHIELD/WINDOWGLASS/MIRROR
03±69
AVENSIS REPAIR MANUAL (RM1018E)
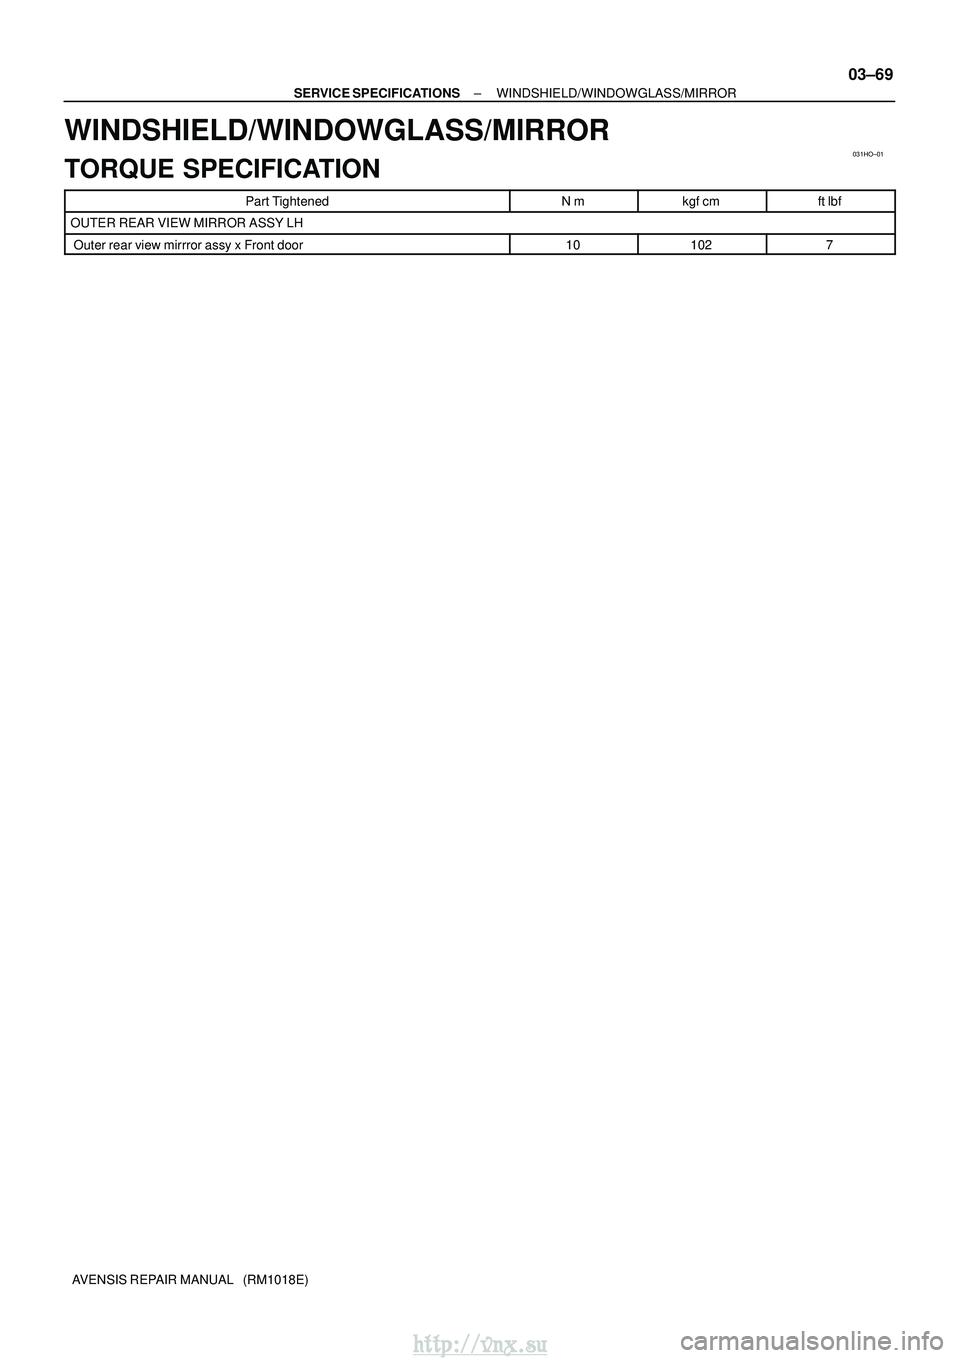
WINDSHIELD/WINDOWGLASS/MIRROR
TORQUE SPECIFICATION
Part TightenedN�mkgf �cmft �lbf
OUTER REAR VIEW MIRROR ASSY LH
Outer rear view mirrror assy x Front door101027
http://vnx.su
Page 1517 of 2234
660CT±02
I357963 Claws
I357972 Claws
I357982 Claws
I35799
66±26
±
WIPER & WASHER RAIN SENSOR
AVENSIS REPAIR MANUAL (RM1018E)
RAIN SENSOR
REPLACEMENT
1. REMOVE INNER REAR VIEW MIRROR STAY HOLDER COVER 2. REMOVE RAIN SENSOR
(a) Disengage the 3 claws and remove the mirror stay holdercover.
(b) Disengage the 2 claws and remove the rain sensor cover.
(c) Disconnect the connector.
(d) Disengage the 2 claws and remove the rain sensor spring cover.
(e) Remove the rain sensor.
3. INSTALL RAIN SENSOR
(a) Install the rain sensor and rain sensor spring cover.
(b) Connect the connector and install the rain sensor cover and the mirror s\
tay holder cover.
http://vnx.su
Page 1588 of 2234
700T7±01
B67059
Back Door Side Garnish RHCenter Stop Lamp AssyBack Door Trim Board
Back Door Side Garnish LH
Back Door Trim
Panel Assy Upper
Wiper Arm Head Cap
Rear Wiper Arm Assy
Wiper Motor Assy �
Back Door Glass
: Specified torque
N �m (kgf� cm, ft�lbf)
� Non±reusable part
5.5 (56, 49 in.� lbf)5.5 (56, 49 in.�lbf)
5.5 (56, 49 in. �lbf)
70±34
±
WINDSHIELD/WINDOWGLASS/MIRROR BACK DOOR GLASS (LIFTBACK MODELS)
AVENSIS REPAIR MANUAL (RM1018E)
BACK DOOR GLASS (LIFTBACK MODELS)
COMPONENTS
http://vnx.su
Page 1589 of 2234

70±35
AVENSIS REPAIR MANUAL (RM1018E)
REPLACEMENT
HINT:
The installation i")
700T8±01
B68025
Piano Wire
Clip
B69235
Protective Tape
±
WINDSHIELD/WINDOWGLASS/MIRROR BACK DOOR GLASS (LIFTBACK MODELS)
70±35
AVENSIS REPAIR MANUAL (RM1018E)
REPLACEMENT
HINT:
The installation is in the reverse order of the removal. However, when there is a special point concerning
the installation, it is indicated.
1.REMOVE BACK DOOR TRIM BOARD ASSY (See page 75±40)
(a) Remove the back door trim panel assy upper.
(b) Remove the back door side garnish LH.
(c) Remove the back door side garnish RH.
(d) Remove the back door trim board.
2.REMOVE CENTER STOP LAMP ASSY (See page 65±26)
3.REMOVE REAR WIPER MOTOR ASSY (See page 66±17
)
(a) Remove the wiper arm head cap.
(b) Remove the rear wiper arm.
(c) Remove the wiper motor.
4. REMOVE BACK DOOR GLASS
(a) Pass a piano wire between the body and glass from theinterior.
(b) Tie both wire ends to wooden blocks or similar objects.
HINT:
Apply protective tape to the outer surface to prevent the surface
from being scratched.
NOTICE:
When separating the glass, take care not to damage the
paint and interior and exterior ornaments.
(c) Cut off the adhesive by pulling the piano wire around the glass.
(d) Using a suction rubber, remove the glass.
NOTICE:
Leave as much adhesive on the body as possible when re-
moving the glass.
http://vnx.su
Page 1590 of 2234

AVENSIS REPAIR MANUAL (RM1018E")
BO4421
Adhesive
Adhesive
BO4420Body
B67821
Primer M
Primer M
AdhesiveCORRECT
WRONG
: Primer M
70±36
±
WINDSHIELD/WINDOWGLASS/MIRROR BACK DOOR GLASS (LIFTBACK MODELS)
AVENSIS REPAIR MANUAL (RM1018E)
5. CLEAN BACK DOOR GLASS
(a) Clean the outer circumference of the glass with white gas- oline.
NOTICE:
�Do not touch the glass surface after cleaning it.
�Be careful not to damage the body.
6. INSTALL BACK DOOR GLASS
(a) Clean and shape the contact surface of the vehicle body. (1) Using a knife, cut away any rough adhesive on thecontact surface of the body to ensure the appropri-
ate surface shape.
HINT:
Leave as much adhesive on the body as possible.
(2) Clean the contact surface of the body with a pieceof shop rag saturated with cleaner.
HINT:
Even if all the adhesive has been removed, clean the body.
(b) Using a brush, coat the exposed part of the body on the
vehicle side with Primer M.
NOTICE:
�Allow the primer coating to dry for 3 minutes or more.
�Do not coat the adhesive with Primer M.
�Do not keep any of the opened Primer M for later use.
http://vnx.su

WINDSHIELD/WINDOWGLASS/MIRROR
PREPARATION
Recomended Tools
09070±20010Moulding RemoverWINDSHIELD GLASS")

RAIN SENSOR
REPLACEMENT
1. REMOVE INNER REAR VIEW MIRROR STAY HOLDER C")
