Page 945 of 1574

5A-86 AUTOMATIC TRANSMISSION
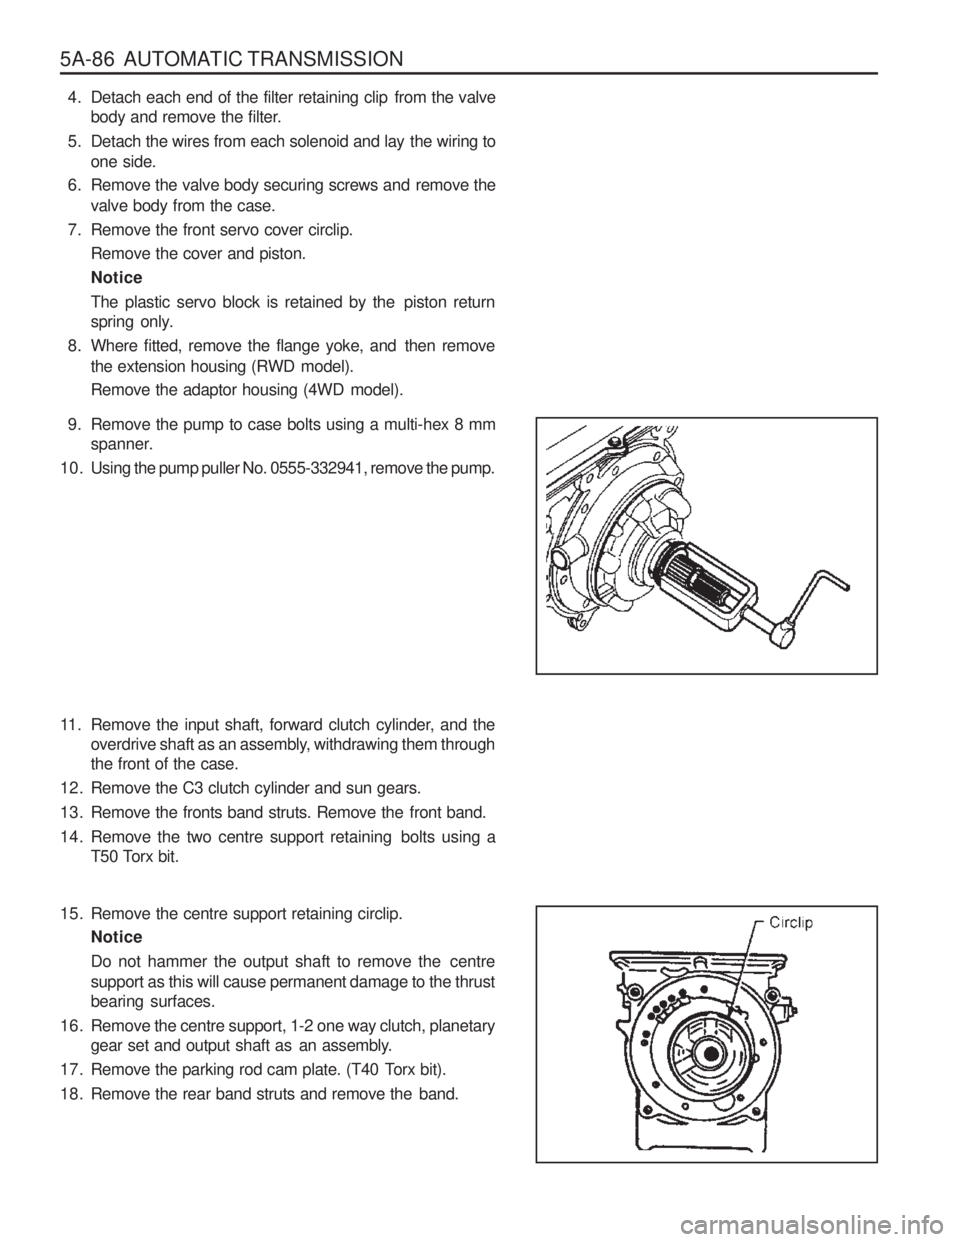
9. Remove the pump to case bolts using a multi-hex 8 mmspanner.
10. Using the pump puller No. 0555-332941, remove the pump.
11. Remove the input shaft, forward clutch cylinder, and the overdrive shaft as an assembly, withdrawing them through the front of the case.
12. Remove the C3 clutch cylinder and sun gears.
13. Remove the fronts band struts. Remove the front band.
14. Remove the two centre support retaining bolts using a T50 Torx bit.
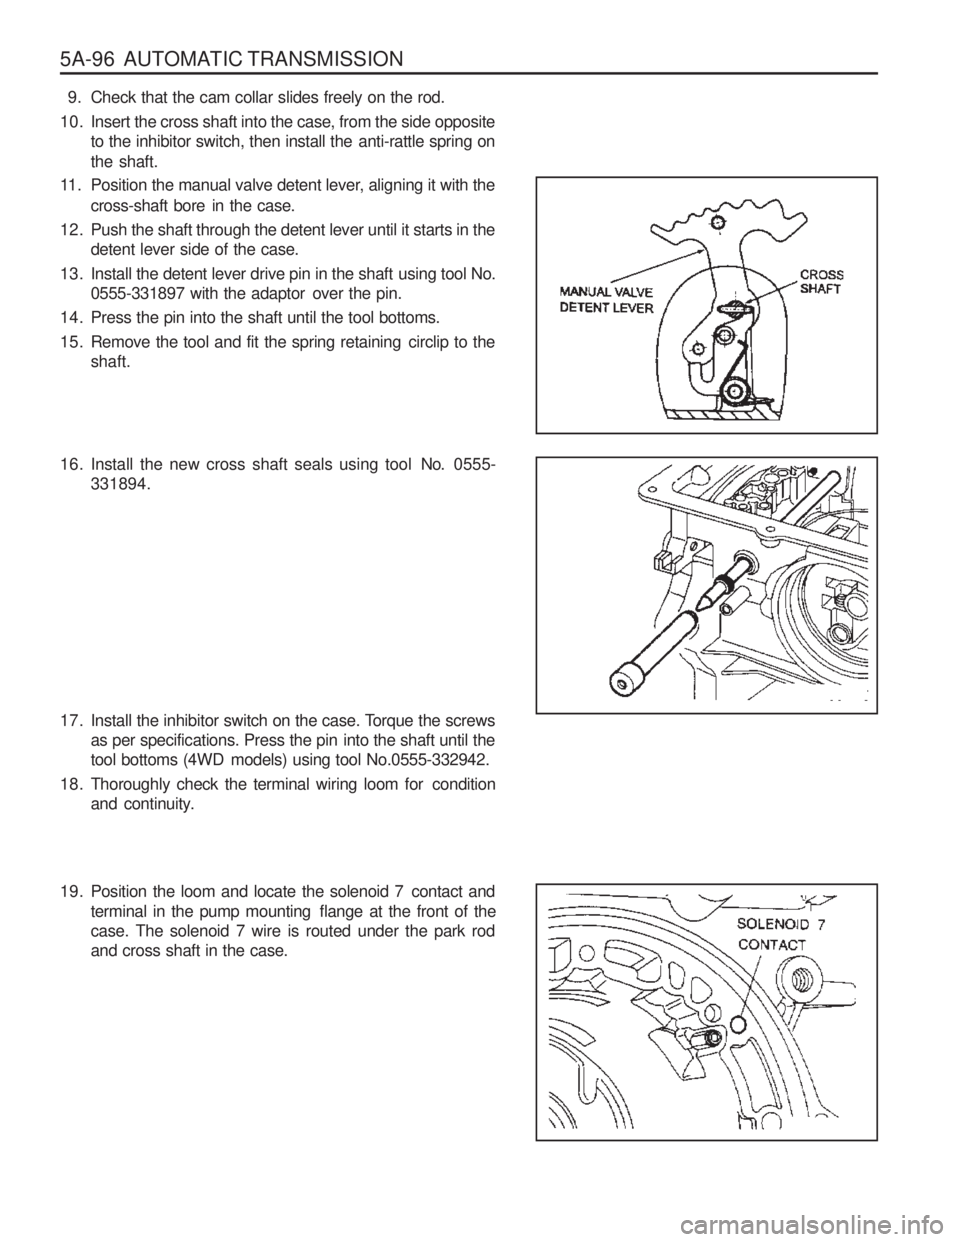
15. Remove the centre support retaining circlip. Notice
Do not hammer the output shaft to remove the centre
support as this will cause permanent damage to the thrust bearing surfaces.
16. Remove the centre support, 1-2 one way clutch, planetary gear set and output shaft as an assembly.
17. Remove the parking rod cam plate. (T40 Torx bit).
18. Remove the rear band struts and remove the band. 4. Detach each end of the filter retaining clip from the valve
body and remove the filter.
5. Detach the wires from each solenoid and lay the wiring to one side.
6. Remove the valve body securing screws and remove the valve body from the case.
7. Remove the front servo cover circlip. Remove the cover and piston.Notice
The plastic servo block is retained by the piston return
spring only.
8. Where fitted, remove the flange yoke, and then remove the extension housing (RWD model).
Remove the adaptor housing (4WD model).
Page 946 of 1574
AUTOMATIC TRANSMISSION 5A-87
Transmission Case
To teardown the transmission case, proceed as follows:
1. Remove the pin from the cross shaft inhibitor switch side(4WD models) using tool No.0555-332942.
2. Remove the inhibitor switch from the case.
Remove the cross shaft seals with special tool No.0555- 331893.
3. Remove the circlip from the cross-shaft. Pull the shaft to release the drive pin from the selector quadrant.
4. Using tool No. 0555-331897, press the pin from the cross- shaft and withdraw the shaft from the case. Retrieve the spring and pin
5. Remove the manual valve lever and the park rod.
6. Remove the 10 pin plug from the wiring loom bracket adjacent to the inhibitor switch(RWD models),
7. Depress the tangs and withdraw the 10 pin connector from the case. Remove the loom assembly.
Page 951 of 1574

5A-92 AUTOMATIC TRANSMISSION
Planet Carrier and Centre Support
To remove the planet carrier and centre support, proceed as follows.1. Separate the planet carrier and centre support from the output shaft. Remove the thrust bearings from the output
shaft and the planet carrier.
2. Separate the centre support from the planet carrier by rotating it anti-clockwise.
3. Lift the one way clutch from the planet carrier.
4. Remove the circlip retaining the one way clutch outer race in the planet carrier and remove the race.
5. Remove the one way clutch retainer from the planet carrier.
Pump
Note that the following valves are housed in the pump cover:
� Solenoid 7
� C1 bias valve
� Converter clutch control valve
� Converter clutch regulator valve
� Primary regulator valve
To remove the pump, proceed as follows. 1. Remove the wiring loom retainer plate and remove solenoid 7 with a T30 Torx bit.
2. Remove the five washer head bolts from the cover plate using a multi-point 8 mm socket.
3. Remove the five Torx head screws from the cover plate (Torx bit No. 30). Note that the odd screw holds the pump
body to the pump body cover. Notice
Do not strike the converter support tube to loosen the
pump body.
4. Separate the pump body from the pump cover.
5. Lift the cover plate from the cover.
6. Remove the two ball check valves and one spring from the pump cover.Notice
Some of the valves and plugs are preloaded by springs
and may unexpectedly fall out of the cover when the pinsare removed.
7. Depress the plug inward and remove the retaining pin for each of the four valves.
8. Remove the four valves, plugs and springs.
9. Remove the pump gears from the pump body.
10. Remove the lip seal from the front of the pump body.
Page 955 of 1574

5A-96 AUTOMATIC TRANSMISSION9. Check that the cam collar slides freely on the rod.
10. Insert the cross shaft into the case, from the side opposite to the inhibitor switch, then install the anti-rattle spring on the shaft.
11. Position the manual valve detent lever, aligning it with the cross-shaft bore in the case.
12. Push the shaft through the detent lever until it starts in the detent lever side of the case.
13. Install the detent lever drive pin in the shaft using tool No. 0555-331897 with the adaptor over the pin.
14. Press the pin into the shaft until the tool bottoms.
15. Remove the tool and fit the spring retaining circlip to the shaft.
16. Install the new cross shaft seals using tool No. 0555-
331894.
17. Install the inhibitor switch on the case. Torque the screws as per specifications. Press the pin into the shaft until the
tool bottoms (4WD models) using tool No.0555-332942.
18. Thoroughly check the terminal wiring loom for condition and continuity.
19. Position the loom and locate the solenoid 7 contact andterminal in the pump mounting flange at the front of the case. The solenoid 7 wire is routed under the park rodand cross shaft in the case.
Page 956 of 1574
AUTOMATIC TRANSMISSION 5A-97
20. Install the ten pin connector in the case engaging the tangson the connector in the notches in case.
4WD MODELS ONLY
21. Route the portion of the wiring loom coming out of the case down between the inhibitor switch and the case.
Position the ten pin plug on the wiring loom bracket .
Page 975 of 1574

5A-116 AUTOMATIC TRANSMISSION
18. Install the gasket on the pump cover.
19. Install the cover plate, solenoid 7 with the retainer and thesolenoid wiring retainer to the pump cover, ensuring that
the periphery of the cover plate is flush with the periphery
of the pump cover. Refer to figure 8.34.
Tighten the screws to specification in the order (1-5), shown in figure 8.44.
24. Install the pump and cover assembly over the input shaft being careful not to damage the sealing rings. Tighten the
pump cover to case bolts to specification. Refer to figure 8.45.
20. Tighten the solenoid 7 screw. Refer to figure 8.39.
Notice Check that neither the wiring nor the connector protrudes
excessively, in order that at assembly neither the wiringand the connector contacts or rubs on the input shaft or
the C1/C2 clutch cylinder.
21. Assemble the pump to the pump cover.
Tighten all bolts and the crescent screw finger tight,
ensuring that the pump is flush against the pump cover.
Tighten the bolts and the screw to specification in the order
(A - F), shown in figure 8.44.
22. Install the pump to transmission case gasket onto the case.
23. Fit the ‘O’ ring to the pump cover outer diameter.Figure 8.44 - Pump Bolt Tightening Sequence
Figure 8.45 - Tightening Sequence Pump to
Case
Page 982 of 1574
AUTOMATIC TRANSMISSION 5A-123
23. Holding the separator plate to the upper valve body toprevent the check balls from falling out, install the upper
valve body on the lower valve body. Install all screws finger tight then tighten the screws to specification in the
prescribed sequence. Refer to figure 8.58.
24. Install solenoids 1,2,3,4 and 6. Ensure the solenoid is firmly secured by the retainer and that the screw is tightened to specification.
25. Install solenoid 5. Ensure that the solenoid is pushed firmly into the valve body by the retainer. NoticeThe wiring loom ground wire eyelet terminal is secured
beneath the solenoid retainer.
26. Install the line pressure relief valve, tapered end first, (refer to figure 8.59), and the spring and disc. Secure with theretaining pin.
Figure 8.58 - Tightening Sequence Upper to Lower Valve Body
Figure 8.59 - Line Pressure Relief Valve
Page 983 of 1574
5A-124 AUTOMATIC TRANSMISSION
27. Install the line pressure plug and tighten to specification.Refer to figure 8.62.
28. Install the detent spring assembly (spring, support plate and screw), ensuring that the screw is tightened to
specification. Check the spring for wear or damage.
29. Install the manual shift valve. Refer to figure 8.60. Notice Be aware that the manual valve will fall out of the valve
body.
Figure 8.62 - Wiring Installation
Figure 8.60 - Manual Shift Valve