2003 PONTIAC GRAND PRIX lock
[x] Cancel search: lockPage 132 of 378

Daytime Running Lamps (DRL) /
Automatic Headlamp System
Daytime Running Lamps (BRL) can make it easier for
others
to see the front of y~ur vehicle during the
day. DRL can be helpful in many different driving
conditions, but they can be especially helpful in the short
periods after dawn and before sunset. Fully functional
daytime running lamps are required on all vehicles
first sold in Canada.
A light sensor on top of the instrument panel makes the
DRL work,
so be sure it isn’t covered.
The DRL system will make your low-beam headlamps
come on at a reduced brightness when the following
conditions are met:
The ignition is on,
0 the exterior lamps control is off,
0 the transaxle is not in PARK (P) and
the parking brake is released. When
the DRL are on, only your low-beam headlamps,
at a reduced brightness, will be on. The taillamps,
sidemarker and other lamps won’t be on. Your
instrument panel won’t be lit up either.
When it’s dark enough outside, your headlamps
will
change to full brightness. The other lamps that come on
with your headlamps will also come on.
When it’s bright enough outside, the headlamps will go
out, and your low-beam headlamps will change to
the reduced brightness of DRL.
To idle your vehicle with the DRL off, set the parking
brake while the ignition is in OFF or LOCK. Then
start your vehicle. The DRL will stay
off until you shift
out of PARK (P) and release the parking brake.
As with any vehicle, you should turn on the regular
headlamps system when you need
it.
3-1 1
Page 134 of 378
Courtesy Lamps
When a door is open, the courtesy lamps will
automatically come on. You can also turn these lamps
on by manually turning the interior lamps thumbwheel
all the way to the right.
Entry Lighting
The entry lighting feature illuminates the interior of the
vehicle before you enter. The interior lamps will come on
for
40 seconds when you unlock the doors using the
remote keyless entry transmitter (if equipped) and
the ignition is in LOCK or
OFF. After 40 seconds have
elapsed, the interior lamps will slowly fade out. The
lamps will fade out before
40 seconds have elapsed if
you do the following:
Lock all doors using the remote keyless entry
Lock the doors using the power door lock switch.
transmitter (if equipped).
When any door is opened, entry lighting is canceled.
The interior lamps will stay on while any door is opened
and slowly fade out when all doors are closed. The interior lamps may
stay on for up to
25 seconds
after all doors have been closed
if they have not been
locked. See Delayed lllumination and Exit Lighting
on page
2-44.
Delayed Lighting
The delayed lighting feature will continue to illuminate
the interior of the vehicle for 25 seconds after all
the doors have been closed
so that you can find the
ignition and buckle the seat belt at night. Delayed
lighting will not occur while the ignition is
in RUN or
ACCESSORY. After 25 seconds have elapsed,
the interior lamps will slowly fade out. The lamps will
fade out before the 25 seconds have elapsed
if you do
any of the following:
@ Turn the ignition to RUN or ACCESSORY.
@ Lock all doors using the remote keyless entry
transmitter
(if equipped).
@ Lock the doors using the power door lock switch.
To turn delayed lighting feature
off or on, see Vehicle
Personalization
on page 2-43.
3-1 3
Page 135 of 378
Delayed Exit Lighting
For exiting the vehicle at night, the vehicle is equipped
with the delayed exit lighting feature. The interior
lamps will illuminate for up to
25 seconds when you
remove the key from the ignition. After
25 seconds have
elapsed, the interior lamps will slowly fade out. The
lamps will fade out before the
25 seconds have elapsed
if you do any of the following:
Insert the key and turn the ignition to RUN or
ACCESSORY.
Lock all doors using the remote keyless entry
Lock the doors using the power door lock switch.
transmitter
(if equipped).
When any door is opened, delayed exit lighting is
canceled. The interior lamps will stay on while any door
is opened and will slowly fade out when all the doors
are closed. The interior lamps may stay on for up
to
25 seconds after all the doors have been closed if
they have not been locked. See Delayed Illumination
and Exit lighting on page
2-44.
Overhead Console Reading Lamps
Your vehicle may have reading lamps on the overhead
console. These lamps will turn on when you open
the doors. When the doors are closed, push the button
next to each lamp
to turn them on and off. The
overhead console also contains an open storage bin.
Front Reading Lamps
If the vehicle has the optional sunroof, you will have
reading lamps in front of the sunroof switch located on
the headliner. These lamps will come on when you
open the doors. The lamps can be turned on and
off
manually by pressing the button behind each reading
lamp when the doors are closed.
Rear Assist Handle Reading Lamps
Your vehicle may have reading lamps on each
rear assist handle. Press the reading lamp
to turn it on.
Press it again to turn it
off.
To turn the delayed exit lighting feature off or on,
see Vehicle Personalization on page
2-43.
3-1 4
Page 136 of 378
Battery Run-Down Protection
Your vehicle has a feature to help prevent you from
draining the battery in case you accidentally leave the
interior, trunk or underhood lamps
on. If you leave any of
these lamps on while the ignition is in LOCK or OFF,
they will automatically turn off after 10 minutes. The
lamps won’t come back
on again until you do one of
the following:
Turn the ignition to RUN or ACCESSORY.
Turn the interior lamps thumbwheel completely to
the right, then back slightly to the left.
Open (or close and reopen) a door that is closed.
If the vehicle has less than 15 miles (25 km) on
the odometer, the battery saver will turn
off the lamps
after only three minutes.
Head-Up Display (HUD)
.. :he HUD imag- .s too bri, It o DO high in
your field
of view, it may take you more time to
see things you need to see when it’s dark
outside. Be sure to keep the HUD image dim
and placed
low in your field of view.
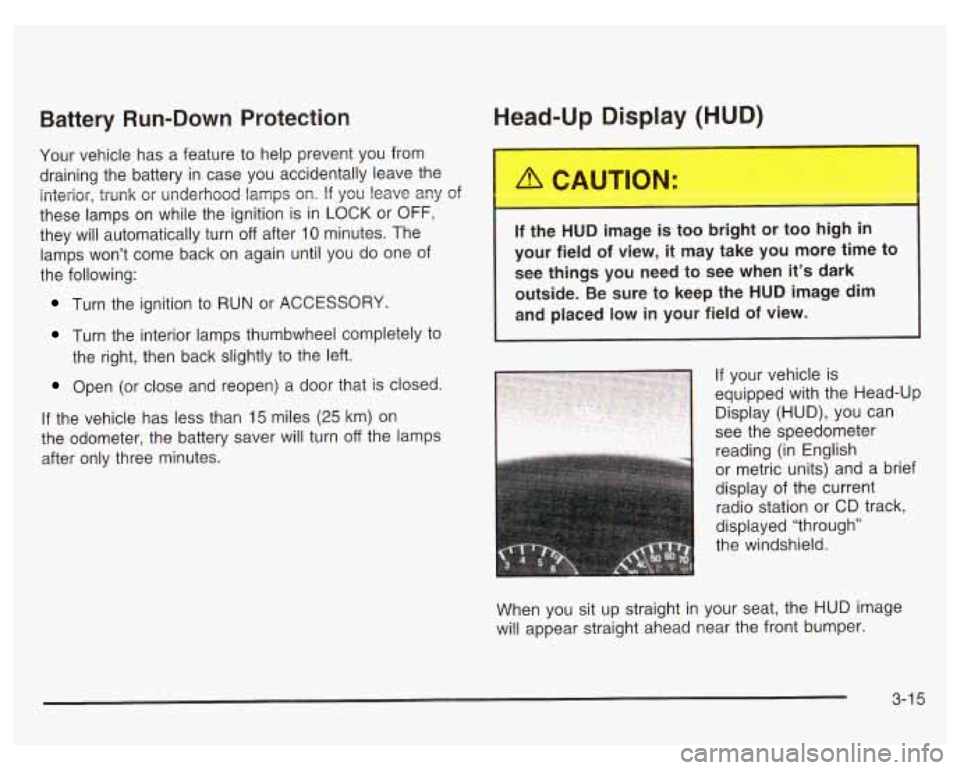
If your vehicle is
equipped with the Head-Up
Display (HUD), you can
1 see the speedometer
reading (in English
or metric units) and a brief
display of the current
radio station or CD track,
displayed “through”
the windshield.
When you sit up straight in your seat, the HUD image
will appear straight ahead near the front bumper.
3-1 5
Page 139 of 378
If You Can’t See the HUD Image When
the Ignition
Is On
Is anything covering the HUD unit?
Is the HUD dimmer setting bright enough?
Is the HUD image adjusted to the proper height?
Still no HUD image? Check the fuse in the
instrument panel fuse block. See Fuses and
Circuit
Breakers on page 5-97.
If the HUD Image Is Not Clear
Is the HUD image too bright?
Are the windshield and HUD lens clean?
The windshield is part of the HUD system.
If you ever
need a new windshield, be sure to get one designed for
HUD.
If you don’t, the HUD image may look blurred
and out of focus.
Accessory Power Outlets
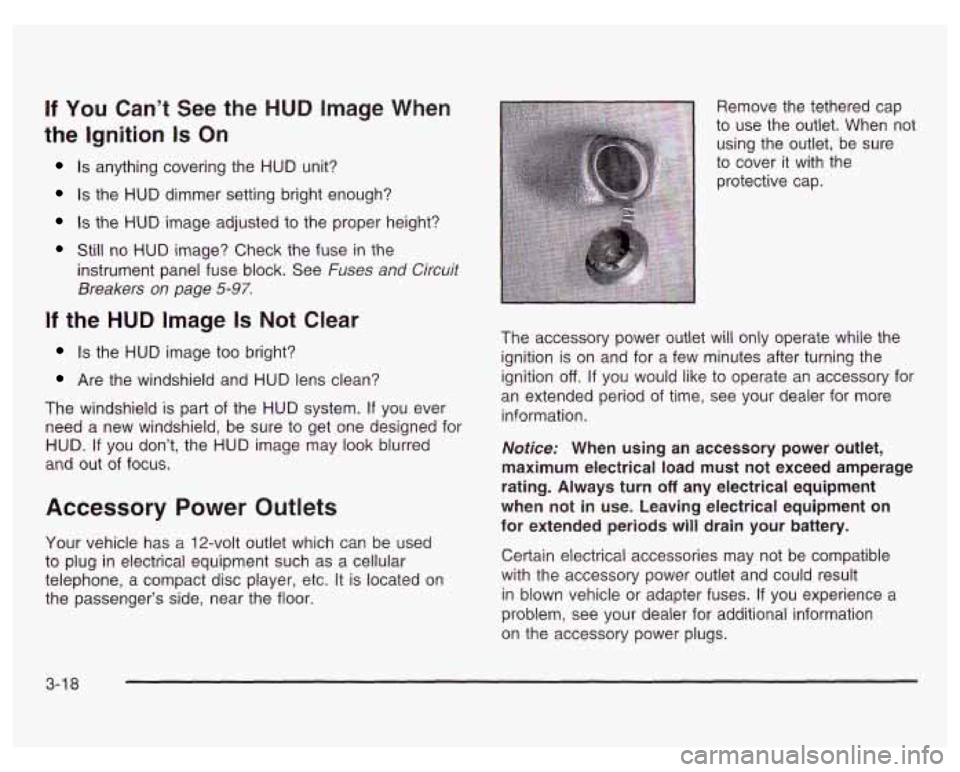
Your vehicle has a 12-volt outlet which can be used
to plug in electrical equipment such as a cellular
telephone, a compact disc player, etc. It is located on
the passenger’s side, near the floor. Remove the tethered cap
to use the outlet. When not
using the outlet, be sure
to cover it with the
protective cap.
The accessory power outlet will only operate while the
ignition is on and for a few minutes after turning the
ignition
off. If you would like to operate an accessory for
an extended period of time, see your dealer for more
information.
Notice: When using an accessory power outlet,
maximum electrical load must not exceed amperage
rating. Always turn
off any electrical equipment
when not in use. Leaving electrical equipment on
for extended periods will drain your battery.
Certain electrical accessories may not be compatible
with the accessory power outlet and could result
in blown vehicle or adapter fuses.
If you experience a
problem, see your dealer for additional information
on the accessory power plugs.
3-1 8
Page 141 of 378

Climate Controls
Dual Climate Control System
f;' (Vent): This mode directs air to the instrument
panel outlets.
+2 (Bi-Level): This mode directs half of the air to the
instrument panel outlets, and then directs the
With this system you can control the heating, cooling
and ventilation for your vehicle. remaining air
to the floor outlets. Some air may be
directed toward the windshield. Cooler air is directed to
the upper outlets and warmer air to the floor outlets.
(Floor): This mode directs most of the air to
the floor outlets with some air directed toward the
outboard outlets (for the side windows) and a little air
directed to the windshield.
The mode knob can also be used to select defog or
defrost mode. Information on defogging and defrosting,
see "Defogging and Defrosting" later in this section.
3f (Fan): Turn the knob located on the left of
the climate control panel clockwise or counterclockwise
Use the mode knob located on the right side of the to increase or decrease the fan speed.
climate control panel to select the following modes:
Driver or Passenger (Temperature Levers): Slide the
2 MAX (Maximum): This mode recirculates much of
the air inside your vehicle and sends it through the
instrument panel outlets. The air conditioning
compressor will run automatically in this setting unless
the temperature is at or below freezing. lever(s)
up or down to increase or decrease the
temperature.
3-20
Page 143 of 378
Rear Window Defogger
The rear window defogger uses a warming grid to
remove fog or frost from the rear window.
The rear window defogger will only work when the
ignition is in
RUN.
REAR: Press this button to turn the rear window
defogger on or
off. When this button is pressed an
indicator light above the button will come on to show that
the rear window defogger is active. The instrument
brightness control may have to be adjusted to the
highest setting during the daytime in order to see the
indicator light.
Be sure to clear as much snow from the rear window
as possible.
The rear window defogger will turn
off approximately
15 minutes after the button is pressed. If turned on
again, the defogger will only run for approximately seven
and one-half minutes before turning
off. The defogger
can also be turned
off by pressing the button again or by
turning
off the engine.
Notice: Don’t use a razor blade or something else
sharp on the inside of the rear window.
If you
do, you could cut or damage the defogger and the
repairs would not be covered by your warranty.
Do not attach a temporary vehicle license, tape, a
decal or anything similar to the defogger grid.
3-22
Outlet Adjustment
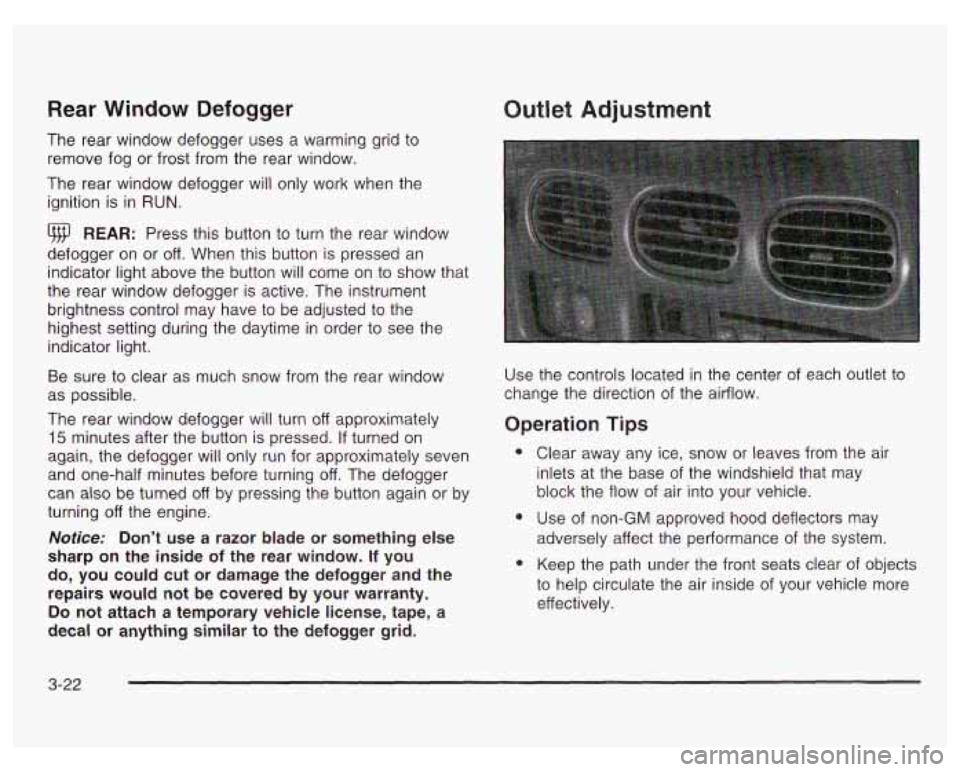
Use the controls located in the center of each outlet to
change the direction
of the airflow.
Operation Tips
e
e
Clear away any ice, snow or leaves from the air
inlets at the base of the windshield that may
block the flow of air into your vehicle.
Use of non-GM approved hood deflectors
may
adversely affect the performance of the system.
Keep the path under the front seats clear of objects
to help circulate the air inside
of your vehicle more
effectively.
Page 150 of 378
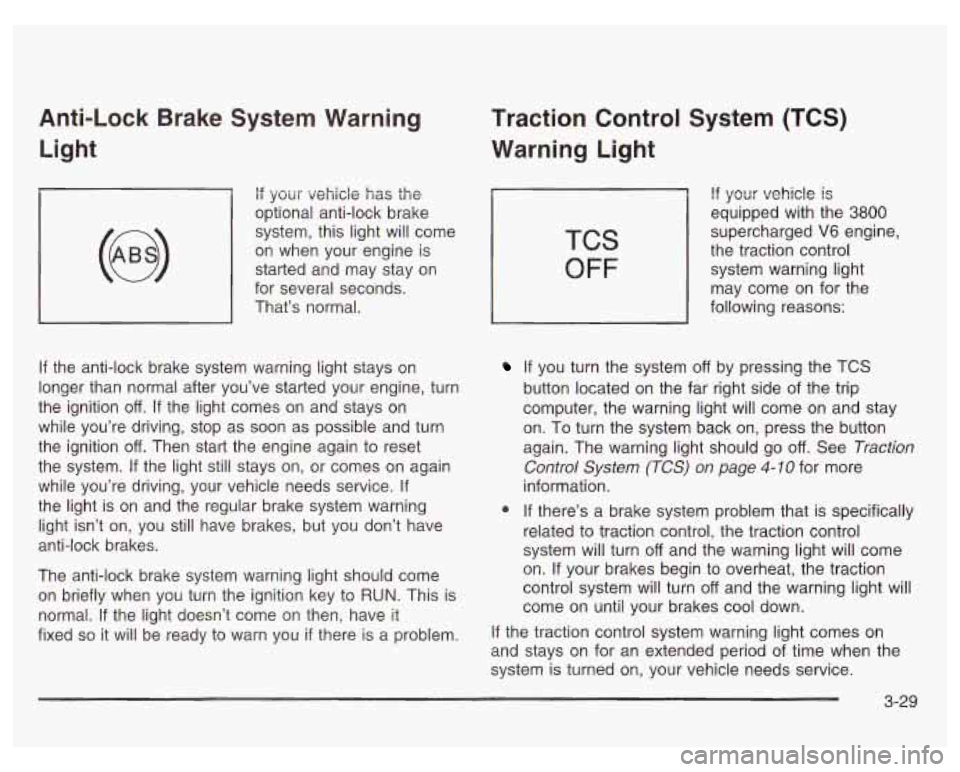
Anti-Lock Brake System Warning Light
if your vehicle has the
optional anti-lock brake
system, this light will come
on when your engine is
started and may stay on
for several seconds.
That’s normal.
If the anti-lock brake system warning light stays on
longer than normal after you’ve started your engine, turn
the ignition
off. If the light comes on and stays on
while you’re driving, stop as soon as possible and turn
the ignition
off. Then start the engine again to reset
the system.
If the light still stays on, or comes on again
while you’re driving, your vehicle needs service.
If
the light is on and the regular brake system warning
light isn’t on, you still have brakes, but you don’t have
anti-lock brakes.
The anti-lock brake system warning light should come
on briefly when you turn the ignition key to
RUN. This is
normal.
If the light doesn’t come on then, have it
fixed
so it will be ready to warn you if there is a problem.
Traction Control System (TCS)
Warning Light
TCS
OFF
If your vehicle is
equipped with the 3800
supercharged V6 engine,
the traction control
system warning light
may come on for the
following reasons:
If you turn the system off by pressing the TCS
button located on the far right side of the trip
computer, the warning light will come on and stay
on. To turn the system back on, press the button
again. The warning light should go
off. See Traction
Control System (TCS) on page
4-10 for more
information.
@ If there’s a brake system problem that is specifically
related to traction control, the traction control
system will turn
off and the warning light will come
on. If your brakes begin to overheat, the traction
control system will turn
off and the warning light will
come on until your brakes cool down.
If the traction control system warning light comes on
and stays on for an extended period of time when the
system
is turned on, your vehicle needs service.
3-29