2003 PONTIAC GRAND PRIX center console
[x] Cancel search: center consolePage 11 of 378

Heated Seats
If your vehicle is equipped
with this feature, the heated seat switch is
located on the center
console, behind the
open storage bin.
Reclining Seatbacks
The recliner lever for the driver’s and passenger’s front
seatback is located on the outboard side of each
front seat cushion.
Press
LO to warm the seat to a lower temperature.
Press
HI to warm the seat to a higher temperature.
To turn this feature
off, place the switch in the center
position. This feature only works when the ignition
is turned on.
Lift the lever to release the seatback, then move the
seatback
to where you want it. Release the lever to lock
the seatback in place. Pull up on the lever without
pushing on the seatback and the seatback will move
forward.
1 -4
Page 68 of 378

Section 2 Features and Controls
Keys ............................................................... 2.3
Remote Keyless Entry System
......................... 2.4
Remote Keyless Entry System Operation ........... 2.5
Doors and Locks ............................................. 2-8
Door Locks
.................................................... 2-8
Power Door Locks
.......................................... 2-9
Last Door Closed Locking
................................ 2-9
Programmable Automatic Door Locks
.............. 2-10
Lockout Protection
........................................ 2-10
Leaving Your Vehicle
.................................... 2-1 1
Trunk
.......................................................... 2-1 1
Windows ........................................................ 2.13
Power Windows
............................................ 2-14
Sun Visors
................................................... 2.14
Theft-Deterrent Systems .................................. 2.15
Content Theft-Deterrent
................................. 2.15
PASS-Key@
Ill .......................................... 2.16
PASS-Key@
Ill Operation ........................... 2-17
Starting and Operating Your Vehicle ............... -2-1 9
New Vehicle Break-In
.................................... 2-19
Ignition Positions
.......................................... 2.19
Starting Your Engine
..................................... 2-20
Engine Coolant Heater
.................................. 2-23
Automatic Transaxle Operation
....................... 2.24 Shifting Into
Park
(P) ..................................... 2-28
Parking Over Things That Burn
....................... 2-30
Shifting
Out
of Park (PI ................................. 2-30
Engine Exhaust ............................................ 2-31
Running Your Engine While You Are Parked
.... 2-32
Mirrors ........................................................... 2-33
Manual Rearview Mirror
................................ -2-33
Automatic Dimming Rearview Mirror with
Onstar@, Compass and Temperature
Automatic Dimming Rearview Mirror with
Compass and Temperature Display
.............. 2-34
Outside Power Mirrors
................................... 2-37
Outside Convex Mirror
................................... 2-37
OnStar@ System ............................................. 2-38
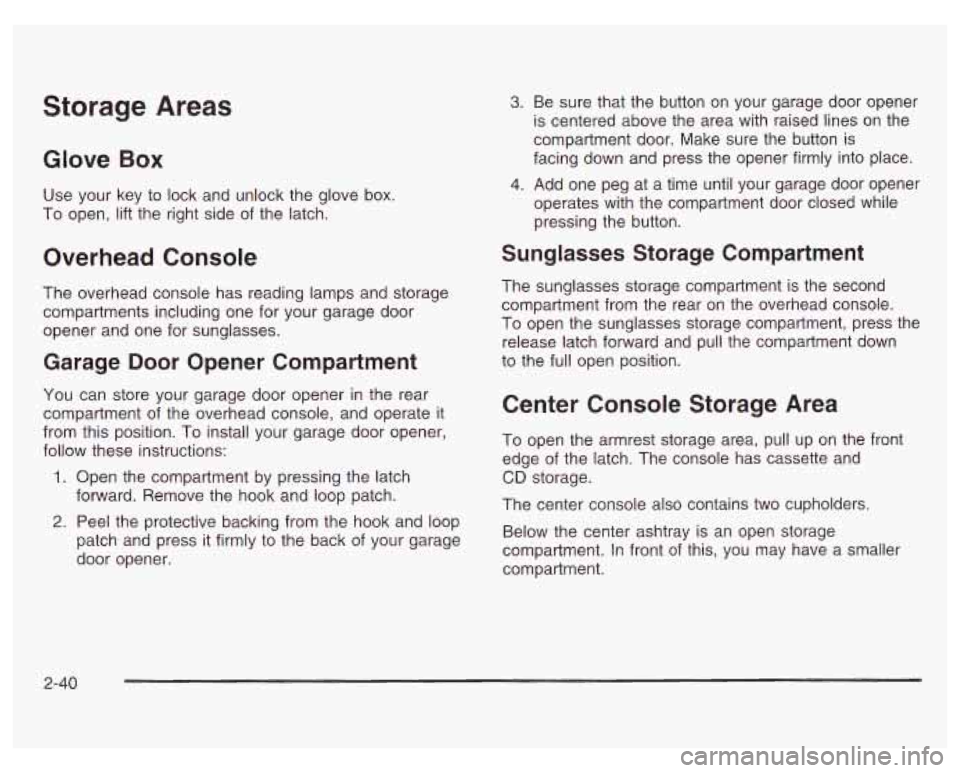
Storage Areas .... -2-40
Glove Box
................................................... 2-40
Overhead Console
........................................ 2-40
Center Console Storage Area
......................... 2-40
Assist Handles
............................................. 2-41
Purse or Litter Bag Holder
............................. 2-41
Rear Storage Area
........................................ 2-41
Convenience Net
.......................................... 2-41
Trunk Access Panel
...................................... 2-41
Display
.................................................... 2-33
....................................
Parking Brake .............................................. 2-27 Sunroof .................. ........... ............. 2.42
2-1
Page 107 of 378

Storage Areas
Glove Box
Use your key to lock and unlock the glove box.
To open, lift the right side
of the latch.
Overhead Console
The overhead console has reading lamps and storage
compartments including one for your garage door
opener and one for sunglasses.
Garage Door Opener Compartment
You can store your garage door opener in the rear
compartment of the overhead console, and operate it
from this position. To install your garage door opener,
follow these instructions:
1. Open the compartment by pressing the latch
forward. Remove the hook and loop patch.
2. Peel the protective backing from the hook and loop
patch and press it firmly to the back of your garage
door opener.
3. Be sure that the button on your garage door opener
is centered above the area with raised lines on the
compartment door. Make sure the button is
facing down and press the opener firmly into place.
4. Add one peg at a time until your garage door opener
operates with the compartment door closed while
pressing the button.
Sunglasses Storage Compartment
The sunglasses storage compartment is the second
compartment from the rear on the overhead console.
To open the sunglasses storage compartment, press the
release latch forward and pull the compartment down
to the full open position.
Center Console Storage Area
To open the armrest storage area, pull up on the front
edge
of the latch. The console has cassette and
CD storage.
The center console also contains two cupholders.
Below the center ashtray is an open storage
compartment. In front
of this, you may have a smaller
compartment.
2-40
Page 108 of 378

Assist Handles
An assist handle with a reading lamp is located over
each rear side window. The handle can be used to help
you get in or out
of the vehicle. Press the reading
lamp to turn it on. Press
it again to turn it off.
Purse or Litter Bag Holder
On the front of the center console, to the right of the
accessory power outlet, there is a hook that can be used
to hold a purse or litter bag.
Rear Storage Area
If you have a trunk access panel, you will also have a
pull down armrest that contains an open storage bin and
two cupholders.
Convenience Net
The vehicle may have a convenience net. You’ll see it
on the back wall of the trunk.
Put small loads, like grocery bags, behind the net. It can
help keep them from falling over during sharp turns or
quick starts and stops. The
net isn’t for larger, heavier loads, which should be
stored
in the trunk as far forward as possible.
You can unhook the net
so that it will lie flat when
you’re not using it.
Trunk Access Panel
If the vehicle has rear seat armrests, you will also have
a trunk access panel.
This feature allows access to the trunk from the rear
seat area. To use the trunk access panel, pull the rear
armrest down, unlock the access panel with the
ignition key and pull it down.
2-41
Page 140 of 378

Notice: Adding some electrical equipment to your
vehicle can damage
it or keep other things from
working as they should. This wouldn’t be covered by
your warranty. Check with your dealer before
adding electricai
equipment, and never use anything
that exceeds the amperage
rating.
When adding electrical equipment, be sure to follow the
proper installation instructions included with the
equipment.
Notices Power outlets are designed for accessory
plugs only. Do not hang any type of accessory
or accessory bracket from the plug. Improper use
of the power outlet can cause damage not covered
by your warranty.
Auxiliary Power Connection
(Power Drop)
The vehicle is equipped with an auxiliary power
connection. This feature provides power, ground and
accessing wires which can
be used to add aftermarket
electrical equipment to the vehicle. The connection
is located on the passenger’s side of the vehicle, below
the glove box on the right side of the console.
Ashtrays and Cigarette Lighter
The center front ashtray is on the instrument panel.
To open it, pull at the bottom of the ashtray until it is fully
open.
To remove the ashtray cup, lift the tabs on the
sides and pull out.
Notice: Don’t put papers or other flammable
items into your ashtrays. Hot cigarettes
or other
smoking materials could ignite them, causing
a damaging fire.
To use the lighter, located inside the center front
ashtray, push it in all the way and let go. When it’s
ready, it will pop back out by itself.
Notice: Don’t hold a cigarette lighter in with you
hand while
it is heating. If you do, it won’t be able to
back away from the heating element when
it’s
ready. That can make it overheat, damaging the
lighter and the heating element.
3-1 9
Page 361 of 378

Backglass Antenna .......................................... 3-59
Backing Up .................................................... 4-41
Battery .......................................................... 5-52
Battery Replacement ......................................... 2-6
Battery Run-Down Protection ............................ 3-1 5
Before Leaving on a Long Trip ......................... 4-24
Body Lubrication Service .......................... 6-10
Brake
Parking
...................................................... 2-27
System Inspection ....................................... 6-1 4
System Warning Light .................................. 3-28
Brake Fluid .................................................... 5-49
Brake Wear ................................................... 5-51
Brakes .......................................................... 5-49
Braking ........................................................... 4-6
Break-In, New Vehicle ..................................... 2-19
Bulb Replacement ........................................... 5-60
Center High-Mounted Stoplamp (CHMSL) ........ 5-63
Front Turn Signal and Sidemarker Lamps ....... 5-62
Halogen Bulbs ............................................ 5-60
Headlamp Aiming ........................................ 5-59
Headlamps ................................................. 5-60
Replacement Bulbs ...................................... 5-66
Taillamps, Sidemarker and Back-up Lamps ..... 5-64
Buying New Tires ........................................... 5-71
Braking in Emergencies ..................................... 4-9
C
California Fuel .................................................. 5-6
Canada ........................................................... 7-4
Canadian Owners ................................................ ii
Canadian Roadside Assistance ........................... 7-6
Capacities and Specifications .......................... 5-1 02
Carbon Monoxide ................... 4-27, 4-37, 2-1 1, 2-31
Care of
Safety Belts ................................................ 5-91
Care of the HUD ............................................ 3-17
Care of Your
Cassette Tape Player
................................... 3-58
CD Player .................................................. 3-59
Cassette Tape Messages ................................. 3-47
Cassette Tape Player Service ............................. 6-9
Center Console Storage Area ........................... 2-40
Center High-Mounted Stoplamp (CHMSL) ........... 5-63
Center Passenger Position, Safety Belts ............. 1-21
Chains, Tires .................................................. 5-75
Check
Checking Coolant
............................................ 5-31
Checking Things Under the Hood ...................... 5-10
Checking Your Restraint Systems ...................... 1-58
CDS .......................................................... 3-59
CD Adapter Kits ............................................. 3-48
Charging System Light .................................... 3-27
Engine Light ............................................... 3-32
Checking Engine Oil ........................................ 5-18
Chemical Paint Spotting ................................... 5-94
2
Page 372 of 378

Steering ........................................................ 4-1 3
Steering in Emergencies
.................................. 4-14
Steering, Suspension and Front Drive Axle Boot
and Seal Inspection
..................................... 6-13
Steering
Tips .................................................. 4-13
Steering Wheel Controls, Audio
......................... 3-56
Storage Areas Center Console Storage Area
........................ 2-40
Convenience Net
......................................... 2-41
Glove Box
.................................................. 2-40
Overhead Console
....................................... 2-40
Purse or Litter Bag Holder
............................ 2-41
Rear Storage Area
....................................... 2-41
Trunk Access Panel
..................................... 2-41
Storing the Flat Tire and Tools
.......................... 5-85
Storing the Spare Tire and Tools
....................... 5-86
Stuck in Sand, Mud, Ice or Snow
...................... 4-32
Sun Visors
................................... ........... 2-14
Sunglasses Storage Compartment
.................. 2-40
Sunroof
......................................................... 2-42
Supplemental Restraint System
(SRS) ............... 1-51
How Does an Air Bag Restrain?
.................... 1-55
Servicing Your Air Bag-Equipped Vehicle
......... 1-57
What Makes an Air Bag Inflate?
.................... 1-55
What Will You See After an Air Bag
Inflates?
.................................................. 1-56
When Should an Air Bag Inflate?
................... 1-55
Where Are the Air Bags?
.............................. 1-53
T
Tachometer .................................................... 3-25
Taillamps Sidemarker
and Back-up Lamps .................... 5-64
TCS Warning Light
.......................................... 3-29
Temperature Display
................................ 2.34. 2-35
Theft.Deterrent. Radio
..................................... 3-54
Theft-Deterrent Systems
................................... 2-15
Content Theft-Deterrent
................................ 2-15
PASS-Key@
Ill ............................................. 2-16
Throttle System Inspection
............................... 6-14
Tilt Wheel
........................................................ 3-4
Tire Inflation Check
........................................... 6-9
Tires
..................................................... 5-68, 5-93
Buying New Tires
........................................ 5-71
Chains ....................................................... 5-75
Changing a Flat Tire
.................................... 5-76
Compact Spare Tire
..................................... 5-87
If a Tire Goes Flat
....................................... 5-76
Inflation
-- Tire Pressure ............................... 5-68
Inspection and Rotation
................................ 5-69
Uniform Tire Quality Grading
......................... 5-72
Wheel Alignment and Tire Balance
................. 5-73
Wheel Replacement
..................................... 5-73
When It
Is Time for New Tires ...................... 5-70
PASS-Key@
Ill Operation .............................. 2-17
13