2003 PONTIAC GRAND PRIX change wheel
[x] Cancel search: change wheelPage 111 of 378
Entering Programming Mode
To program features, your vehicle must be in this
programming mode. Follow these steps:
1. Turn the ignition key to LOCK or OFF.
2. Remove the MALL
PGM fuse from the instrument
panel fuse block. See Fuses and Circuit Breakers
on page
5-97.
3. Turn the ignition key to ACCESSORY.
4. Count the number of chimes you hear. You will
hear up to four chimes, depending on vehicle
content. See “Vehicle Personalization’’ listed
previously.
YOU can now program your choices. After programming
a feature, you can exit the programming mode at
any time.
Delayed Illumination and Exit
Lighting
With delayed illumination, the interior lamps will stay on
for about 25 seconds after all doors are closed.
With exit lighting, the interior lamps will come on and
stay on for about
25 seconds whenever you remove the
key from the ignition.
Programmable Modes
Mode 1: Both Features Off - The interior lamps will
turn on or off at the same instant that a door is opened
or closed.
Mode 2: Delayed Illurnination Only -The interior lamps
will stay on for about
25 seconds after all the doors
are closed, or until you lock the doors.
Mode 3: Exit Lighting Only -The interior lamps will
come on whenever you remove the key from the ignition
and stay
on for about 25 seconds, or until you lock
the doors.
Mode 4: Both Features On -This combines Modes 2
and 3.
Before your vehicle was shipped from the factory, it was
programmed to Mode
4. The mode to which your
vehicle was programmed may have been changed since
it left the factory. To determine the mode
to which
your vehicle is programmed or to program your vehicle
to a different mode, do the following:
1. Follow the instructions for Entering Programming
2. Turn the interior lamps thumbwheel all the way to
Mode
on page 2-44.
the right
and then back slightly to the left.
2-44
Page 112 of 378
3.
4.
5.
Count the number of chimes you hear. The number
of chimes tells you which mode your vehicle is set
for.
If you do not wish to change the current
mode, you can either exit the programming mode
by following the instructions later in this section
or program the next feature available on your
vehicle.
Turn the interior lamps thumbwheel all the way to
the right and then back slightly to the left again to
change the current mode.
Repeat Step
4 until you hear the number of chimes
that matches the number of the mode you want.
The mode you selected is now set. You can either
exit the programming mode by following the instructions
later in this section or program the next feature
available on your vehicle. See Exiting Programming
Mode on page
2-53.
Automatic Door Locks
With automatic door locks, all doors will automatically
lock when you shift out
of PARK (P) and automatically
unlock when the ignition
is turned to OFF.
Programmable Modes
Mode 1: Both Features Off - Automatic door locking
and unlocking are disabled. You will always need to lock
your doors manually before driving to increase
occupant safety.
All doors will lock when you press the power
door lock switch rearward or when you press
the LOCK on the remote keyless entry transmitter
(if equipped).
All doors will unlock when you press the power
door lock switch forward or when you press
UNLOCK on the remote keyless entry transmitter
(if equipped).
Mode 2: Automatic Door Locking Only
Automatic Door Unlocking: The automatic door
Automatic Door Locking: Shift out of PARK (P)
unlock feature is turned off.
with the ignition on and the driver’s door closed,
all doors will lock automatically.
2-45
Page 129 of 378
Cruise Control
With cruise control, you can maintain a speed of about
25 mph (40 km/h) or more without keeping your foot
on the accelerator. This can really help on long
trips. Cruise control does not work at speeds below
approximately
25 mph (40 km/h).
When you apply the brakes, the cruise control
shuts
off.
If your vehicle is in cruise control when the traction
control system on the
3800 Supercharged V6 engine or
the enhanced traction system on the 3100 V6 and
3800 V6 engine begins to limit wheel spin, the cruise
control will automatically disengage. See Traction
Control System (TCS) on page
4- 10 or Enhanced
Traction System (ETS) on page
4-1 1. When road
conditions allow you to safely use it again, you may
turn the cruise control back on.
Setting Cruise Control
Cruise control can be dangerous where
you can’t drive safely at a steady speed.
So, don’t use you’r cruise control on
winding roads or in heavy traffic.
Cruise control can be dangerous on
slippery roads. On such roads, fast
changes
in tire traction can cause
needless wheel spinning, and you could
lose control. Don’t use cruise control on
slippery roads.
I
If you leave your cruise control on when you’re
not using cruise, you might hit a button and go
into cruise when you don’t want to. You could
be startled and even lose control. Keep the
cruise control switch off until you want to use
cruise control.
1. Move the cruise control switch to ON.
2. Get up to the speed you want.
3. Push in the SET button at the end of the
4. Take your foot off the accelerator pedal.
multifunction lever
and release it.
3-8
Page 137 of 378

The HUD also shows the following lights when they are
lit on the instrument panel cluster:
Turn Signal Indicators
High-Beam Indicator Symbol
Low Fuel Symbol
The HUD will display CHECK GAGES when the
following items are lit on the instrument panel cluster:
Oil Warning Symbol
Coolant Temperature Symbol
Charging System Symbol
When the ignition key is turned to RUN, the entire HUD
image will come on. Then the Head-Up Display will
operate normally.
Notice: Although the HUD image appears to be
near the front
of the vehicle, do not use it as
a parking aid. The
HUD was not designed for that
purpose.
If you try to use it as such, you may
misjudge the distance and damage your vehicle.
When the HUD is on, the speedometer reading will be
displayed continually. The current radio station
or
CD track number will only be displayed for three
seconds after the radio or CD track status changes.
This will happen whenever one of the radio controls is
pressed, either on the radio itself or on the optional
steering wheel controls. To
adjust the HUD
so you can see it properly do the
following:
1. Adjust your seat, if necessary, to a comfortable
position.
2. Start the engine and adjust the HUD controls
located on the instrument panel, to the right
of
the steering wheel. Move the DIM thumbwheel up
or down to adjust brightness.
3-1 6
Page 138 of 378
3. Press the top of the UP/DN switch until the HUD
image stops moving. Then press the bottom of the
switch until the image is as low as possible but
in full view.
4. Move the DIM thumbwheel down ur;til the HUD
image is no brighter than necessary. To turn the
HUD off, move the DIM thumbwheel all the
way down.
If the sun comes out, it becomes cloudy, or if you turn
on your headlamps, you may need
to adjust the
HUD brightness again. The HUD will automatically dim
when the headlamps change from the
DRL mode to
full intensity. Polarized sunglasses could make the
HUD
image harder to see.
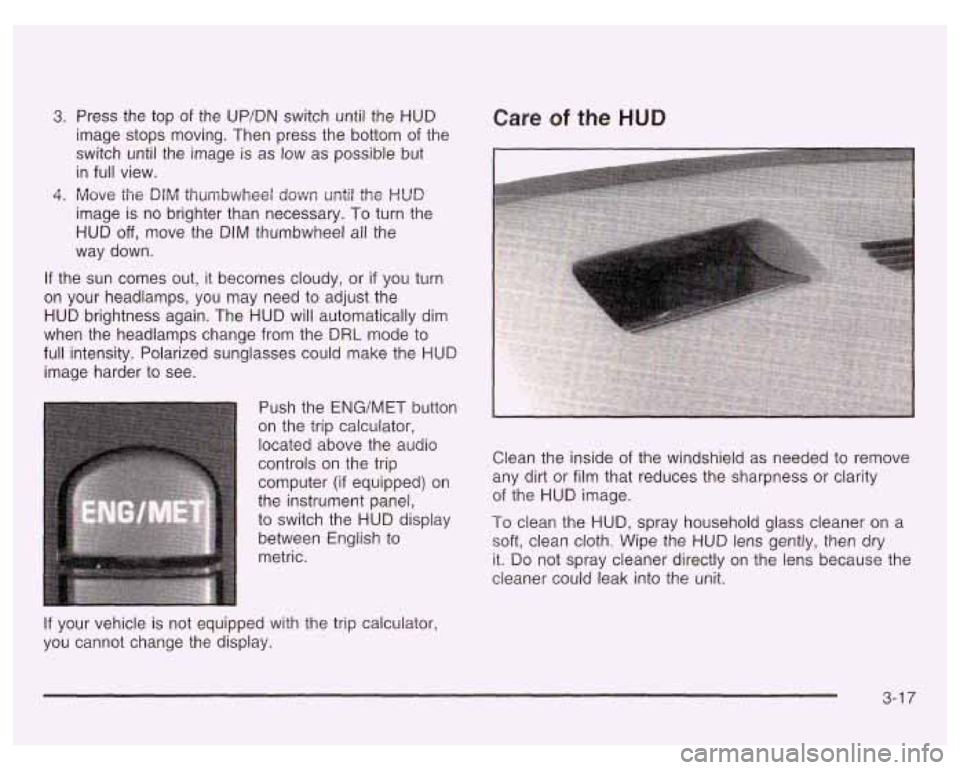
Push the
ENG/MET button
on the trip calculator,
located above the audio
controls on the trip
computer (if equipped) on
the instrument panel,
to switch the
HUD display
between English to
metric.
Care of the HUD
Clean the inside of the windshield as needed to remove
any dirt or film that reduces the sharpness or clarity
of the
HUD image.
To clean the HUD, spray household glass cleaner on a
soft, clean cloth. Wipe the
HUD lens gently, then dry
it. Do not spray cleaner directly on the lens because the
cleaner could leak into the unit.
If your vehicle is not equipped with the trip calculator,
you cannot change the display.
3-1 7
Page 160 of 378

The Driver Information Center (DIC) gives you important
safety and maintenance facts. When you turn the
ignition on, all of the DIC lights illuminate for a few
seconds. After this, the DIC will begin working.
Functions
__ (Door Ajar): If one of the doors is ajar, this light
will appear next to that door on the vehicle outline.
CHANGE OIL SOON: This light will appear when the
system indicates that it’s time for an oil change. The
system predicts remaining oil life using data from length
of drives, coolant temperature, engine rpm and
vehicle speed. It alerts you to change the oil on a
schedule consistent with the vehicle’s driving conditions.
After changing the oil, the system must be reset. See
How to Reset the GM
Oil Life SystemTM under
Engine
Oil on page 5- 18.
e LOW: This light will come on when the ignition is
on and the fluid in the washer fluid container is low.
AJAR: This light alerts you that the trunk is not
fully closed.
LOW TRAC (Low Traction): If your vehicle is equipped
with anti-lock brakes, this light will come on when the
enhanced traction system is limiting wheel spin. See Enhanced Traction System (ETS) on page 4-
I I or
Low Traction Light on page 3-30.
TRAC OFF (Traction Off): If your vehicle is equipped
with anti-lock brakes, this light lets you know that
the enhanced traction system has been disabled and
will not limit wheel spin. See Enhanced Traction System
Warning Light
on page 3-30 or Low Traction Light on
page 3-30.
TRAC (Traction): If the vehicle has anti-lock brakes
and the enhanced traction system, you will have a
disable button on the far right side of the DIC.
The enhanced traction system is automatically activated
when you turn the ignition on. This button will
activate/deactivate the system. If you need to disable
the system, such
as when you are stuck and are rocking
the vehicle back and forth, push this button. See If
You Are Stuck: in Sand, Mud, Ice or Snow on
page 4-32.
3-39
Page 177 of 378
Disabling the Theft-Deterrent Feature
Enter your secret code as follows; pause no more than
15 seconds between steps:
1. Turn the ignition on.
2. Turn the radio off.
3. Press the 1 and 4 pushbuttons at the same time.
Hold them down until
SEC shows on the display.
4. Press MIN and 000 will appear on the display.
5. Press MIN again to make the last two digits agree
with your code.
6. Press HR to make the first one or two digits agree
with your code.
7. Press AM/FM after you have confirmed that the
code matches the secret code you have written
down. The display will show
---, indicating that the
radio is no longer secured.
If the code entered is incorrect,
SEC will appear on the
display. The radio will remain secured until the correct
code is entered.
When battery power is removed and later applied to
a
secured radio, the radio won’t turn on and LOC will
appear on the display.
To unlock a secured radio, see “Unlocking the
Theft-Deterrent Feature After a Power
Loss” earlier in
this section.
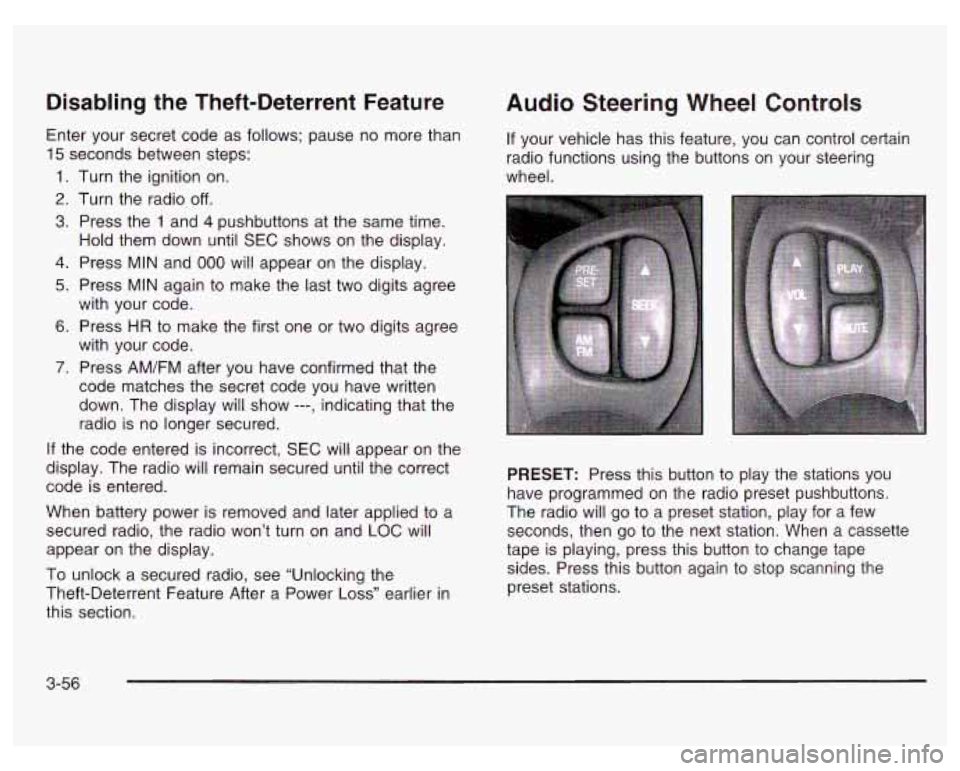
Audio Steering Wheel Controls
If your vehicle has this feature, you can control certain
radio functions using the buttons on your steering
wheel.
PRESET: Press this button to play the stations you
have programmed on the radio preset pushbuttons.
The radio will go to a preset station, play for a few
seconds, then go to the next station. When a cassette
tape is playing, press this button to change tape
sides. Press this button again to stop scanning the
preset stations.
3-56
Page 189 of 378
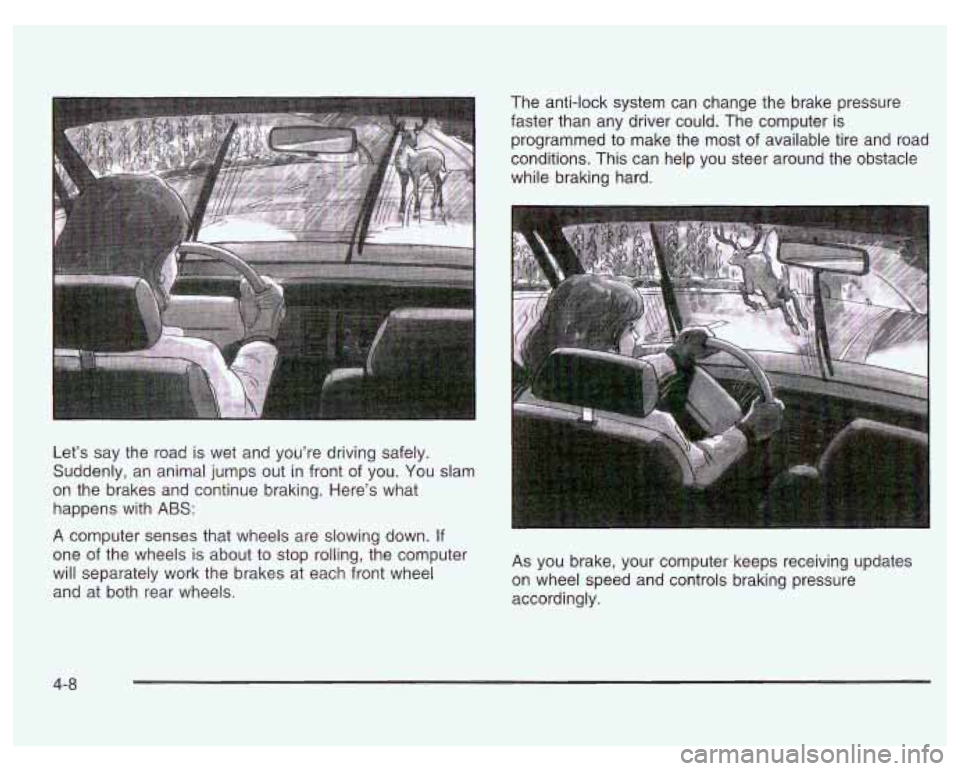
Let’s say the road is wet and you’re driving safely.
Suddenly, an animal jumps out in front
of you. You slam
on the brakes and continue braking. Here’s what
happens with
ABS:
A computer senses that wheels are slowing down. If
one of the wheels is about to stop rolling, the computer
will separately work the brakes at each front wheel
and at both rear wheels. The anti-lock
system can change the brake pressure
faster than any driver could. The computer is
programmed to make the most of available tire and road
conditions. This can help you steer around the obstacle
while braking hard.
As you brake, your computer keeps receiving updates
on wheel speed and controls braking pressure
accordingly.
4-8