2003 PONTIAC GRAND PRIX fuel
[x] Cancel search: fuelPage 243 of 378

Engine Oil
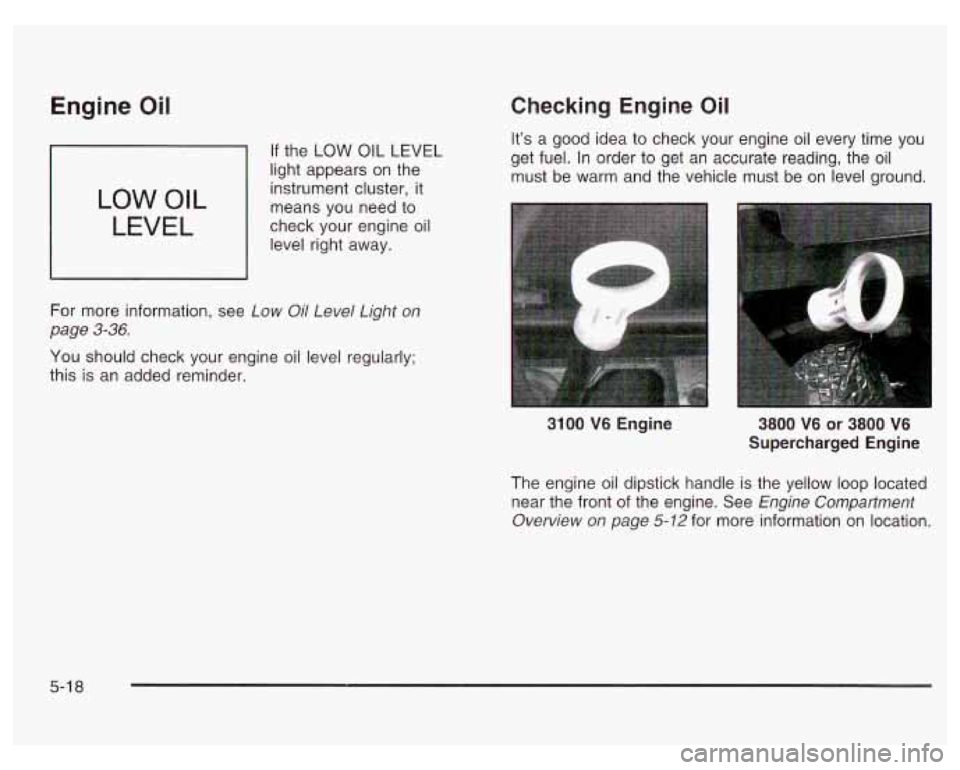
If the LOW OIL LEVEL
light appears on the
instrument cluster, it
means you need to
check your engine oil
level right away.
LOW OIL
LEVEL
For more information, see Low Oil Level Light on
page
3-36.
Checking Engine Oil
It’s a good idea to check your engine oil every time you
get fuel. In order to get an accurate reading, the oil
must be warm and the vehicle must be on level ground.
You should check your engine oil level regularly;
this is an added reminder.
3100 V6 Engine
3800 V6 or 3800 V6
Supercharged Engine
The engine oil dipstick handle is the yellow loop located
near the front of the engine. See Engine Comparfment
Overview on page
5-12 for more information on location.
5-1 8
Page 247 of 378

RECOMMENDED SAE VISCOSITY GRADE ENGINE OILS
FOR BEST FUEL ECONOMY AND COLD STARTING, SELECT THE LOWEST
SA€ VISCOSITY GRADE
OIL FOR THE EXPECTED TEMPERATURE RANGE.
~~~~ ~~~~~ ~~ -
HOT
WEATHER
SAE SW-30
LOOK
FOR THIS
SYMBOL
8- SAE I 1OW-30
PREFERRED above 0°F (-1 8°C)
Notice: Use only engine oil with the American
Petroleum Institute Certified For Gasoline Engines
starburst symbol. Failure to use the recommended
oil can result in engine damage not covered by
your warranty.
GM Goodwrench@ oil meets all the requirements for
your vehicle.
If you are in an area of extreme cold, where the
temperature falls below
-20°F (-29"C), it is
recommended that you use either an SAE
5W-30
synthetic oil or an SAE OW-30 oil. Both will provide
easier cold starting and better protection for your engine
at extremely low temperatures.
Engine Oil Additives
Don't add anything to your oil. The recommended oils
with the starburst symbol are
all you will need for
good performance and engine protection.
3800 V6 or 3800 V6 Supercharged Engine
5-22
Page 248 of 378

When to Change Engine Oil (GM Oil
Life SystemTM)
Your vehicle has a computer system that lets you know
when to change the engine
oil and filter. This is
based on engine revolutions and engine temperature,
and not on mileage. Based on driving conditions,
the mileage at which an oil change will be indicated
can vary considerably. For the oil life system to
work properly, you must reset the system every time
the oil is changed.
When the system has calculated that oil life has been
diminished, it will indicate that an oil change is
necessary.
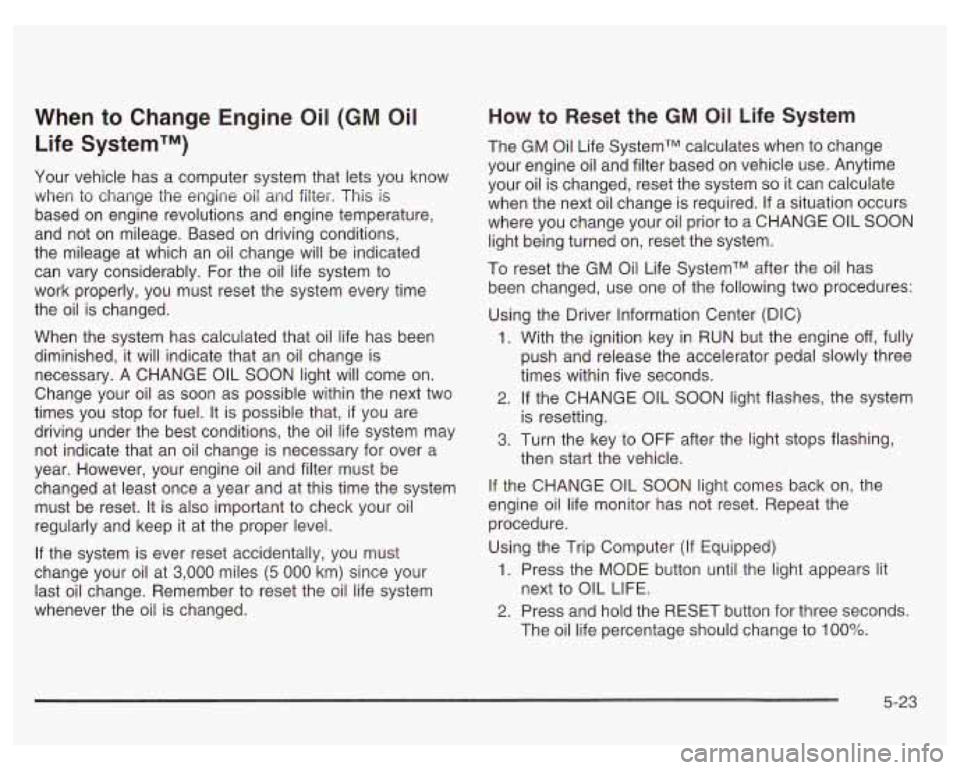
A CHANGE OIL SOON light will come on.
Change your
oil as soon as possible within the next two
times you stop for fuel.
It is possible that, if you are
driving under the best conditions, the oil life system may
not indicate that an oil change is necessary for over a
year. However, your engine oil and filter must be
changed at least once a year and at this time the system
must be reset. It is also important to check your oil
regularly and keep it at the proper level.
If the system is ever reset accidentally, you must
change your oil at
3,000 miles (5 000 km) since your
last oil change. Remember
to reset the oil life system
whenever the oil is changed.
How to Reset the GM Oil Life System
The GM Oil Life SystemTM calculates when to change
your engine oil and filter based on vehicle use. Anytime
your oil is changed, reset the system
so it can calculate
when the next oil change is required.
If a situation occurs
where you change your oil prior to a CHANGE
OIL SOON
light being turned on, reset the system.
To reset the GM Oil Life SystemTM after the oil has
been changed, use one of the following two procedures:
Using the Driver Information Center (DIC)
1.
2.
3.
With the ignition key in RUN but the engine off, fully
push and release the accelerator pedal slowly three
times within five seconds.
If the CHANGE OIL SOON light flashes, the system
is resetting.
Turn the key to OFF after the light stops flashing,
then start the vehicle.
If the CHANGE OIL SOON light comes back on, the
engine oil life monitor has not reset. Repeat the
procedure.
Using the Trip Computer (If Equipped)
1. Press the MODE button until the light appears lit
2. Press and hold the RESET button for three seconds.
next to
OIL LIFE.
The
oil life percentage should change to 100%.
5-23
Page 294 of 378

Bad wear
0 Bad handling
Bad fuel economy
If your tires have too much air (overinflation),
you can get the following:
Unusual wear
Bad handling
Rough ride
Needless damage from road hazards
When to Check
Check your tires once a month or more.
Don’t forget your compact spare tire. It should be
at
60 psi (420 kPa).
How to Check
Use a good quality pocket-type gage to check tire
pressure. You can’t tell
if your tires are properly inflated
simply by looking at them. Radial tires may look
properly inflated even when they’re underinflated.
Be sure to put the valve caps back on the valve stems.
They help prevent leaks by keeping out dirt and
moisture.
Tire Inspection and Rotation
Tires should be rotated every 7,500 miles (1 2 500 km).
Any time you notice unusual wear, rotate your tires
as soon as possible and check wheel alignment.
Also
check for damaged tires or wheels. See When It Is Time
for New Tires on page
5-70 and Wheel Replacement
on page 5-73 for more information.
The purpose of regular rotation is to achieve more
uniform wear for all tires on the vehicle. The first rotation
is the most important. See “Part A: Scheduled
Maintenance Services,’’ in Section
6, for scheduled
rotation intervals.
1
When rotating your tires, always use the correct rotation
pattern shown here.
5-69
Page 318 of 378

Aluminum or Chrome Plated Wheels
Keep your wheels clean using a soft clean cloth
with mild soap and water. Rinse with clean water. After
rinsing thoroughly, dry with a soft clean towel. A wax
may then be applied.
The surface of these wheels is similar to the painted
surface of your vehicle. Don’t use strong soaps,
chemicals, abrasive polishes, abrasive cleaners,
cleaners with acid, or abrasive cleaning brushes on
them because you could damage the surface.
Do not
use chrome polish on aluminum wheels.
Don’t take your vehicle through an automatic car wash
that has silicone carbide tire cleaning brushes. These
brushes can also damage the surface of these wheels.
Tires
To clean your tires, use a stiff brush with tire cleaner.
Notice: When applying a tire dressing, always take
care to wipe
off any overspray or splash from all
painted surfaces on the body or wheels of the
vehicle. Petroleum-based products may damage the
paint finish and tires.
Sheet Metal Damage
If your vehicle is damaged and requires sheet metal
repair or replacement, make sure the body repair shop
applies anti-corrosion material to parts repaired or
replaced to restore corrosion protection.
Original manufacturer replacement parts will provide the
corrosion protection while maintaining the warranty.
Finish Damage
Any stone chips, fractures or deep scratches in the finish
should be repaired right away. Bare metal will corrode
quickly and may develop into major repair expense.
Minor chips and scratches can be repaired with touch-up
materials avaliable from your dealer or other service
outlets. Larger areas of finish damage can be corrected
in your dealer’s body and paint shop.
Underbody Maintenance
Chemicals used for ice and snow removal and dust
control can collect on the underbody.
If these are not
removed, accelerated corrosion (rust) can occur on
the underbody parts such as fuel lines, frame, floor pan
and exhaust system even though they have corrosion
protection.
5-93
Page 328 of 378

Capacities and Specifications (cont’d)
T
Application
Engine Oil with Filter
31 00 V6 (Code J)
3800 V6 (Code K)
3800 V6 Supercharged (Code 1)
Capacities
English
4.3 quarts
4.3 quarts
4.3 quarts
Metric
4.1 L
4.1 L
4.1 L
Fuel Tank
All capacities are approximate. When adding fluid, be sure to fill to the appropriate level, as recommended in this
manual. Recheck fluid level after filling. See
Pad D: Recommended Nuids and Lubricants on page 6-75 for more
information.
I 17.2 gallons 65 L
Engine Specifications
Wheel Nut
Engine Torque
Firing Order
Spark
Plug Gap VIN Code
3100 V6 J .060 inch 100 ft Ib
191
CID (3.1L LG8) (1.52mm) 1-2-3-4-5-6
(140 Nmm )
1-6-5-4-3-2
5-1 03
Page 330 of 378

Section 6 Maintenance Schedule
Maintenance Schedule ...................................... 6-2
Introduction
................................................... 6-2
Your Vehicle and the Environment
.................... 6-2
Maintenance Requirements
.............................. 6-2
How This Section is Organized
......................... 6-3
Part A: Scheduled Maintenance Services
........... 6-4
Using Your Maintenance Schedule
.................... 6.4
Scheduled Maintenance
.................. ......... 6.5
Part B: Owner Checks and Services
.... ..... 6.9
At Each Fuel Fill
........................................ 6-9
At Least Once a Month
................................... 6.9
At Least Twice a Year
................................... 6.10 At
Least Once a Year
................................... 6.10
Pari C: Periodic
Maintenance inspections ......... 6.13
Steering, Suspension and Front Drive Axle
Boot and Seal Inspection
............................ 6-13
Exhaust System Inspection
............................ 6.13
Fuel System Inspection
.................................. 6.13
Engine Cooling System Inspection
................... 6.13
Throttle System Inspection
............................ -6-14
Brake System Inspection
................................ 6.14
Part D: Recommended Fluids and Lubricants
.... 6-15
Part
E: Maintenance Record ........................... 6.16
6- 1
Page 333 of 378

Part A: Scheduled Maintenance
Services
This part contains engine oil scheduled maintenance
which explains the engine oil life system and how
it indicates when to change the engine oil and filter.
Also, listed are scheduled maintenance services which
are to be performed at the mileage intervals specified.
Using Your Maintenance Schedule
We at General Motors want to keep your vehicle in good
working condition. But we don’t know exactly how
you’ll drive it. You may drive short distances only a few
times a week. Or you may drive long distances all
the time in very hot, dusty weather. You may use your
vehicle
in making deliveries. Or you may drive it to
work, to do errands or in many other ways.
Because of the different ways people use their vehicles,
maintenance needs may vary. You may need more
frequent checks and replacements.
So please read the
following and note how you drive.
If you have
questions on how to keep your vehicle in good condition,
see your dealer. This part tells
you the maintenance services you
should have done and when you should schedule them.
When you go to your dealer for your service needs,
you’ll know that GM-trained and supported service
people will perform the work using genuine GM parts.
The proper fluids and lubricants to use are listed in
Part D. Make sure whoever services your vehicle uses
these.
All parts should be replaced and all necessary
repairs done before you or anyone else drives the
vehicle.
This schedule is for vehicles that:
carry passengers and cargo within recommended
limits. You will find these on your vehicle’s
Tire-Loading Information label. See Loading
Your
Vehicle on page 4-35.
are driven on reasonable road surfaces within legal
use the recommended fuel. See Gasoline Octane
driving limits.
on page 5-5.
6-4