2003 PONTIAC GRAND PRIX air filter
[x] Cancel search: air filterPage 90 of 378

Engine Coolant Heater
Your vehicle may be equipped with an engine coolant
heater. In very cold weather,
0°F (-18°C) or colder,
the engine coolant heater can help. You’ll get easier
starting and better fuel economy during engine warm-up.
Usually, the coolant heater should be plugged in a
minimum of four hours prior
to starting your vehicle.
At temperatures above 32°F
(OOC), use of the coolant
heater
is not required.
To Use the Engine Coolant Heater
1. Turn off the engine.
2. Open the hood and unwrap the electrical cord.
The cord is located below the engine air
cleaner/filter near the coolant reservoir bottle. See
Engine Comparfment Overview on page
5-12
for more information on location.
3. Plug
it into a normal, grounded 1 IO-volt AC outlet.
Plugging the cord into an ungrounded outlet
could cause an electrical shock.
Also, the
wrong kind of extension cord could overheat
and cause a fire. You could be seriously injured. Plug the cord into a properly grounded
three-prong 110-volt
AC outlet. If the cord
won’t reach, use a heavy-duty three-prong
extension cord rated for at least 15 amps.
4. Before starting the engine, be sure to unplug and
store the cord as it was before
to keep it away
from moving engine parts. If you don’t, it could be
damaged.
2-23
Page 226 of 378

Section 5 Service and Appearance Care
Service ............................................................ 5.3
Doing Your
Owr? Service Work ......................... 5-4
Adding Equipment to the Outside of
Your Vehicle
.............................................. 5-4
Fuel ................................................................ 5-5
Gasoline Octane
............................................ 5-5
Gasoline Specifications
.................................... 5-5
California Fuel
............................................... 5-6
Additives
....................................................... 5-6
Fuels in Foreign Countries
............................... 5-7
Filling Your Tank
............................................ 5-7
Filling a Portable Fuel Container
....................... 5-9
Checking Things Under the Hood .................... 5-10
Hood Release
.............................................. 5-10
Engine Compartment Overview
....................... 5-12
Engine Oil
................................................... 5-18
Supercharger Oil
.......................................... 5-24
Engine Air CleanedFilter
................................ 5-25
Automatic Transaxle Fluid
.............................. 5-27
Engine Coolant
............................................. 5-30
Radiator Pressure Cap
.................................. 5-33
Cooling System
........................................... -5-36
Power Steering Fluid
..................................... 5-46
Windshield Washer Fluid
................................ 5-48
Engine Overheating
....................................... 5-33 Brakes
........................................................ 5.49
Battery
........................................................ 5.52
Jump Starting
............................................... 5-53
Bulb Replacement .......................................... 5-60
Halogen Bulbs
.............................................. 5-60
Headlamps
.................................................. 5-60
Front Turn Signal and Sidemarker Lamps
........ 5-62
Center High-Mounted Stoplamp (CHMSL)
......... 5-63
Taillamps, Sidemarker and Back-up Lamps
...... 5-64
Replacement Bulbs
....................................... 5-66
Windshield Wiper Blade Replacement .............. 5-67
Tires ............................................................. -5-68
Inflation
-- Tire Pressure ................................ 5-68
Tire Inspection and Rotation
........................... 5-69
When It
Is Time for New Tires ....................... 5-70
Buying New Tires
......................................... 5-71
Uniform Tire Quality Grading
.......................... 5-72
Wheel Replacement
...................................... 5-73
Headlamp Aiming ........................................... 5-59
Wheel Alignment and Tire Balance
.................. 5-73
Tire Chains
.................................................. 5-75
If a Tire Goes Flat ........................................ 5-76
Changing a Flat Tire
..................................... 5-76
Compact Spare Tire
...................................... 5-87
5- 1
Page 238 of 378

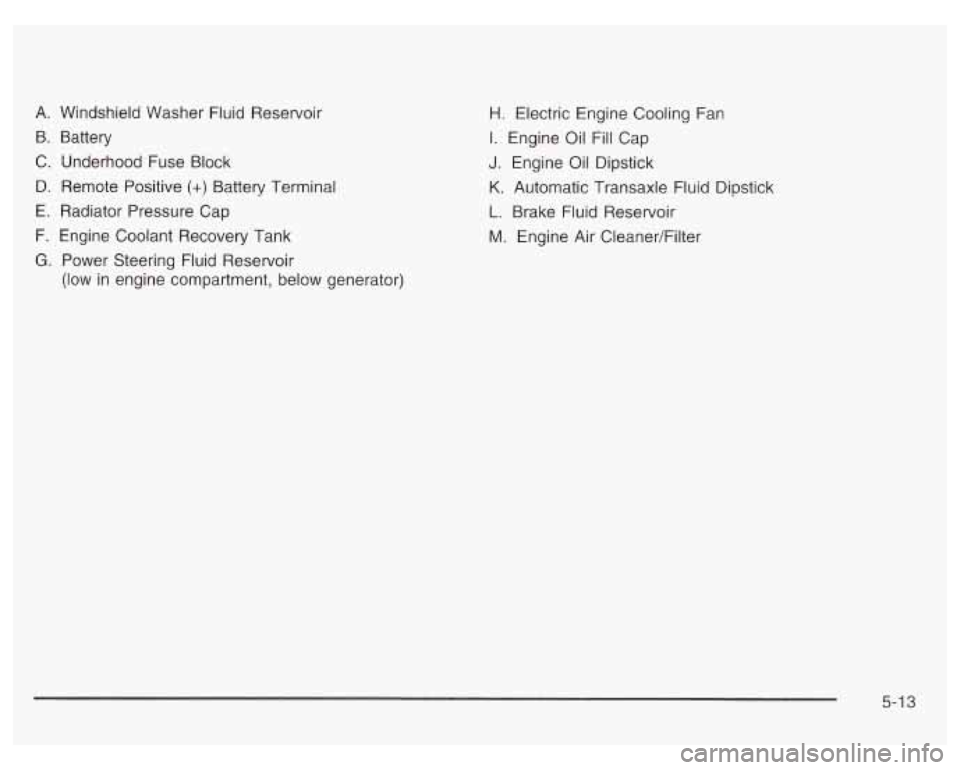
A. Windshield Washer Fluid Reservoir
B. Battery
C. Underhood Fuse Block
B. Remote Positive (+) Battery Terminal
E. Radiator Pressure Cap
F. Engine Coolant Recovery Tank
G. Power Steering Fluid Reservoir
(low in engine compartment, below generator)
H. Electric Engine Cooling Fan
I. Engine Oil Fill Cap
J. Engine Oil Dipstick
K. Automatic Transaxle Fluid Dipstick
L. Brake Fluid Reservoir
M. Engine Air CleanedFilter
5-1 3
Page 240 of 378

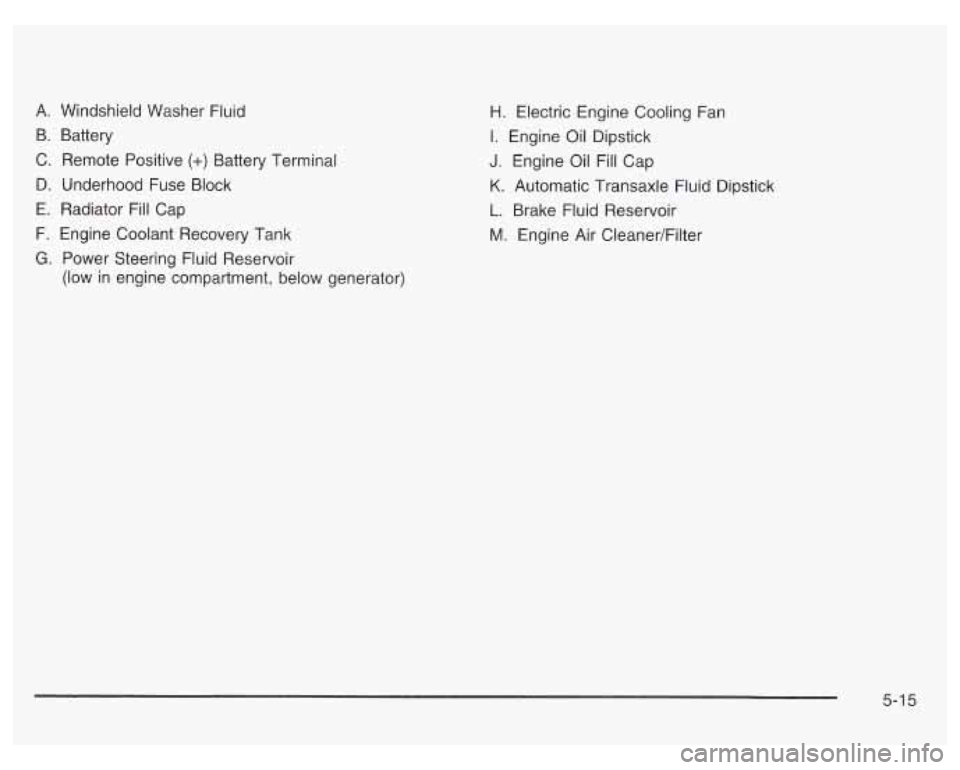
A. Windshield Washer Fluid
B. Battery
C. Remote Positive
(+) Battery Terminal
D. Underhood Fuse Block
E. Radiator Fill Cap
F. Engine Coolant Recovery Tank
G. Power Steering Fluid Reservoir
(low in engine compartment, below generator)
H. Electric Engine Cooling Fan
I. Engine Oil Dipstick
J. Engine Oil Fill Cap
K. Automatic Transaxle Fluid Dipstick
1. Brake Fluid Reservoir
M. Engine Air CleanedFilter
5-1 5
Page 242 of 378

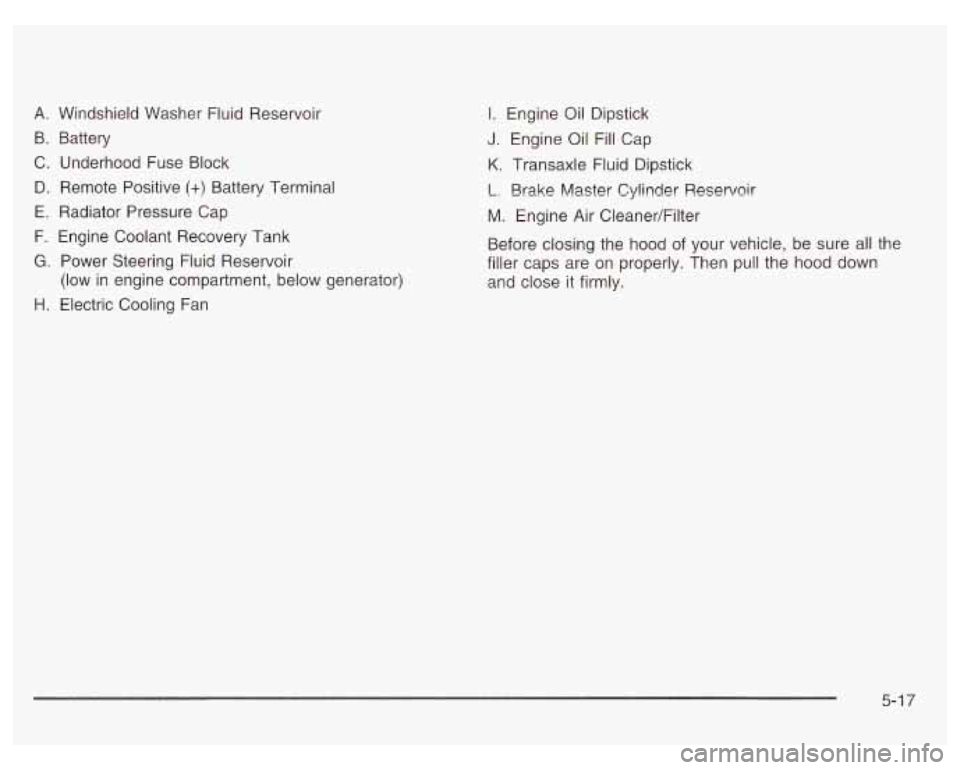
A. Windshield Washer Fluid Reservoir
B. Battery
C. Underhood Fuse Block D. Remote Positive
(+) Battery Terminal
E. Radiator Pressure Cap
F. Engine Coolant Recovery Tank
G. Power Steering Fluid Reservoir
H. Electric Cooling Fan
(low
in engine compartment, below generator)
I. Engine Oil Dipstick
J. Engine Oil Fill Cap
K. Transaxle Fluid Dipstick
L. Brake Master Cylinder Reservoir
M. Engine Air CleanedFilter
Before closing the hood
of your vehicle, be sure all the
filler caps are on properly. Then pull the
hood down
and close it firmly.
5-1 7
Page 250 of 378

How to Check and Add Oil
Park the vehicle on a level surface. Check oil only when
the engine is cold. Allow the engine to cool two to
three hours after running.
I
If you remove the supercharger oil fill plug
while the engine
is hot, pressure may cause
hot oil to blow out of the oil fill hole. You may
be burned. Do not remove the plug until the
engine
cools.
1. Clean the area around the oil fill plug before
removing it.
2. Remove the oil
fill plug.
3. The oil level is correct when it just reaches the
bottom of the threads of the inspection hole.
4. Replace the oil plug with the O-ring in place.
Tighten to
88 Ib-in (10 Nom ).
Engine Air Cleaner/Filter
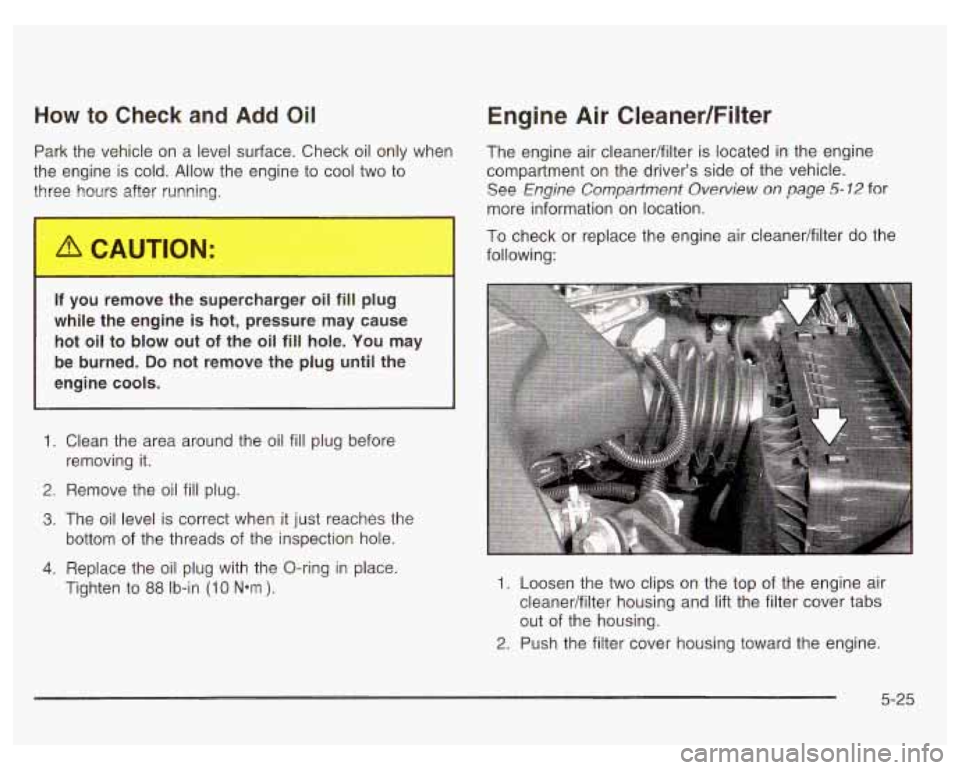
The engine air cleanedfilter is located in the engine
compartment on the driver’s side of the vehicle.
See Engine Compartment Oven/iew on page 5-12 for
more information on location.
To check or replace the engine air cleanedfilter do the
following:
1. Loosen the two clips on the top of the engine air
cleaner/filter housing and lift the filter cover tabs
out of the housing.
2. Push the filter cover housing toward the engine.
5-25
Page 251 of 378

3. Pull out the filter.
4. Check or install a new engine air cleanerbiker. See
Normal Maintenance Replacement Parts on
page
5- 104.
5. To reinstall the cover, position the tabs through the
slots on the housing.
A notch on the sides of the
filter cover will indicate the correct engagement.
Reinstall the two clips on the top of the housing
when you are finished.
Refer to the Maintenance Schedule to determine when
to replace the air filter.
See Part A: Scheduled Maintenance Services on
page
6-4.
Operating t--. engine with the air cleaner/filter
off can cause you or others to be burned. The
air cleaner not only cleans the air,
it stops
flame if the engine backfires. If
it isn’t there
and the engine backfires, you could be burned. Don’t drive with
it off, and be careful working
on the engine with the air cleanedfilter
off.
Nofice: If the air cleaner/filter is off, a backfire can
cause a damaging engine fire. And, dirt can easily get
into your engine, which will damage
it. Always have
the air cleanedfilter in place when you’re driving.
5-26
Page 333 of 378

Part A: Scheduled Maintenance
Services
This part contains engine oil scheduled maintenance
which explains the engine oil life system and how
it indicates when to change the engine oil and filter.
Also, listed are scheduled maintenance services which
are to be performed at the mileage intervals specified.
Using Your Maintenance Schedule
We at General Motors want to keep your vehicle in good
working condition. But we don’t know exactly how
you’ll drive it. You may drive short distances only a few
times a week. Or you may drive long distances all
the time in very hot, dusty weather. You may use your
vehicle
in making deliveries. Or you may drive it to
work, to do errands or in many other ways.
Because of the different ways people use their vehicles,
maintenance needs may vary. You may need more
frequent checks and replacements.
So please read the
following and note how you drive.
If you have
questions on how to keep your vehicle in good condition,
see your dealer. This part tells
you the maintenance services you
should have done and when you should schedule them.
When you go to your dealer for your service needs,
you’ll know that GM-trained and supported service
people will perform the work using genuine GM parts.
The proper fluids and lubricants to use are listed in
Part D. Make sure whoever services your vehicle uses
these.
All parts should be replaced and all necessary
repairs done before you or anyone else drives the
vehicle.
This schedule is for vehicles that:
carry passengers and cargo within recommended
limits. You will find these on your vehicle’s
Tire-Loading Information label. See Loading
Your
Vehicle on page 4-35.
are driven on reasonable road surfaces within legal
use the recommended fuel. See Gasoline Octane
driving limits.
on page 5-5.
6-4