2003 PONTIAC BONNEVILLE light
[x] Cancel search: lightPage 307 of 418
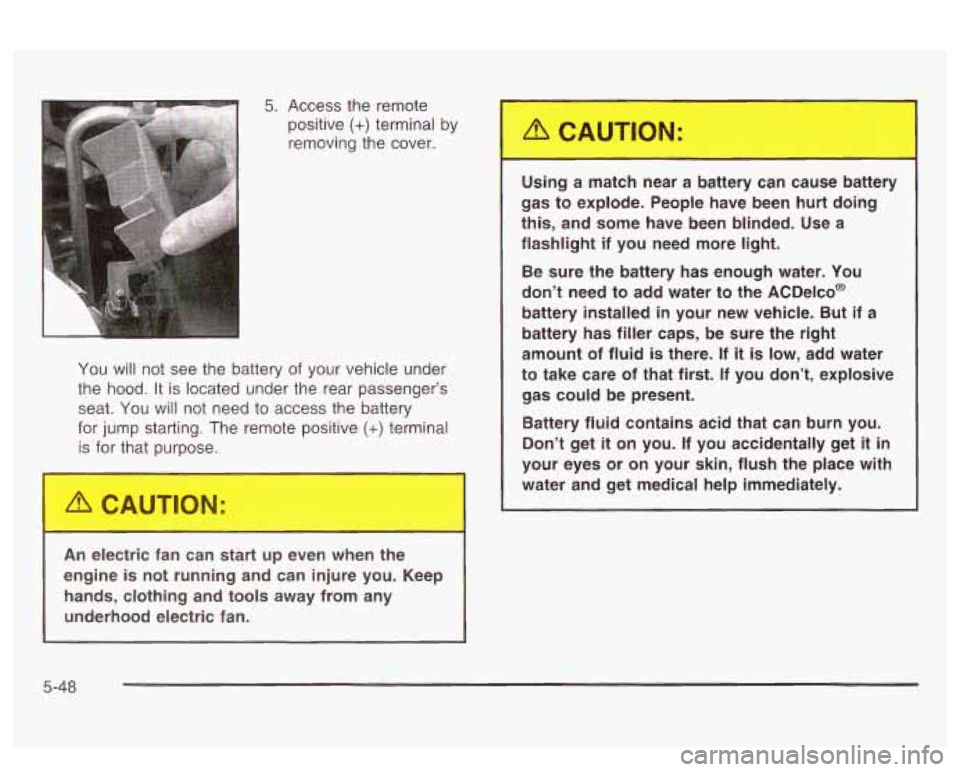
You will not see the battery of your vehicle under
the hood.
It is located under the rear passenger’s
seat. You will not need to access the battery
for jump starting. The remote positive
(+) terminal
is for that purpose.
An electric fan can start
up even when the
engine is not running and can injure you. Keep
hands, clothing and tools away from any
underhood electric fan. Using a match
near a battery can cause battery
gas to explode. People have been hurt doing
this, and some have been blinded. Use a
flashlight if you need more light.
Be sure the battery has enough water. You
don’t need to add water to the ACDelco@
battery installed in your new vehicle. But if a
battery has filler caps, be sure the right
amount of fluid
is there. If it is low, add water
to take care
of that first. If you don’t, explosive
gas could be present.
Battery fluid contains acid that can burn you.
Don’t get
it on you. If you accidentally get it in
your eyes or on your skin, flush the place with
water and get medical help immediately.
5-48
Page 311 of 418
Headlamp Aiming
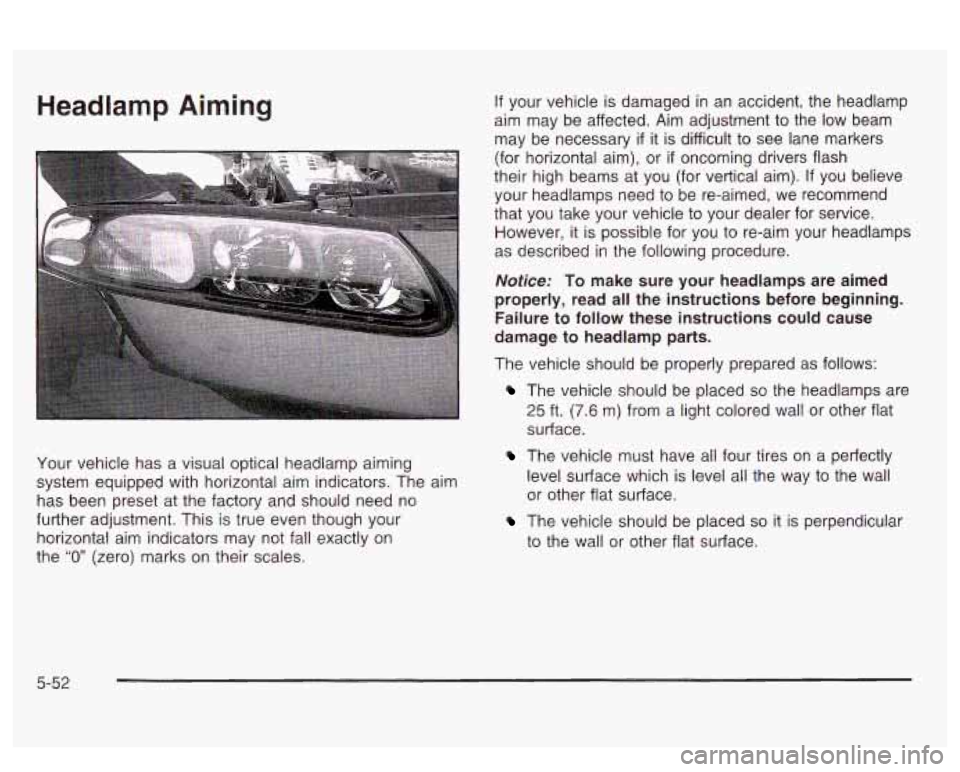
Your vehicle has a visual optical headlamp aiming
system equipped with horizontal aim indicators. The aim
has been preset at the factory and should need no
further adjustment. This is true even though your
horizontal aim indicators may not fall exactly on
the
“0” (zero) marks on their scales.
If your vehicle is damaged in an accident, the headlamp
aim may be affected. Aim adjustment to the
low beam
may be necessary
if it is difficult to see lane markers
(for horizontal aim), or
if oncoming drivers flash
their high beams at you (for vertical aim).
If you believe
your headlamps need to be re-aimed, we recommend
that you take your vehicle to your dealer for service.
However, it is possible for you to re-aim your headlamps
as described in the following procedure.
Notice: To make sure your headlamps are aimed
properly, read all the instructions before beginning.
Failure
to follow these instructions could cause
damage to headlamp parts.
The vehicle should be properly prepared as follows:
The vehicle should be placed so the headlamps are
25 ft. (7.6 m) from a light colored wall or other flat
surface.
The vehicle must have all four tires on a perfectly
level surface which is level all the way to the wall
or other flat surface.
The vehicle should be placed so it is perpendicular
to the wall or other flat surface.
5-52
Page 314 of 418
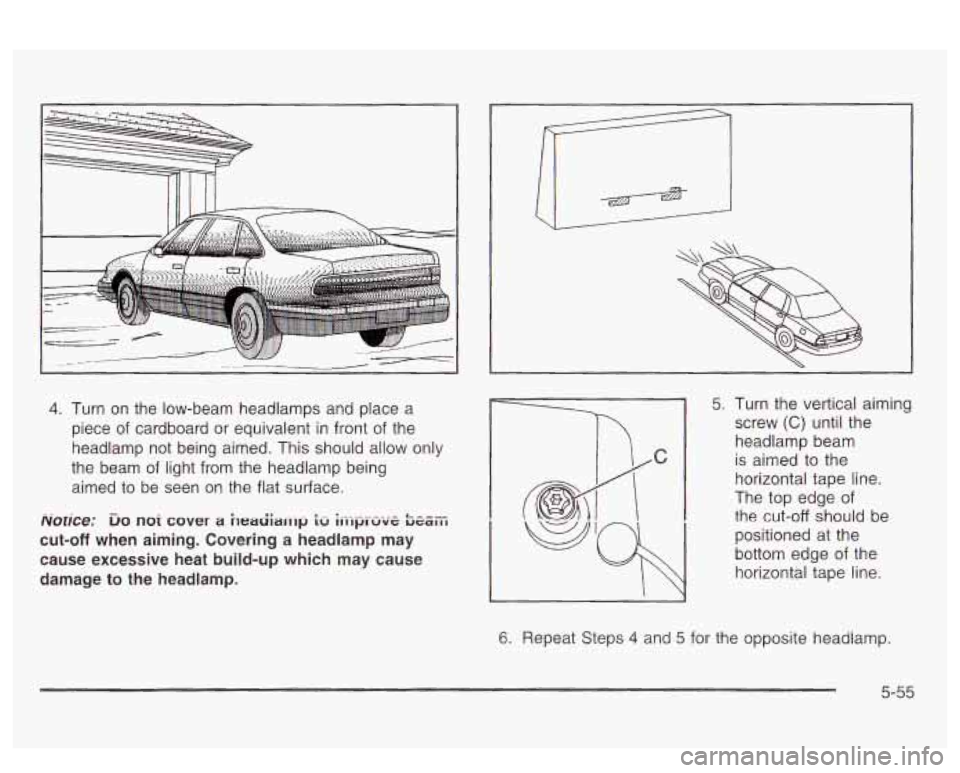
4. Turn on the low-beam headlamps and place a
piece of cardboard or equivalent in front of the
headlamp not being aimed. This should allow only
the beam of light from the headlamp being
aimed to be seen on the flat surface.
Norice: DO noi cover a heariiarnp iu iii-lpi-uie 5386~
cut-off when aiming. Covering a headlamp may
cause excessive heat build-up which may cause
damage to the headlamp. 5.
Turn the vertical aiming
screw
(C) until the
headlamp beam is aimed to the
horizontal tape line.
The top edge of
the cut-off should be
positioned at the bottom edge of the
horizontal tape line.
6. Repeat Steps
4 and 5 for the opposite headlamp.
5-55
Page 323 of 418
Check Tire Pressure System
The check tire pressure system can alert you to a large
change in the pressure of one tire. The system won’t
alert you before you drive that a tire is low or flat.
You must begin driving before the system will work
properly.
The CHECK TIRE PRESSURE message will appear on
the Driver Information Center (DIC) or the system
monitor TIRE PRESS light will come on
if pressure
difference (low pressure) is detected in one tire.
The check tire pressure system may not alert you
if:
more than one tire is low,
the vehicle is moving faster than 65 mph (105 km/h),
the system is not yet calibrated,
the compact spare tire is installed,
the tire treadwear is uneven,
tire chains are being used, or
the vehicle is being driven on a rough or
frozen road. If
the anti-lock brake system warning light comes on,
the check tire pressure system may not be working
properly. See your dealer for service. Also, see
Anti-Lock Brake System Warning Light on page 3-43.
The check tire pressure system detects differences
in tire rotation speeds that are caused by changes in tire
pressure. The system can alert you about a low
tire
- but it doesn’t replace normal tire maintenance.
See
Tires on page 5-62.
When the CHECK TIRE PRESSURE message appears
on the Driver Information Center (DIC) or the systems
monitor TIRE PRESS light comes on, you should
stop as soon as you can and check all your tires for
damage. If a tire is flat, see
If a Tire Goes Flat on
page
5-72. Also check the tire pressure in all four tires
as soon as you can. See
Inflation -- Tire Pressure
on page
5-62.
Any time you adjust a tire’s pressure or have one or more
tires repaired or replaced, you’ll need to reset (calibrate)
the check tire pressure system. You’ll also need to reset
the system whenever you rotate the tires, buy new tires
and install or remove the compact spare.
Don’t reset the check tire pressure system without first
correcting the cause of the problem and checking
and adjusting the pressure in all four tires.
If you reset
the system when the tire pressures are incorrect,
the check tire pressure system will not work properly
and may not alert you when a tire is low
or high.
5-64
Page 324 of 418
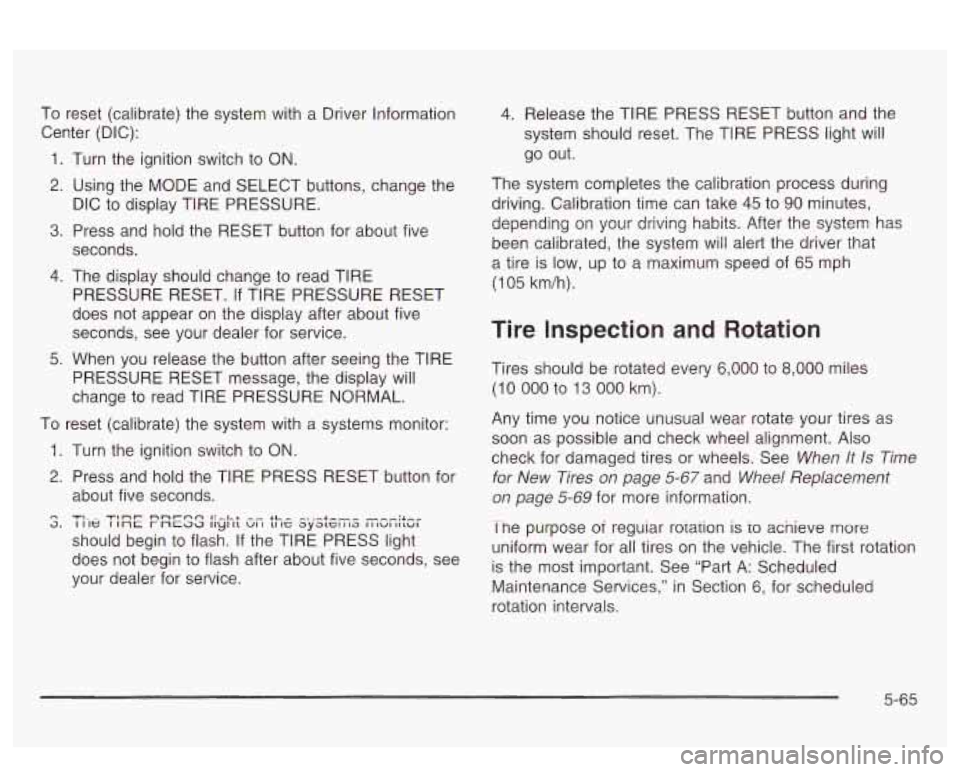
To reset (calibrate) the system with a Driver Information
Center (DIC):
1.
2.
3.
4.
5.
Turn the ignition switch to ON.
Using the MODE and SELECT buttons, change the The system Completes
the calibration process during
DIC to display TIRE PRESSURE. driving. Calibration time
can take
45 to 90 minutes, ..,
Press and hold the RESET button for about five
seconds.
The display should change to read TIRE
PRESSURE RESET. If TIRE PRESSURE RESET
does not appear on the display after about five
seconds, see your dealer for service.
When you release the button after seeing the TIRE
PRESSURE RESET message, the display will
change to read TIRE PRESSURE NORMAL.
1.
2.
4. Release the TIRE PRESS RESET button and the
system should reset. The TIRE PRESS light will
go out.
To reset (calibrate) the system with a systems monitor:
n 3.
Turn the ignition switch to ON.
Press and hold the TIRE PRESS RESET button for
about five seconds.
should begin to flash.
If the TIRE PRESS light
does not begin to flash after about five seconds, see
your dealer for service.
TIL- TI~T nnr-nn I:-.LL -- LL- -..-.I.--- I I le I 1nc r ncaa II~I 11 VI I 11 IC ayatcl I 13 I I IUI IILUI
depending on your driving habits. After the system has
been calibrated, the system will alert the driver that
a tire is low, up to a maximum speed of
65 mph
(1 05 km/h).
Tire Inspection and Rotation
Tires should be rotated every 6,000 to 8,000 miles
(10 000 to 13 000 km).
Any time you notice unusual wear rotate your tires as
soon as possible and check wheel alignment. Also
check for damaged tires or wheels. See
When It Is Time
for New Tires on page 5-67 and Wheel Replacement
on page 5-69 for more information.
Tne purpose
oi reguiar rorarion is io acnieve more
uniform wear for all tires on the vehicle. The first rotation
is the most important. See “Part A: Scheduled
Maintenance Services,” in Section
6, for scheduled
rotation intervals.
5-65
Page 327 of 418
Mixing tires couh :ause you to lose control
while driving. If you mix tires of different sizes
or types (radial and bias-belted tires), the
vehicle may not handle properly, and you
could have a crash. Using tires of different
sizes may also cause damage to your vehicle.
Be sure to use the same size and type tires on
all wheels. It’s all right to drive with your
compact spare, though.
It was developed for
use on your vehicle.
I
If you use bias-ply tires on your vehicle, the
wheel rim flanges could develop cracks after many miles of driving.
A tire and/or wheel
could fail suddenly, causing a crash. Use only
radial-ply tires with the wheels on your vehicle.
5-68
Uniform Tire Quality Grading
Quality grades can be found where applicable on the
tire sidewall between tread shoulder and maximum
section width. For example:
Treadwear 200 Traction AA Temperature A
The following information relates to the system
developed by the United States National Highway
Traffic Safety Administration, which grades tires by
treadwear, traction and temperature performance.
(This applies only
to vehicles sold in the United States.)
The grades are molded on the sidewalls of most
passenger car tires. The Uniform Tire Quality Grading
system does not apply to deep tread, winter-type
snow tires, space-saver or temporary use spare tires,
tires with nominal rim diameters
of 10 to 12 inches
(25
to 30 cm), or to some limited-production tires.
While the tires available on General Motors passenger
cars and light trucks may vary with respect to these
grades, they must also conform
to federal safety
requirements and additional General Motors Tire
Performance Criteria (TPC) standards.
Treadwear
The treadwear grade is a comparative rating based on
the wear rate of the tire when tested under controlled
conditions on a specified government test course.
For example, a tire graded 150 would wear one and
a half (1.5) times as well on the government course as
Page 348 of 418
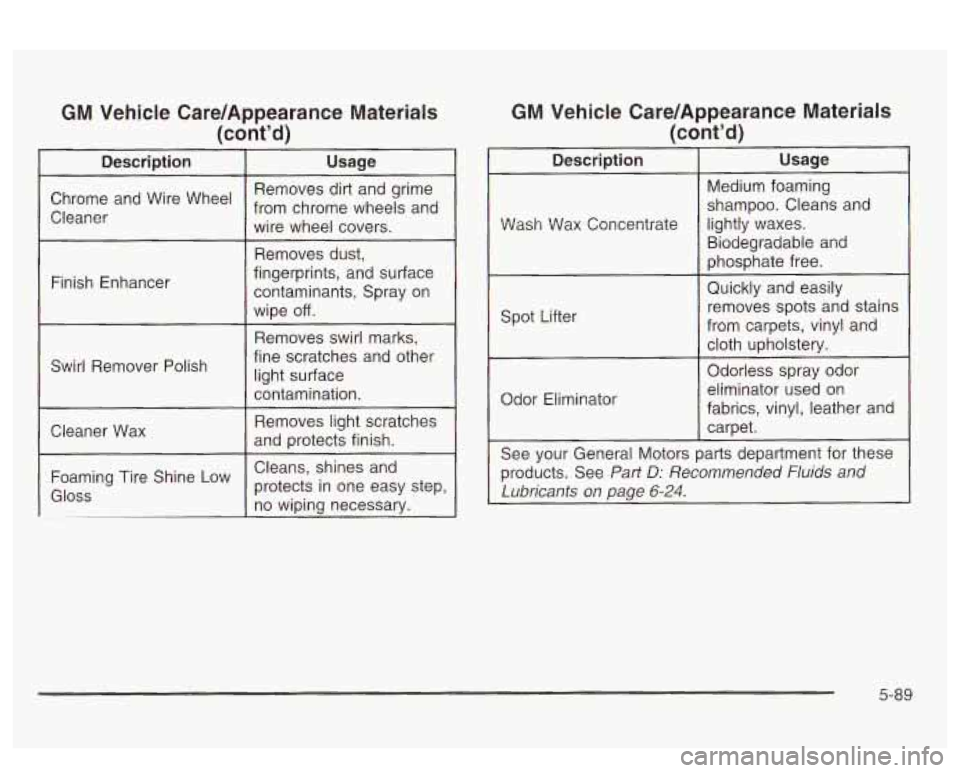
GM Vehicle Care/Appearance Materials
(cont’d)
I Description
Chrome and Wire Wheel
Cleaner
Finish Enhancer
Swirl Remover Polish
Cleaner Wax Foaming Tire Shine Low
Gloss
Usage
Removes dirt and grime
from chrome wheels and
wire wheel covers.
Removes dust,
fingerprints, and surface
contaminants, Spray
on
wipe off.
Removes swirl marks,
fine scratches and other
light surface
contamination.
Removes light scratches
and protects finish.
Cleans, shines and protects in one easy step,
no wiping necessary.
GM Vehicle Care/Appearance Materials
(cont’d)
Description
Wash Wax Concentrate
Spot Lifter
Odor Eliminator
Usage
Medium foaming
shampoo. Cleans and
lightly waxes.
Biodegradable and
phosphate free.
Quickly and easily removes spots and stains
from carpets, vinyl and
cloth upholstery.
Odorless spray odor
eliminator
used on
fabrics, vinyl, leather and
carpet.
L
See your General Motors parts department for these
products. See
Part D: Recommended Fluids and
Lubricants on page
6-24.
5-89
Page 351 of 418
Fuses and Circuit Breakers
The wiring circuits in your vehicle are protected from
short circuits by a combination of fuses and circuit
breakers. This greatly reduces the chance of damage
caused by electrical problems.
Look at the silver-colored band inside the fuse.
If the
band is broken or melted, replace the fuse. Be sure you
replace a bad fuse with a new one of the identical
size and rating.
The MaxiFuses are located in
two fuse blocks, one in
the engine compartment and the other under the
rear seat. If a MaxiFuse should blow, have your vehicle
serviced by your dealer immediately.
Removing Fuses
You will find a fuse puller attached in both of the fuse
blocks. Snap the wide end of the fuse puller on
to
the fuse, at the side indentations holding the puller and
pull the fuse
out.
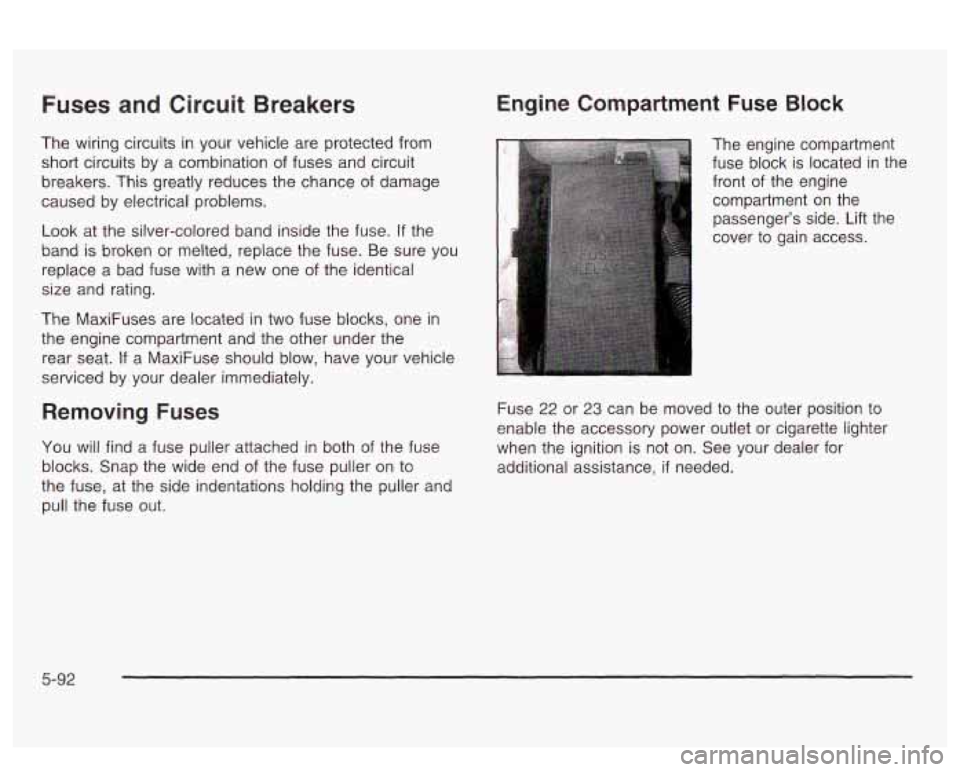
Engine Compartment Fuse Block
The engine compartment
fuse block is located in the
front
of the engine
compartment on the
passenger’s side. Lift the
cover
to gain access.
Fuse
22 or 23 can be moved to the outer position to
enable the accessory power outlet or cigarette lighter
when the ignition is not on. See your dealer for
additional assistance,
if needed.
5-92