2003 Oldsmobile Alero lock
[x] Cancel search: lockPage 87 of 354
A warning chime will sound if you open the driver’s door
when the ignition is
off and the key is in the ignition.
Notice: If your key seems stuck in OFF and
you can’t turn it, be sure you are using the correct
key;
if so, is it all the way in? Turn the key only
with your hand. Using
a tool to force it could break
the key or the ignition switch.
If none of this
works, then your vehicle needs service.
B (ACCESSORY): This position unlocks the transaxle.
It also lets you use things like the radio and windshield
wipers when the engine is not running. To use
ACCESSORY, turn the key clockwise to the first
position. Use this position
if your vehicle must be pushed
or towed, but never try to push-start your vehicle.
C (ON): This position is where the key returns to after
you start your engine and release the key. The
ignition switch stays in ON when the engine is running.
But even when the engine is not running, you can
use
ON to operate your electrical accessories and to
display some instrument panel warning lights.
D (START): This position starts the engine. When the
engine starts, release the key. The ignition switch
will return to ON for normal driving.
Retained Accessory Power (RAP)
Your vehicle is equipped with a Retained Accessory
Power (RAP) feature which will allow the radio to
continue
to work up to 10 minutes after the ignition is
turned to OFF.
Your radio will work when the ignition key is in ON or
ACCESSORY. Once the key is turned from ON
to OFF,
the radio will continue
to work up to 10 minutes or
until the driver’s door is opened.
Starting Your Engine
Automatic Transaxle
Move your shift lever to PARK (P) or NEUTRAL (N).
Your engine won’t start in any other position
- that’s a
safety feature. To restart when you’re already moving,
use NEUTRAL (N) only.
Notice: Don’t try to shift to PARK (P) if your
vehicle
is moving. If you do, you could damage the
transaxle. Shift to PARK (P) only when your
vehicle is stopped.
Manual Transaxle
The gear selector should be in neutral and the parking
brake engaged. Hold the clutch pedal to the floor
and start the engine. Your vehicle won’t start
if the clutch
pedal is not all the way down
- that’s a safety feature.
2-1 8
Page 91 of 354
4. Before starting the engine, be sure to unplug and
store the cord as it was before to keep it away
from moving engine parts.
If you don’t, it could be
damaged.
How long should you keep the coolant heater plugged
in? The answer depends on the outside temperature, the
kind of oil you have, and some other things. Instead
of trying to list everything here, we ask that you contact
your dealer in the area where you’ll be parking your
vehicle. The dealer can give you the best advice for that
particular area.
Automatic Transaxle Operation
Your automatic transaxle
has a shift lever located
on the console between
the seats.
PARK (P): This position locks your front wheels. It’s the
best position to use when you start your engine
because your vehicle can’t move easily.
It igerous to get out of your vehicle if the
shift lever
is not fully in PARK (P) with the
parking brake firmly set. Your vehicle can roll.
Don’t leave your vehicle when the engine is
running unless you have to.
If you have left the
engine running, the vehicle can move
suddenly. You
or others could be injured. To
be sure your vehicle won’t move, even when
you’re on fairly level ground, always set your
parking brake and move the shift lever to
PARK (P). See “Shifting Into Park (P)” in the
Index. If you’re pulling a trailer, see “Towing a
Trailer”
in the Index.
Ensure the shift lever is fully in PARK (P) before starting
the engine. Your vehicle has an automatic transaxle shift
lock control system. You have to apply your regular brake
before you can shift from PARK
(P) when the ignition key
is
in ON. If you cannot shift out of PARK (P), ease
pressure on the shift lever and push the shift lever all the
way into PARK (P) as you maintain brake application.
2-22
Page 97 of 354
Leaving Your Vehicle With the
Enm‘ne Running
-L can be ..mgerous tc -3ave your vehicle \II .-.I
the engine running. Your vehicle could move
suddenly
if the shift lever is not fully in
PARK (P) with the parking brake firmly set.
And,
if you leave the vehicle with the engine
running, it could overheat and even catch fire.
You or others could be injured. Don’t leave
your vehicle with the engine running.
If you have to leave your automatic transaxle model
vehicle with the engine running, be sure your vehicle is
in PARK (P) and your parking brake is firmly set
before you leave it. After you’ve moved the shift lever
into PARK (P), hold the regular brake pedal down. Then,
see
if you can move the shift lever away from PARK (P)
without first pushing the button.
If you can, it means that the shift lever wasn’t fully
locked into PARK (P).
Torque Lock
If you are parking on a hill and you don’t shift your
automatic transaxle into PARK
(P) properly, the weight
of the vehicle may put too much force on the parking
pawl in the transaxle. You may find it difficult to pull the
shift lever out of PARK (P). This is called “torque
lock.“ To prevent torque lock, set the parking brake and
then shift into PARK (P) properly before you leave
the driver’s seat. To find out how, see
Shifting Into
Park (P)
on page 2-27.
When you are ready to drive, move the shift lever out of
PARK
(P) before you release the parking brake.
If torque lock does occur, you may need to have another
vehicle push yours a little uphill to take some of the
pressure from the parking pawl in the transaxle,
so you
can pull the shift lever out of PARK (P).
Shifting Out of Park (P)
If your vehicle has an automatic transaxle it has an
automatic transaxle shift lock control system. You have
to apply your regular brake before you can shift from
PARK (P) when the ignition is in
ON. See Automatic
Transaxle Operation
on page 2-22.
If you cannot shift out of PARK (P), ease pressure on
the shift lever and push the shift lever all the way
into PARK (P) as you maintain brake application. Then
move the shift lever into the gear you wish. (Press
the shift lever button before moving the shift lever.)
2-28
Page 106 of 354
Section 3 Instrument Panel
Instrument Panel Overview ............................... 3.4
Hazard Warning Flashers
.......... .............. 3.6
Other Warning Devices
................................... 3.6
Horn
............................................................. 3.6
Tilt Wheel
..................................................... 3.7
Turn SignaVMultifunction Lever
......................... 3.7
Exterior Lamps
............................................. 3.13
Interior Lamps
.............................................. 3.16
Accessory Power Outlets
............................... 3.17
Ashtrays and Cigarette Lighter
........................ 3.18
Climate Controls
........................................... -3-1 9
Climate Control System
................................. 3.19
Outlet Adjustment
......................................... 3.22
Warning Lights, Gages and Indicators
............. 3.23
Instrument Panel Cluster
................................ 3.24
Speedometer and Odometer
........................... 3.25
Tachometer
................................................. 3.25
Safety Belt Reminder Light
............................. 3.26
Air
Eag Reauiness iighi 3-LW
Charging System Light .................................. 3.27
fi cln ................................
Up-Shift Light .............................. .......... 3-28
Brake System Warning Light
........, .......... 3-28
Anti-Lock Brake System
Enhanced Traction System
Enhanced Traction System
Warning
bight
........................................ 3-29
Warning Light
........................................... 3-29
Active Light
.............................................. 3-30
Engine Coolant Temperature Gage
.................. 3-31
Low Coolant Warning Light
............................ 3-31
Malfunction Indicator Lamp
............................. 3-31
Oil Pressure Light
......................................... 3-34
Low Oil Level Light
....................................... 3-35
Security Light
............................................... 3-36
Cruise Control Light
...................................... 3-36
%??:ice ‘!ehic!n see!? Light ........................... ._ 2-36
Fuel Gage ................................................... 3-37
Change Engine
Oil Light
................................ 3-35
Low Washer Fluid Warning Light
..................... 3-36
3-
1
Page 110 of 354
The main components of your instrument panel are the following:
A. Instrument Panel Fuse Blocks L. Cruise Control Switches
B. Air Outlets
C. Instrument Panel Cluster
D. Hazard Warning Flasher Button
E. Audio System
F. Climate Control System
G. Side Window Defogger Vent
H. Fog Lamp Button (If Equipped)
I. Instrument Panel Brightness Thumbwheel
J. Turn SignaVMultifunction Lever
K. Hood Release Handle M.
N.
0.
P,
Q
R
S
T.
Tilt
Wheel Lever
Ignition Switch
Windshieid Wiperwasher Lever
Enhanced Traction System Button
Transaxle Shift Lever Parking Brake
Cigarette Lighter/Accessory Power Outlet
Accessory Power Outlet
3-5
Page 115 of 354
Windshield Washer Cruise Control
To wash your windshield, push in the button at the end
0 er until the washers begin.
In freezing weather, don’t use your washer
until the windshield is warmed. Otherwise the
washer fluid can form ice
on the windshield,
blocking your vision.
I I
When you release the button, the washers will stop, but
the wipers will continue to wipe about three times or
will resume the speed you were using before.
1
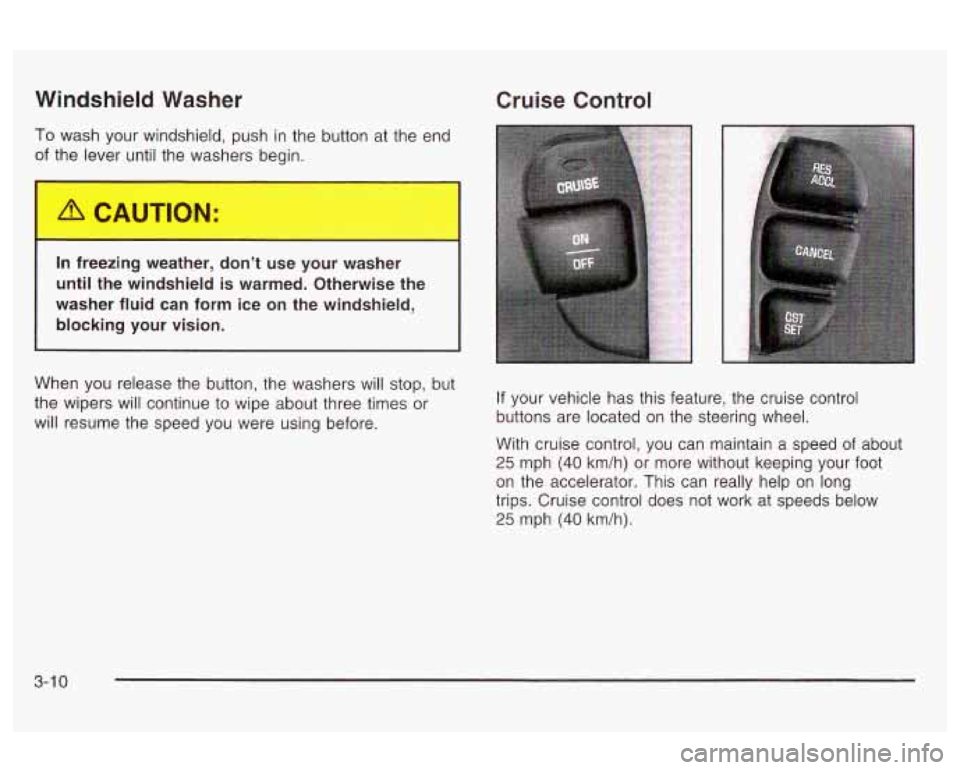
If your vehicle has this feature, the cruise control
buttons are located on the steering wheel.
With cruise control, you can maintain a speed of about
25 mph (40 km/h) or more without keeping your foot
on the accelerator. This can really help on long
trips. Cruise control does not work at speeds below
25 mph (40 km/h).
3-1 0
Page 121 of 354
Interior Lamps
Instrument Panel Brightness
This feature controls the brightness of the instrument
panel lights.
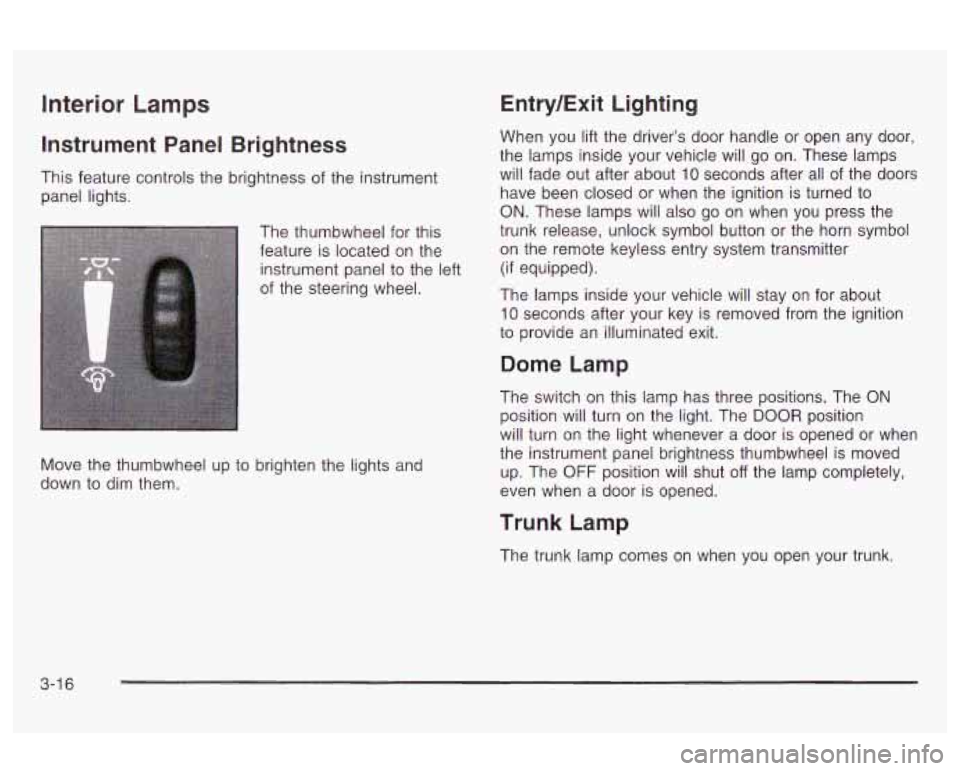
The thumbwheel for this
feature is located on the
instrument panel to the left
of the steering wheel.
Move the thumbwheel up to brighten the lights and
down to dim them.
Entry/Exit Lighting
When you lift the driver’s door handle or open any door,
the lamps inside your vehicle will go on. These lamps
will fade out after about
10 seconds after all of the doors
have been closed or when the ignition is turned to
ON. These lamps will also go on when you press the
trunk release, unlock symbol button or the horn symbol
on the remote keyless entry system transmitter
(if equipped).
The lamps inside your vehicle will stay on for about
10 seconds after your key is removed from the ignition
to provide an illuminated exit.
Dome Lamp
The switch on this lamp has three positions. The ON
position will turn on the light. The DOOR position
will turn on the light whenever a door is opened or when
the instrument panel brightness thumbwheel is moved
up. The
OFF position will shut off the lamp completely,
even when a door is opened.
Trunk Lamp
The trunk lamp comes on when you open your trunk.
3-1 6
Page 122 of 354
Battery Run-Down Protection
Your vehicle has a battery run-down protection feature
designed to protect your vehicle's battery.
When any interior lamp (trunk, mirror reading lamps,
dome lamp or glove box) is left on when the ignition is
turned
off, the battery saver system will automatically
shut the lamp
off after 20 minutes. This will avoid
draining the battery.
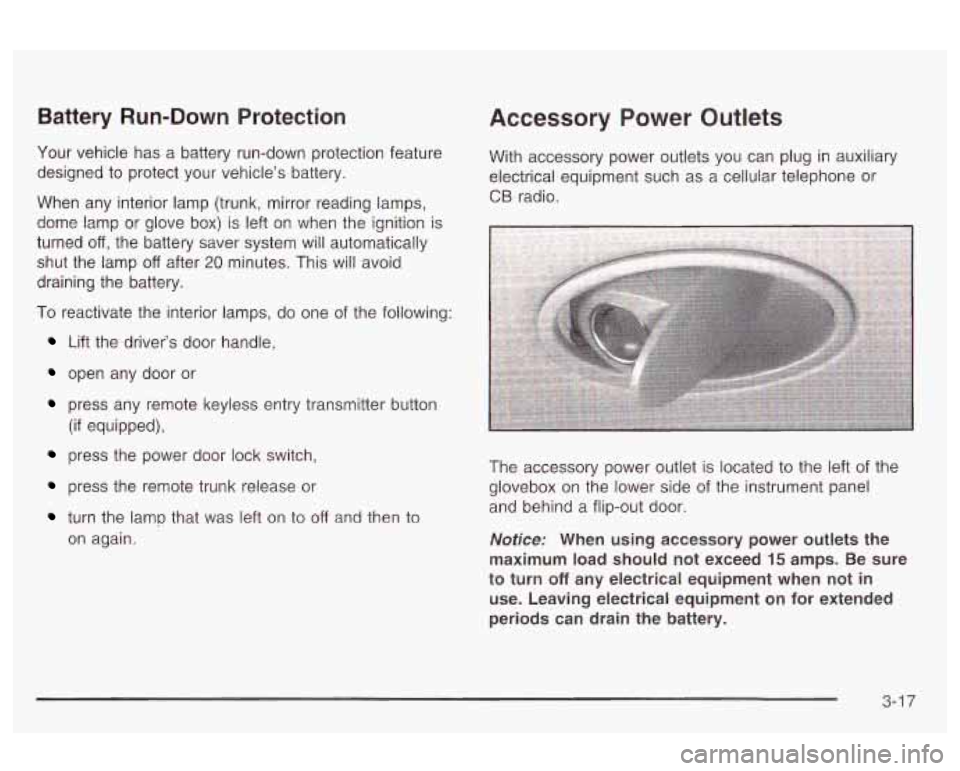
Accessory Power Outlets
With accessory power outlets you can plug in auxiliary
electrical equipment such as a cellular telephone or
CB radio.
I
To reactivate the interior lamps, do one of the following: I
Lift the driver's door handle,
open any door or
press any remote keyless entry transmitter button
(if equipped),
press the power door lock switch,
press the remote trunk release or
turn the lamp that was left on to off and then to
on again. The accessory power
outlet is located to the left of the
glovebox on the lower side of the instrument panel
and behind a flip-out door.
Notice: When using accessory power outlets the
maximum load should not exceed
15 amps. Be sure
to turn
off any electrical equipment when not in
use. Leaving electrical equipment on for extended
periods can drain the battery.
3-1 7