2003 Oldsmobile Alero parking brake
[x] Cancel search: parking brakePage 133 of 354
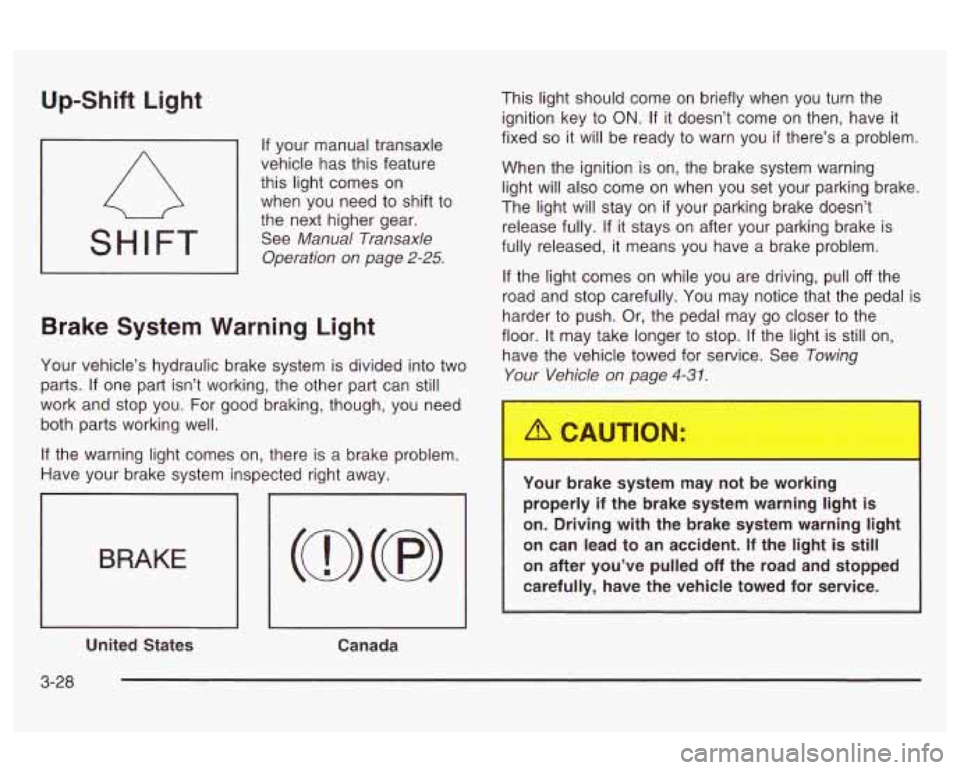
Up-Shift Light
SHIFT
If your manual transaxle
vehicle has this feature
this light comes on
when you need to shift to
the next higher gear.
See
Manual Transaxle
Operation on page
2-25.
Brake System Warning Light
Your vehicle’s hydraulic brake system is divided into two
parts. If one part isn’t working, the other part can still
work and stop you. For good braking, though, you need
both parts working well.
If the warning light comes on, there is a brake problem.
Have your brake system inspected right away.
BRAKE
I I I
United States
Canada This light should
come on briefly when you turn the
ignition key to
ON. If it doesn’t come on then, have it
fixed
so it will be ready to warn you if there’s a problem.
When the ignition is on, the brake system warning
light will also come on when you set your parking brake.
The light will stay on
if your parking brake doesn’t
release fully. If it stays on after your parking brake is
fully released, it means you have a brake problem.
If the light comes on while you are driving, pull off the
road and stop carefully. You may notice that the pedal is
harder to push. Or, the pedal may go closer to the
floor. It may take longer to stop.
If the light is still on,
have the vehicle towed for service. See
Towing
Your Vehicle on page
4-3 1.
Your brake system r y not be working
properly
if the brake system warning light is
on. Driving with the brake system warning light
on can lead to an accident.
If the light is still
on after you’ve pulled
off the road and stopped
carefully, have the vehicle towed for service.
I
3-28
Page 135 of 354
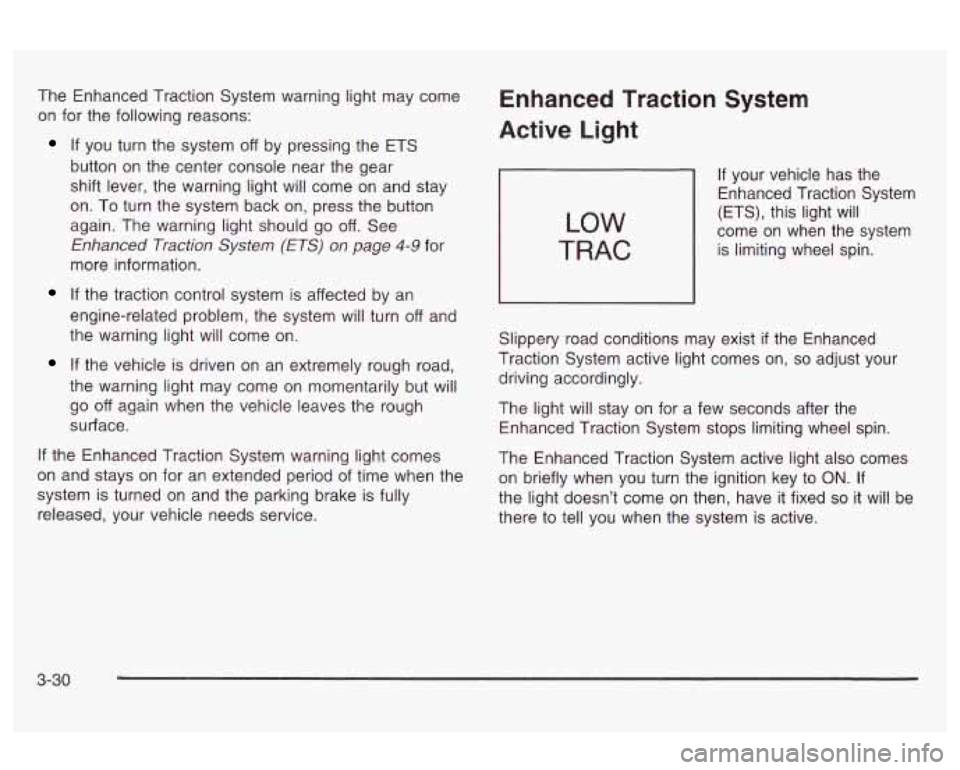
The Enhanced Traction System warning light may come
on for the following reasons:
If you turn the system off by pressing the ETS
button on the center console near the gear
shift lever, the warning light will come on and stay
on. To turn the system back
on, press the button
again. The warning light should go
off. See
Enhanced Traction System (ETS) on page 4-9 for
more information.
If the traction control system is affected by an
engine-related problem, the system will turn
off and
the warning light will come on.
If the vehicle is driven on an extremely rough road,
the warning light may come on momentarily but will
go off again when the vehicle leaves the rough
surface.
If the Enhanced Traction System warning light comes
on and stays on for an extended period of time when the
system is turned on and the parking brake is fully
released, your vehicle needs service.
Enhanced Traction System
Active Light
LOW
TRAC
If your vehicle has the
Enhanced Traction System
(ETS), this light will
come on when the system
is limiting wheel spin.
Slippery road conditions may exist
if the Enhanced
Traction System active light comes on,
so adjust your
driving accordingly.
The light will stay on for a few seconds after the
Enhanced Traction System stops limiting wheel spin.
The Enhanced Traction System active light also comes
on briefly when you turn the ignition key
to ON. If
the light doesn’t come on then, have it fixed
so it will be
there to tell you when the system is active.
3-30
Page 182 of 354
In an emergency, you will probably want to squeeze the
brakes hard without locking the wheels.
If you hear or
feel the wheels sliding, ease
off the brake pedal.
This will help you retain steering control.
If you do have
anti-lock, it’s different. See “Anti-Lock Brakes.”
In many emergencies, steering can help you more than
even the very best braking.
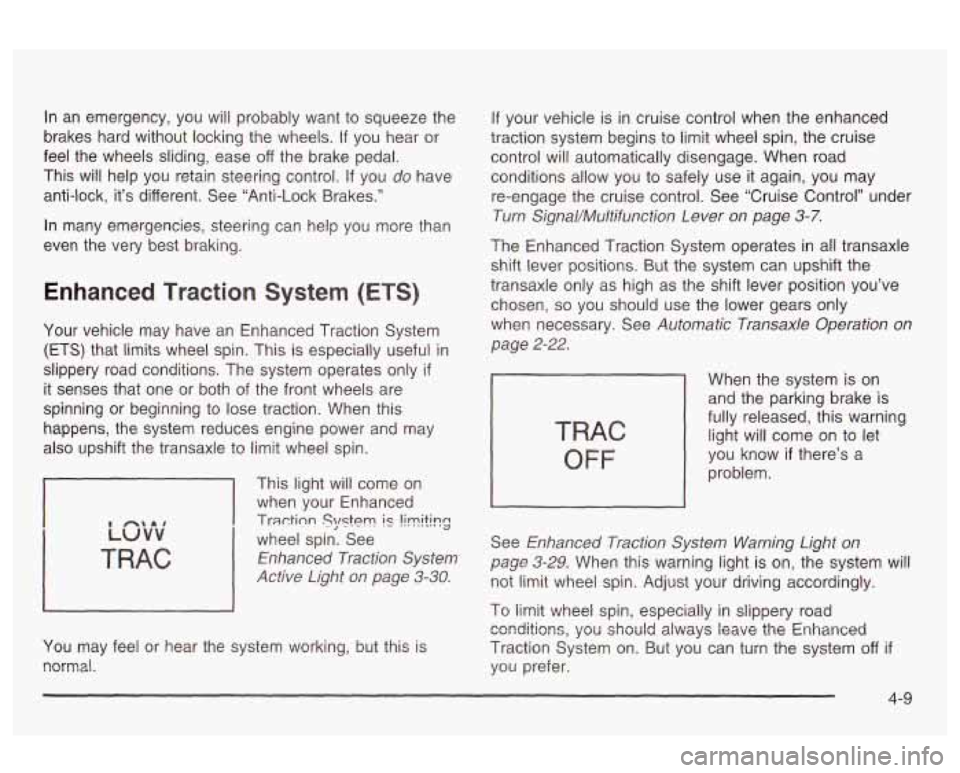
Enhanced Traction System (ETS)
Your vehicle may have an Enhanced Traction System
(ETS) that limits wheel spin. This is especially useful in
slippery road conditions. The system operates only
if
it senses that one or both of the front wheels are
spinning or beginning to lose traction. When this
happens, the system reduces engine power and may
also upshift the transaxle to limit wheel spin.
I
This light will come on
when your Enhanced
Traction Slmtem is !irniting
wheel spin. See
Enhanced Traction System
Active Light on page
3-30.
You may feel or hear the system working, but this is
normal.
If your vehicle is in cruise control when the enhanced
traction system begins to limit wheel spin, the cruise
control will automatically disengage. When road
conditions allow you to safely use it again, you may
re-engage the cruise control. See ‘Cruise Control” under
Turn Signal/Multifunction Lever on page 3-7.
The Enhanced Traction System operates in all transaxle
shift lever positions. But the system can upshift the
transaxle only as high as the shift lever position you’ve
chosen, so you should use the lower gears only
when necessary. See
Automatic Transaxle Operation on
page 2-22.
TRAC
OFF
When the system is on
and the parking brake is
fully released, this warning
light will come on to let
you know
if there’s a
problem.
See
Enhanced Traction System Warning Light on
page 3-29.
When this warning light is on, the system will
not limit wheel spin. Adjust your driving accordingly.
To limit wheel spin, especially in slippery road
Traction System on. But you can turn the system
off if
you prefer.
ca?dltic?ns, you should alwa‘js leave the Enhanced
4-9
Page 205 of 354
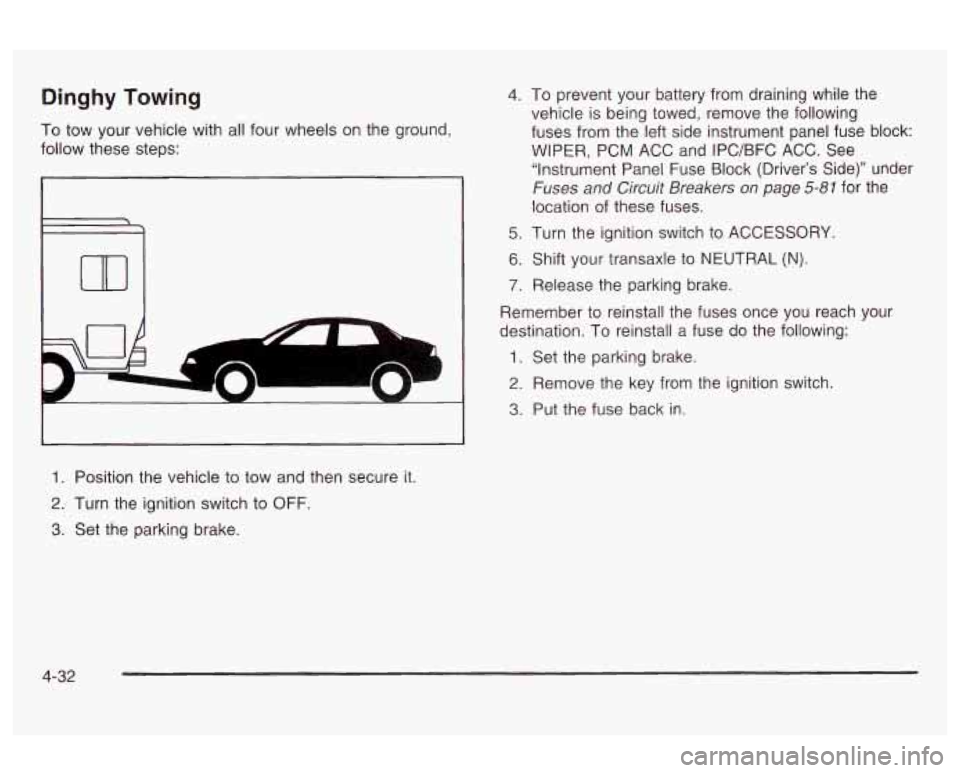
Dinghy Towing
To tow your vehicle with all four wheels on the ground,
follow these steps:
I
L
m
1. Position the vehicle to tow and then secure it.
2. Turn the ignition switch to OFF.
3. Set the parking brake
4. To prevent your battery from draining while the
vehicle is being towed, remove the following
fuses from the left side instrument panel fuse block:
WIPER, PCM ACC and IPC/BFC ACC. See
“Instrument Panel Fuse Block (Driver’s Side)” under
Fuses and Circuit Breakers on page 5-81 for the
location
of these fuses.
5. Turn the ignition switch to ACCESSORY.
6. Shift your transaxle to NEUTRAL (N).
7. Release the parking brake.
Remember to reinstall the fuses once you reach your
destination. To reinstall a fuse do the following:
1. Set the parking brake.
2. Remove the key from the ignition switch.
3. Put the fuse back in
4-32
Page 206 of 354
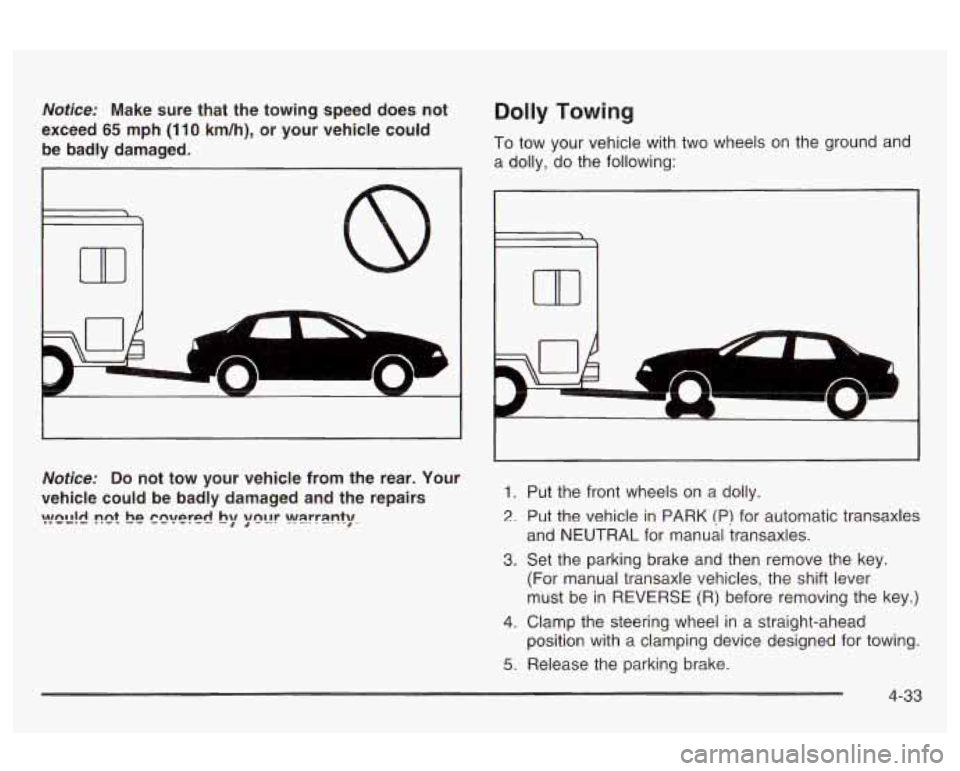
Notice: Make sure that the towing speed does not
exceed
65 mph (1 10 km/h), or your vehicle could
be badly damaged.
Dolly Towing
To tow your vehicle with two wheels on the ground and
a dolly, do the following:
Notice:
Do not tow your vehicle from the rear. Your
vehicle could be badly damaged and the repairs
!?!!X!d !?e! he Pn~!PlPc! by ;mL!r wsrrsnty.
1. Put the front wheels on a dolly.
2. Put the vehicle in PARK (P) for automatic transaxles
and NEUTRAL for manual transaxles.
3. Set the parking brake and then remove the key.
(For manual transaxle vehicles, the shift lever
must be in REVERSE
(R) before removing the key.)
4. Clamp the steering wheel in a straight-ahead
position with a clamping device designed for towing.
5. Release the parking brake.
4-33
Page 214 of 354
Turn Signals When Towing a Trailer
When you tow a trailer, your vehicle may need a
different turn signal flasher and/or extra wiring. Check
with your dealer. The arrows on your instrument
panel will flash whenever you signal a turn or lane
change. Properly hooked up, the trailer lamps will also
flash, telling other drivers you’re about to turn,
change lanes or stop.
When towing a trailer, the arrows on your instrument
panel will flash for turns even
if the bulbs on the trailer
are burned out. Thus, you may think drivers behind
you are seeing your signal when they are not. It’s
important to check occasionally to be sure the trailer
bulbs are stiil working.
Driving On Grades
Reduce speed and shift to a lower gear before you start
down a long or steep downgrade. If you don’t shift
down, you might have to use your brakes
so much that
they would get hot and no longer work well.
On a long uphill grade, shift down and reduce your
speed to around
45 mph (70 km/h) to reduce the
possibility of engine and transaxle overheating.
P; ‘ting on Hills
You really should not park your vehicle, with a
trailer attached, on a hill.
If something goes
wrong, your rig could start to move. People
can be injured, and both your vehicle and the
trailer can be damaged.
But
if you ever have to park your rig on a hill, here’s
how to do it:
1. Apply your regular brakes, but don’t shift into
PARK (P) for an automatic transaxle or into a
gear for a manual transaxle, yet. When parking
uphill, turn your wheels away from the curb. When
parking downhill, turn your wheels into the curb.
2. Have someone place chocks under the trailer
1/:!?ee!s.
3. When the chocks are in place, release the regular
brakes until the chocks absorb the load.
4. Reapply the regular brakes. Then apply your
parking brake and shift into PARK (P) for an
automatic transaxle or
REVERSE (R) for a manual
transaxle.
5. Release the regular brakes.
4-4 1
Page 215 of 354
When You Are Ready to Leave After
Parking on a Hill
1. Apply your regular brakes and hold the pedal down
while you:
start your engine,
shift into a gear, and
release the parking brake.
2. Let up on the brake pedal.
3. Drive slowly until the trailer is clear of the chocks.
4. Stop and have someone pick up and store the
chocks.
Maintenance When Trailer Towing
Your vehicle will need service more often when you’re
pulling a trailer. See the Maintenance Schedule for more
on this. Things that are especially important in trailer
operation are automatic transaxle fluid (don’t overfill),
engine oil, drive belt, cooling system and brake system.
Each of these is covered in this manual, and the
Index will help you find them quickly. If you’re trailering,
it’s a good idea to review this information before you
start your trip.
Check periodically to see that all hitch nuts and bolts
are tight.
Engine Cooling When Trailer Towing
Your cooling system may temporarily overheat during
severe operating conditions. See
Engine Overheating on
page
5-26.
4-42
Page 216 of 354
Section 5 Service and Appearance Care
Service ........................................................... -5-3
Doing Your Own Service Work ......................... 5.4
Adding Equipment to the Outside
of Your
Vehicle
..................................................... -5-4
Fuel
............................................................... -5-5
Gasoline Octane ........................................... -5-5
Gasoline Specifications .................................... 5.5
California Fuel .............................................. -5-6
Additives
...................................................... -5-6
Fuels in Foreign Countries
.............................. -5-6
Filling Your Tank
..................................... 5-7
Fillins a Portable Fuel Container .. ...... 5.8
the Hood
...................................................... 5-9
Hood Release .............................................. 5-10
Engine Compartment Overview ....................... 5-12
Engine Oil
.................................................. -5-1 5
Au'romaiic Transaxie Fiuia A-LL
Manual Transaxle Fluid .................................. 5-22
Checking
Things Under
Engine Air CleanedFilter
................................ 5-21 - ^^ .............................
Hydraulic Clutch ........................................... 5-22
Engine Overheating
....................................... 5-26
Cooling System
............................................ 5-28
Power Steering Fluid
..................................... 5-35
Windshield Washer Fluid
............ ............ -5-36
Brakes
...................................................... -5-38
Battery
........................................................ 5-41
Jump Starting
.............................................. 5-42
Engine Coolant
............................................. 5-23
Headlamp Aiming
........................................... 5-47
Bulb Replacement .......................................... 5-49
Haloger;
!3L;lbs .............................................. 5-49
Headlamps .................. .... ......... 5-49
Front Turn Signal and
Parking Lamps
.......... ......... 5-50
Center High-Mounted Stoplamp (CHMSL)
.................................... 5-50
Taillamps, Turn Signal, and Stoplamps ............ 5-50 n-.-~ n ..II-- nepmwzIIIe111 DUIU~ J-J 1 rc4 .......................................
5- 1