Page 113 of 227

2. PTY SEEK tuning mode
After selecting a PTY name, push the SEEK
button
or
within 10 seconds.
Tuning to the PTY station will start. If you do
not push the SEEK button within the 10
second period, the PTY mode will be can-
celed.
3. PTY SCAN tuning mode
Push the SCAN tuning button to tune the
PTY name station, and stop at each broad-
casting station for 5 seconds. Pushing the
button again during this 5 second period willstop SCAN tuning and the radio will remain
tuned to that station. If the SCAN tuning
button is not pushed within 5 seconds,
SCAN tuning moves to the next station.
Cassette tape player operationTurn the ignition key to ACC or ON, and then
lightly insert the cassette tape into the tape door.
The cassette tape will be automatically pulled
into the player.
The radio or CD will turn off (if it is on) and the
cassette tape will begin to play.
CAUTION
Do not force the cassette tape into the
tape door. This could cause player dam-
age.
If the system is turned off by pushing the
ON×OFF/VOL control knob with the cassette
tape still in the player, the tape will resume
playing when the system is turned back on.
PLAY:
IWhen the TAPE button is pushed with the
system turned off and a tape loaded, the
system will come on and the tape will play.IWhen the TAPE button is pushed with either
the radio or compact disc turned on and the
tape loaded, the compact disc or the radio
will automatically be turned off and the tape
will play.
IWhen the TAPE button is pushed with the
TAPE playing, the tape will play the program
recorded on the reverse side.
FF (Fast Forward), REW
(Rewind):
Push the(fast forward) button to fast
forward the tape. To rewind the tape, push the
(rewind) button. Either the FF or REW
symbol illuminates on the display window. To
stop the FF or REW function, press the(fast forward) or
(rewind) again, or
the TAPE button.
APS (Automatic
Program Search) FF,
APS REW:
When the(APS FF) button is pushed
while the tape is being played, the next program
will start to play from the beginning. Push the
(APS FF) button several times to skip
through programs. The tape will advance the
number of times the button is pushed (up to nine
programs).
When the
(APS REW) button is pushed
4-16
Heater, air conditioner and audio systems
Z
02.9.13/Z33-D/V5.0
X
Page 114 of 227
 but-
ton several times to skip back several selections.
The tape will go back the number of times the
button is pushed")
once, the program being played starts over from
the beginning. Push the
(APS REW) but-
ton several times to skip back several selections.
The tape will go back the number of times the
button is pushed. Either the FF or REW symbol
flashes on the display window while searching
for the selection.
This system searches for the blank intervals
between selections. If there is a blank interval
within one program or there is no interval be-
tween programs, the system may not stop in the
desired or expected location.
SCAN tuning:
Push the SCAN tuning button while playing
tape, and it stops at the next tape program for 5
seconds. Pushing the button again during this 5
second period will stop SCAN tuning and the
tape program is continued. If the SCAN tuning
button is not pushed within 5 seconds, SCAN
tuning moves to the next tape program.TAPE EJECT:
When this button is pushed with the tape
loaded, the tape will be ejected.
When the tape is ejected while it is being played,
the system will be turned off.
Compact disc (CD) changer
operationTurn the ignition key to the ACC or ON position,
push the LOAD button and insert the compact
disc into the slot with the label side facing up.
The compact disc will be guided automatically
into the slot and start playing.
After loading the disc, the number of tracks on
the disc will appear on the display.
If the radio or tape is already operating, it will
automatically turn off and the compact disc will
play.
CAUTION
IDo not force the compact disc into
the slot. This could damage the
player.
IDo not use 3.1 in (8 cm) discs.
If the system has been turned off while the
compact disc was playing, pushing the
ON×OFF/VOL control knob will start the com-
pact disc.
CD LOAD:
To insert a CD in the CD changer, push the
LOAD button for less than 1.5 seconds. Selectthe loading slot by pushing the CD insert select
button (1 to 6), then insert the CD.
To insert 6 CDs to the CD changer in succes-
sion, push the LOAD button for more than 1.5
seconds.
The inserted slot numbers will illuminate on the
display.
CD PLAY:
When the
(CD play) button is pushed with
the system off and the compact disc loaded, the
system will turn on and the compact disc will
start to play.
When thebutton is pushed with the com-
pact disc loaded but the tape or the radio
playing, the tape or radio will automatically be
turned off and the compact disc will start to play.
DISP CD PLAY TIME:
Push the DISP button for less than 1.5 seconds
while the compact disc is being played to show
the play time on the display.
FF (Fast Forward), REW
(Rewind):
When the(fast forward) or
(rewind)
button is pushed while the compact disc is
being played, the compact disc will play while
fast forwarding or rewinding. When the button is
Heater, air conditioner and audio systems
4-17
Z
02.9.13/Z33-D/V5.0
X
Page 115 of 227
 FF, APS REW:
When the(APS FF) button is pushed
while the compact disc is being played, the
program next to t")
released, the compact disc will return to normal
play speed.
APS (Automatic Program
Search) FF, APS REW:
When the(APS FF) button is pushed
while the compact disc is being played, the
program next to the present one will start to play
from its beginning. Push several times to skip
through programs. The compact disc will ad-
vance the number of times the button is pushed.
(When the last program on the compact disc is
skipped through, the first program will be
played.) When the
(APS REW) button is
pushed, the program being played returns to its
beginning. Push several times to skip back
through programs. The compact disc will go
back the number of times the button is pushed.
CD PLAY select button:
To change CD, push the CD play select button
(1 to 6).
SCAN tuning:
When the SCAN tuning button is pushed for
less than 1.5 seconds while the CD is being
played, the beginning of all the tracks of CDs will
be played for 10 seconds in sequence.
When the SCAN tuning button is pushed for
more than 1.5 seconds while the CD is beingplayed, the first program in all the CDs will be
played for 10 seconds.
Pushing the button again during this 10 second
period will stop SCAN tuning.
If the SCAN tuning button is not pushed within
10 seconds, SCAN tuning moves to the next
disc program.
REPEAT (RPT):
When the RPT play button is pushed while the
compact disc is played, the play pattern can be
changed as follows:
The display shows the following symbols.
(no mark): ALL CD RPT (Repeat)
1DISC: 1 CD RPT
1: 1 TR (Track) RPT
MIX: ALL CD MIX
1DISC MIX: 1 CD MIX
CD EJECT:
When the CD EJECT button is pushed with the
compact disc loaded, the compact disc will be
ejected.To eject the discs selected by the CD select
button, push the EJECT button for less than 1.5
seconds.
To eject all the discs in succession, push the
EJECT button for more than 1.5 seconds.
When this button is pushed while the compact
disc is being played, the compact disc will come
out and the system will turn off.
If the compact disc comes out and is not
removed, it will be pulled back into the slot
to protect it.
CD IN indicator:
CD IN indicator (inserted slot number) appears
on the display when the CD is loaded with the
system on.
4-18
Heater, air conditioner and audio systems
Z
02.9.13/Z33-D/V5.0
X
Page 116 of 227

CD CARE AND CLEANINGIHandle a CD by its edges. Never touch the
surface of the disc. Do not bend the disc.
IAlways place the discs in the storage case
when they are not being used.
ITo clean a disc, wipe the surface from the
center to the outer edge using a clean, soft
cloth. Do not wipe the disc using a circular
motion.
Do not use a conventional record cleaner or
alcohol intended for industrial use.
IA new disc may be rough on its inner and
outer edges. Remove the rough edges using
the side of a pen or pencil as illustrated.
ANTENNAThe antenna is located at the rear of the vehicle.
To remove the antenna, turn it counterclockwise.
To reinstall it, screw it securely into the base.
CAUTION
Be sure to remove the antenna before
entering a low-roof garage or an auto-
matic car wash. Otherwise the antenna
may be damaged.When installing a CB, ham radio or car phone in
your NISSAN vehicle, be sure to observe the
following cautions, otherwise the new equip-
ment may adversely affect the Engine control
system and other electronic parts.
WARNING
IA cellular telephone should not be
used while driving so full attention
may be given to vehicle operation.
Some jurisdictions prohibit the use
of cellular telephones while driving.
IIf you must make a call while your
vehicle is in motion, the hands free
cellular phone operational mode (if
so equipped) is highly recommended.
Exercise extreme caution at all times
so full attention may be given to
vehicle operation.
IIf a conversation in a moving vehicle
requires you to take notes, pull off
the road to a safe location and stop
your vehicle before doing so.
SAA0451
SAA0606
CAR PHONE OR CB RADIO
Heater, air conditioner and audio systems
4-19
Z
02.9.13/Z33-D/V5.0
X
Page 117 of 227
CAUTION
IKeep the antenna as far as possible
away from the Engine Control Mod-
ule (ECM).
IKeep the antenna wire more than 8 in
(20 cm) away from the Multiport Fuel
Injection harness. Do not route the
antenna wire next to any harness.
IAdjust the antenna standing-wave
ratio as recommended by the manu-
facturer.
IConnect the ground wire from the CB
radio chassis to the body.
IFor details, consult a NISSAN dealer.4-20
Heater, air conditioner and audio systems
Z
02.9.13/Z33-D/V5.0
X
Page 118 of 227
 .................................. 5-2
Three way catalyst ..................")
5 Starting and drivingPrecautions when starting and driving ............................. 5-2
Exhaust gas (Carbon monoxide) .................................. 5-2
Three way catalyst ........................................................... 5-3
Low tire pressure warning system
(if so equipped) ................................................................ 5-3
Avoiding collision and rollover ...................................... 5-4
Drinking alcohol/drugs and driving .............................. 5-5
Ignition switch ......................................................................... 5-5
Automatic transmission................................................... 5-5
Manual transmission ........................................................ 5-6
Key positions ..................................................................... 5-7
Nissan vehicle immobilizer system (NVIS)................. 5-7
Before starting the engine ................................................... 5-8
Starting the engine ................................................................ 5-8
Driving the vehicle ................................................................. 5-9
Automatic transmission................................................... 5-9
Manual transmission ..................................................... 5-12
Parking brake........................................................................ 5-14
Cruise control (if so equipped)........................................ 5-15
Precautions on cruise control .................................... 5-15Cruise control operations ............................................ 5-16
Break-in schedule ............................................................... 5-17
Increasing fuel economy .................................................... 5-17
Parking/parking on hills...................................................... 5-18
Power steering ..................................................................... 5-19
Brake system ........................................................................ 5-20
Braking precautions ...................................................... 5-20
Anti-lock brake system (ABS) .................................... 5-20
Traction control system (TCS) (if so equipped).......... 5-22
Vehicle dynamic control (VDC) system
(if so equipped) .................................................................. 5-22
Cold weather driving .......................................................... 5-24
Freeing a frozen door lock .......................................... 5-24
Anti-freeze ....................................................................... 5-24
Battery .............................................................................. 5-24
Draining of coolant water ............................................ 5-24
Tire equipment................................................................ 5-24
Special winter equipment ............................................ 5-24
Driving on snow or ice ................................................. 5-25
Engine block heater (if so equipped) ....................... 5-25
Z
02.9.13/Z33-D/V5.0
X
Page 119 of 227

WARNING
IDo not leave children, impaired
adults, or pets alone in your vehicle.
They could accidentally injure them-
selves or others through inadvertent
operation of the vehicle. Also, on hot,
sunny days, temperatures in a closed
vehicle could quickly become high
enough to cause severe or possibly
fatal injuries to people or animals.
IProperly secure all cargo to help pre-
vent it from sliding or shifting. Do not
place cargo higher than the seat-
backs. In a sudden stop or collision,
unsecured cargo could cause per-
sonal injury.EXHAUST GAS (Carbon monoxide)
WARNING
Do not breathe exhaust gases; they con-
tain colorless and odorless carbonmonoxide. Carbon monoxide is dan-
gerous. It can cause unconscious-
ness or death.
IIf you suspect that exhaust fumes are
entering the vehicle, drive with all
windows fully open, and have the
vehicle inspected immediately.
IDo not run the engine in closed
spaces such as a garage.
IDo not park the vehicle with the en-
gine running for any extended length
of time.
IKeep the rear hatch closed while
driving, otherwise exhaust gases
could be drawn into the passenger
compartment. If you must drive with
the rear hatch open, follow these
precautions:
1. Open all the windows.
2. Set the air recirculation mode OFF
and the fan control at the maxi-
mum position to circulate the air.
IIf electrical wiring or other cable con-nections must pass to a trailer
through the seal on the rear hatch or
the body, follow the manufacturer's
recommendation to prevent carbon
monoxide entry into the vehicle.
IIf a special body or other equipment
is added for recreational or other
usage, follow the manufacturer's rec-
ommendation to prevent carbon
monoxide entry into the vehicle.
(Some recreational vehicle appli-
ances such as stoves, refrigerator,
heaters, etc. may also generate car-
bon monoxide.)
IThe exhaust system and body should
be inspected by a qualified mechanic
whenever:
a. The vehicle is raised for service.
b. You suspect that exhaust fumes
are entering into the passenger
compartment.
c. You notice a change in the sound
of the exhaust system.PRECAUTIONS WHEN STARTING
AND DRIVING5-2
Starting and driving
Z
02.9.13/Z33-D/V5.0
X
Page 120 of 227

d. You have had an accident involv-
ing damage to the exhaust system,
underbody, or rear of the vehicle.
THREE WAY CATALYSTThe three way catalyst is an emission control
device installed in the exhaust system. Exhaust
gases in the converter are burned at high tem-
peratures to help reduce pollutants.
WARNING
IThe exhaust gas and the exhaust sys-
tem are very hot. Keep people, ani-
mals or flammable materials away
from the exhaust system compo-
nents.
IDo not stop or park the vehicle over
flammable materials such as dry
grass, waste paper or rags. They may
ignite and cause a fire.
CAUTION
IDo not use leaded gasoline. Deposits
from leaded gasoline seriously re-
duce the three way catalyst's ability
to help reduce exhaust pollutants.
IKeep your engine tuned up. Malfunc-
tions in the ignition, fuel injection, or
electrical systems can cause overrich
fuel flow into the three way catalyst,
causing it to overheat. Do not keep
driving if the engine misfires, or if
noticeable loss of performance or
other unusual operating conditions
are detected. Have the vehicle in-
spected promptly by a NISSAN
dealer.
IAvoid driving with an extremely low
fuel level. Running out of fuel could
cause the engine to misfire, damag-
ing the three way catalyst.
IDo not race the engine while warm-
ing it up.
IDo not push or tow your vehicle to
start the engine.
LOW TIRE PRESSURE WARNING
SYSTEM (if so equipped)The low tire pressure warning system displays
pressure of all tires (except the spare tire) on the
trip computer by sending a signal from a sensor
that is installed in each wheel.
The low tire pressure warning system will acti-
vate only when the vehicle is driven at speeds
above 20 MPH (32 km/h). Also, this system may
not detect a sudden drop in tire pressure (for
example, a flat tire by catching something while
driving).
Frequently check the tire pressure indicator on
the trip computer and adjust pressure of each
tire properly. See ªTrip computerº in the ª2.
Instruments and controlsº section for the tire
pressure indicator.Flat tire warningIf the vehicle is being driven with a flat tire or
extremely low tire pressure (lower than 28 psi),
the low tire pressure warning light comes on,
and the chime sounds for about 10 seconds. On
the trip computer, the PSI indicator starts flash-
ing and the current display switches to the tire
pressure indicator.
For additional information regarding the above
warning, see ªTrip computerº and
Starting and driving
5-3
Z
02.9.13/Z33-D/V5.0
X
 1
1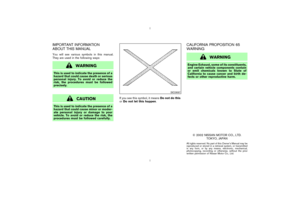 2
2 3
3 4
4 5
5 6
6 7
7 8
8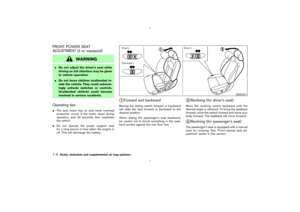 9
9 10
10 11
11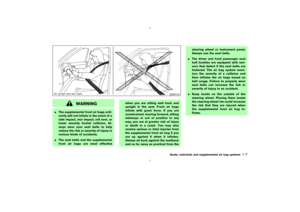 12
12 13
13 14
14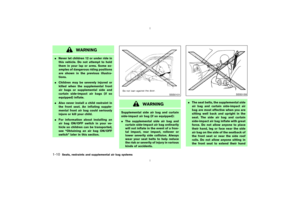 15
15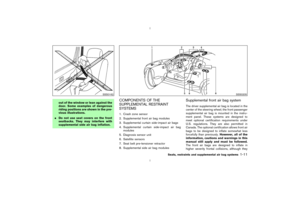 16
16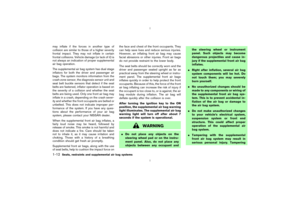 17
17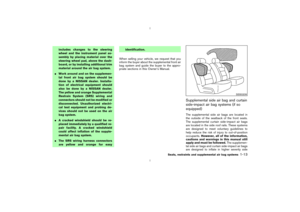 18
18 19
19 20
20 21
21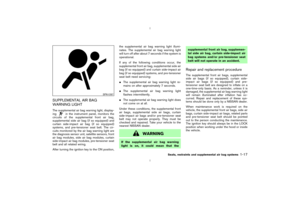 22
22 23
23 24
24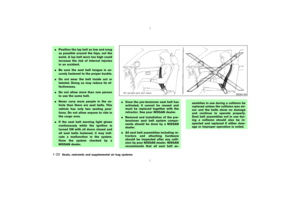 25
25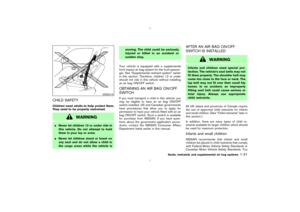 26
26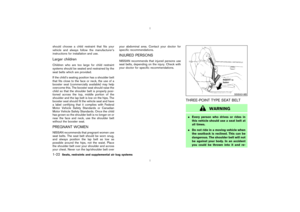 27
27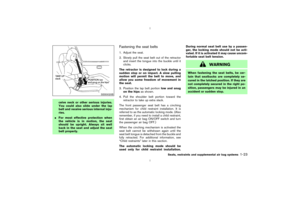 28
28 29
29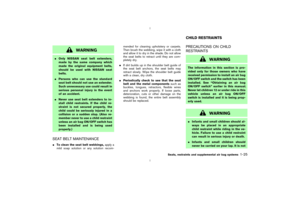 30
30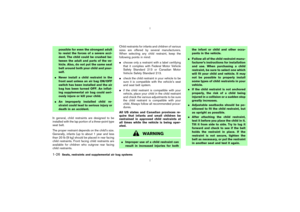 31
31 32
32 33
33 34
34 35
35 36
36 37
37 38
38 39
39 40
40 41
41 42
42 43
43 44
44 45
45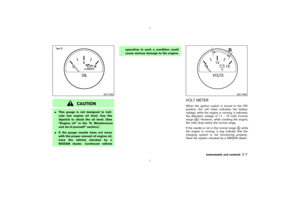 46
46 47
47 48
48 49
49 50
50 51
51 52
52 53
53 54
54 55
55 56
56 57
57 58
58 59
59 60
60 61
61 62
62 63
63 64
64 65
65 66
66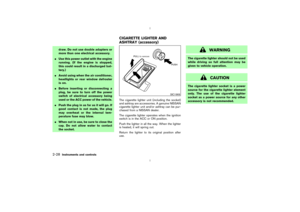 67
67 68
68 69
69 70
70 71
71 72
72 73
73 74
74 75
75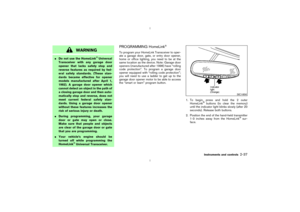 76
76 77
77 78
78 79
79 80
80 81
81 82
82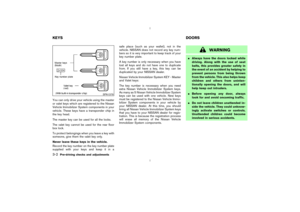 83
83 84
84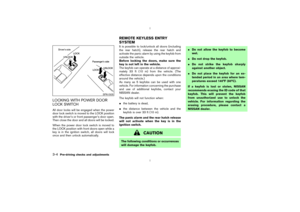 85
85 86
86 87
87 88
88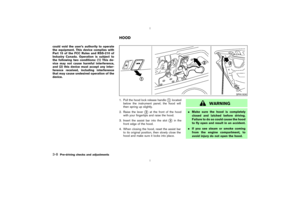 89
89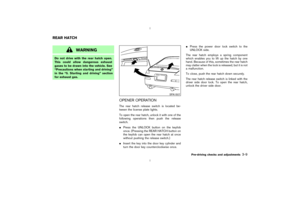 90
90 91
91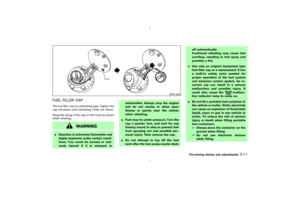 92
92 93
93 94
94 95
95 96
96 97
97 98
98 99
99 100
100 101
101 102
102 103
103 104
104 105
105 106
106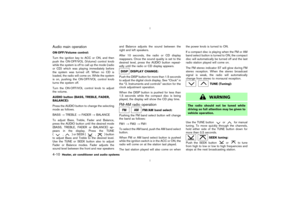 107
107 108
108 109
109 110
110 111
111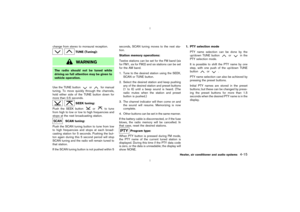 112
112 113
113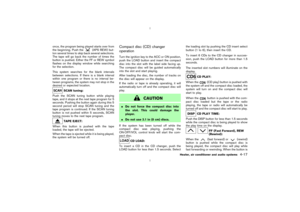 114
114 115
115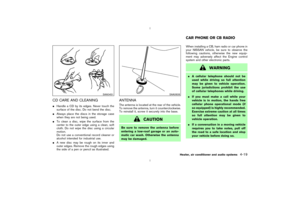 116
116 117
117 118
118 119
119 120
120 121
121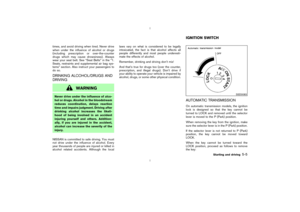 122
122 123
123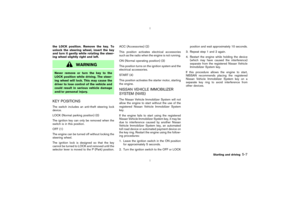 124
124 125
125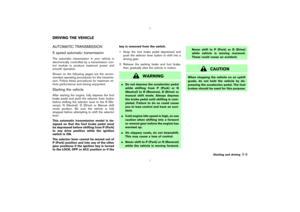 126
126 127
127 128
128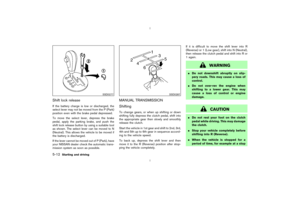 129
129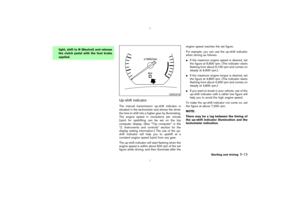 130
130 131
131 132
132 133
133 134
134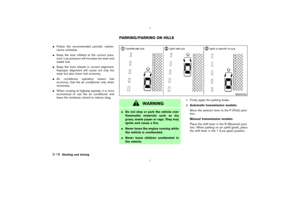 135
135 136
136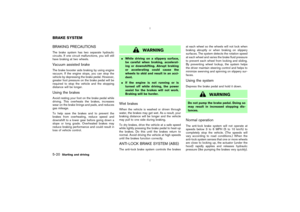 137
137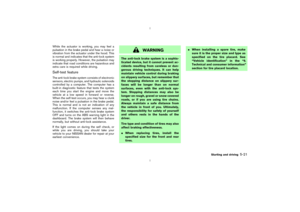 138
138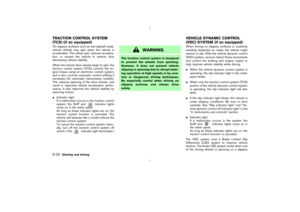 139
139 140
140 141
141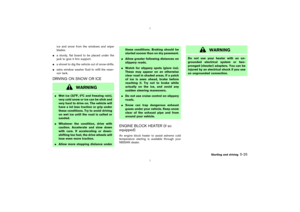 142
142 143
143 144
144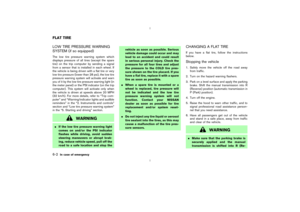 145
145 146
146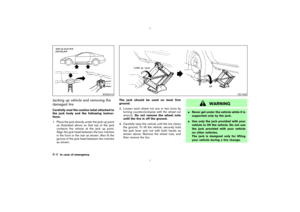 147
147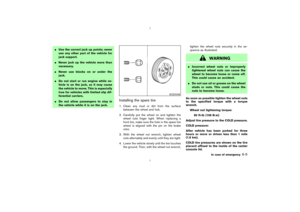 148
148 149
149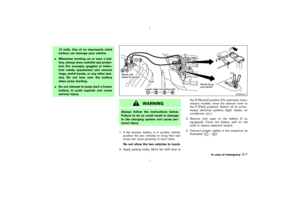 150
150 151
151 152
152 153
153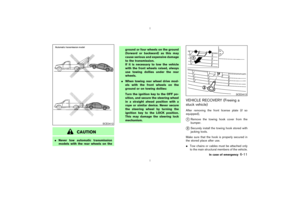 154
154 155
155 156
156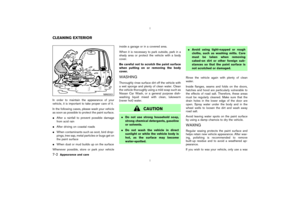 157
157 158
158 159
159 160
160 161
161 162
162 163
163 164
164 165
165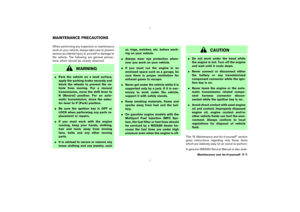 166
166 167
167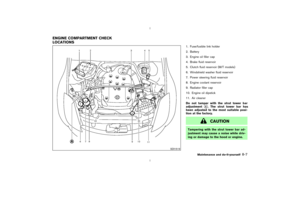 168
168 169
169 170
170 171
171 172
172 173
173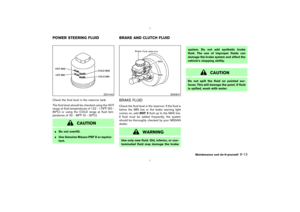 174
174 175
175 176
176 177
177 178
178 179
179 180
180 181
181 182
182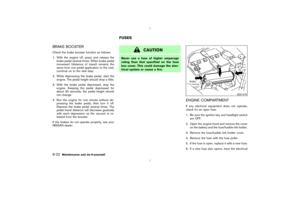 183
183 184
184 185
185 186
186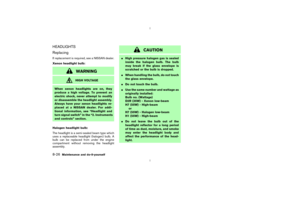 187
187 188
188 189
189 190
190 191
191 192
192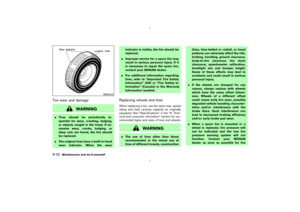 193
193 194
194 195
195 196
196 197
197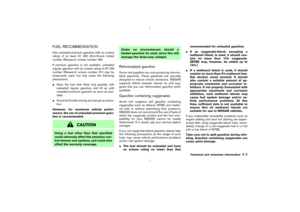 198
198 199
199 200
200 201
201 202
202 203
203 204
204 205
205 206
206 207
207 208
208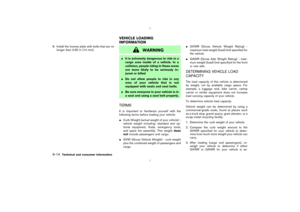 209
209 210
210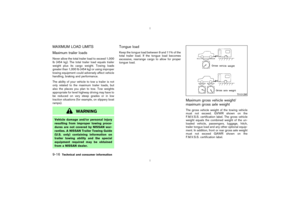 211
211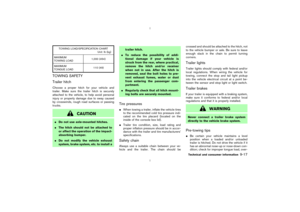 212
212 213
213 214
214 215
215 216
216 217
217 218
218 219
219 220
220 221
221 222
222 223
223 224
224 225
225 226
226.
IKeep the antenna wire more than 8 in
(20 cm) away from the Multiport Fuel
Injection harness. Do not route the")