2003 GMC SIERRA DENALI headlamp
[x] Cancel search: headlampPage 85 of 428
At times you may notice a decrease in range. This is
normal for any remote keyless entry system. If the
transmitter does not work or
if you have to stand closer
to your vehicle for the transmitter to work, try this:
Check the distance. You may be too far from your
vehicle. You may need to stand closer during
rainy or snowy weather.
Check the location. Other vehicles or objects may be
blocking the signal. Take a few steps to the left or
right, hold the transmitter higher, and try again.
Check to determine if battery replacement is
necessary. See “Battery Replacement” under
Remote Keyless Entry System Operation on
page
2-4.
qualified technician for service.
If you are still having trouble, see your dealer or a
Remote Keyless Entry System
Operation
You can lock and unlock your doors from about 3 feet
(1 m) up to 100 feet (30 m) away using the remote
keyless entry transmitter supplied with your vehicle. UNLOCK:
Pressing this button once will unlock the
driver’s door. The interior lamps will come on. Pressing
UNLOCK again within three seconds will cause the
remaining doors to unlock.
You can choose different feedback options for each
press of the UNLOCK button. See
DlC Operation and
Displays on page
3-43 for more information.
LOCK: Pressing this button once will lock all of the
doors. You can choose different feedback options
for each press of the LOCK button. See
DlC Operation
and Displays on page
3-43 for more information.
Operating the keyless entry transmitter may interact with
the theft-deterrent system. See
Content Theft-Deterrent
on page
2- 13 and DlC Operation and Displays on
page
3-43 for more information.
Remote Alarm
When the horn symbol on the keyless entry transmitter
is pressed, the horn will sound and the headlamps
and taillamps will flash for up to
30 seconds. This can
be turned off by pressing the horn button again, waiting
for
30 seconds, or starting the vehicle.
2-4
Page 94 of 428
Theft-Deterrent Systems
Vehicle theft is big business, especially in some cities.
Although your vehicle has a number of theft-deterrent
features, we know that nothing we put on it can make
it
impossible to steal. However, there are ways you
can help.
Content Theft-Deterrent
Your vehicle is equipped with a content theft-deterrent
alarm system.
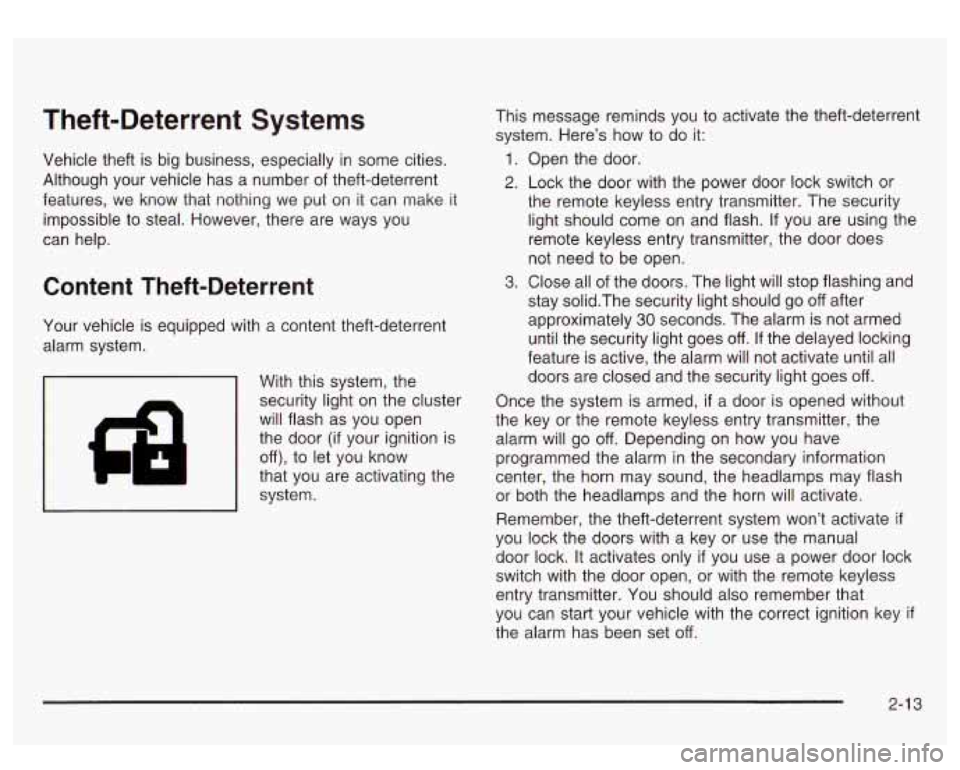
With this system, the
security light on the cluster
will flash
as you open
the door
(if your ignition is
off), to let you know
that you are activating the
system. This
message reminds you to activate the theft-deterrent
system. Here’s how to do it:
1. Open the door.
2. Lock the door with the power door lock switch or
the remote keyless entry transmitter. The security light should come on and flash.
If you are using the
remote keyless entry transmitter, the door does
not need to be open.
3. Close all of the doors. The light will stop flashing and
stay solid.The security light should go
off after
approximately
30 seconds. The alarm is not armed
until the security light goes
off. If the delayed locking
feature is active, the alarm will not activate until all
doors are closed and the security light goes
off.
Once the system is armed, if a door is opened without
the key or the remote keyless entry transmitter, the
alarm will go
off. Depending on how you have
programmed the alarm in the secondary information
center, the horn may sound, the headlamps may flash
or both the headlamps and the horn will activate.
Remember, the theft-deterrent system won’t activate
if
you lock the doors with a key or use the manual
door lock. It activates only
if you use a power door lock
switch with the door open, or with the remote keyless
entry transmitter. You should also remember that
you can start your vehicle with the correct ignition key
if
the alarm has been set off.
Page 95 of 428
Here’s how to avoid setting off the alarm by accident:
If you don’t want to activate the theft-deterrent
system, the vehicle should be locked with the door
key after the doors are closed.
Always unlock a door with a key, or use the remote
keyless entry transmitter. Unlocking a door any
other way will set
off the alarm if the system
has been armed.
If you set off the alarm by accident, unlock any door
with the key. You can also turn
off the alarm by pressing
UNLOCK on the remote keyless entry transmitter or
by placing the key in the ignition and turning it to
START.
Testing the Alarm
The alarm can be tested by following these steps:
1. From inside the vehicle, lower the driver’s window
and open the driver’s door.
2. Activate the system by locking the doors with the
power door lock switch while the door is open, or
with the remote keyless entry transmitter.
3. Get out of the vehicle, close the door and wait for
the security message
to go out.
4. Then reach in through the window, unlock the door
with the manual door lock and open the door. This
should set
off the alarm. If the
alarm does not sound and the headlamps do not
flash, you may have the feature turned
off. See DIC
Operation and Displays on page 3-43 for more
information.
Passlock@
Your vehicle is equipped with the
Passlock@ theft-deterrent system.
Passlock@ is a passive theft-deterrent system.
Passlock@ enables fuel
if the ignition lock cylinder is
turned with a valid key.
If a correct key is not used or the
ignition lock cylinder is tampered with, fuel is disabled.
If the engine stalls and the security light flashes,
wait until the light stops flashing before trying to restart
the engine. Remember
to release the key from
START as soon as the engine starts.
If the engine is running and the security light comes on,
you will be able
to restart the engine if you turn the
engine
off. However, your Passlock@ system is
not working properly and must be serviced by your
dealer. Your vehicle is not protected by Passlock@ at this
time. You may also want to check the fuse (see
Fuses and Circuit Breakers on page 5-95.) See your
dealer for service.
In an emergency, call the GM Roadside Assistance
Center. See
Roadside Assistance Program on page 7-5
under Customer Assistance Information.
2-1 4
Page 112 of 428

Outside Power Mirrors
If your vehicle is equipped
with outside power mirrors,
the controls are located
on the driver’s door
armrest.
Move the selector switch located above the control pad
to the left or right to choose the mirror you want to
adjust, then press the dots located on the four-way
control pad to adjust the mirror.
The mirrors include ground illumination lamps (puddle
lamps) in the base of the mirror. For more information on
these lamps, see
Puddle Lamps under Exterior Lamps
on page 3-1
1.
The mirrors also include a memory function which works
in conjunction with the memory seats. See “Memory
Seats” in the Index for more information.
Outside Power Foldaway Mirrors
If your vehicle is equipped with outside power foldaway
mirrors the mirrors can be folded in toward the body
of the vehicle.
To fold
in the mirrors, move the upper selector switch,
located above the mirror control, to the middle position.
Press the right side of the mirror control to fold the
mirrors toward the body
of the vehicle. The mirror glass
on one or both sides of the vehicle may automatically
adjust before the mirror folds inward. When the
mirror glass or mirror starts moving, you can release the
mirror control.
To return the mirrors and the mirror glass to their
normal position press the left side of the mirror control.
If the mirrors are manually folded, use the power
mirror control to return it to it’s original position.
Outside Automatic Dimming Mirror
The driver’s outside mirror will adjust for the glare of any
headlamps behind you. This feature is controlled by
the on and
off settings on the electrochromic mirror. See
“Electrochromic Mirror Operation” under
Automatic
Dimming Rearview Mirror with Onstat? Compass and
Temperature Display on page
2-28.
2-3 1
Page 130 of 428
Turn SignaVMultifunction Lever
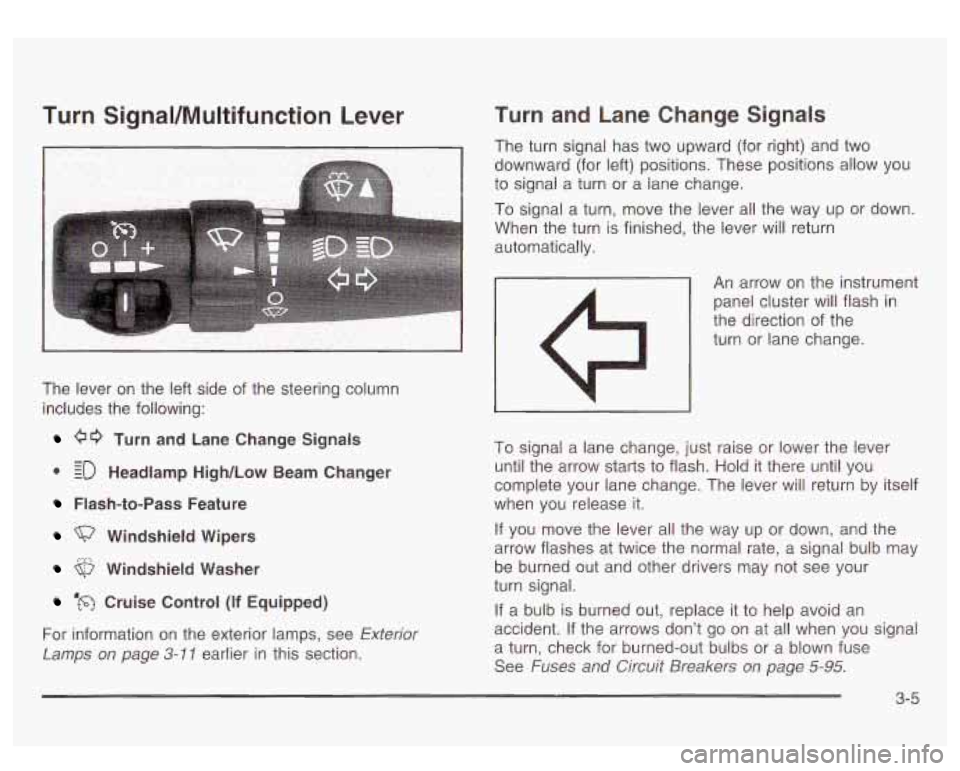
The lever on the left side of the steering column
includes the following:
00 Turn and Lane Change Signals
0 EO Headlamp High/Low Beam Changer
- -
Flash-to-Pass Feature
Windshield Wipers
Windshield Washer
‘m Cruise Control (if Equipped)
For information on the exterior lamps, see
Exterior
Lamps on page 3-11 earlier in this section.
Turn and Lane Change Signals
The turn signal has two upward (for right) and two
downward (for left) positions. These positions allow you
to signai a turn or a lane change.
To signal a turn, move the lever all the way up or down.
When the turn is finished, the lever will return
automatically.
An arrow on the instrument
panel cluster will flash
in
the direction of the
turn or lane change.
To signal a lane change, just raise or lower the lever
until the arrow starts to flash. Hold it there until you
complete your lane change. The lever will return by itself
when you release it.
If you move the lever all the way up or down, and the
arrow flashes at twice the normal rate, a signal bulb may
be burned out and other drivers may not see your
turn signal.
If a bulb
is burned out, replace it to help avoid an
accident. If the arrows don’t
go on at all when you signal
a turn, check for burned-out bulbs or a blown fuse
See
Fuses and Circuit Breakers on page 5-95.
3-5
Page 131 of 428
Turn Signal On Chime
If your turn signal is left on for more than 3/4 of a mile
(1.2 km), a chime will sound at each flash of the
turn signal. To turn
off the chime, move the turn signal
lever to the
off position.
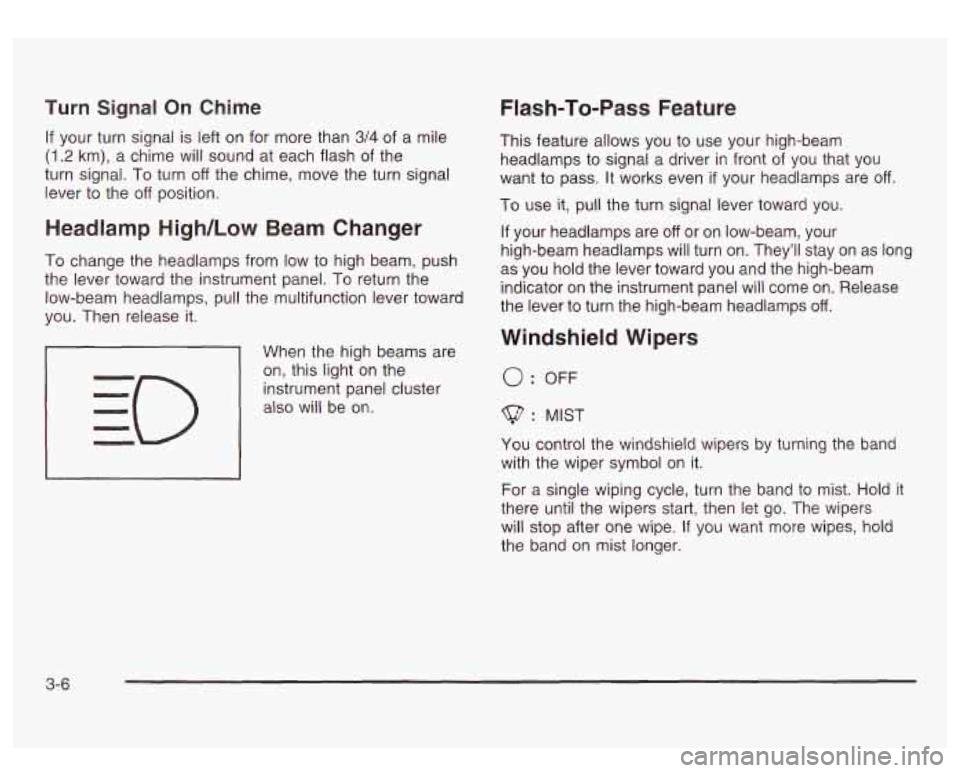
Headlamp High/Low Beam Changer
To change the headlamps from low to high beam, push
the lever toward the instrument panel.
To return the
low-beam headlamps, pull the multifunction lever toward
you. Then release it.
When the high beams are
on, this light on the
instrument panel cluster
also will be on.
I I
Flash-To-Pass Feature
This feature allows you to use your high-beam
headlamps to signal a driver in front
of you that you
want to pass. It works even
if your headlamps are off
To use it, pull the turn signal lever toward you.
If your headlamps are
off or on low-beam, your
high-beam headlamps will turn on. They’ll stay on as long
as you hold the lever toward you and the high-beam
indicator on the instrument panel will come on. Release
the lever
to turn the high-beam headlamps off.
Windshield Wipers
0: OFF
$? : MIST
You control the windshield wipers by turning the band
with the wiper symbol on it.
For a single wiping cycle, turn the band to mist.
Hold it
there until the wipers start, then let go. The wipers
will stop after one wipe.
If you want more wipes, hold
the band on mist longer.
3-6
Page 136 of 428
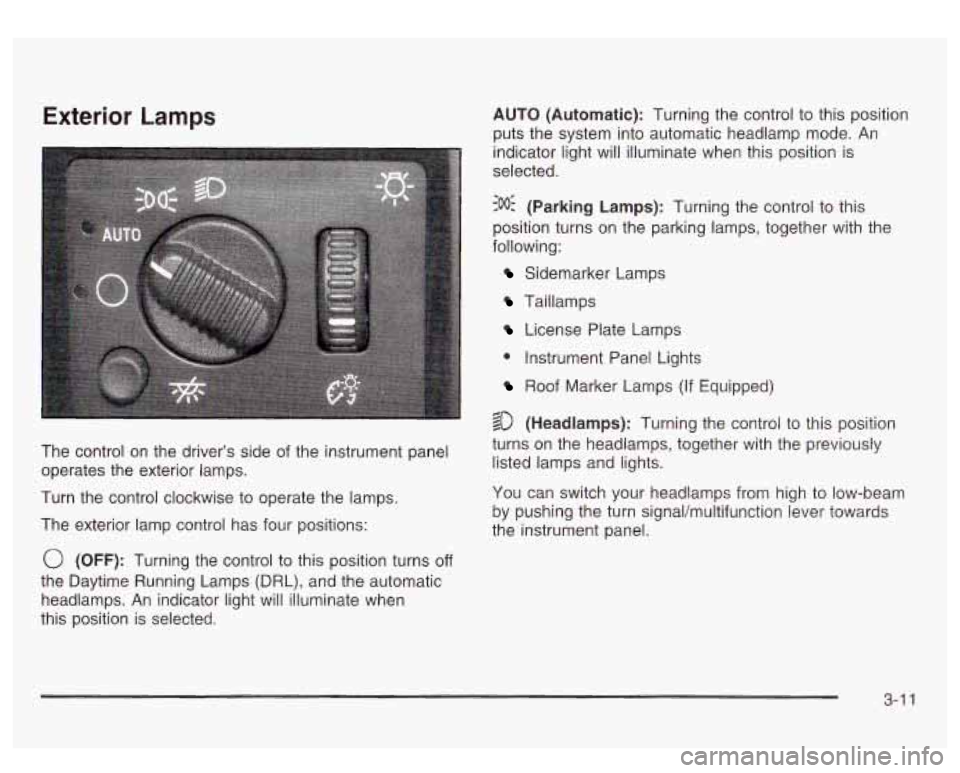
Exterior Lamps
The control on the driver’s side of the instrument panel
operates the exterior lamps.
Turn the control clockwise to operate the lamps.
The exterior lamp control has four positions:
0 (OFF): Turning the control to this position turns off
the Daytime Running Lamps (DRL), and the automatic
headlamps. An indicator light will illuminate when
this position is selected. AUTO
(Automatic): Turning the control to this position
puts the system into automatic headlamp mode.
An
indicator light will illuminate when this position is
selected.
:oO: (Parking Lamps): Turning the control to this
position turns on the parking lamps, together with the
following:
Sidemarker Lamps
Taillamps
License Plate Lamps
0 Instrument Panel Lights
Roof Marker Lamps (If Equipped)
$0 (Headlamps): Turning the control to this position
turns on the headlamps, together with the previously
listed lamps and lights.
You can switch your headlamps from high to low-beam
by pushing the turn signal/multifunction lever towards
the instrument panel.
3-1 1
Page 137 of 428

Automatic Headlamp System
When it is dark enough outside, your automatic
headlamp system will turn on your headlamps at the
normal brightness along with other lamps such as
the taillamps, sidemarker, parking lamps and the
instrument panel lights. The radio lights will also be dim.
Your vehicle is equipped with a headlamp off delay,
which will keep the headlamps on for a short time after
the ignition is turned
off. For more information see
DIC Operation and Displays on page 3-43.
Your vehicle has a light sensor located on the top of the
instrument panel in the defroster grille. Be sure it is
not covered, or the system will be on whenever
the ignition is on.
The system may also turn on your headlamps when
driving through a parking garage, heavy overcast
weather or a tunnel. This is normal.
There is a delay in the transition between the daytime
and nighttime operation of the Daytime Running
Lamps (DRL) and the automatic headlamp systems
so
that driving under bridges or bright overhead street
lights does not affect the system. The DRL and
automatic headlamp system will only be affected when
the light sensor sees a change in lighting lasting
longer than the delay. one
minute for the automatic headlamp system to
change to DRL
if it is bright enough outside. During that
delay, your instrument panel cluster may not be as
bright as usual. Make sure your instrument panel
brightness control is in the full bright position. See
“Instrument Panel Brightness Control’’ under
Interior
Lamps on page
3-15.
To idle your vehicle with the automatic headlamp
system off, turn the control to the
off position.
You may be able to turn off your automatic headlamp
system. See Daytime Running Lamps (DRL) later in this
section for more information.
Your headlamps will also stay on after you exit the
vehicle. You can program this feature using the Driver
lnforrnation Center. See
Driver lnforrnation Center @IC)
on page
3-43
As with any vehicle, you should turn on the regular
headlamps
if you need them.
Lamps On Reminder
A reminder chime will sound when your headlamps or
parking lamps are manually turned on and your
ignition is off, in LOCK, ACCESSORY, or your door is
open. To disable the chime, turn the light
off, then
back on.
If you start your vehicle in a dark garage, the automatic
headlamp system will come on immediately. Once
you leave the garage, it will take approximately
3-1 2