2003 GMC SIERRA DENALI key
[x] Cancel search: keyPage 151 of 428
Speedometer and Odometer
Your speedometer lets you see your speed in both
miles per hour (mph) and kilometers per hour (km/h).
Your odometer shows how far your vehicle has
been driven, in either miles (used in the United States)
or kilometers (used in Canada).
Trip Odometer
The trip odometer can tell you how far your vehicle has
been driven since you last set the trip odometer
to zero.
Press the reset button, located on the instrument panel
cluster next to the trip odometer display, to toggle
between the trip odometer and the regular odometer.
Holding the reset button for two seconds while the
trip odometer is displayed will reset it.
To display the odometer reading with the ignition
off,
press the reset button.
Engine Hour Meter Display
The odometer can also display the number of hours the
engine has run. To display the hour meter, turn the
ignition
off, press and hold the reset button for at least
four seconds. The hour meter will be displayed for
up to
30 seconds, or until the ignition is turned on.
Tachometer
Your tachometer displays the engine speed ip
revolutions per minute (rpm).
Notice: Do not operate the engine with the
tachometer in the red area,
or engine damage may
occur.
Safety Belt Reminder Light
When the key is turned to RUN or START, a chime will
come on for several seconds to remind people to
fasten their safety belts, unless the driver’s safety belt is
already buckled.
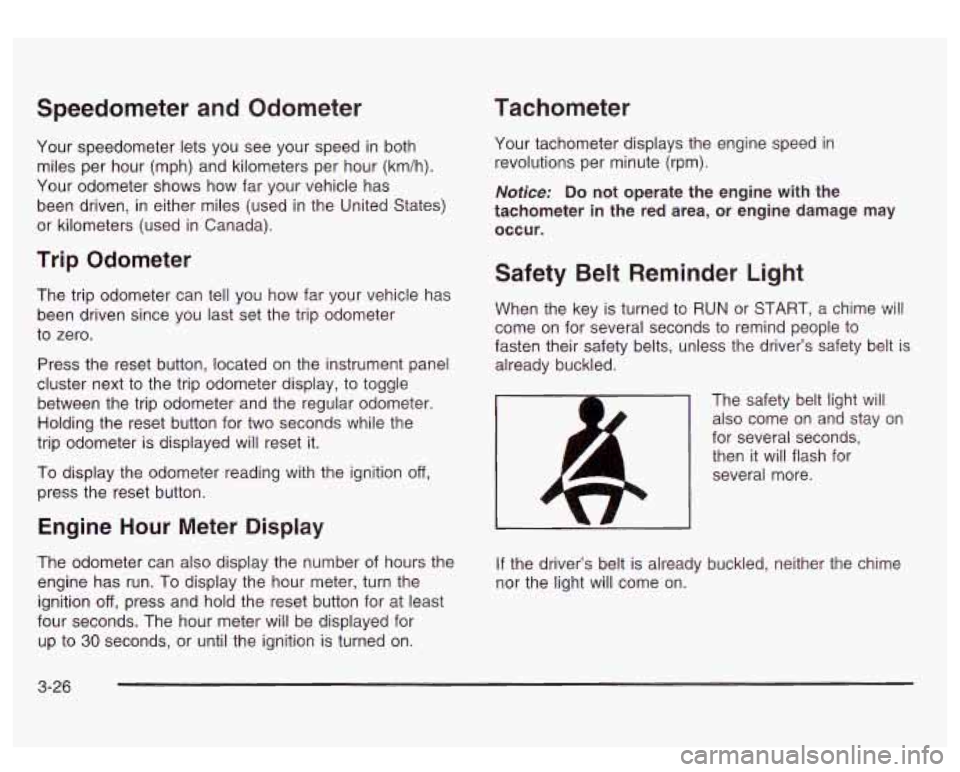
The safety belt light will also come on and stay on
for several seconds, then it will flash for
several more.
If the driver’s belt is already buckled, neither the chime
nor the light will come on.
3-26
Page 156 of 428
~~ ~~ Passenger
Air
Bag Status
Indicator
- Canada
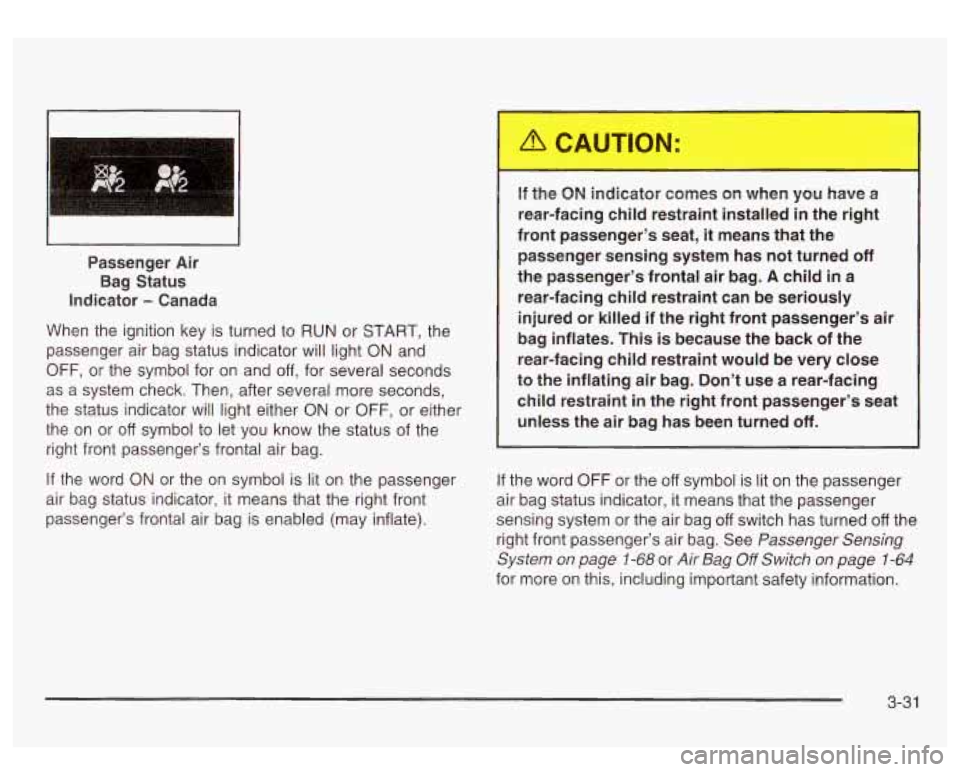
When the ignition key is turned to RUN or START, the
passenger air bag status indicator will light ON and
OFF, or the symbol for on and off, for several seconds
as a system check. Then, after several more seconds,
the status indicator will light either ON or OFF, or either
the on or
off symbol to let you know the status of the
right front passenger’s frontal air bag.
If the word ON or the on symbol is lit on the passenger
air bag status indicator, it means that the right front
passenger’s frontal air bag is enabled (may inflate). If the
ON indicator comes on when you have a
rear-facing child restraint installed
in the right
front passenger’s seat, it means that the
passenger sensing system has not turned
off
the passenger’s frontal air bag. A child in a
rear-facing child restraint can be seriously
injured or killed if the right front passenger’s air
bag inflates. This is because the back of the
rear-facing child restraint would be very close
to the inflating air bag. Don’t use a rear-facing
child restraint in the right front passenger’s seat unless the air bag has been turned
off.
If the word OFF or the off symbol is lit on the passenger
air bag status indicator, it means that the passenger
sensing system or the air bag
off switch has turned off the
right front passenger’s air bag. See
Passenger Sensing
System on page
1-68 or Air Bag Off Switch on page 1-64
for more on this, including important safety information.
3-3 1
Page 158 of 428
Battery Warning Light Voltmeter Gage
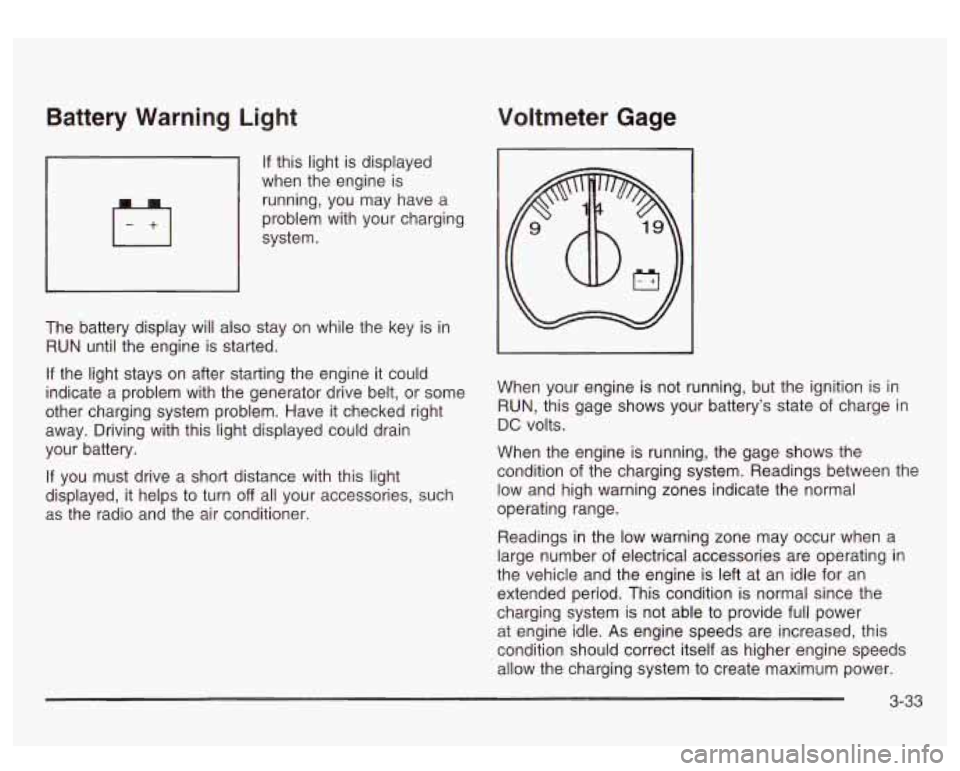
If this light is displayed
when the engine is
running, you may have a
problem with your charging
system.
The battery display will also stay on while the key is in
RUN until the engine is started.
If the light stays on after starting the engine it could
indicate a problem with the generator drive belt, or some
other charging system problem. Have it checked right
away. Driving with this light displayed could drain
your battery.
If you must drive a short distance with this light
displayed, it helps to turn
off all your accessories, such
as the radio and the air conditioner. When your
engine is not running, but the ignition is in
RUN, this gage shows your battery’s state of charge in
DC volts.
When the engine is running, the gage shows the
condition of the charging system. Readings between the
low and high warning zones indicate the normal
operating range.
Readings in the low warning zone may occur when a
large number
of electrical accessories are operating in
the vehicle and the engine is left at an idle for an
extended period. This condition
is normal since the
charging system is not able to provide full power
at engine idle.
As engine speeds are increased, this
condition should correct itself as higher engine speeds
allow the charging system to create maximum power.
3-33
Page 159 of 428
You can only drive for a short time with the reading in
either warning zone.
If you must drive, turn off all
unnecessary accessories.
Readings in either warning zone indicate a possible
problem in the electrical system. Have the vehicle
serviced as soon as possible.
Brake System Warning Light
With the ignition on, the brake system warning light will
flash when you set the parking brake. The light will
flash
if the parking brake doesn’t release fully. If you try
to drive with the parking brake engaged, a chime
will sound when the vehicle speed is greater than
3 mph (5 km/h).
Your vehicle’s hydraulic brake system is divided into two
parts.
If one part isn’t working, the other part can still
work and stop you. For good braking, though, you need
both parts working well.
If the warning light comes on and a chime sounds there
could be a brake problem. Have your brake system
inspected right away.
I BRAKE I
-
United States Canada
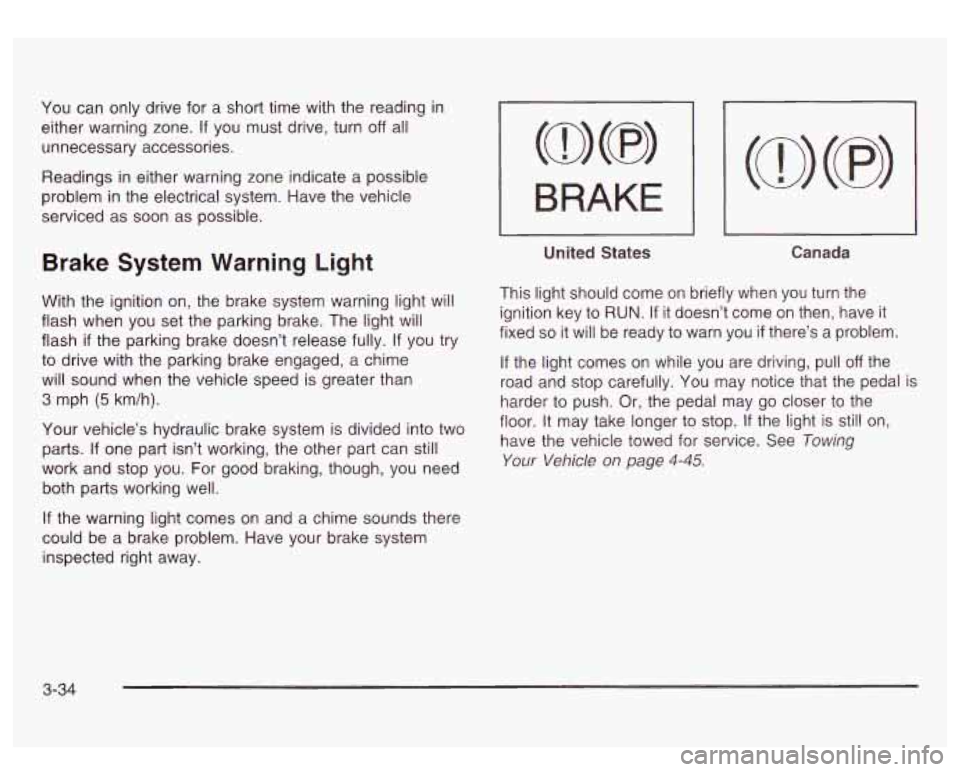
This light should come on briefly when you turn the
ignition key
to RUN. If it doesn’t come on then, have it
fixed
so it will be ready to warn you if there’s a problem.
If the light comes on while you are driving, pull off the
road and stop carefully. You may notice that the pedal is
harder
to push. Or, the pedal may go closer to the
floor. It may take longer
to stop. If the light is still on,
have the vehicle towed for service. See Towing
Your Vehicle on page 4-45.
3-34
Page 164 of 428
If the Light is Flashing
The following may prevent more serious damage to
your vehicle:
Reducing vehicle speed.
Avoiding hard accelerations.
0 Avoiding steep uphill grades.
If you are towing a trailer, reduce the amount of
cargo being hauled as soon as it is possible.
If the light stops flashing and remains on steady, see “If
the Light
Is On Steady” following.
If the light continues to flash, when it is safe to do
so,
stop the vehicle. Find a safe place to park your vehicle.
Turn the key
off, wait at least 10 seconds and restart
the engine. If the light remains on steady, see
“If
the Light Is On Steady” following. If the light is still
flashing, follow the previous steps, and drive the vehicle
to your dealer or qualified service center for service.
If the Light Is On Steady
You may be able to correct the emission system
malfunction by considering the following:
Did you recently put fuel into your vehicle?
If
so, reinstall the fuel cap, making sure to fully install
the cap. See
Fi//ing Your Tank on page 5-7. The
diagnostic system can determine
if the fuel cap has
been left
off or improperly installed. A loose or missing fuel
cap will allow fuel to evaporate into the atmosphere.
A few driving trips with the cap properly installed
should turn the light
off.
Did you just drive through a deep puddle of water?
If so, your electrical system may be wet. The condition
will usually be corrected when the electrical system
dries out. A few driving trips should turn the light
off.
Have you recently changed brands of fuel?
If
so, be sure to fuel your vehicle with quality fuel. See
Gasoline Octane on page 5-5. Poor fuel quality will
cause your engine not to run
as efficiently as designed.
You may notice this as stalling after start-up, stalling
when you put the vehicle into gear, misfiring, hesitation
on acceleration or stumbling on acceleration. (These
conditions may go away once the engine is warmed up.)
This will be detected by the system and cause the
light to turn on.
If you experience one or more of these conditions,
change the fuel brand you use. It will require at least
one full tank of the proper fuel to turn the light off.
If none of the above steps have made the light turn off,
have your dealer or qualified service center check
the vehicle. Your dealer has the proper test equipment
and diagnostic tools to
fix any mechanical or electrical
problems that may have developed.
3-39
Page 172 of 428

Personalization Button
You can program certain features to a preferred setting
for up to two people. Press the personalization button
to scroll through the following personalization features.
All of the personalization options may not be available
on your vehicle. only the options available will be
displayed on your DIC.
If your vehicle is not equipped with the DIC steering
wheel buttons you will not have any of these
personalization options except for DISPLAY LANGUAGE. See DISPLAY LANGUAGE later in this
section for more information.
ALARM WARNING TYPE
AUTOMATIC LOCKING
0 AUTOMATIC UNLOCKING
SEAT POSITION RECALL
PERIMETER LIGHTING
REMOTE LOCK FEEDBACK
REMOTE UNLOCK FEEDBACK
HEADLAMPS ON AT EXIT
CURB VIEW ASSIST
EASY EXIT SEAT
DISPLAY UNITS (E/M)
DISPLAY LANGUAGE The driver’s
preferences are recalled by pressing the
unlock button on the remote keyless entry transmitter or
by pressing the appropriate memory button
1 or 2
located on the driver’s door.
Alarm Warning Type
Press the personalization button until ALARM
WARNING TYPE appears in the display. To select your
personalization for alarm warning type, press the
select button while ALARM WARNING TYPE is
displayed on the DIC. Pressing the select button will
scroll through the following choices:
ALARM WARNING: BOTH
(default): The headlamps
will flash and the horn will chirp when the alarm is
active.
ALARM WARNING:
OFF: There will be no alarm
warning on activation.
ALARM WARNING: HORN: The horn will chirp when
the alarm is active.
ALARM WARNING: LAMPS: The headlamps will flash
when the alarm is active.
Choose one of the four options and press the
personalization button while it is displayed on the DIC to
select it and move on to the next feature. For more
information on alarm warning type, see
Content
Theft-Deterrent
on page 2- 13.
3-47
Page 173 of 428
Automatic Locking
Press the personalization button until AUTOMATIC
LOCKING appears in the display. To select your
personalization for automatic locking, press the select
button while AUTOMATIC LOCKING is displayed on the
DIC. Pressing the select button will scroll through the
following choices:
LOCK DOORS OUT
OF PARK (default): The doors
will lock when the vehicle is shifted out of PARK (P).
LOCK DOORS MANUALLY: The doors will not
be locked automatically.
LOCK DOORS WITH SPEED: The doors will lock
when the vehicle speed is above
8 mph (13 km/h) for
three seconds.
Choose one of the three options and press the
personalization button while it is displayed on the DIC to
select it and move on to the next feature. For more
information on automatic door locks see
Programmable
Automatic Doors Locks.
Automatic Unlocking
Press the personalization button until AUTOMATIC
UNLOCKING appears in the display. To select
your personalization for automatic unlocking, press the
select button while AUTOMATIC UNLOCKING is
displayed on the DIC. Pressing the select button will
scroll through the following choices:
UNLOCK ALL IN PARK (default): All of the doors will
unlock when the vehicle is shifted into PARK (P).
UNLOCK ALL AT KEY OUT:
All of the doors will
unlock when the key is taken out of the ignition.
UNLOCK DOORS MANUALLY: The doors will not be
unlocked automatically.
UNLOCK DRIVER IN PARK: The driver’s door will be
unlocked when the vehicle is shifted in PARK (P).
Choose one
of the four options and press the
personalization button while it is displayed on the DIC to
select it and move on to the next feature. For more
information on automatic door locks see
Programmable
Automatic Door Locks.
3-48
Page 174 of 428
Seat Position Recall Perimeter Lighting
Press the personalization button until SEAT POSITION
RECALL appears on the display. To select your
personalization for seat position recall, press the select
button while SEAT POSITION RECALL is displayed
on the DIC. Pressing the select button will scroll through
the following choices:
SEAT POSITION RECALL
OFF (default): The memory
seat position you saved will only be recalled when the
memory button
1 or 2 is pressed on the driver’s
door panel.
SEAT POSITION RECALL AT KEY IN: The memory
seat position you saved will be recalled when you
put the key in the ignition.
SEAT POSITION RECALL ON REMOTE: The memory
seat position you saved will be recalled when you
unlock the vehicle with the remote keyless entry
transmitter.
Choose one of the three options and press the
personalization button while it is displayed on the DIC to
select it and move on to the next feature. For more
information on seat position recall see
Memory Seat on
page 2-42.
Press the personalization button until PERIMETER
LIGHTING appears in the display. To select your
personalization for perimeter lighting, press the select
button while PERIMETER LIGHTING is displayed on the
DIC. Pressing the select button will scroll through the
following choices:
PERIMETER LIGHTING ON
(default): The headlamps
and back-up lamps will come on for
40 seconds, if it
is dark enough outside, when you unlock the vehicle
with the remote keyless entry transmitter.
PERIMETER LIGHTING
OFF: The perimeter lights will
not come on when you unlock the vehicle with the
remote keyless entry transmitter.
Choose on
of the two options and press the
personalization button while it is displayed on the DIC to
select it and move on to the next feature.
3-49