2003 GMC SIERRA DENALI key
[x] Cancel search: keyPage 106 of 428

Torque Lock
If you are parking on a hill and you don’t shift your
transmission into PARK
(P) properly, the weight of the
vehicle may put too much force on the parking pawl
in the transmission. You may find it difficult to pull the
shift lever out of PARK
(P). This is called ”torque
lock.” To prevent torque lock, set the parking brake and
then shift into PARK (P) properly before you leave
the driver’s seat.
To find out how, see Shifting lnto
Park
(P) on page 2-23.
When you are ready to drive, move the shift lever out of
PARK
(P) before you release the parking brake.
If torque lock does occur, you may need to have another
vehicle push yours a little uphill to take some of the
pressure from the parking pawl in the transmission,
so
you can pull the shift lever out of PARK (P).
Shifting Out of Park (P)
Your vehicle has an automatic transmission shift lock
control system. You have to fully apply your regular
brakes before you can shift from PARK (P) when the
ignition
is in RUN. See Automatic Transmission
Operation on page
2- 18.
If you cannot shift out of PARK (P), ease pressure on
the shift lever and push the shift lever all the way up into
PARK
(P) as you maintain brake application. Then,
move the shift lever into the gear you want.
If you ever hold the brake pedal down but still can’t shift
out of PARK (P), try this:
1. Turn the key to LOCK.
2. Apply and hold the brake until the end of Step 4.
3. Shift the vehicle to NEUTRAL (N).
4. Start the vehicle and then shift to the drive gear
5. Have the system fixed as soon as you can.
you want.
2-25
Page 123 of 428

Vehicle Personalization
Memory Seat
If your vehicle has this
feature, then the controls for the memory function
are located on the
driver’s door.
I
~
These buttons are used to program and recall memory
settings for the driver’s seat, both the driver’s and
passenger’s outside mirror, and the radio station
presets. The settings for these features can be
personalized for both driver
1 and driver 2. Driver 1 or
driver
2 corresponds to the memory buttons labeled
land
2 on the driver’s door. To store
your memory seat, mirrors and radio presets,
do the following:
1. Adjust the driver’s seat (including the seatback
recliner, lumbar, and side wing area), both of the
outside mirrors, and the radio station presets to your
preference.
2. Press and hold the 1 or 2 (for driver lor 2) button
of the memory control for three seconds.
A double
chime will sound to let you know that the position
has been stored.
To repeat the procedure for a second driver, follow the
preceding steps, but press the other numbered
memory control button.
Each time button
1 or 2 is pressed and released while
the vehicle is in PARK (P), a single chime will sound and
the memory position will be recalled.
If you use the unlock button on the remote keyless entry
transmitter to enter your vehicle, the preset driver’s
seat, mirror positions and the radio station presets will
be recalled
if programmed to do so through the
Driver Information Center (DIC). The numbers on the
back of the transmitters,
1 or 2, correspond to the
numbers on the memory controls.
2-42
Page 124 of 428

The seat and mirror positions can also be recalled when
placing the key in the ignition
if programmed to do so
through the Driver Information Center (DIC).
To stop recali movement of the
memory seat feature at
any time, press one of the memory buttons or power
seat controls.
Easy Exit Seat
The controls for this memory function are located on the
driver’s door.
li’)T) This button is used to program and recall the
desired driver’s seat position when exiting/entering the
vehicle. The seat position, can be personalized for
both driver
1 and driver 2.
To store the seat exit position for driver 1 or 2, do the
following:
1. Select the desired driver number by pressing and
releasing the
1 or 2 button. The seat will move to
the stored memory position.
2. Adjust the seat to the desired exit position.
3. Press and hold the exit button of the memory
control for three seconds.
A double chime will sound
to let you know that the position has been stored for the identified driver
(1 or 2).
To use the seat exit position, do one of the following:
Press the exit button on the memory control.
Or, if this feature is enabled (active) in the DIC,
then removing the key from the ignition will
cause the seat to move
to the exit position.
2-43
Page 129 of 428

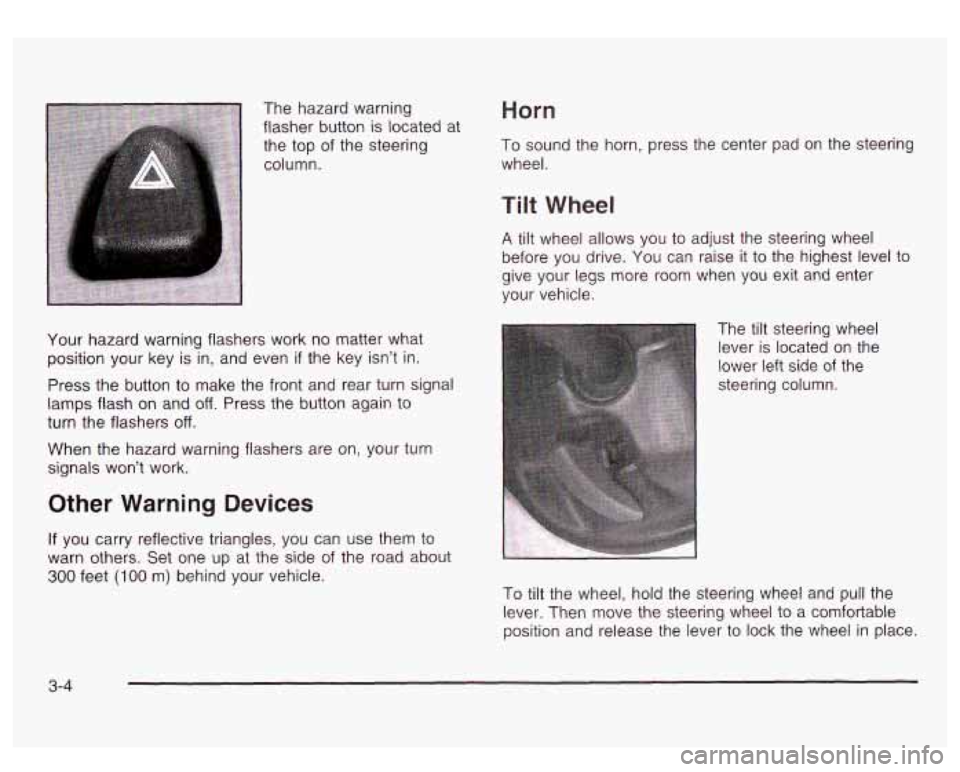
The hazard warning
flasher button is located at
the top
of the steering
column.
Horn
To sound the horn, press the center pad on the steerin?
wheel.
Your hazard warning flashers work no matter what
position your key is in, and even
if the key isn’t in.
Press the button to make the front and rear turn signal
lamps flash on and
off. Press the button again to
turn the flashers
off.
When the hazard warning flashers are on, your turn
signals won’t work.
Other Warning Devices
If you carry reflective triangles, you can use them to
warn others. Set one up at the side
of the road about
300 feet (100 m) behind your vehicle.
Tilt Wheel
A tilt wheel allows you to adjust the steering wheel
before you drive. You can raise
it to the highest level to
give your legs more room when you exit and enter
your vehicle.
The tilt steering wheel
lever is located on the
lower left side
of the
steering column.
To tilt the wheel, hold the steering wheel and pull the
lever. Then move the steering wheel to a comfortable
position and release the lever to lock the wheel in place.
3-4
Page 138 of 428

Daytime Running Lamps
Daytime Running Lamps (DRL) can make it easier for
others to see the front of your vehicle during the
day. DRL can be helpful
in many different driving
conditions, but they can be especially helpful in the short
periods after dawn and before sunset. Fully functional
daytime running lamps are required on all vehicles
first sold in Canada.
The DRL system will come on when the following
conditions are met:
The ignition is on,
0 the exterior lamp control is in AUTO
0 the automatic transmission is not in PARK (P), and
0 the light sensor determines it is daytime.
When the
DRL are on, only your DRL lamps will be on.
The taillamps, sidemarker and other lamps won’t be
on. The instrument panel won’t be lit up either. When
it begins to
get dark, the automatic headlamp
system will switch from DRL to the headlamps or the last
chosen headlamp setting that was used.
W-hen you turn the exterior iamp controi
to off, the
headlamps will go off, and your DRL lamps will
illuminate, provided it is not dark outside.
Shifting the transmission into PARK
(P) will allow you to
idle the vehicle with the DRL off. The DRL will stay
off until you release the parking brake or shift the
transmission out of PARK (P).
Puddle Lamps
Your vehicle is equipped with puddle lamps to help you
see the area near the base
of the front doors when it
is dark out. The puddle lamps will illuminate when a door
is opened or when you press the UNLOCK button on
the keyless entry transmitter.
3-1 3
Page 139 of 428

Fog Lamps
You can use your vehicle’s fog lamps for better vision in
foggy or misty conditions.
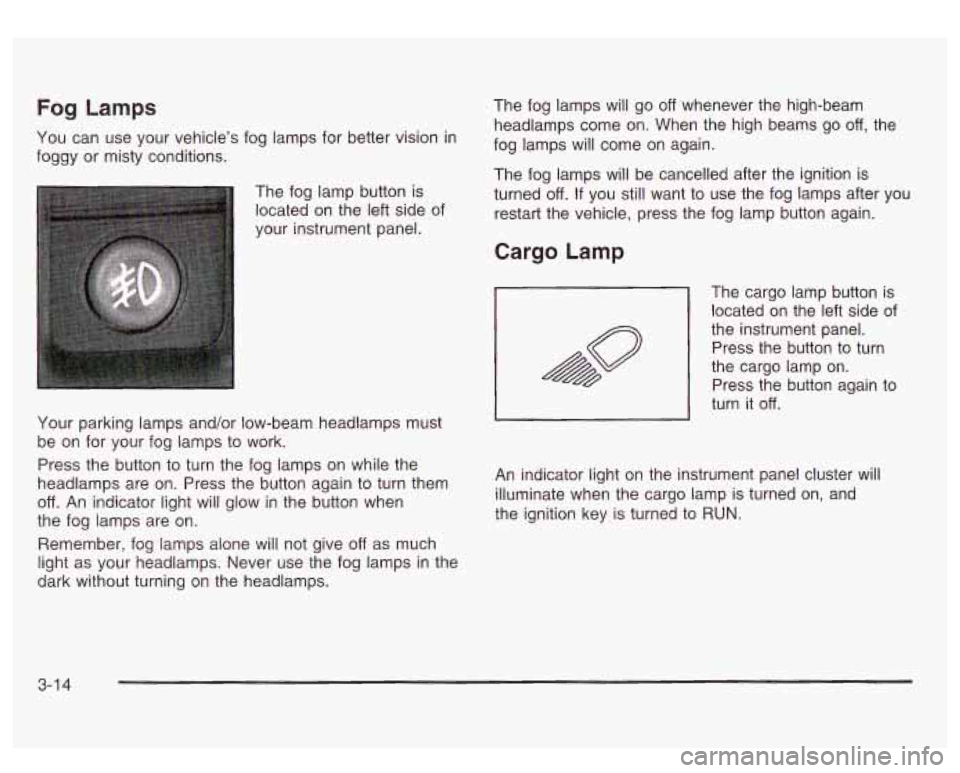
The fog lamp button is
located on the left side of
your instrument panel.
Your parking lamps and/or low-beam headlamps must
be on for your fog lamps to work.
Press the button to turn the fog lamps on while the
headlamps are on. Press the button again to turn them
off. An indicator light will glow in the button when
the fog lamps are on.
Remember, fog lamps alone will not give
off as much
light as your headlamps. Never use the fog lamps in the
dark without turning on the headlamps. The
fog lamps will go
off whenever the high-beam
headlamps come on. When the high beams go
off, the
fog lamps will come on again.
The fog lamps will be cancelled after the ignition is
turned
off. If you still want to use the fog lamps after you
restart the vehicle, press the fog lamp button again.
Cargo Lamp
The cargo lamp button is
located on the left side of
the instrument panel.
~ Press the button to turn
the cargo lamp on.
Press the button again to
turn it
off.
An indicator light on the instrument panel cluster will
illuminate when the cargo lamp is turned on, and
the ignition key is turned to RUN.
3-1 4
Page 140 of 428

Front Reading Lamps Interior Lamps
Instrument Panel Brightness Control
-g-: This feature controls the brightness of the
instrument panel lights.
The thumbwheel for this feature is located next
to the
exterior lamp control.
Turn the thumbwheel up to adjust the instrument panel
lights and return the radio display to full brightness
when the headlamps or parking lamps are on. To turn
on the dome lamps, with the vehicle doors closed,
turn the thumbwheel all the way up.
Exit Lighting
With exit lighting, the interior lamps will come on when
you remove the key from the ignition. The lamps
will not come on
if the dome override button is pressed
in.
Entry Lighting
Your vehicle is equipped with an illuminated entry
feature.
When a door is opened, the dome lamps and puddle
lamps will come on
if the dome override button is in the
out position. If the dome override button is pressed
in, the lamps will not come on. Your
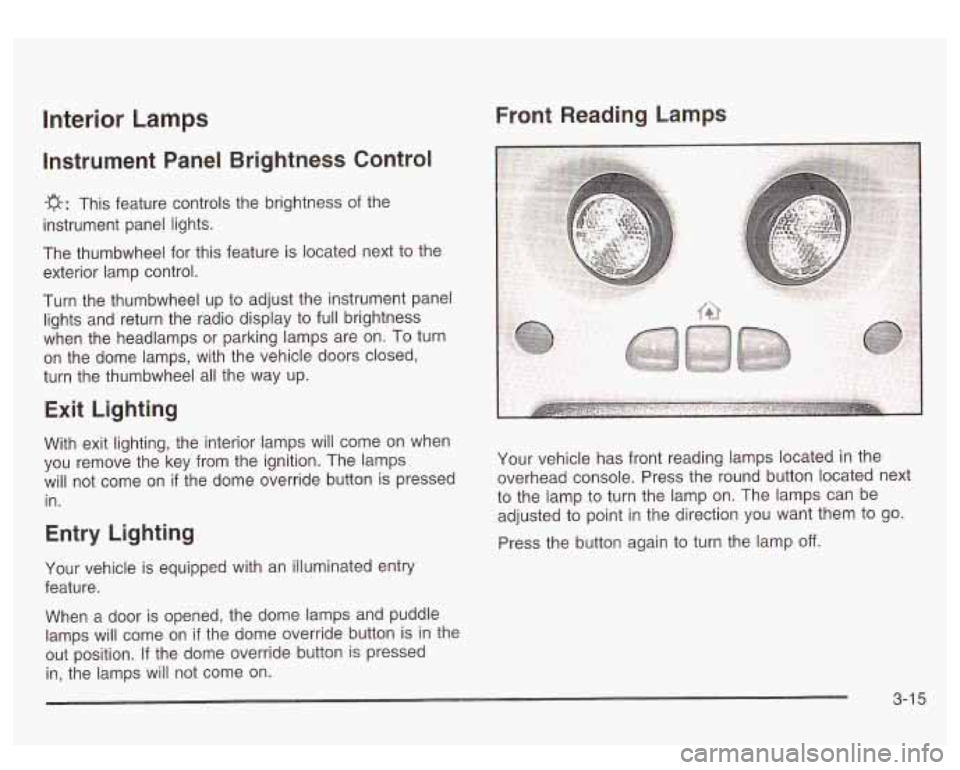
vehicle has front reading lamps located in the
overhead console. Press the round button located next
to the lamp to turn the lamp on. The lamps can be
adjusted to point in the direction you want them to go.
Press the button again to turn the lamp
off.
3-1 5
Page 143 of 428

Climate Controls
Dual Automatic Climate Control
System
Your vehicle may have the optional dual automatic
climate control system. With this system you can control
the heating, cooling and ventilation for your vehicle.
If your vehicle is equipped with the dual automatic
climate control system, memory seats, and memory
mirrors, you can store and recall the climate control
settings for temperature, air delivery mode, and
fan speed for two different drivers. The personal choice
settings recalled are determined by the transmitter
used to enter the vehicle. After the button with the
unlock symbol on a remote keyless entry transmitter
is pressed, the climate control will adjust to the last
settings of the identified driver. The settings can also be
changed by pressing one of the memory buttons
(1 or 2) located on the driver’s door. When adjustments
are made, the new settings are automatically saved
for that driver.
A 8fj? v (Fan): Press this button to increase or
decrease the fan speed.
0 (Off): Press this button to turn off the entire climate
control system. Outside air will still enter the vehicle, and
will be directed to the floor. This direction can be changed
by pressing the mode button. The temperature can also
be adjusted using either temperature knob. Press the up
or down arrows on the fan switch, the defrost button, the
AUTO button, or the air conditioning button to turn the
system on when it is
off.
,% 4d (Mode): Press this button to manually select the air
delivery mode to the floor, panel, or windshield outlets.
This system will stay in the selected mode until the mode
button is pressed again, or the AUTO button, defrost
button, or the off button is pressed. Air delivery mode can
be adjusted while the system is off. A five second status
display will indicate the current mode.
3-1 8