2003 GMC SIERRA DENALI buttons
[x] Cancel search: buttonsPage 190 of 428
4 SCAN b : Press and hold one of the arrows for
more than two seconds. The radio will produce
one beep. The radio will scan to a station, play for a few
seconds, then go on to the next station. SCAN will be
displayed. Press one of the arrows again to stop
scanning.
The radio will scan only to stations that are in the
selected band and only to those with a strong signal.
To scan preset stations, press and hold one
of the
arrows for more than four seconds. The radio will
produce two beeps. The radio will scan to the first preset
station, play for a few seconds, then go on to the next
preset station. PSCN will be displayed. Press one of the
arrows again or one of the pushbuttons to stop
scanning.
The radio will scan only to preset stations that are in the
selected band and only to those with a strong signal.
Setting Preset Stations
The six numbered pushbuttons let you return to your
favorite stations. You can set up to
30 stations (six AM,
six FMl and six FM2, six XMI and six XM2 (USA
only,
if your radio is equipped with the XM Satellite
Radio Service) or six DAB1 and six DAB2 (Canada only,
if your radio is equipped with DAB), by performing the
following steps:
1.
2.
3.
4.
5.
6.
Turn the radio on.
Press BAND to select AM, FM1 or FM2, or XMl.
XM2, or DAB1, DAB2.
Tune
in the desired station.
Press AUTO
EQ to select the equalization that best
suits the type of station you are listening to.
Press and hold one of the six numbered
pushbuttons. The radio will produce one beep.
Whenever you press that numbered pushbutton, the
station you set will return and the bass and treble
equalization that you selected will also be
automatically selected for that pushbutton.
Repeat the steps for each pushbutton.
3-65
Page 192 of 428
Finding a PTY Station
(RDS,
XMTM and DAB)
To select and find a desired PTY perform the following:
1. Turn the P-TYPE LIST knob. TYPE and a PTY
will appear on the display.
2. Select a category by turning the P-TYPE LIST knob.
3. Once the desired category is displayed, press the
SEEK TYPE button or one of the SEEK arrows to
take you
to the category’s first station.
category and the category is displayed, press the
SEEK TYPE button once. If the category is not
displayed, press the SEEK TYPE button twice to
display the category and then to go to another
station.
4. If you want to go to another station within that
If the radio cannot find the desired program type, NONE
will appear on the display and the radio will return to
the last station you were listening to.
SCAN: You can also scan through the channels within
a category by performing the following:
1. Turn the P-TYPE LIST knob. TYPE and a PTY will
2. Select a category by turning the P-TYPE LIST knob.
appear on the display.
3. Once the desired category
is displayed, press either
SCAN arrow, and the radio will begin scanning
within your chosen category.
4. Press wither SCAN arrow again to stop scanning.
BAND (Alternate Frequency): Alternate frequency
allows the radio to switch to a stronger station with the
same program type. Press and hold BAND for two
seconds to turn alternate frequency on. AF ON will
appear on the display. The radio may switch to stronger
stations. Press and hold BAND again for two seconds to
turn alternate frequency
off. AF OFF will appear on the
display. The radio will not switch to other stations.
This function does not apply for
XMTM or DAB.
Setting Preset PTYs (RDS Only)
The six numbered pushbuttons let you return to your
favorite PTYs. These buttons have factory PTY presets.
You can set up to
12 PTYs (six FMI and six FM2) by
performing the following steps:
1. Press BAND to select FMI or FM2.
2. Turn the P-TYPE LIST knob. TYPE and a PTY will
3. Turn the P-TYPE LIST knob to select a PTY.
4. Press and hold one of the six numbered pushbuttons
until you hear a beep. Whenever you press that
numbered pushbutton, the PTY you set will return.
appear
on the display.
5. Repeat the steps for each pushbutton.
3-67
Page 202 of 428
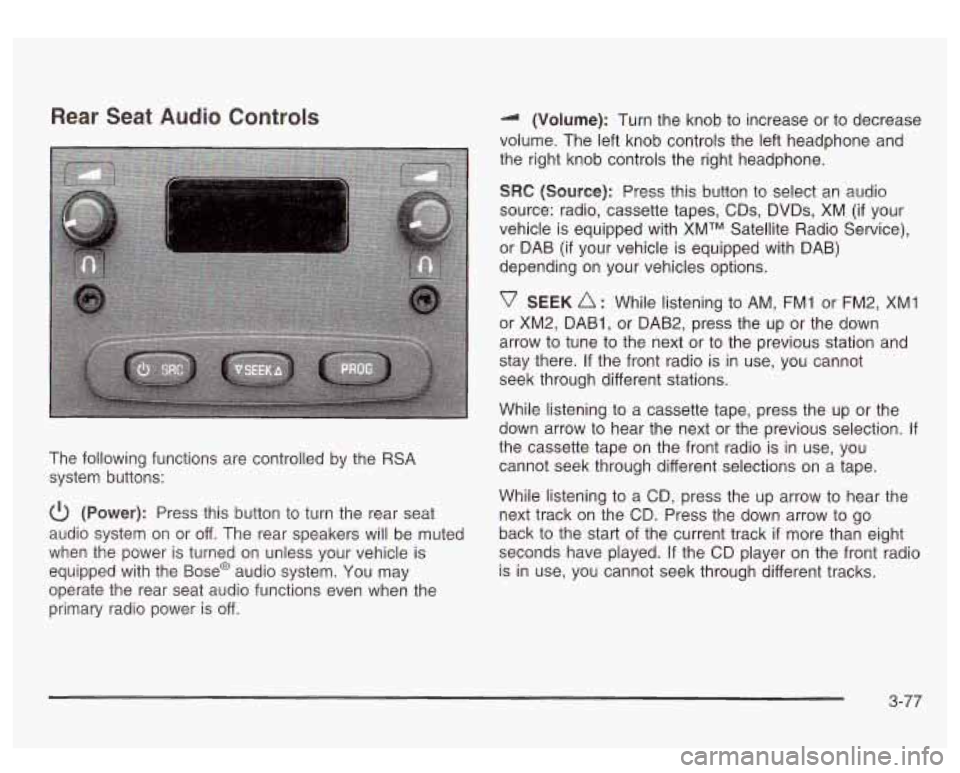
Rear Seat Audio Controls
The following functions are controlled by the RSA
system buttons:
(Power): Press this button to turn the rear seat
audio system on or off. The rear speakers will be muted
when the power is turned on unless your vehicle is
equipped with the
Base@ audio system. You may
operate the rear seat audio functions even when the
primary radio power is off. (Volume): Turn
the knob to increase or to decrease
volume. The left knob controls the left headphone and
the right knob controls the right headphone.
SRC (Source): Press this button to select an audio
source: radio, cassette tapes, CDs, DVDs, XM
(if your
vehicle is equipped with XMTM Satellite Radio Service),
or DAB (if your vehicle is equipped with DAB)
depending on your vehicles options.
v SEEK A : While listening to AM, FM1 or FM2, XMI
or XM2, DAB1, or DAB2, press the up or the down
arrow to tune to the next or to the previous station and
stay there.
If the front radio is in use, you cannot
seek through different stations.
While listening to a cassette tape, press the up or the
down arrow to hear the next or the previous selection.
If
the cassette tape on the front radio is in use, you
cannot seek through different selections on a tape.
While listening to a CD, press the up arrow to hear the
next track
on the CD. Press the down arrow to go
back to the start of the current track
if more than eight
seconds have played.
If the CD player on the front radio
is in use, you cannot seek through different tracks.
3-77
Page 203 of 428
PROG (Program): The front passengers must be
listening to something different for each of these
functions to work:
Press this button to go to the preset radio stations
When a cassette tape is playing, press this button
When a CD is playing in the radio, press this button
set
on the pushbuttons on the main radio.
to go to the other side
of the tape.
to go back to the beginning of the CD.
When a CD is playing in the CD changer, press this
button to select a disc.
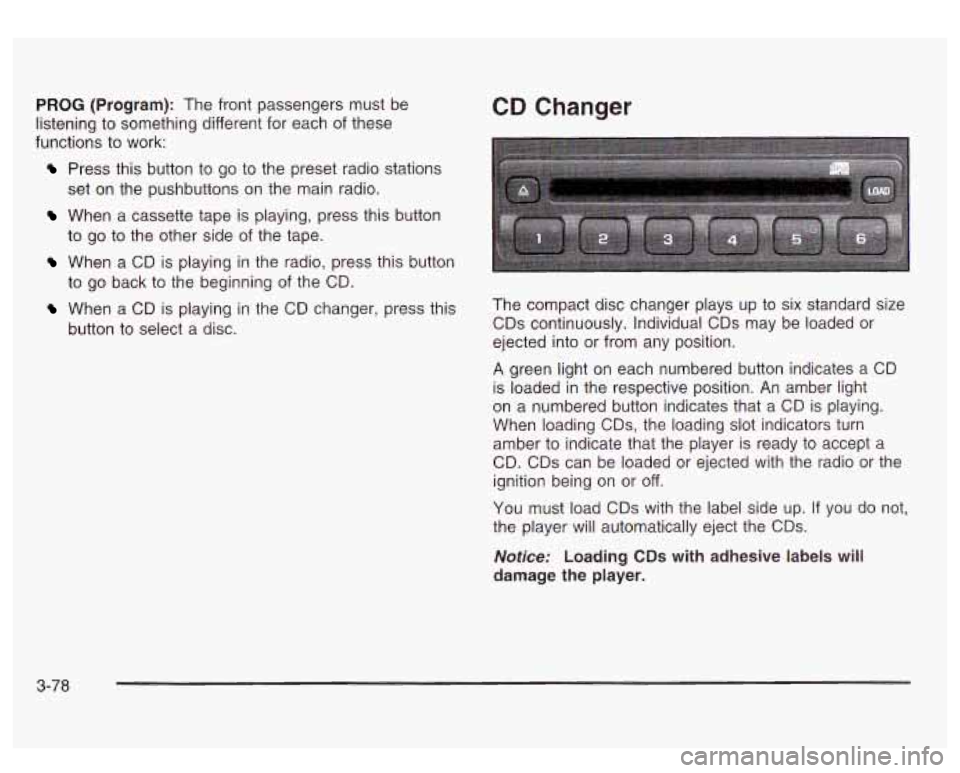
CD Changer
The compact disc changer plays up to six standard size
CDs continuously. Individual CDs may be loaded or
ejected into or from any position.
A green light on each numbered button indicates a CD
is loaded in the respective position. An amber light
on a numbered button indicates that a CD is playing.
When loading
CDs, the loading slot indicators turn
amber to indicate that the player is ready to accept a
CD. CDs can be loaded or ejected with the radio or the
ignition being on or
off.
You must load CDs with the label side up. If you do not,
the player will automatically eject the CDs.
Notice: Loading CDs with adhesive labels will
damage the player.
3-78
Page 204 of 428
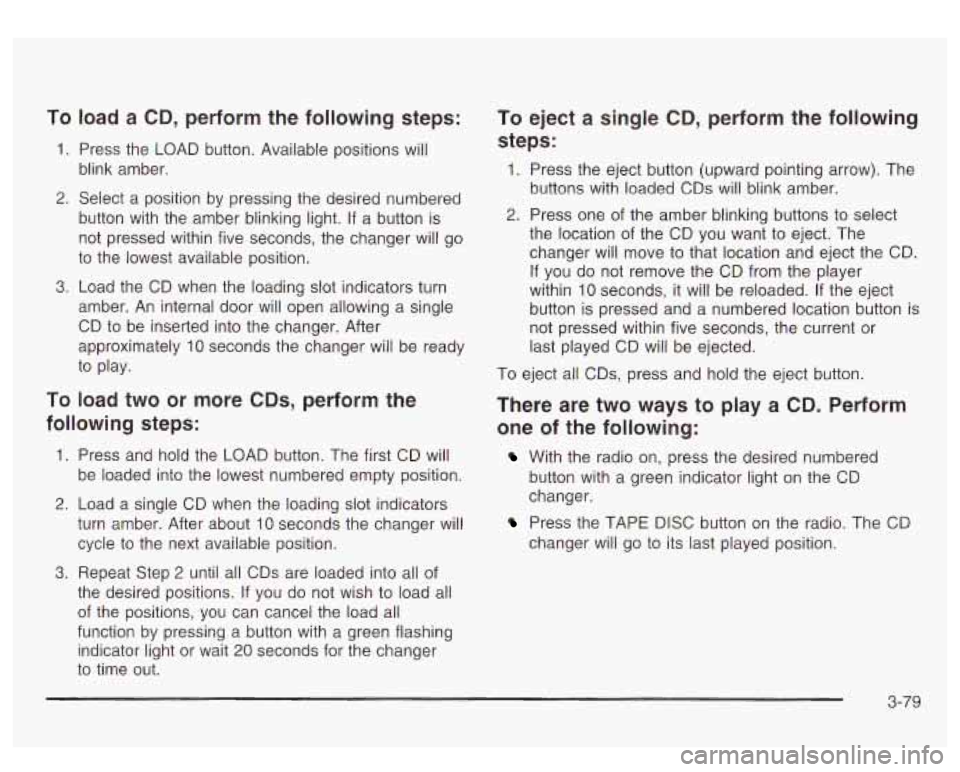
To load a CD, perform the following steps:
1. Press the LOAD button. Available positions will
blink amber.
2. Select a position by pressing the desired numbered
button with the amber blinking light. If a button is
not pressed within five seconds, the changer will go
to the lowest available position.
amber. An internal door will open allowing a single
CD to be inserted into the changer. After
approximately
10 seconds the changer will be ready
to play.
3. Load the CD when the loading slot indicators turn
To load two or more CDs, perform the
following steps:
1. Press and hold the LOAD button. The first CD will
be loaded into the lowest numbered empty position.
2. Load a single CD when the loading slot indicators
turn amber. After about
10 seconds the changer will
cycle to the next available position.
the desired positions. If you do not wish to load all
of the positions, you can cancel the load all
function by pressing a button with a green flashing
indicator light or wait
20 seconds for the changer
to time out.
3. Repeat Step 2 until all CDs are loaded into all of
To eject a single CD, perform the following
steps:
1. Press the eject button (upward pointing arrow). The
buttons with loaded CDs will blink amber.
2. Press one of the amber blinking buttons to select
the location of the CD you want to eject. The
changer will move to that location and eject the CD.
If you do not remove the CD from the player
within
10 seconds, it will be reloaded. If the eject
button is pressed and a numbered location button is
not pressed within five seconds, the current or last played CD will be ejected.
To eject all CDs, press and hold the eject button.
There are two ways to play a CD. Perform
one of the following:
With the radio on, press the desired numbered
button with a green indicator light on the CD
changer.
changer will go to its last played position.
Press the TAPE DISC button on the radio. The CD
9-79
Page 206 of 428
Theft-Deterrent Feature
THEFTLOCK@ is designed to discourage theft of your
radio. The feature works automatically by learning
a portion of the Vehicle Identification Number (VIN).
If
the radio is moved to a different vehicle, it will not
operate and LOCKED will be displayed.
When the radio and vehicle are turned
off, the blinking
red light indicates that THEFTLOCK@ is armed.
With THEFTLOCK@ activated, your radio will not operate
if stolen.
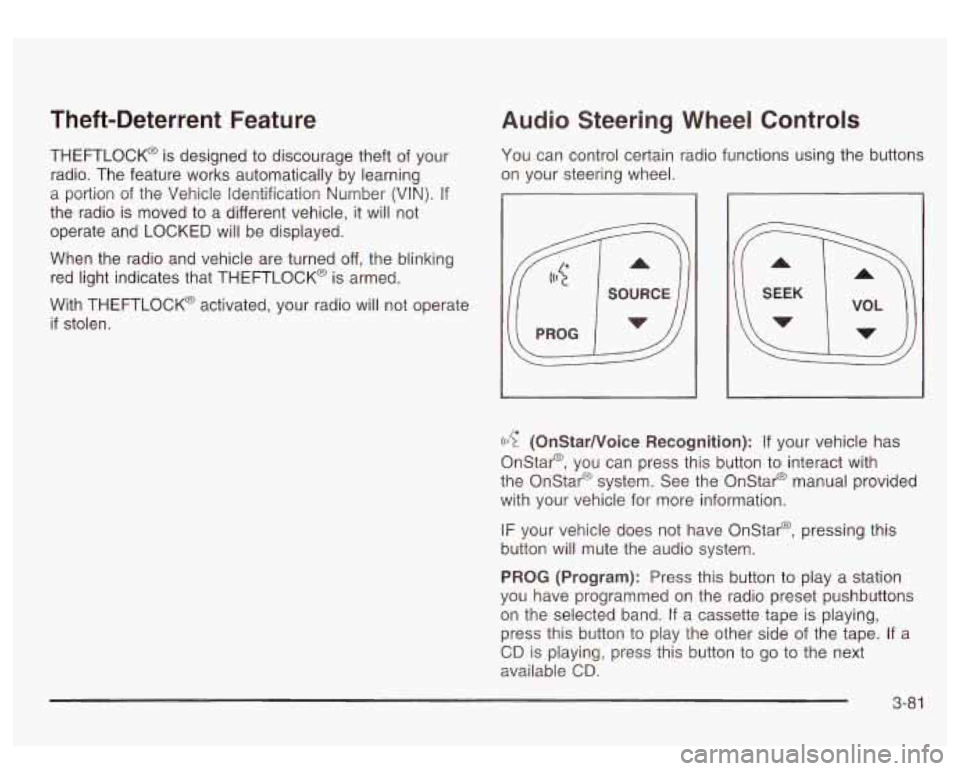
Audio Steering Wheel Controls
You can control certain radio functions using the buttons
on your steering wheel.
((17 (OnStarNoice Recognition): If your vehicle has
Onstar@, you can press this button to interact with
the Onstar@ system. See the Onstar@ manual provided
with your vehicle for more information.
IF your vehicle does not have Onstar@, pressing this
button will mute the audio system.
PROG (Program): Press this button to play a station
you have programmed on the radio preset pushbuttons
on the selected band.
If a cassette tape is playing,
press this button to play the other side of the tape. If a
CD is playing, press this button to go to the next
available
CD.
3-8 1
Page 414 of 428
Driving Through Flowing Water ..................... 4-32
Driving with a Trailer
....................................... 4-56
Dual Automatic Climate Control System
.......... 3-18
E
Easy Exit Seat .................... .... 2-43
Electrical System
Add-on Equipment
...................................... 5-95
Fuses and Circuit Breakers
........................... 5-95
Power Windows and Other Power Options
...... 5-95
Windshield Wiper Fuses
............................... 5-95
Electrochromic Mirror Operation
........................ 2-28
Maintenance Programs
................................. 3-40
Air CleanedFilter
......................................... 5-1 9
Battery
....................................................... 5-42
Check and Service Engine Soon Light
............ 3-38
Coolant
...................................................... 5-24
Coolant Heater
............................................ 2-17
Coolant Temperature Gage
........................ 3-36
Cooling System Inspection
......................... 6-14
Engine Compartment Overview
...................... 5-1 2
Exhaust
..................................................... 2-26
Fan Noise
.................................................. 5-36
Oil
............................................................. 5-13
Overheating
................................................ 5-27
Starting
...................................................... 2-1 6
Emissions
Inspection and
Engine ENGINE COOLANT HOT
................................. 3-54
Engine Coolant Level Check
............................. 6-10
Engine Hour Meter Display
............................... 3-26
Engine
Oil and Chassis Lubrication Scheduled
Engine
Oil Additives
........................................ 5-17
Engine Oil Level Check
................................... 6-10
Entry Lighting
......................... ............. 3-15
Maintenance
................................................. 6-5
ENGINE OVERHEATED
.................................. 3-54
Erasing HomeLink@ Buttons
...... ......... 2-38
Exit Lighting
............................... ............. 3-15
Express-Down Windows
................................... 2-11
Extender, Safety Belt
....................................... 1-29
Exterior Lamps
............................................... 3-11
F
FabridCarpet ................................................. 5-87
Engine Air Cleaner
...................................... 5-19
Filter
Finding
a PTY Station
(RDS, XMTM and DAB)
................................. 3-67
Finding a Station
............................................ 3-64
Finish Care
.................................................... 5-89
Finish Damage
............................................... 5-91
Fixed Mast Antenna
........................................ 3-84
Flash-To-Pass Feature
....................................... 3-6
Flat Tire
........................................................ 5-68
Flat Tire, Changing
......................................... 5-69