Page 17 of 240
5.Power/volume:Press to turn
ON/OFF; turn to increase or
decrease volume levels.
6.Tone:Press TONE until the
desired level—Bass, Treble, Fade
appears on the display. Turn the
volume control to raise/lower the
levels, or to move the audio sound
from the right to left or the front to
back (if equipped).
7.CLK (Clock):To set the hour,
press and hold CLK until CLOCK
SET appears in the display. Press
SEEK to decrease
or
increase
the hours.
To set the minute, press and hold CLK until CLOCK SET appears in the
display. Press TUNE to decrease
or increasethe minutes.
VOL
PUSH
ON
TONE
CLK
VOL
PUSH
ON
TONE
CLK
Entertainment Systems
17
Page 22 of 240
8.Auto:Press to set first six
strongest stations (if available) into
AM, FM1 or FM2 memory buttons;
press again to return to normal
stations.
9.Clock:Press and hold to set the
clock. Press the
SEEK to
decrease hours or SEEK
to
increase hours. Press the
TUNE
to decrease minutes or TUNE
to
increase minutes. If your vehicle has a stand alone clock this control will
not function.
10.Balance:Press BAL; then press
SEL
/to shift sound to the
left/right speakers.
Fade:Press FADE; then press
SEL
/to shift sound to the
rear/front speakers.
11.Memory preset buttons:To
set a station: Select frequency band
AM/FM, tune to a station, press and
hold a preset button until sound returns.
12.Shuffle (CD):Press to play
tracks in random order.
13.Compression (CD):Press to
bring soft and loud passages
together for a more consistent
listening level.
Entertainment Systems
22
Page 25 of 240

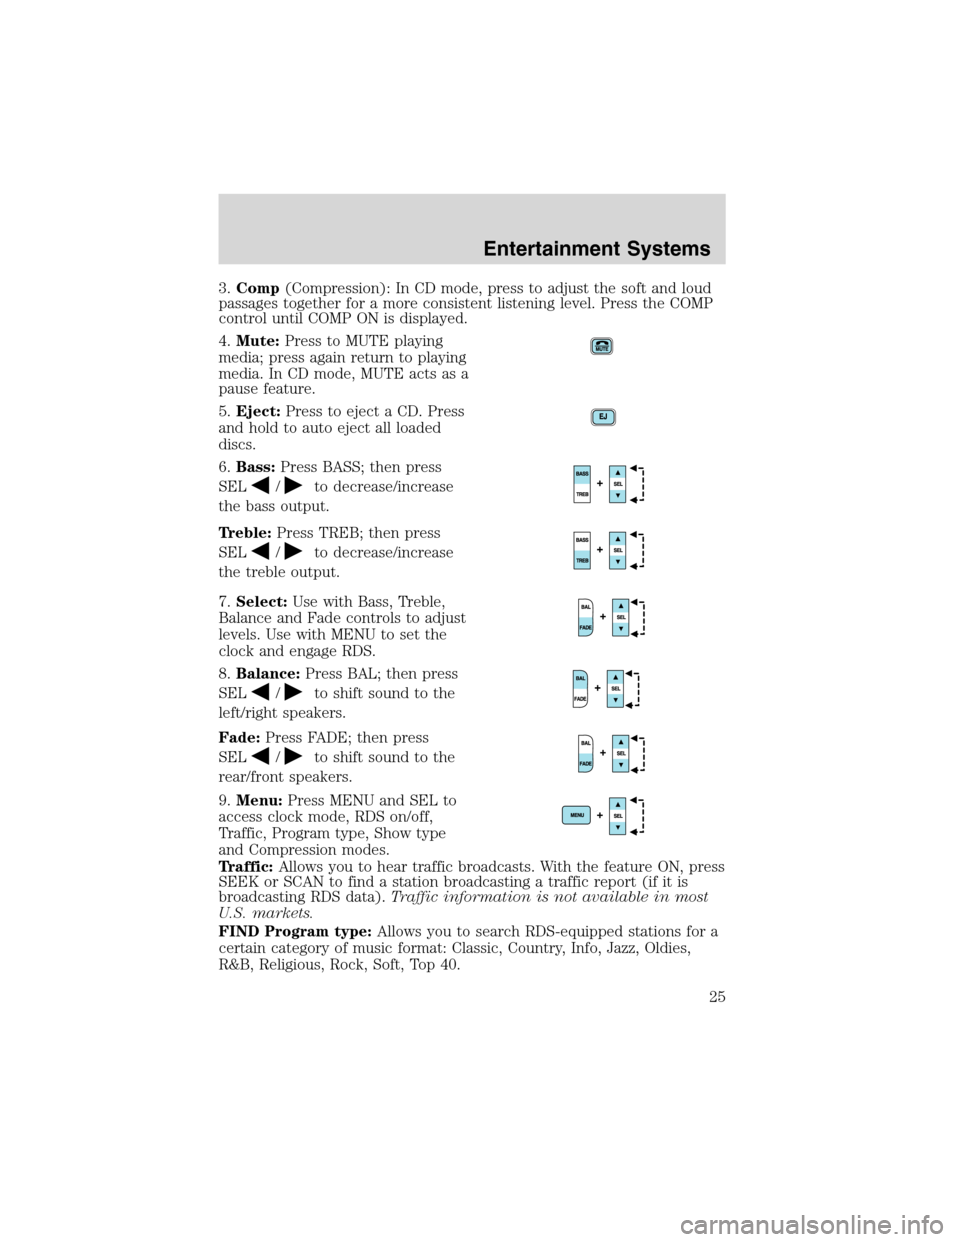
3.Comp(Compression): In CD mode, press to adjust the soft and loud
passages together for a more consistent listening level. Press the COMP
control until COMP ON is displayed.
4.Mute:Press to MUTE playing
media; press again return to playing
media. In CD mode, MUTE acts as a
pause feature.
5.Eject:Press to eject a CD. Press
and hold to auto eject all loaded
discs.
6.Bass:Press BASS; then press
SEL
/to decrease/increase
the bass output.
Treble:Press TREB; then press
SEL
/to decrease/increase
the treble output.
7.Select:Use with Bass, Treble,
Balance and Fade controls to adjust
levels. Use with MENU to set the
clock and engage RDS.
8.Balance:Press BAL; then press
SEL
/to shift sound to the
left/right speakers.
Fade:Press FADE; then press
SEL
/to shift sound to the
rear/front speakers.
9.Menu:Press MENU and SEL to
access clock mode, RDS on/off,
Traffic, Program type, Show type
and Compression modes.
Traffic:Allows you to hear traffic broadcasts. With the feature ON, press
SEEK or SCAN to find a station broadcasting a traffic report (if it is
broadcasting RDS data).Traffic information is not available in most
U.S. markets.
FIND Program type:Allows you to search RDS-equipped stations for a
certain category of music format: Classic, Country, Info, Jazz, Oldies,
R&B, Religious, Rock, Soft, Top 40.
Entertainment Systems
25
Page 26 of 240

Show TYPE:Displays the station’s format (i.e., Jazz, Classic, Country,
Info, Oldies, R&B, Religious, Rock, Soft and Top 40).
Show NAME:Displays station’s call letters.
Show NONE:Nothing appears in the display.
Compression:Brings soft and loud CD passages together for a more
consistent listening level.
Setting the clock:Press MENU until SELECT HOUR or SELECT
MINUTE is displayed. Use SEL to manually increase (
) or decrease
(
) the hours/minutes. Press MENU again to disengage clock mode.
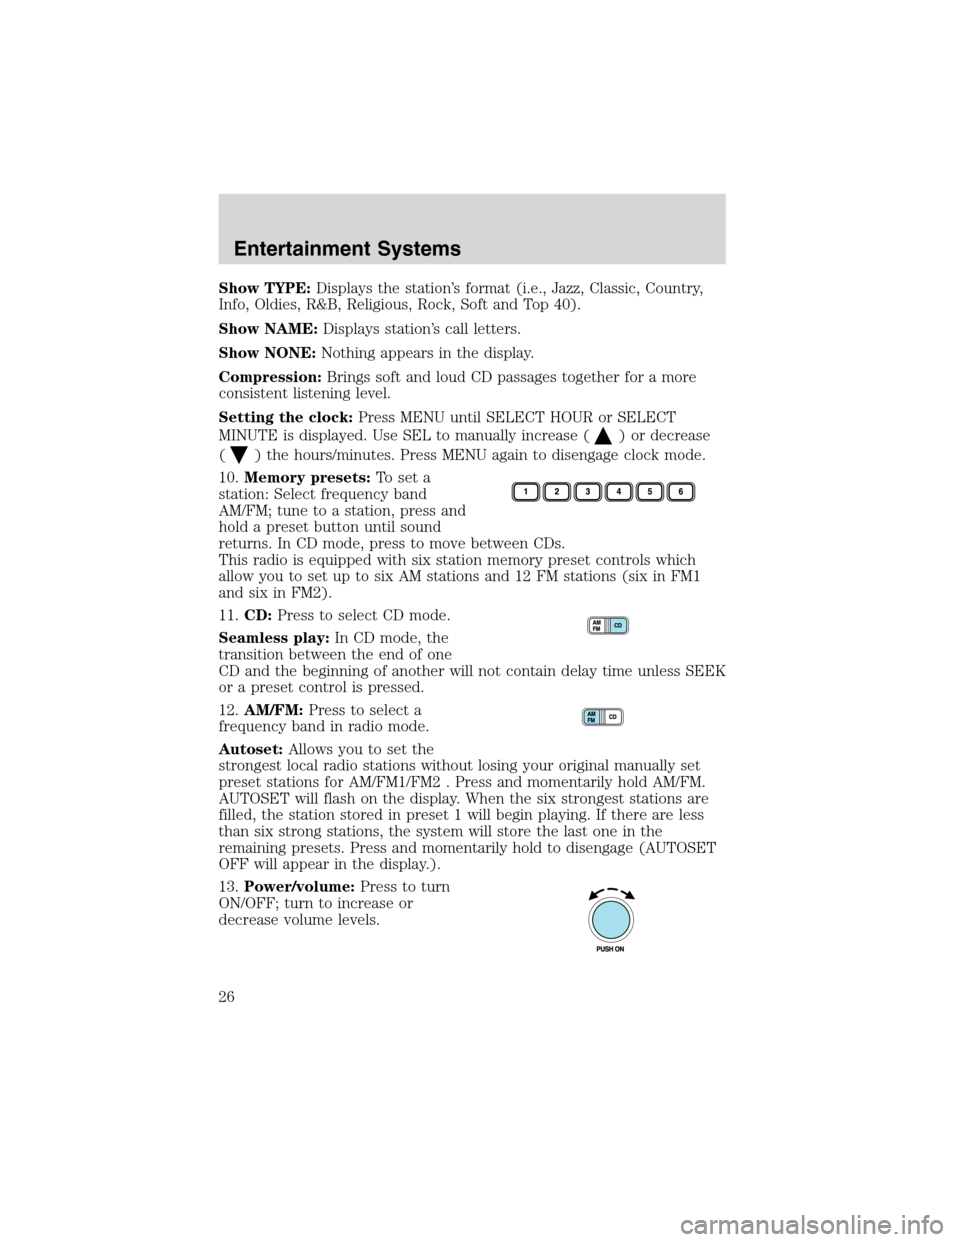
10.Memory presets:To set a
station: Select frequency band
AM/FM; tune to a station, press and
hold a preset button until sound
returns. In CD mode, press to move between CDs.
This radio is equipped with six station memory preset controls which
allow you to set up to six AM stations and 12 FM stations (six in FM1
and six in FM2).
11.CD:Press to select CD mode.
Seamless play:In CD mode, the
transition between the end of one
CD and the beginning of another will not contain delay time unless SEEK
or a preset control is pressed.
12.AM/FM:Press to select a
frequency band in radio mode.
Autoset:Allows you to set the
strongest local radio stations without losing your original manually set
preset stations for AM/FM1/FM2 . Press and momentarily hold AM/FM.
AUTOSET will flash on the display. When the six strongest stations are
filled, the station stored in preset 1 will begin playing. If there are less
than six strong stations, the system will store the last one in the
remaining presets. Press and momentarily hold to disengage (AUTOSET
OFF will appear in the display.).
13.Power/volume:Press to turn
ON/OFF; turn to increase or
decrease volume levels.
Entertainment Systems
26
Page 35 of 240

HEADLAMP CONTROL
Turns the lamps off.
Turns on the parking
lamps, instrument panel lamps,
license plate lamps and tail lamps.
Turns the headlamps on.
Autolamp control (if equipped)
The autolamp system provides light
sensitive automatic on-off control of
the exterior lights normally
controlled by the headlamp control.
The autolamp system also keeps the
lights on for a fixed period of time
after the ignition switch is turned to
OFF.
•To turn autolamps on, rotate the
control counterclockwise.
•To turn autolamps off, rotate the control clockwise to OFF.
Daytime running lamps (DRL) (if equipped)
Turns the lowbeam headlamps on with a reduced output. To activate:
•the key must be in the ON position,
•the headlamp control is in the OFF, parking lamps or autolamp
position.
Always remember to turn on your headlamps at dusk or during
inclement weather. The Daytime Running Light (DRL) System
does not activate your tail lamps and generally may not provide
adequate lighting during these conditions. Failure to activate your
headlamps under these conditions may result in a collision.
AUTO
Lights
35
Page 38 of 240

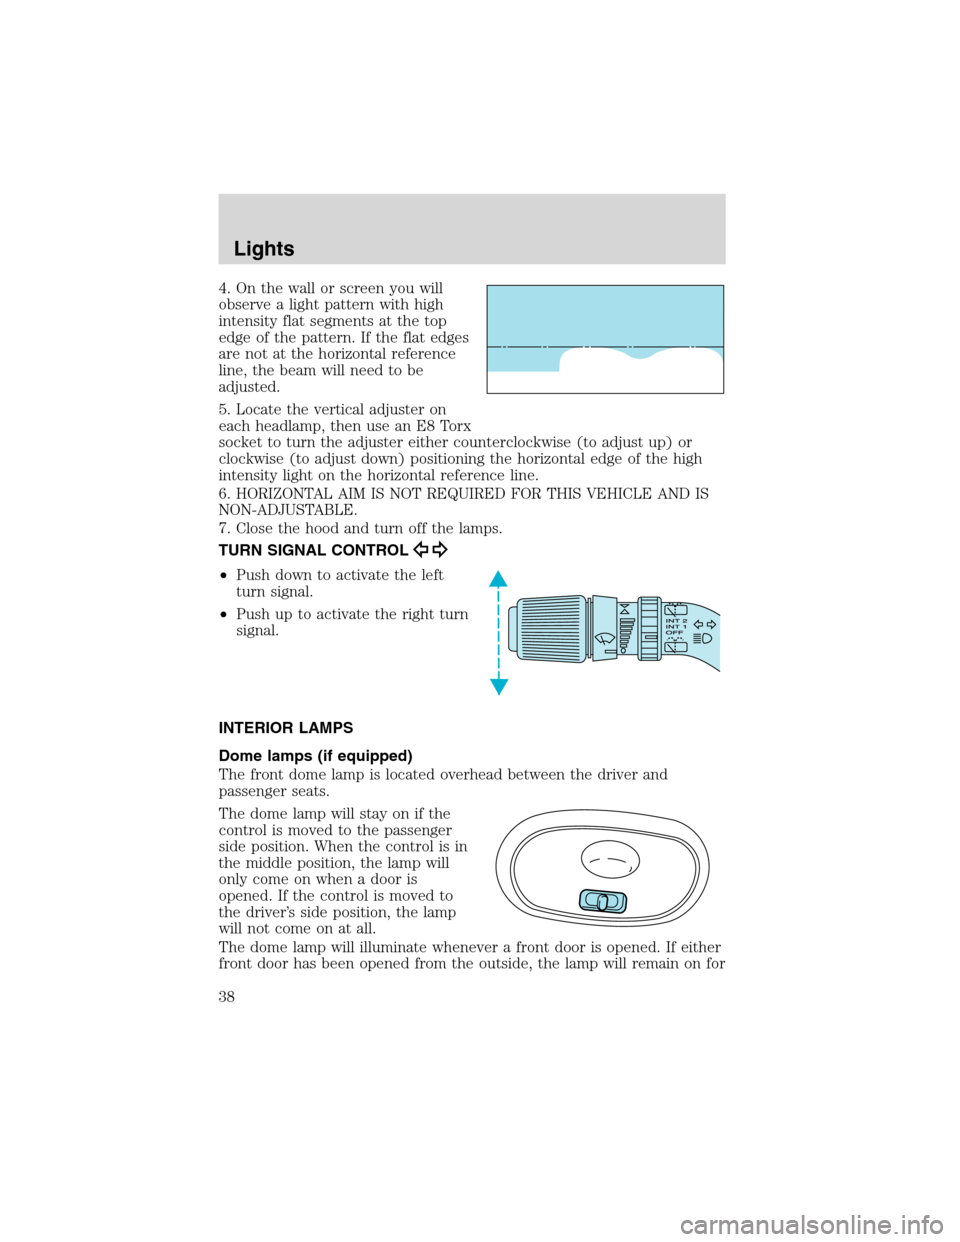
4. On the wall or screen you will
observe a light pattern with high
intensity flat segments at the top
edge of the pattern. If the flat edges
are not at the horizontal reference
line, the beam will need to be
adjusted.
5. Locate the vertical adjuster on
each headlamp, then use an E8 Torx
socket to turn the adjuster either counterclockwise (to adjust up) or
clockwise (to adjust down) positioning the horizontal edge of the high
intensity light on the horizontal reference line.
6. HORIZONTAL AIM IS NOT REQUIRED FOR THIS VEHICLE AND IS
NON-ADJUSTABLE.
7. Close the hood and turn off the lamps.
TURN SIGNAL CONTROL
•Push down to activate the left
turn signal.
•Push up to activate the right turn
signal.
INTERIOR LAMPS
Dome lamps (if equipped)
The front dome lamp is located overhead between the driver and
passenger seats.
The dome lamp will stay on if the
control is moved to the passenger
side position. When the control is in
the middle position, the lamp will
only come on when a door is
opened. If the control is moved to
the driver’s side position, the lamp
will not come on at all.
The dome lamp will illuminate whenever a front door is opened. If either
front door has been opened from the outside, the lamp will remain on for
Lights
38
Page 41 of 240
2. Pull the two retainer pins up to
release the headlamp assembly and
pull headlamp assembly forward to
expose the back of the bulb.
3. Disconnect the electrical
connector from the bulb by pulling
rearward and remove the retaining
ring by rotating it counterclockwise,
then slide it off the plastic base.
4. Pull the bulb straight out of the
lamp assembly.
Handle a halogen headlamp bulb carefully and keep out of
children’s reach. Grasp the bulb only by its plastic base and do
not touch the glass. The oil from your hand could cause the bulb to
break the next time the headlamps are operated.
Install the new bulb in reverse order.
Lights
41
Page 42 of 240
Replacing front parking/turn signal bulbs
1. Make sure the headlamp switch is
in the OFF position and open the
hood.
2. Pull the two headlamp retainer
pins up to release the headlamp
assembly, then pull the headlamp
assembly forward to expose the bulb
socket.
3. Remove bulb socket by turning it
counterclockwise, and pull the bulb
straight out of the socket.
Install the new bulb(s) in reverse order.
Replacing tail lamp/backup/turn lamp bulbs
1. Make sure the headlamp switch is
in the OFF position and open the
liftgate to expose the tail lamp
assembly, then remove the retaining
screws for the lamp assembly.
2. Carefully remove the lamp
assembly.
3. Rotate bulb socket
counterclockwise and remove from
lamp assembly.
4. Pull bulb straight out of socket and push in new bulb.
Install the new bulb(s) in reverse order.
Lights
42