Page 43 of 240
Replacing license plate lamp bulbs
1. Make sure the headlamp is in the
OFF position and remove two
screws and the license plate lamp
assembly from the liftgate.
2. Remove bulb socket by pulling it
straight out of the lamp assembly.
3. Carefully pull the bulb out from
the socket.
Install the new bulb(s) in reverse order.
Replacing high-mount brakelamp bulbs
1. Open liftgate and gently pry the
access cover off the liftgate trim
panel.
2. Rotate the bulb socket
counterclockwise and remove.
3. Carefully pull bulb straight out.
Install the new bulb(s) in reverse order.
Replacing cornering lamp bulbs (if equipped)
For bulb replacement, see a dealer or qualified technician.
Replacing auxiliary parking lamp bulbs (if equipped)
For bulb replacement, see a dealer or qualified technician.
Lights
43
Page 72 of 240

DIST TO EMPTY (DTE)
Selecting this function from the
INFO menu will give you an
estimate of how far you can drive
with the fuel remaining in your tank
under normal driving conditions.
Remember to turn the ignition OFF when refueling your vehicle.
Otherwise, the display will not show the addition of fuel for a few
kilometers (miles).
The DTE function will display LOW FUEL LEVEL and sound a tone for 1
second when you have low fuel level indicated on the fuel gauge.
TRIP ELAPSED DRIVE TIME
Select this function from the INFO menu to display your trip elapsed
drive time and will display and accumulate when the key is in the RUN
position.
1. Press the INFO control until the message center display shows the
TRIP ELAPSED TIME XXXX.
2. Hold the RESET control down for two seconds to clear display.
DISPLAY ON/OFF
Select this function from the INFO menu to turn your message center
display OFF or ON.
LIFTGATE
To unlock the liftgate, insert door
key into the lock and turn
clockwise. You can also unlock the
latch (but not release it) with the
power door lock system and remote
entry key fob.
To open the liftgate, squeeze the
liftgate handle.
•Do not open the liftgate in a
garage or other enclosed area
with a low ceiling. If the liftgate is opened, the liftgate could be
damaged against a low ceiling.
•Do not leave the liftgate open while driving. Doing so could cause
serious damage to the liftgate and its components as well as allowing
carbon monoxide to enter the vehicle.
Driver Controls
72
Page 162 of 240

Use of a temporary spare tire at any one wheel location can lead to
impairment of the following:
•handling, stability and braking performance
•comfort and noise
•ground clearance and parking at curbs
•Winter driving capability
Location of the spare tire and tools
The spare tire and tools for your vehicle are stowed in the following
locations:
Item Location
Spare tire Under the vehicle, just forward of
the rear bumper
Jack, wheel nut wrench, Behind the access panel located
on the right rear quarter panel
interior trim
Jack handle Attached to jack with clip
Removing the jack and tools
1. Locate the access panel on the interior trim. Rotate the two panel
retaining clips and remove the panel.
2. Remove the jack and lug nut wrench by turning the thumbscrew
counterclockwise.
Removing the spare tire
To remove the spare tire:
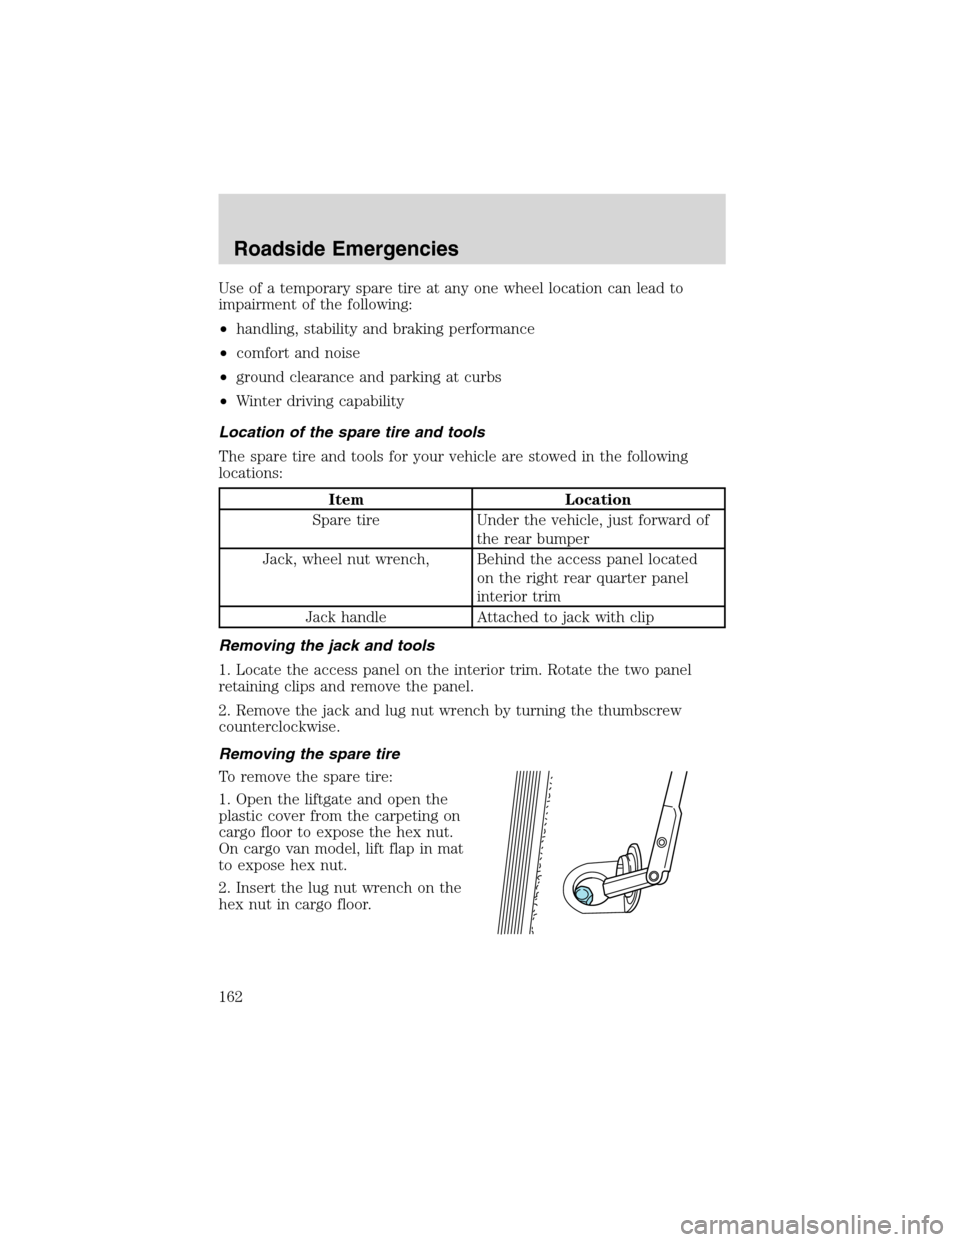
1. Open the liftgate and open the
plastic cover from the carpeting on
cargo floor to expose the hex nut.
On cargo van model, lift flap in mat
to expose hex nut.
2. Insert the lug nut wrench on the
hex nut in cargo floor.
Roadside Emergencies
162
Page 163 of 240

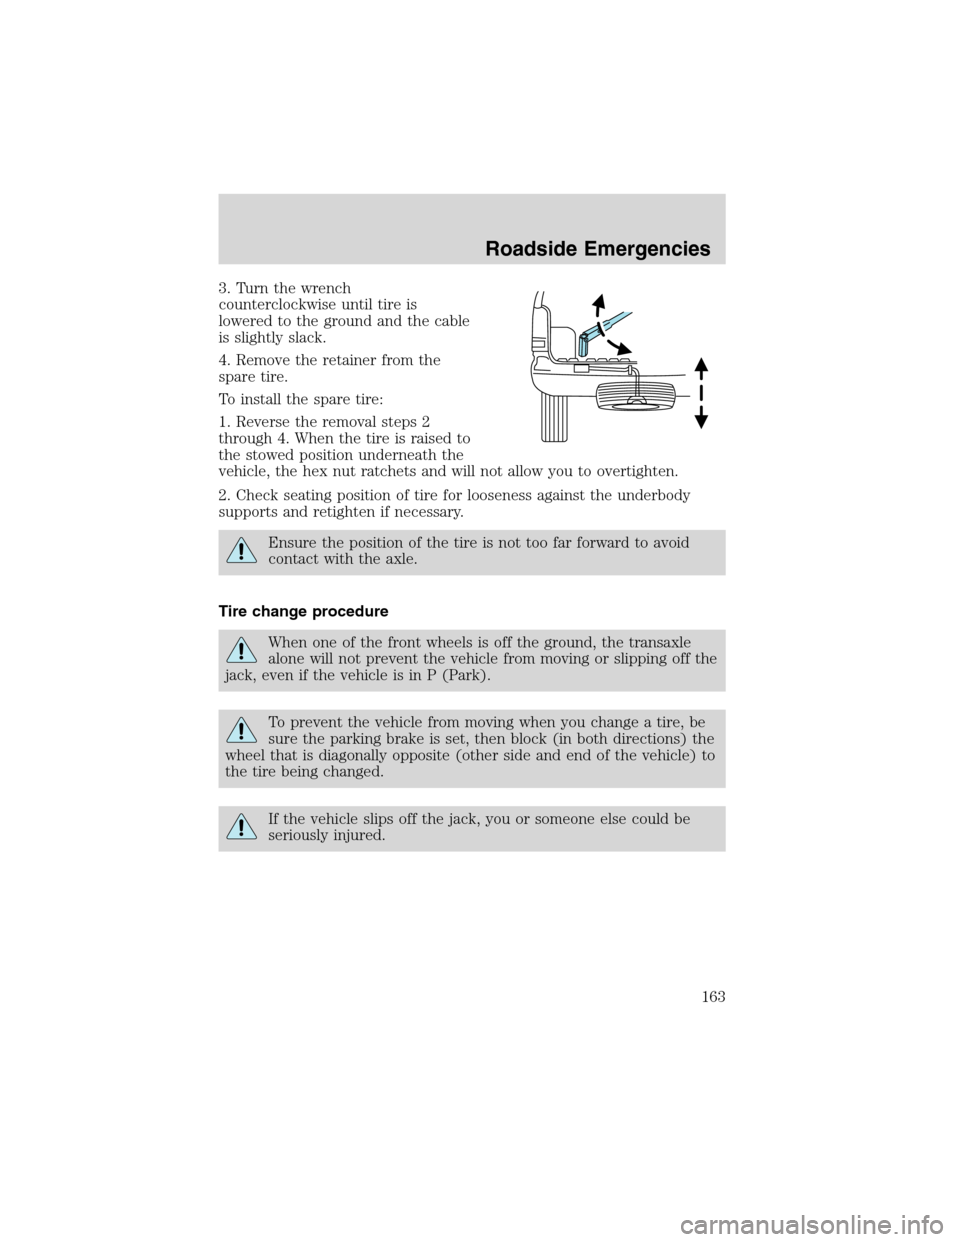
3. Turn the wrench
counterclockwise until tire is
lowered to the ground and the cable
is slightly slack.
4. Remove the retainer from the
spare tire.
To install the spare tire:
1. Reverse the removal steps 2
through 4. When the tire is raised to
the stowed position underneath the
vehicle, the hex nut ratchets and will not allow you to overtighten.
2. Check seating position of tire for looseness against the underbody
supports and retighten if necessary.
Ensure the position of the tire is not too far forward to avoid
contact with the axle.
Tire change procedure
When one of the front wheels is off the ground, the transaxle
alone will not prevent the vehicle from moving or slipping off the
jack, even if the vehicle is in P (Park).
To prevent the vehicle from moving when you change a tire, be
sure the parking brake is set, then block (in both directions) the
wheel that is diagonally opposite (other side and end of the vehicle) to
the tire being changed.
If the vehicle slips off the jack, you or someone else could be
seriously injured.
Roadside Emergencies
163
Page 164 of 240
1. Park on a level surface, activate
hazard flashers and set parking
brake.
2. Place gearshift lever in P (Park),
turn engine off, and block the
diagonally opposite wheel.
3. Remove the spare tire, jack and
lug wrench.
4. If equipped with a bolted-on
wheel cover, remove the wheel
cover with the tapered end of the
wheel nut wrench.
5. Loosen the plastic nuts on the
center ornament with the wheel nut
wrench, then remove the plastic
nuts.
6. Remove the center ornament or wheel cover from the wheel with the
tapered end of the wheel nut wrench. Insert and twist the handle, then
pry against the wheel.
7. Loosen each wheel lug nut
one-half turn counterclockwise but
do not remove them until the wheel
is raised off the ground.
Roadside Emergencies
164
Page 165 of 240
If Ford Accessory Running Boards
have been installed, use the jack
adapters supplied with the running
boards as described on the inside of
the jack storage area.
8. Locate the jack notch next to the
door closest to the tire you are
changing, then place the jack on the
frame rail directly behind the notch.
9. Turn the jack handle clockwise
until the wheel is completely off the
ground.
To lessen the risk of
personal injury, do not put
any part of your body under the
vehicle while changing a tire. Do
not start the engine when your
vehicle is on the jack. The jack is
only meant for changing the tire.
10. Remove the lug nuts with the lug wrench.
11. Replace the flat tire with the spare tire, making sure the valve stem
is facing outward. Reinstall lug nuts until the wheel is snug against the
hub. Do not fully tighten the lug nuts until the wheel has been lowered.
12. Lower the wheel by turning the jack handle counterclockwise.
Roadside Emergencies
165
Page 166 of 240

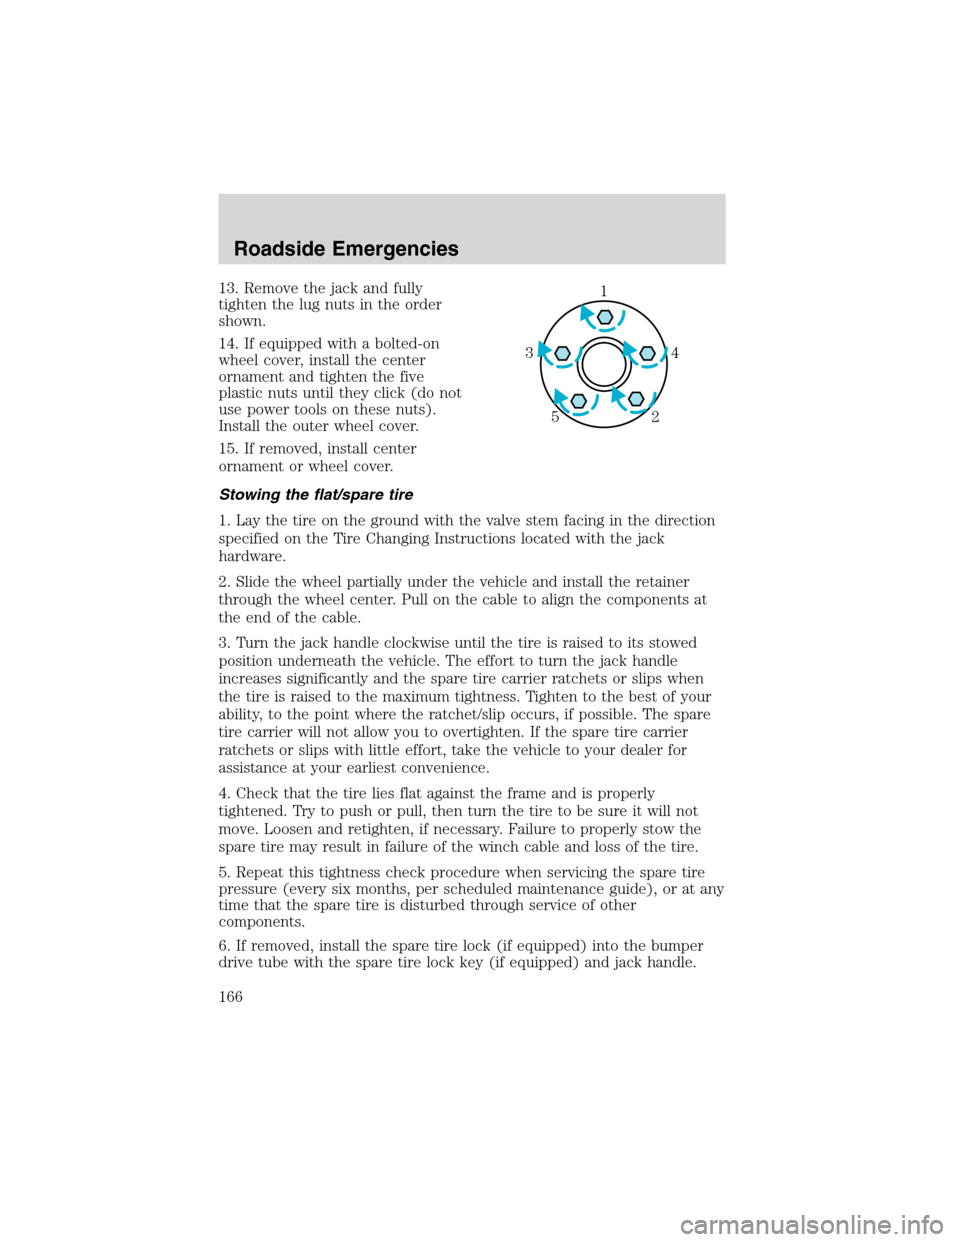
13. Remove the jack and fully
tighten the lug nuts in the order
shown.
14. If equipped with a bolted-on
wheel cover, install the center
ornament and tighten the five
plastic nuts until they click (do not
use power tools on these nuts).
Install the outer wheel cover.
15. If removed, install center
ornament or wheel cover.
Stowing the flat/spare tire
1. Lay the tire on the ground with the valve stem facing in the direction
specified on the Tire Changing Instructions located with the jack
hardware.
2. Slide the wheel partially under the vehicle and install the retainer
through the wheel center. Pull on the cable to align the components at
the end of the cable.
3. Turn the jack handle clockwise until the tire is raised to its stowed
position underneath the vehicle. The effort to turn the jack handle
increases significantly and the spare tire carrier ratchets or slips when
the tire is raised to the maximum tightness. Tighten to the best of your
ability, to the point where the ratchet/slip occurs, if possible. The spare
tire carrier will not allow you to overtighten. If the spare tire carrier
ratchets or slips with little effort, take the vehicle to your dealer for
assistance at your earliest convenience.
4. Check that the tire lies flat against the frame and is properly
tightened. Try to push or pull, then turn the tire to be sure it will not
move. Loosen and retighten, if necessary. Failure to properly stow the
spare tire may result in failure of the winch cable and loss of the tire.
5. Repeat this tightness check procedure when servicing the spare tire
pressure (every six months, per scheduled maintenance guide), or at any
time that the spare tire is disturbed through service of other
components.
6. If removed, install the spare tire lock (if equipped) into the bumper
drive tube with the spare tire lock key (if equipped) and jack handle.1
4 3
2 5
Roadside Emergencies
166
Page 193 of 240

•Oil levels above the MAX mark may cause engine damage. Some oil
must be removed from the engine by a service technician.
7. Put the indicator back in and ensure it is fully seated.
Adding engine oil
1. Check the engine oil. For instructions, refer toChecking the engine
oilin this chapter.
2. If the engine oil level is not within the normal range, add only certified
engine oil of the recommended viscosity. Remove the engine oil filler cap
and use a funnel to pour the engine oil into the opening.
3. Recheck the engine oil level. Make sure the oil level is not above the
MAX mark on the engine oil level indicator (dipstick).
4. Install the indicator and ensure it is fully seated.
5. Fully install the engine oil filler cap by turning the filler cap clockwise
1/4 of a turn until three clicks are heard or until the cap is fully seated.
To avoid possible oil loss, DO NOT operate the vehicle with the
engine oil level indicator and/or the engine oil filler cap removed.
Engine oil and filter recommendations
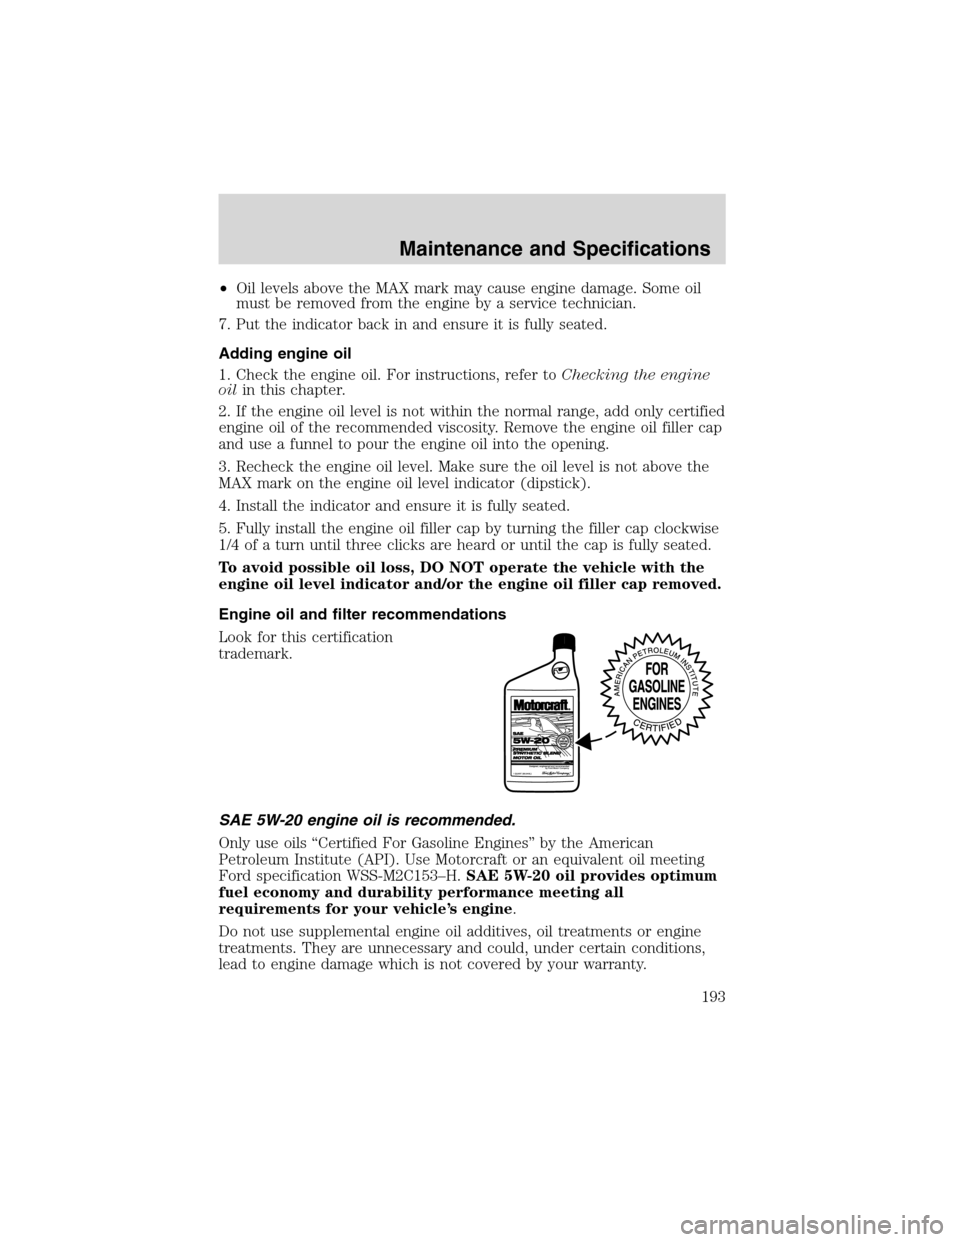
Look for this certification
trademark.
SAE 5W-20 engine oil is recommended.
Only use oils“Certified For Gasoline Engines”by the American
Petroleum Institute (API). Use Motorcraft or an equivalent oil meeting
Ford specification WSS-M2C153–H.SAE 5W-20 oil provides optimum
fuel economy and durability performance meeting all
requirements for your vehicle’s engine.
Do not use supplemental engine oil additives, oil treatments or engine
treatments. They are unnecessary and could, under certain conditions,
lead to engine damage which is not covered by your warranty.
Maintenance and Specifications
193