Page 104 of 256
Always transport children 12 years old and
under in the back seat and always properly
use appropriate child restraints.
Safety belts and seats can become hot in a
vehicle that has been closed up in sunny
weather; they could burn a small child. Check seat
covers and buckles before you place a child
anywhere near them.
Combination lap and shoulder belts
Before fastening the
safety belt, make sure
the shoulder belt
passes through the belt
guide on the top of the
seatback.
Coupe shown,
convertible is similar
and safety belt must also pass through the belt
guide.
1. Insert the belt
tongue into the proper
buckle (the buckle
closest to the direction
the tongue is coming
from) until you hear a
snap and feel it latch.
Make sure the tongue
is securely fastened in
the buckle.
Seating and Safety Restraints
104
Page 124 of 256

put in your vehicle. If you do not install and use the
safety seat properly, the child may be injured in a
sudden stop or collision.
When installing a child safety seat:
•Review and follow
the information
presented in theAir
bag supplemental
restraint system
(SRS) section in this
chapter.
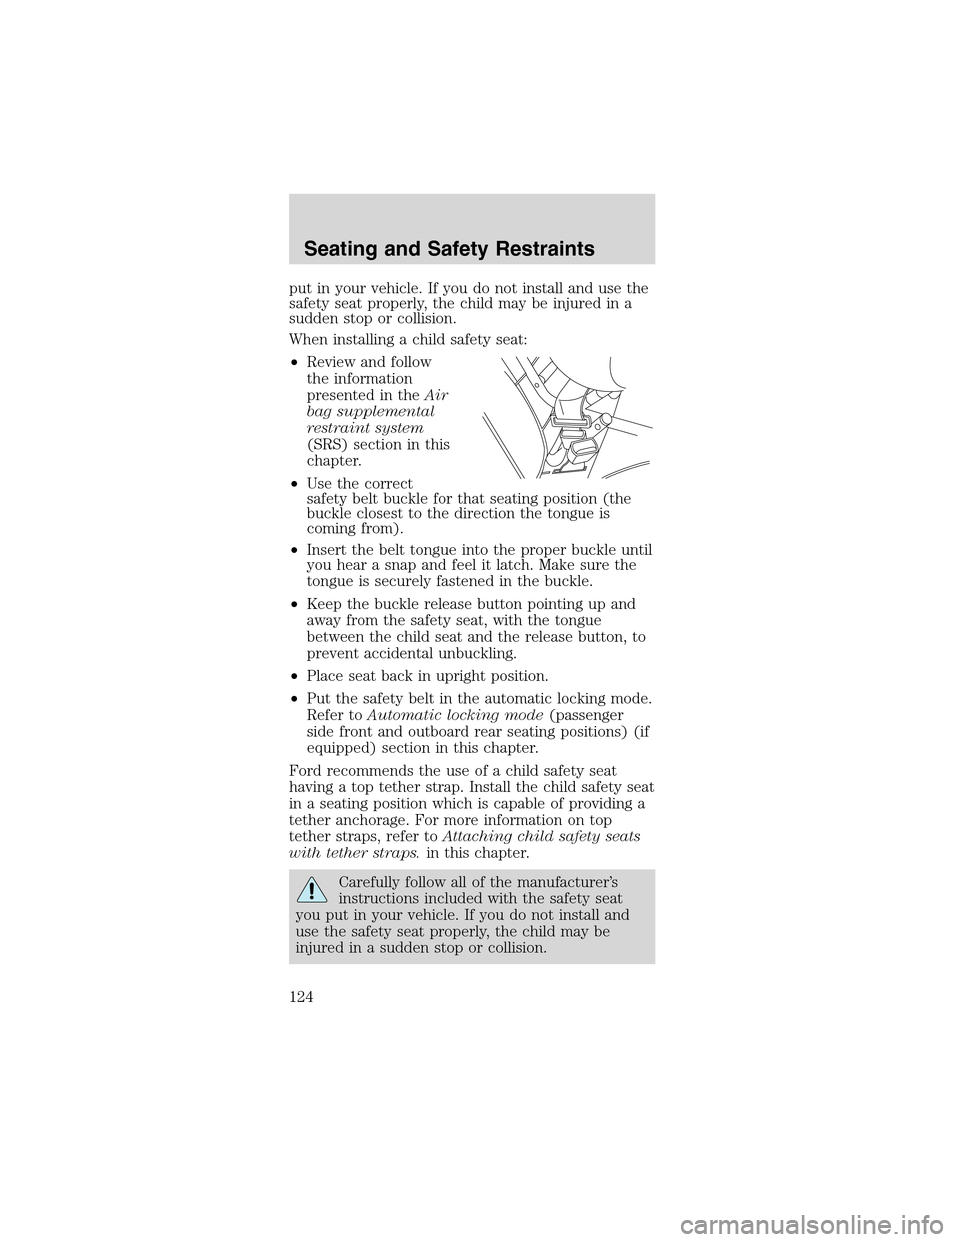
•Use the correct
safety belt buckle for that seating position (the
buckle closest to the direction the tongue is
coming from).
•Insert the belt tongue into the proper buckle until
you hear a snap and feel it latch. Make sure the
tongue is securely fastened in the buckle.
•Keep the buckle release button pointing up and
away from the safety seat, with the tongue
between the child seat and the release button, to
prevent accidental unbuckling.
•Place seat back in upright position.
•Put the safety belt in the automatic locking mode.
Refer toAutomatic locking mode(passenger
side front and outboard rear seating positions) (if
equipped) section in this chapter.
Ford recommends the use of a child safety seat
having a top tether strap. Install the child safety seat
in a seating position which is capable of providing a
tether anchorage. For more information on top
tether straps, refer toAttaching child safety seats
with tether straps.in this chapter.
Carefully follow all of the manufacturer’s
instructions included with the safety seat
you put in your vehicle. If you do not install and
use the safety seat properly, the child may be
injured in a sudden stop or collision.
Seating and Safety Restraints
124
Page 126 of 256
2. Pull down on the
shoulder belt and then
grasp the shoulder belt
and lap belt together.
3. While holding the
shoulder and lap belt
portions together, route
the tongue through the
child seat according to
the child seat
manufacturer’s
instructions. Be sure
the belt webbing is not
twisted.
4. Insert the belt
tongue into the proper
buckle (the buckle
closest to the direction
the tongue is coming
from) for that seating
position until you hear
a snap and feel the
latch engage. Make
sure the tongue is
latched securely by
pulling on it.
5. To put the retractor
in the automatic
locking mode, grasp the
shoulder portion of the
belt and pull downward
until all of the belt is
extracted and a click is
heard.
Seating and Safety Restraints
126
Page 127 of 256

6. Allow the belt to retract. The belt will click as it
retracts to indicate it is in the automatic locking
mode.
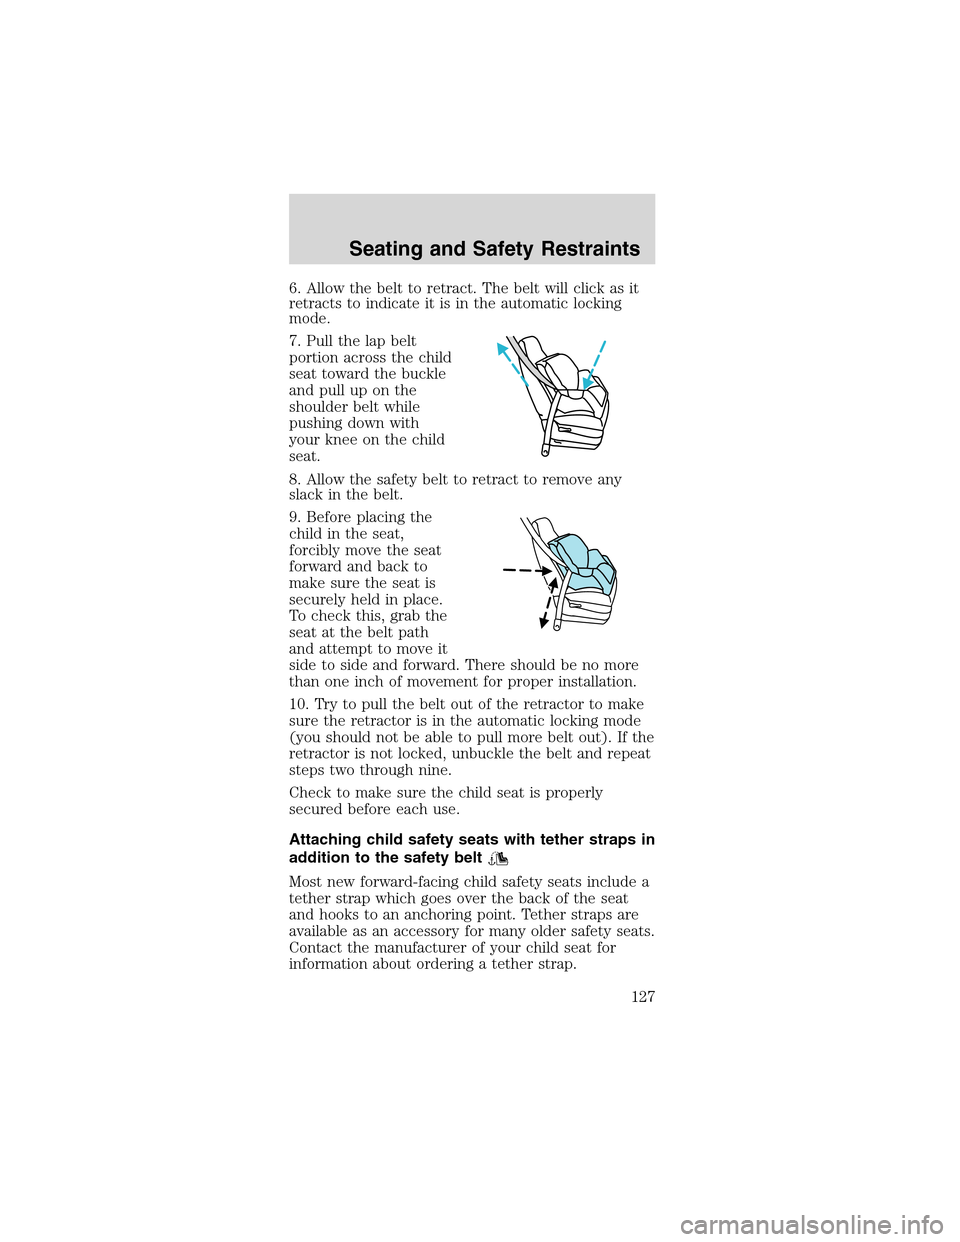
7. Pull the lap belt
portion across the child
seat toward the buckle
and pull up on the
shoulder belt while
pushing down with
your knee on the child
seat.
8. Allow the safety belt to retract to remove any
slack in the belt.
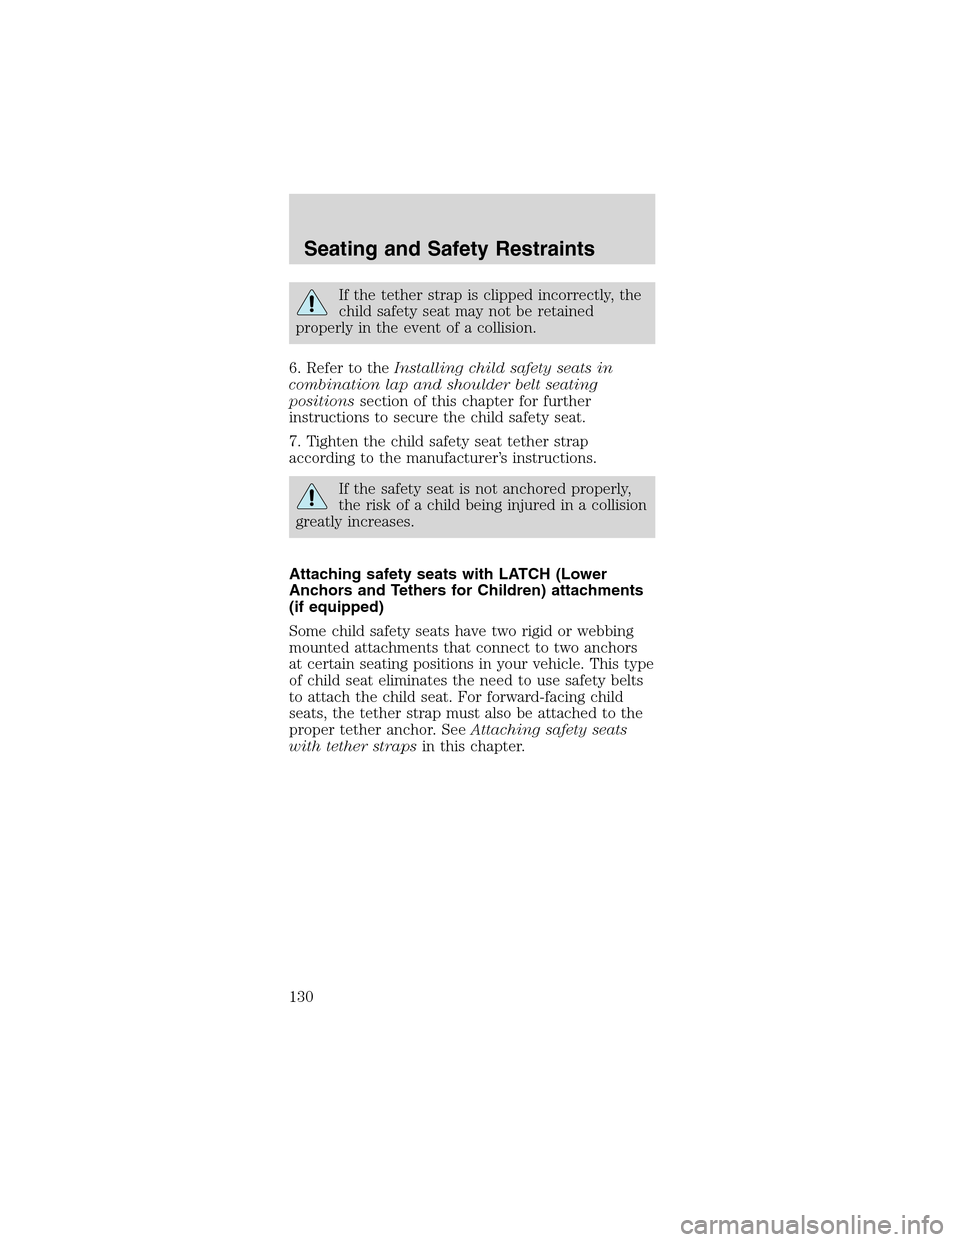
9. Before placing the
child in the seat,
forcibly move the seat
forward and back to
make sure the seat is
securely held in place.
To check this, grab the
seat at the belt path
and attempt to move it
side to side and forward. There should be no more
than one inch of movement for proper installation.
10. Try to pull the belt out of the retractor to make
sure the retractor is in the automatic locking mode
(you should not be able to pull more belt out). If the
retractor is not locked, unbuckle the belt and repeat
steps two through nine.
Check to make sure the child seat is properly
secured before each use.
Attaching child safety seats with tether straps in
addition to the safety belt
Most new forward-facing child safety seats include a
tether strap which goes over the back of the seat
and hooks to an anchoring point. Tether straps are
available as an accessory for many older safety seats.
Contact the manufacturer of your child seat for
information about ordering a tether strap.
Seating and Safety Restraints
127
Page 130 of 256

If the tether strap is clipped incorrectly, the
child safety seat may not be retained
properly in the event of a collision.
6. Refer to theInstalling child safety seats in
combination lap and shoulder belt seating
positionssection of this chapter for further
instructions to secure the child safety seat.
7. Tighten the child safety seat tether strap
according to the manufacturer’s instructions.
If the safety seat is not anchored properly,
the risk of a child being injured in a collision
greatly increases.
Attaching safety seats with LATCH (Lower
Anchors and Tethers for Children) attachments
(if equipped)
Some child safety seats have two rigid or webbing
mounted attachments that connect to two anchors
at certain seating positions in your vehicle. This type
of child seat eliminates the need to use safety belts
to attach the child seat. For forward-facing child
seats, the tether strap must also be attached to the
proper tether anchor. SeeAttaching safety seats
with tether strapsin this chapter.
Seating and Safety Restraints
130
Page 139 of 256

cold, heat, moisture, road dust, salt or mud. If a
“metal-to-metal,”“continuous grinding”or
“continuous squeal”sound is present while braking,
the brake linings may be worn-out and should be
inspected by a qualified service technician.
If you are driving down a long or steep hill,
shift to a lower gear. Do not apply your
brakes continuously, as they may overheat and
become less effective.
Parking brake
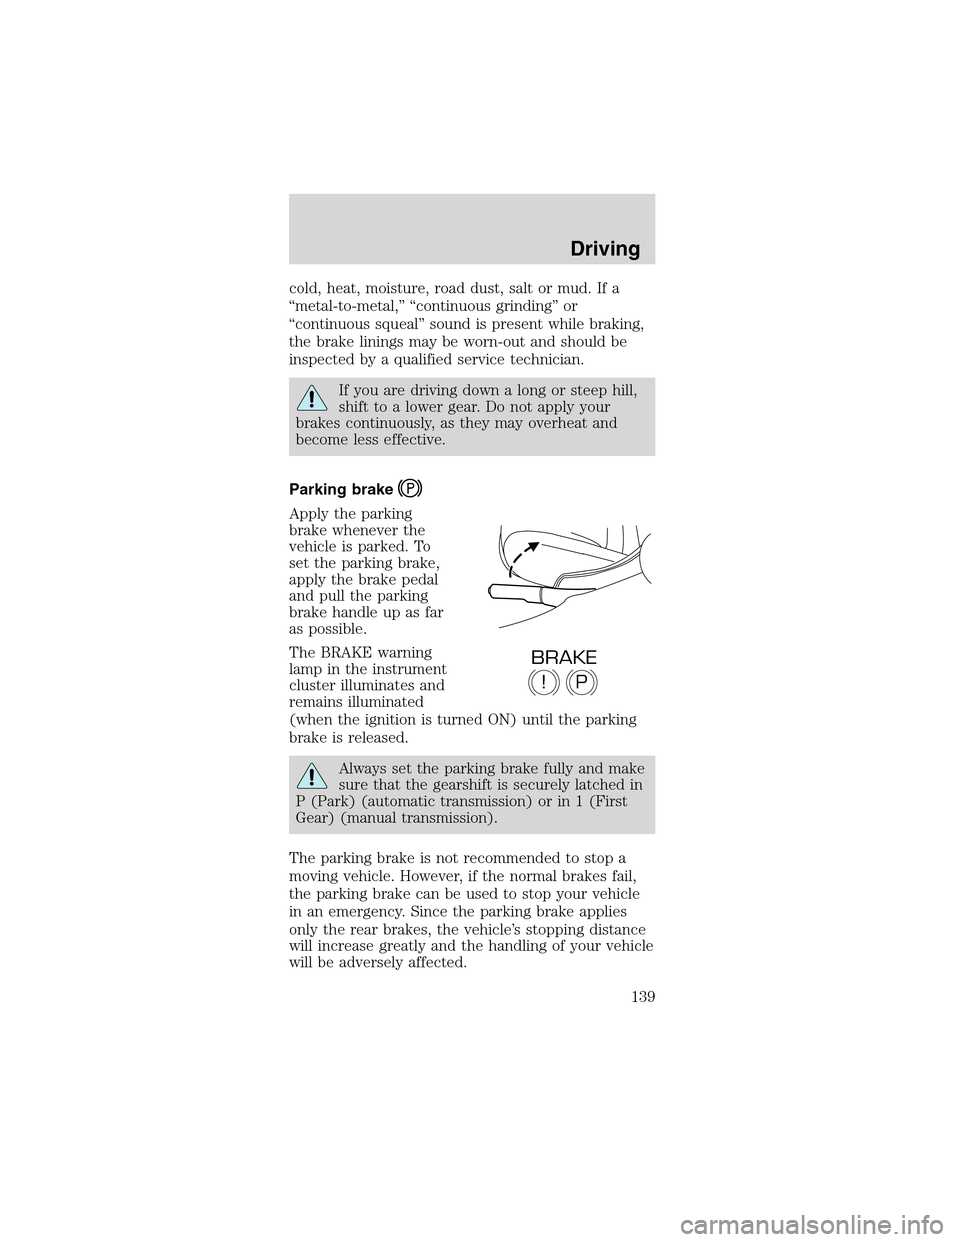
Apply the parking
brake whenever the
vehicle is parked. To
set the parking brake,
apply the brake pedal
and pull the parking
brake handle up as far
as possible.
The BRAKE warning
lamp in the instrument
cluster illuminates and
remains illuminated
(when the ignition is turned ON) until the parking
brake is released.
Always set the parking brake fully and make
sure that the gearshift is securely latched in
P (Park) (automatic transmission) or in 1 (First
Gear) (manual transmission).
The parking brake is not recommended to stop a
moving vehicle. However, if the normal brakes fail,
the parking brake can be used to stop your vehicle
in an emergency. Since the parking brake applies
only the rear brakes, the vehicle’s stopping distance
will increase greatly and the handling of your vehicle
will be adversely affected.
P!
BRAKE
Driving
139
Page 147 of 256
Understanding gearshift positions
P (Park)
Always come to a
complete stop before
shifting into P (Park).
Make sure the gearshift
lever is securely
latched in P (Park).
This position locks the
transmission and
prevents the rear
wheels from turning.
Always set the parking brake fully and make
sure the gearshift lever is latched in P
(Park). Turn the ignition to the LOCK position and
remove the key whenever you leave your vehicle.
R (Reverse)
With the gearshift lever
in R (Reverse), the
vehicle will move
backward. Always come
to a complete stop
before shifting into and
out of R (Reverse).
N (Neutral)
With the gearshift lever
in N (Neutral), the
vehicle can be started
and is free to roll. Hold
the brake pedal down
while in this gear.
Driving
147
Page 162 of 256

Fuse/Relay
LocationFuse Amp
RatingPassenger Compartment Fuse
Panel Description
16—Not used
17 15A Speed control servo, Shift lock
actuator
18 15A Electronic flasher
19 15A Power mirror switch, GEM,
Anti-theft relay, Power door
locks, Door ajar switches
20 15A Convertible top switch
21 5A Instrument cluster and engine
control memory
22—Not used
23 15A A/C clutch, Defogger switch
24 30A Climate control blower motor
25 25A Luggage compartment lid release
26 30A Wiper/Washer motor, Wiper
relays
27 20A Radio
28 15A GEM, Overdrive cancel switch
29 15A Anti-lock Brake System (ABS)
module
30 15A Daytime Running Lamps (DRL)
module
31 10A Data link connector
32 15A Radio, GEM
33 15A Stop lamp switch, Speed control
deactivation switch
34 20A Instrument Cluster, CCRM, Data
link connector, Securilock
transceiver module
35 15A Shift lock actuator, Powertrain
Control Module (PCM), Speed
control servo, ABS module
36 15A Air bag control module
37 5A Adjustable illumination
38 20A High beams
39 5A GEM
40—Not used
Roadside Emergencies
162