Page 1 of 256
Introduction 3
Instrument Cluster 10
Warning and control lights 10
Gauges 15
Entertainment Systems 19
AM/FM stereo cassette with CD 19
AM/FM stereo with CD 28
AM/FM stereo cassette (CD changer compatible) 43
Climate Controls 63
Lights 67
Headlamps 67
Turn signal control 70
Bulb replacement 71
Driver Controls 76
Windshield wiper/washer control 76
Steering wheel adjustment 77
Power windows 78
Mirrors 80
Speed control 80
Locks and Security 89
Keys 89
Locks 89
Anti-theft system 91
Seating and Safety Restraints 99
Seating 99
Safety restraints 102
Air bags 114
Child restraints 119
Driving 133
Starting 133
Table of Contents
1
Page 11 of 256

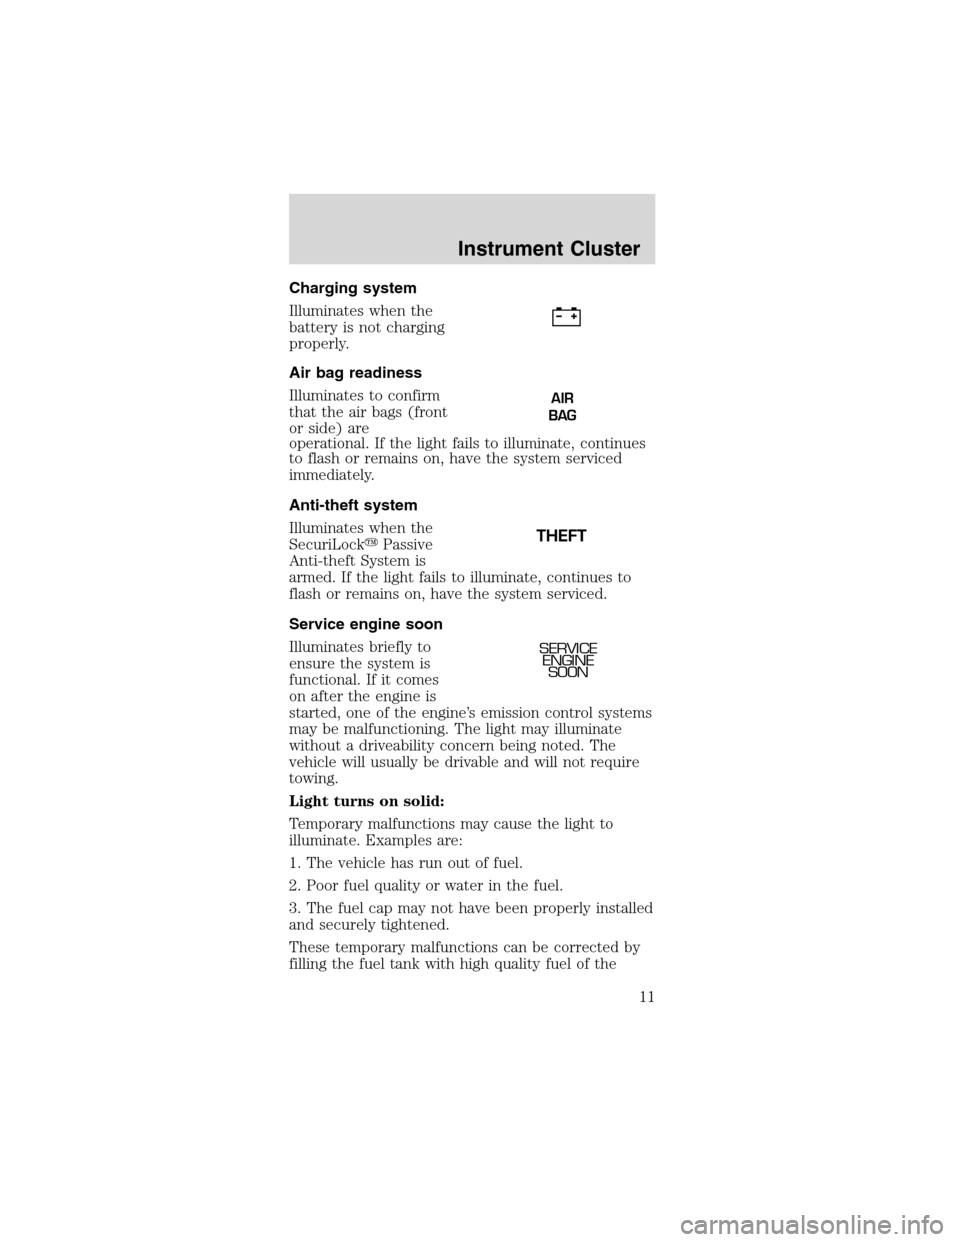
Charging system
Illuminates when the
battery is not charging
properly.
Air bag readiness
Illuminates to confirm
that the air bags (front
or side) are
operational. If the light fails to illuminate, continues
to flash or remains on, have the system serviced
immediately.
Anti-theft system
Illuminates when the
SecuriLock�Passive
Anti-theft System is
armed. If the light fails to illuminate, continues to
flash or remains on, have the system serviced.
Service engine soon
Illuminates briefly to
ensure the system is
functional. If it comes
on after the engine is
started, one of the engine’s emission control systems
may be malfunctioning. The light may illuminate
without a driveability concern being noted. The
vehicle will usually be drivable and will not require
towing.
Light turns on solid:
Temporary malfunctions may cause the light to
illuminate. Examples are:
1. The vehicle has run out of fuel.
2. Poor fuel quality or water in the fuel.
3. The fuel cap may not have been properly installed
and securely tightened.
These temporary malfunctions can be corrected by
filling the fuel tank with high quality fuel of the
AIR
BAG
SERVICE
ENGINE
SOON
Instrument Cluster
11
Page 12 of 256

recommended octane and/or properly installing and
securely tightening the fuel cap. After three driving
cycles without these or any other temporary
malfunctions present, the light should turn off. (A
driving cycle consists of a cold engine startup
followed by mixed city/highway driving.) No
additional vehicle service is required.
If the light remains on, have your vehicle serviced at
the first available opportunity.
Light is blinking:
Engine misfire is occurring which could damage your
catalytic converter. You should drive in a moderate
fashion (avoid heavy acceleration and deceleration)
and have your vehicle serviced at the first available
opportunity.
Under engine misfire conditions, excessive
exhaust temperatures could damage the
catalytic converter, the fuel system, interior floor
coverings or other vehicle components, possibly
causing a fire.
Check fuel cap
Illuminates when the
fuel cap is not installed
correctly. Check the
fuel cap for proper
installation. When the fuel filler cap is properly
re-installed, the light(s) will turn off after a period of
normal driving. Continuing to operate the vehicle
with the check fuel cap light on, or a mis-installed
fuel cap can activate theService Engine
Soon/Check Enginewarning light.
It may take a long period of time for the
system to detect an improperly installed fuel
filler cap.
For more information, refer toFuel filler capin the
Maintenance and specificationschapter.
CHECK
FUEL
CAP
Instrument Cluster
12
Page 73 of 256

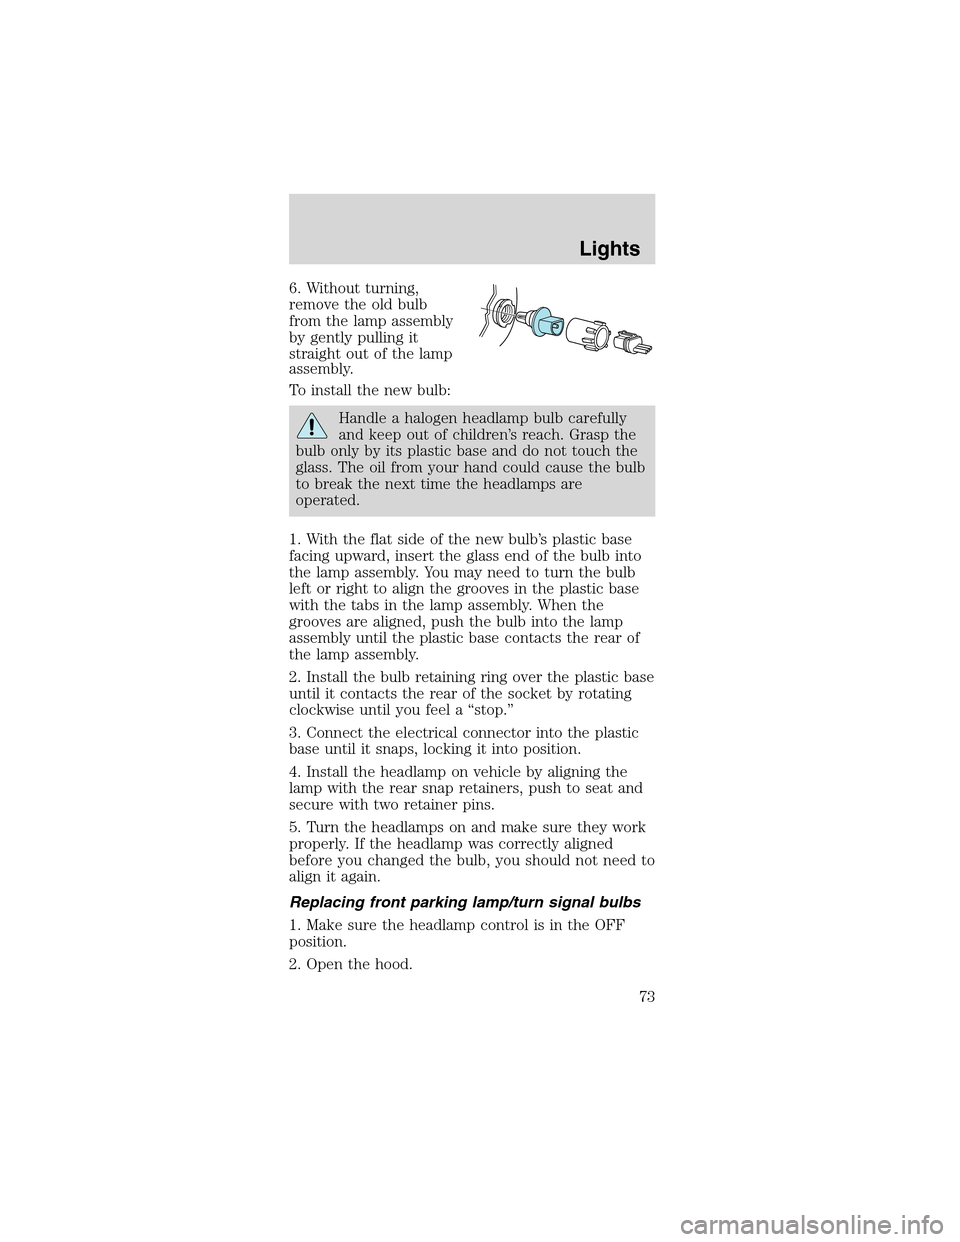
6. Without turning,
remove the old bulb
from the lamp assembly
by gently pulling it
straight out of the lamp
assembly.
To install the new bulb:
Handle a halogen headlamp bulb carefully
and keep out of children’s reach. Grasp the
bulb only by its plastic base and do not touch the
glass. The oil from your hand could cause the bulb
to break the next time the headlamps are
operated.
1. With the flat side of the new bulb’s plastic base
facing upward, insert the glass end of the bulb into
the lamp assembly. You may need to turn the bulb
left or right to align the grooves in the plastic base
with the tabs in the lamp assembly. When the
grooves are aligned, push the bulb into the lamp
assembly until the plastic base contacts the rear of
the lamp assembly.
2. Install the bulb retaining ring over the plastic base
until it contacts the rear of the socket by rotating
clockwise until you feel a“stop.”
3. Connect the electrical connector into the plastic
base until it snaps, locking it into position.
4. Install the headlamp on vehicle by aligning the
lamp with the rear snap retainers, push to seat and
secure with two retainer pins.
5. Turn the headlamps on and make sure they work
properly. If the headlamp was correctly aligned
before you changed the bulb, you should not need to
align it again.
Replacing front parking lamp/turn signal bulbs
1. Make sure the headlamp control is in the OFF
position.
2. Open the hood.
Lights
73
Page 78 of 256
OVERHEAD STORAGE NET (IF EQUIPPED)
Be sure to
secure objects
when placed in the
storage net in order
to help reduce the
risk that they become
projectiles in the
event of a collision.
AUXILIARY POWER POINT
The power point is an
additional power
source for electrical
accessories.
Power outlets are
designed for
accessory plugs only.
Do not hang any type
of accessory or accessory bracket from the
plug. Improper use of the power outlet can
cause damage not covered by your warranty.
A power point is located inside the center console
storage bin.
POWER WINDOWS
Press and hold the rocker switches to open and
close windows.
•Press the top portion
of the rocker switch
to close.
Driver Controls
78
Page 88 of 256
5. Open both top clamps before the top meets the
windshield header
6. Continue to use the top motor to raise the top
until it has reached the fully closed position flush to
the header.
7. The two pins under the forward edge of the top
should seat themselves in the matching holes in the
header.
8. To fasten both clamps securely, push the clamp
handles into the header on the top until they are
flush with the header. Pulling down on the header at
the center grip while closing the latches may assist
in fastening the clamps.
9. Raise the front and rear side windows.
10. Disengage the parking brake.
Driver Controls
88
Page 89 of 256
KEYS
Thekeyoperatesall locks on your vehicle. In case of
loss, replacement keys are available from your
dealer.
You should always carry a second key with you in a
safe place in case you require it in an emergency.
Refer toSecuriLock�Passive Anti-Theft System
for more information.
POWER DOOR LOCKS
Press U to unlock all
doors and L to lock all
doors.
INTERIOR LUGGAGE COMPARTMENT
RELEASE
Your vehicle is equipped with a mechanical interior
luggage compartment release handle that provides a
means of escape for children and adults in the event
they become locked inside the luggage
compartment.
Adults are advised to familiarize themselves with the
operation and location of the release handle.
UL
Locks and Security
89
Page 90 of 256
To open the luggage
compartment door (lid)
from within the
luggage compartment,
pull the illuminated“T”
shaped handle and
push up on the trunk
lid. The handle is
composed of a material
that will glow for hours
in darkness following
brief exposure to
ambient light.
The“T”shaped handle will be located either on the
luggage compartment door (lid) or inside the
luggage compartment near the tail lamps.
Keep vehicle
doors and
luggage compartment
locked and keep keys
and remote
transmitters out of a
child’s reach.
Unsupervised
children could lock
themselves in an
open trunk and risk
injury. Children
should be taught not
to play in vehicles.
Locks and Security
90