Page 49 of 280
MULTI-FUNCTION LEVER
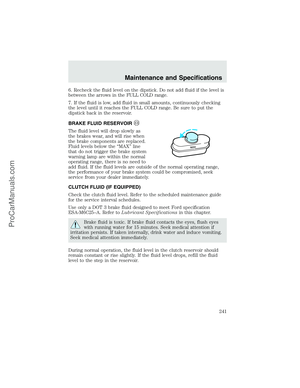
Windshield wiper:Rotate the end
of the control away from you to
increase the speed of the wipers;
rotate towards you to decrease the
speed of the wipers.
Windshield washer:Push the end
of the stalk:
•briefly: causes a single swipe of
the wipers without washer fluid.
•a quick push and hold: the wipers
will swipe three times with
washer fluid.
•a long push and hold: the wipers and washer fluid will be activated for
up to ten seconds.
Changing the wiper blades
1. Pull the wiper arm away from the
vehicle. Turn the blade at an angle
from the wiper arm. Push the lock
pin manually to release the blade
and pull the wiper blade down
toward the windshield to remove it
from the arm.
2. Attach the new wiper to the
wiper arm and press it into place
until a click is heard.
3. Replace wiper blades every 6 months for optimum performance.
Driver Controls
49
ProCarManuals.com
Page 50 of 280

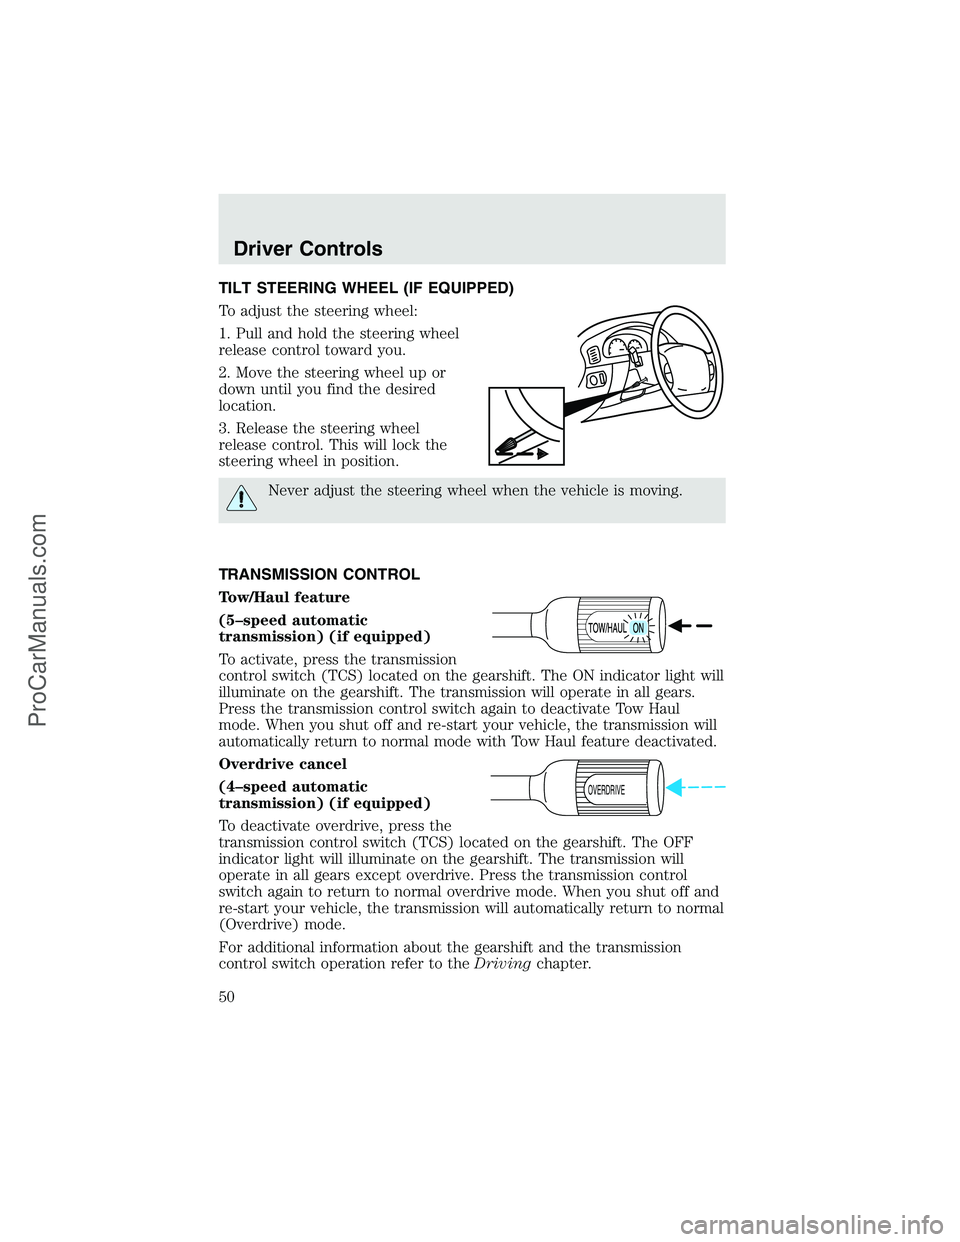
TILT STEERING WHEEL (IF EQUIPPED)
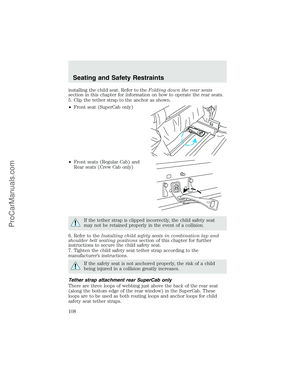
To adjust the steering wheel:
1. Pull and hold the steering wheel
release control toward you.
2. Move the steering wheel up or
down until you find the desired
location.
3. Release the steering wheel
release control. This will lock the
steering wheel in position.
Never adjust the steering wheel when the vehicle is moving.
TRANSMISSION CONTROL
Tow/Haul feature
(5–speed automatic
transmission) (if equipped)
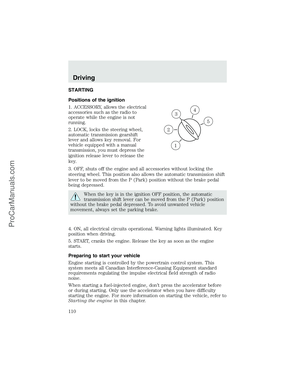
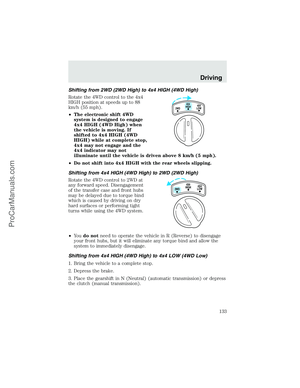
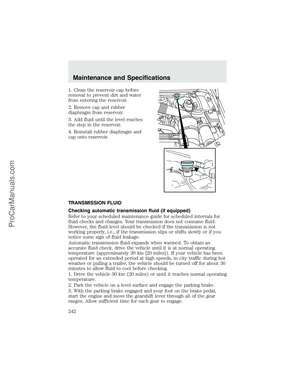
To activate, press the transmission
control switch (TCS) located on the gearshift. The ON indicator light will
illuminate on the gearshift. The transmission will operate in all gears.
Press the transmission control switch again to deactivate Tow Haul
mode. When you shut off and re-start your vehicle, the transmission will
automatically return to normal mode with Tow Haul feature deactivated.
Overdrive cancel
(4–speed automatic
transmission) (if equipped)
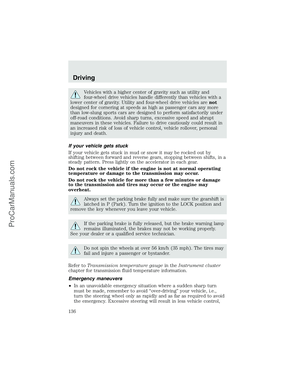
To deactivate overdrive, press the
transmission control switch (TCS) located on the gearshift. The OFF
indicator light will illuminate on the gearshift. The transmission will
operate in all gears except overdrive. Press the transmission control
switch again to return to normal overdrive mode. When you shut off and
re-start your vehicle, the transmission will automatically return to normal
(Overdrive) mode.
For additional information about the gearshift and the transmission
control switch operation refer to theDrivingchapter.
OVERDRIVEOFF
Driver Controls
50
ProCarManuals.com
Page 51 of 280
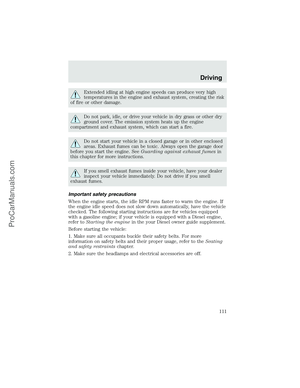
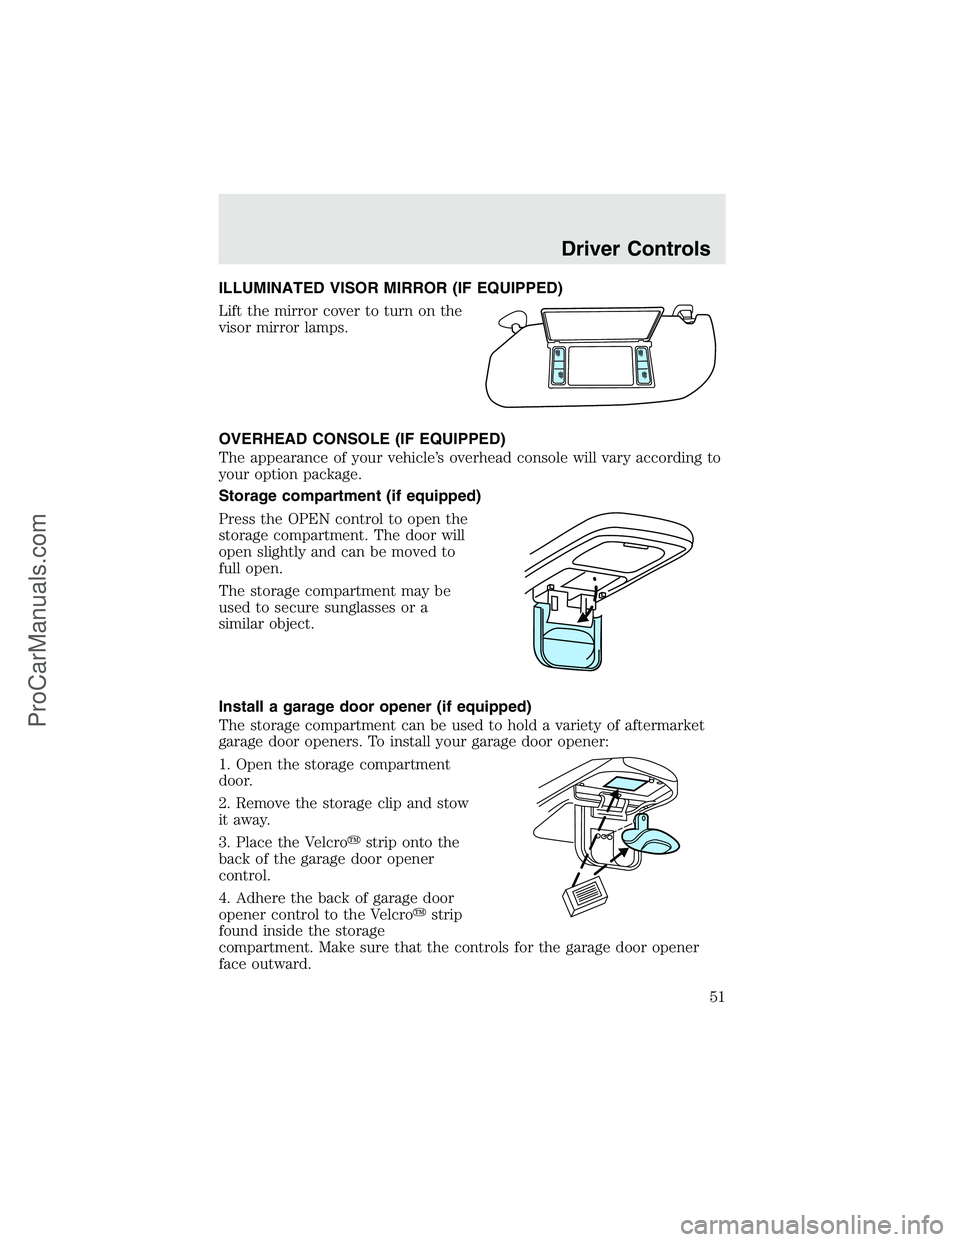
ILLUMINATED VISOR MIRROR (IF EQUIPPED)
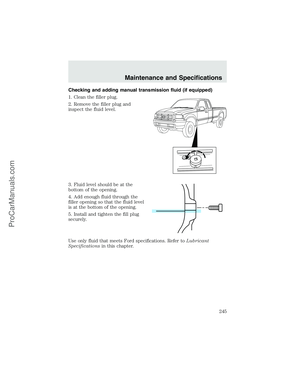
Lift the mirror cover to turn on the
visor mirror lamps.
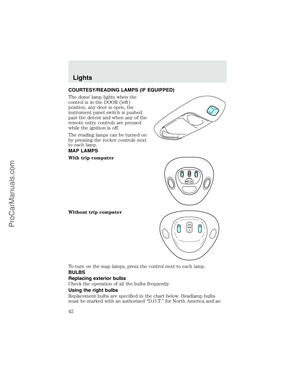
OVERHEAD CONSOLE (IF EQUIPPED)
The appearance of your vehicle’s overhead console will vary according to
your option package.
Storage compartment (if equipped)
Press the OPEN control to open the
storage compartment. The door will
open slightly and can be moved to
full open.
The storage compartment may be
used to secure sunglasses or a
similar object.
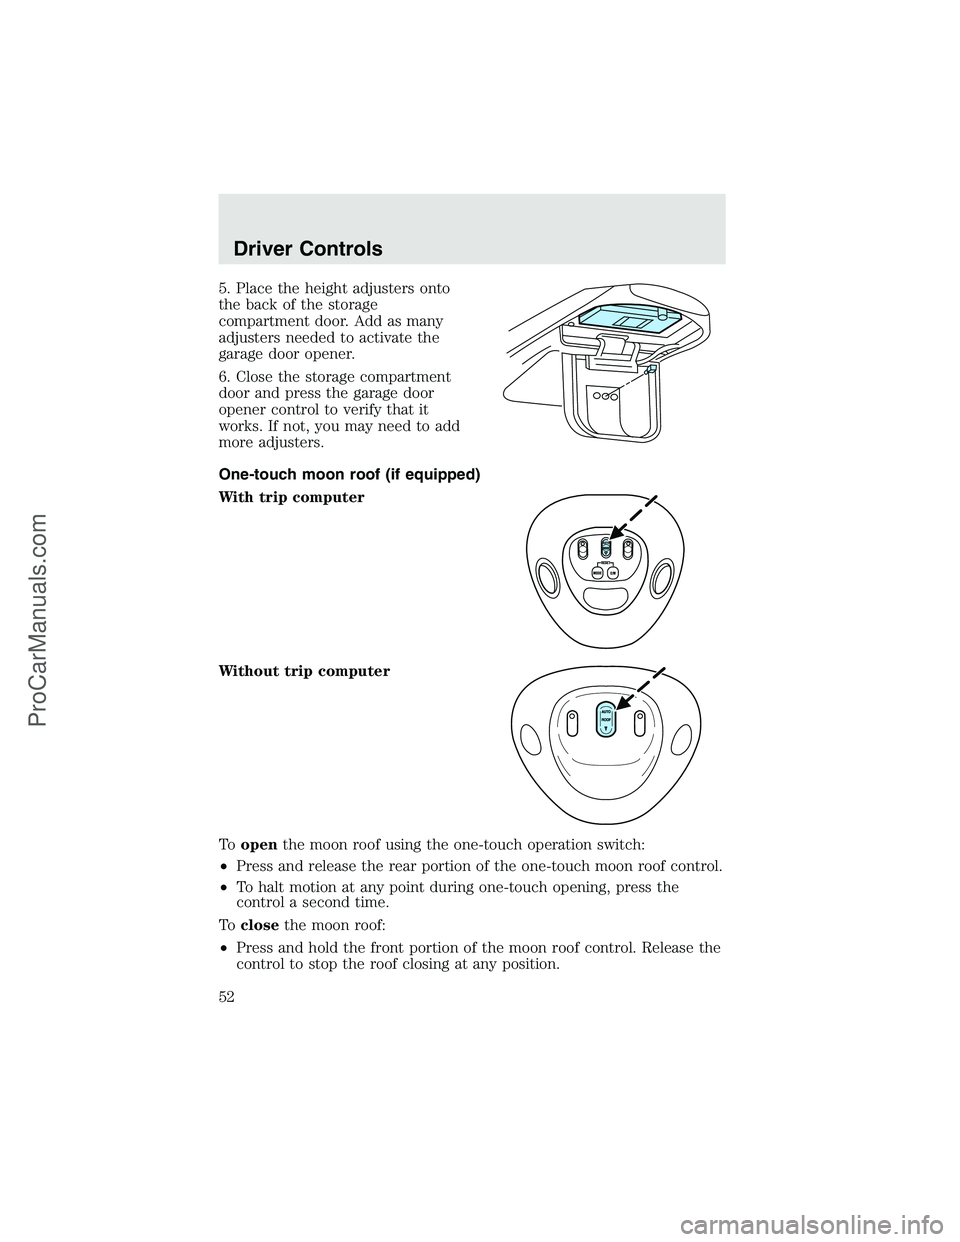
Install a garage door opener (if equipped)
The storage compartment can be used to hold a variety of aftermarket
garage door openers. To install your garage door opener:
1. Open the storage compartment
door.
2. Remove the storage clip and stow
it away.
3. Place the Velcrostrip onto the
back of the garage door opener
control.
4. Adhere the back of garage door
opener control to the Velcrostrip
found inside the storage
compartment. Make sure that the controls for the garage door opener
face outward.
Driver Controls
51
ProCarManuals.com
Page 52 of 280
5. Place the height adjusters onto
the back of the storage
compartment door. Add as many
adjusters needed to activate the
garage door opener.
6. Close the storage compartment
door and press the garage door
opener control to verify that it
works. If not, you may need to add
more adjusters.
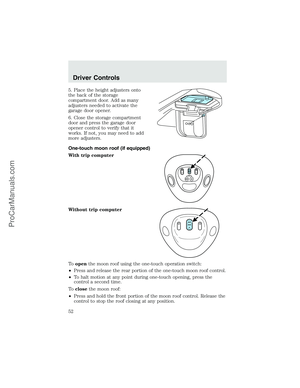
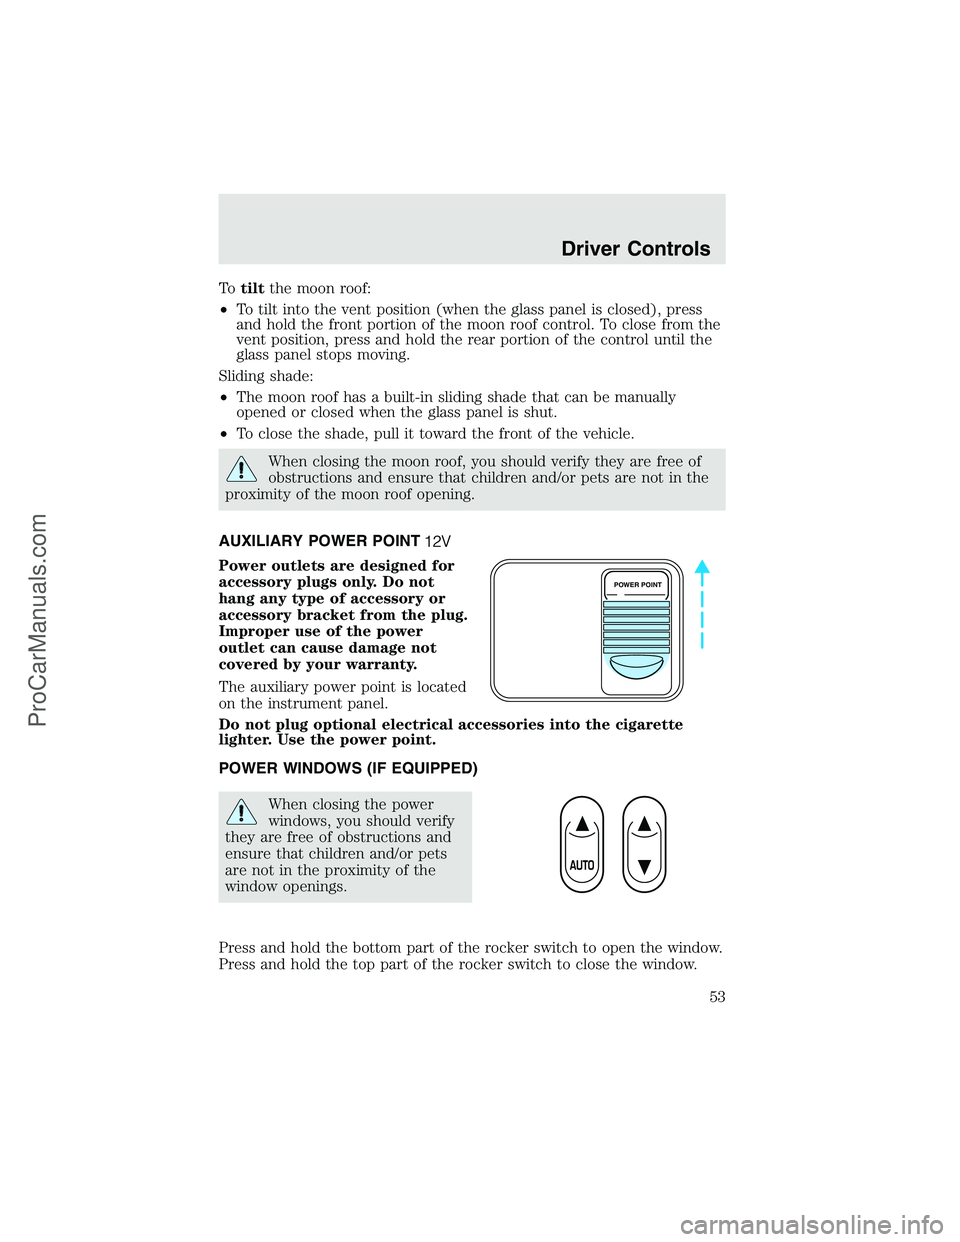
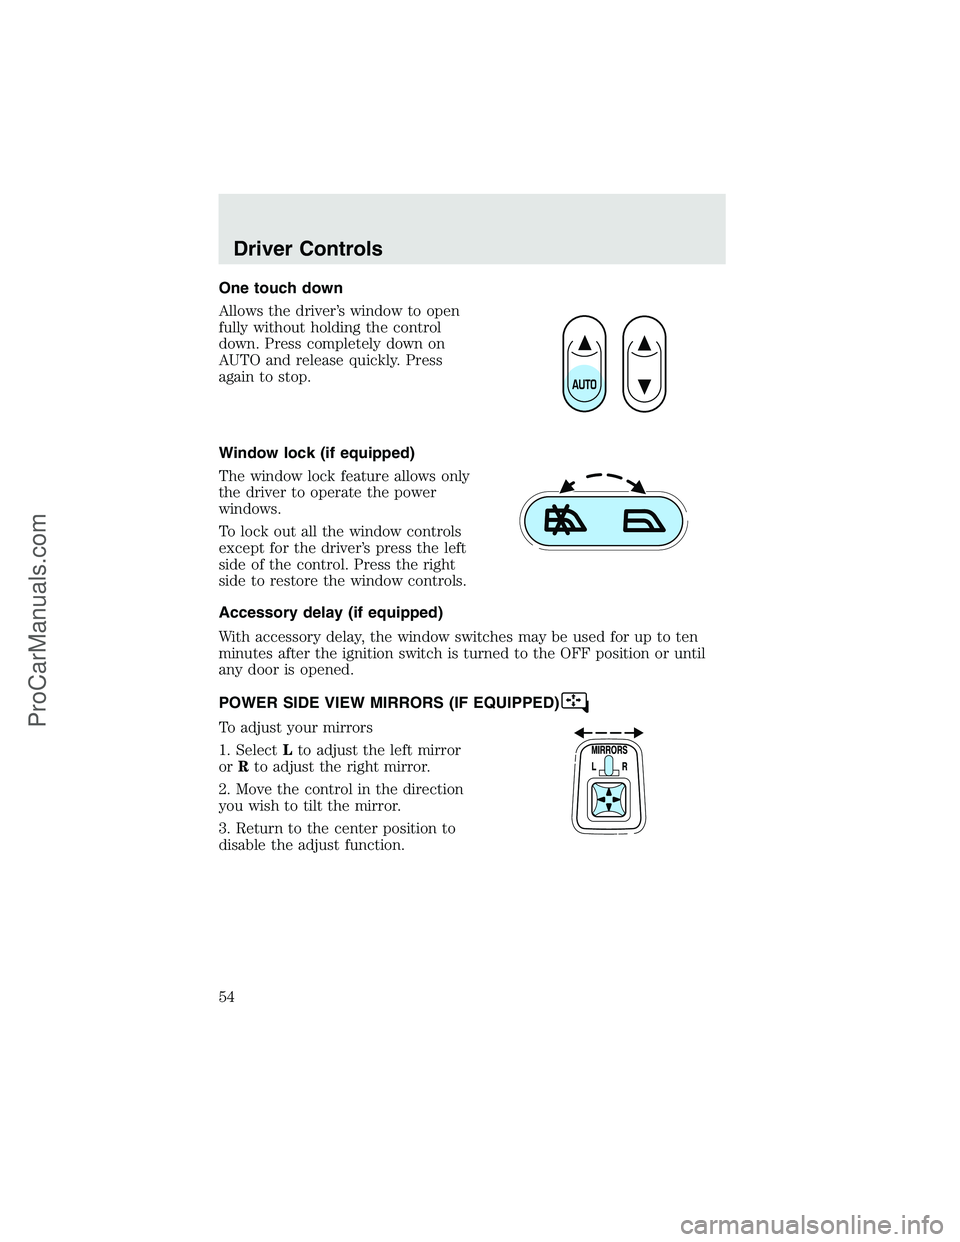
One-touch moon roof (if equipped)
With trip computer
Without trip computer
Toopenthe moon roof using the one-touch operation switch:
•Press and release the rear portion of the one-touch moon roof control.
•To halt motion at any point during one-touch opening, press the
control a second time.
Toclosethe moon roof:
•Press and hold the front portion of the moon roof control. Release the
control to stop the roof closing at any position.
Driver Controls
52
ProCarManuals.com
Page 53 of 280

Totiltthe moon roof:
•To tilt into the vent position (when the glass panel is closed), press
and hold the front portion of the moon roof control. To close from the
vent position, press and hold the rear portion of the control until the
glass panel stops moving.
Sliding shade:
•The moon roof has a built-in sliding shade that can be manually
opened or closed when the glass panel is shut.
•To close the shade, pull it toward the front of the vehicle.
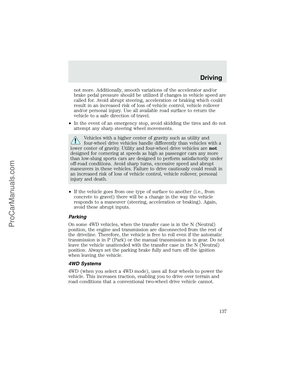
When closing the moon roof, you should verify they are free of
obstructions and ensure that children and/or pets are not in the
proximity of the moon roof opening.
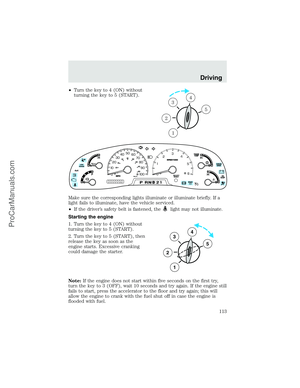
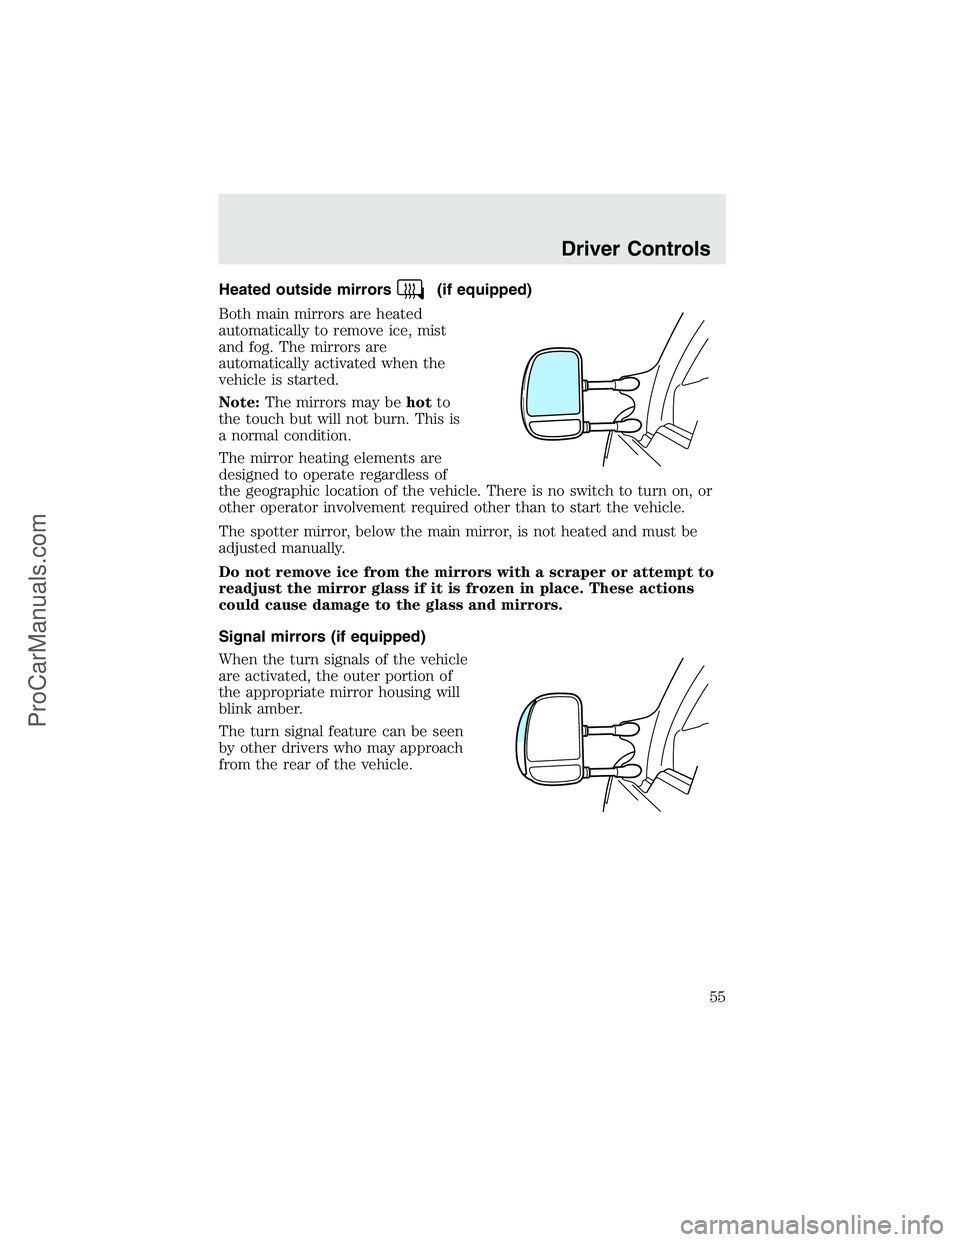
AUXILIARY POWER POINT
Power outlets are designed for
accessory plugs only. Do not
hang any type of accessory or
accessory bracket from the plug.
Improper use of the power
outlet can cause damage not
covered by your warranty.
The auxiliary power point is located
on the instrument panel.
Do not plug optional electrical accessories into the cigarette
lighter. Use the power point.
POWER WINDOWS (IF EQUIPPED)
When closing the power
windows, you should verify
they are free of obstructions and
ensure that children and/or pets
are not in the proximity of the
window openings.
Press and hold the bottom part of the rocker switch to open the window.
Press and hold the top part of the rocker switch to close the window.
POWER POINT
Driver Controls
53
ProCarManuals.com
Page 54 of 280
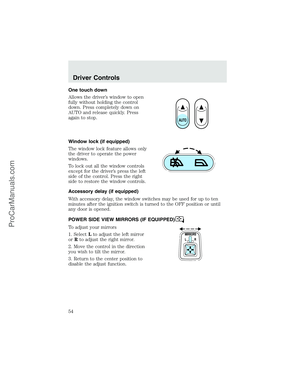
One touch down
Allows the driver’s window to open
fully without holding the control
down. Press completely down on
AUTO and release quickly. Press
again to stop.
Window lock (if equipped)
The window lock feature allows only
the driver to operate the power
windows.
To lock out all the window controls
except for the driver’s press the left
side of the control. Press the right
side to restore the window controls.
Accessory delay (if equipped)
With accessory delay, the window switches may be used for up to ten
minutes after the ignition switch is turned to the OFF position or until
any door is opened.
POWER SIDE VIEW MIRRORS (IF EQUIPPED)
To adjust your mirrors
1. SelectLto adjust the left mirror
orRto adjust the right mirror.
2. Move the control in the direction
you wish to tilt the mirror.
3. Return to the center position to
disable the adjust function.
Driver Controls
54
ProCarManuals.com
Page 55 of 280

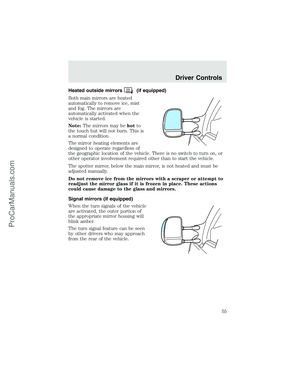
Heated outside mirrors(if equipped)
Both main mirrors are heated
automatically to remove ice, mist
and fog. The mirrors are
automatically activated when the
vehicle is started.
Note:The mirrors may behotto
the touch but will not burn. This is
a normal condition.
The mirror heating elements are
designed to operate regardless of
the geographic location of the vehicle. There is no switch to turn on, or
other operator involvement required other than to start the vehicle.
The spotter mirror, below the main mirror, is not heated and must be
adjusted manually.
Do not remove ice from the mirrors with a scraper or attempt to
readjust the mirror glass if it is frozen in place. These actions
could cause damage to the glass and mirrors.
Signal mirrors (if equipped)
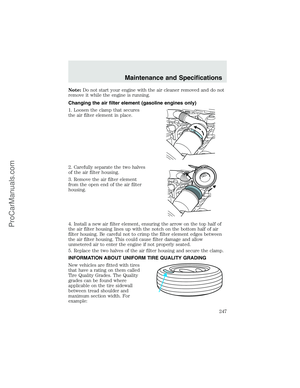
When the turn signals of the vehicle
are activated, the outer portion of
the appropriate mirror housing will
blink amber.
The turn signal feature can be seen
by other drivers who may approach
from the rear of the vehicle.
Driver Controls
55
ProCarManuals.com
Page 56 of 280
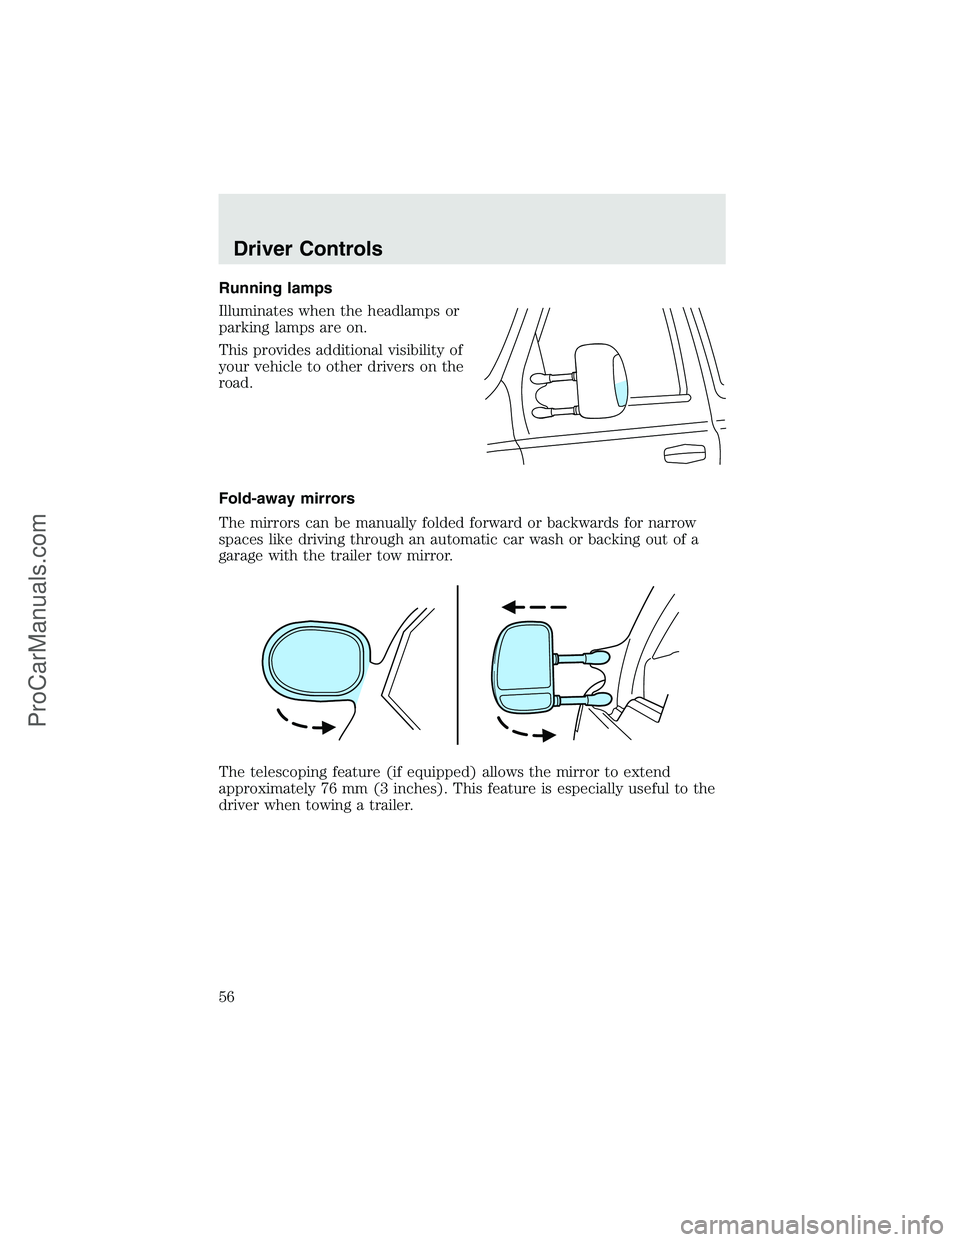
Running lamps
Illuminates when the headlamps or
parking lamps are on.
This provides additional visibility of
your vehicle to other drivers on the
road.
Fold-away mirrors
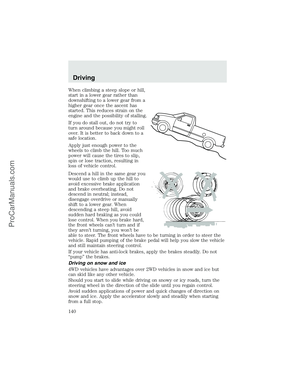
The mirrors can be manually folded forward or backwards for narrow
spaces like driving through an automatic car wash or backing out of a
garage with the trailer tow mirror.
The telescoping feature (if equipped) allows the mirror to extend
approximately 76 mm (3 inches). This feature is especially useful to the
driver when towing a trailer.
Driver Controls
56
ProCarManuals.com