2003 FORD F350 ECO mode
[x] Cancel search: ECO modePage 70 of 280

5. The doors will lock, then unlock, to confirm that the programming
mode has been activated.
6. Within 20 seconds press any button on the remote entry transmitter.
Note:If more than 20 seconds have passed you will need to start the
procedure over again.
7. The doors will lock, then unlock, to confirm that this remote entry
transmitter has been programmed.
8. Repeat Step 6 to program each additional remote entry transmitter.
9. Turn the ignition to the 3 (OFF) position after you have finished
programming all of the remote entry transmitters.Note:After 20
seconds have passed, you will automatically exit the programming mode.
10. The doors will lock, then unlock, to confirm that the programming
mode has been exited.
Illuminated entry
The interior lamps illuminate when the remote entry system is used to
unlock the door(s).
The illuminated entry system will turn off the interior lights if:
•the ignition switch is turned to the ON position, or
•the remote transmitter lock control is pressed, or
•after 25 seconds of illumination.
The dome lamp control (if equipped) mustnotbe set to the OFF
position for the illuminated entry system to operate.
The inside lights will not turn off if:
•they have been turned on with the dimmer control, or
•any door is open.
The battery saver will shut off the interior lamps 30 minutes after the
ignition has been turned to the OFF position, 10 minutes after if the
dome lamp is off, and 30 minutes after if the dome lamp switch is left
on.
Autolock (if equipped)
This feature automatically locks all vehicle doors when the following
conditions are met:
•the ignition is in the RUN position,
•all doors are closed,
Locks and Security
70
ProCarManuals.com
Page 103 of 280
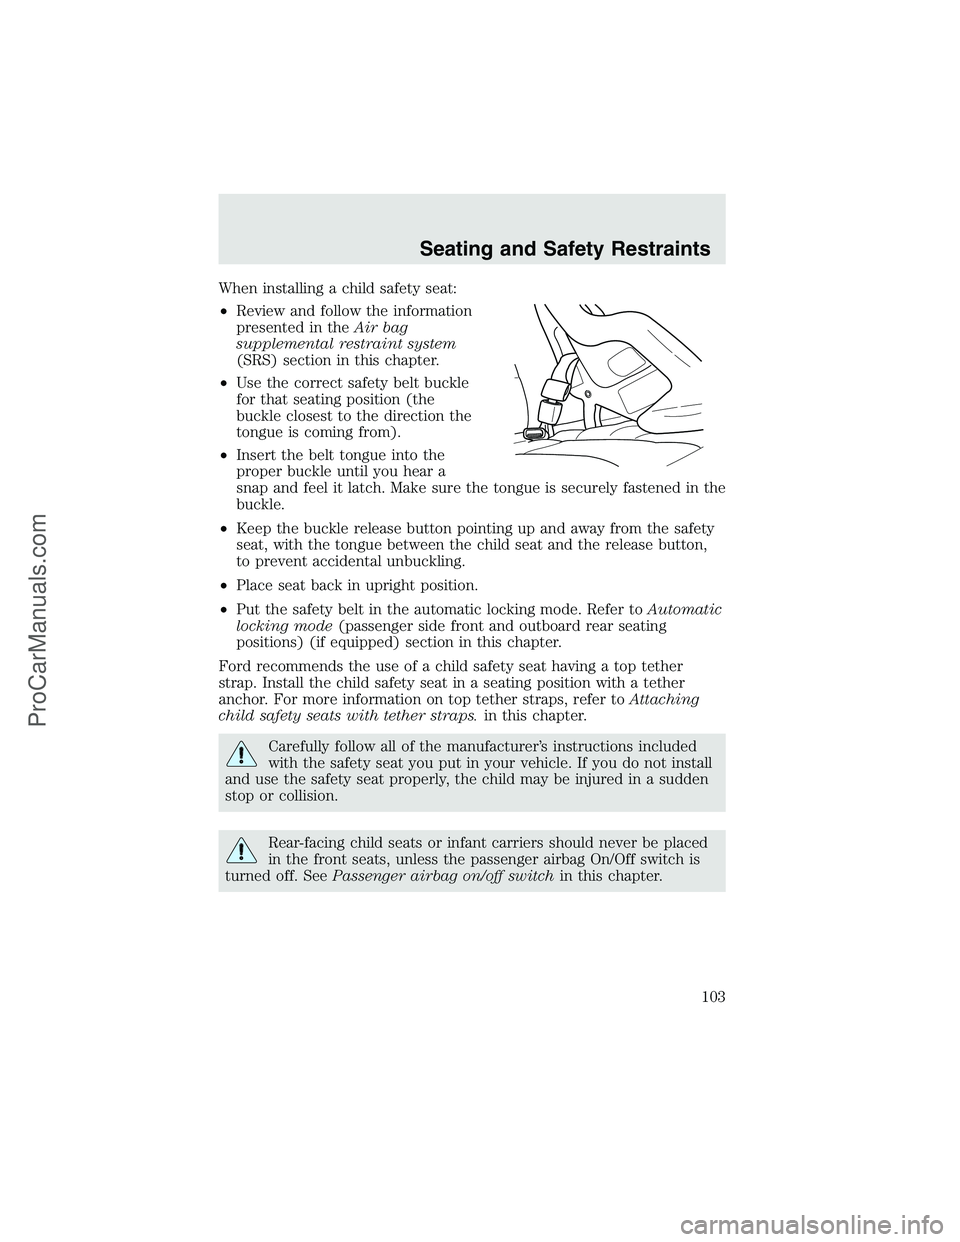
When installing a child safety seat:
•Review and follow the information
presented in theAir bag
supplemental restraint system
(SRS) section in this chapter.
•Use the correct safety belt buckle
for that seating position (the
buckle closest to the direction the
tongue is coming from).
•Insert the belt tongue into the
proper buckle until you hear a
snap and feel it latch. Make sure the tongue is securely fastened in the
buckle.
•Keep the buckle release button pointing up and away from the safety
seat, with the tongue between the child seat and the release button,
to prevent accidental unbuckling.
•Place seat back in upright position.
•Put the safety belt in the automatic locking mode. Refer toAutomatic
locking mode(passenger side front and outboard rear seating
positions) (if equipped) section in this chapter.
Ford recommends the use of a child safety seat having a top tether
strap. Install the child safety seat in a seating position with a tether
anchor. For more information on top tether straps, refer toAttaching
child safety seats with tether straps.in this chapter.
Carefully follow all of the manufacturer’s instructions included
with the safety seat you put in your vehicle. If you do not install
and use the safety seat properly, the child may be injured in a sudden
stop or collision.
Rear-facing child seats or infant carriers should never be placed
in the front seats, unless the passenger airbag On/Off switch is
turned off. SeePassenger airbag on/off switchin this chapter.
Seating and Safety Restraints
103
ProCarManuals.com
Page 120 of 280
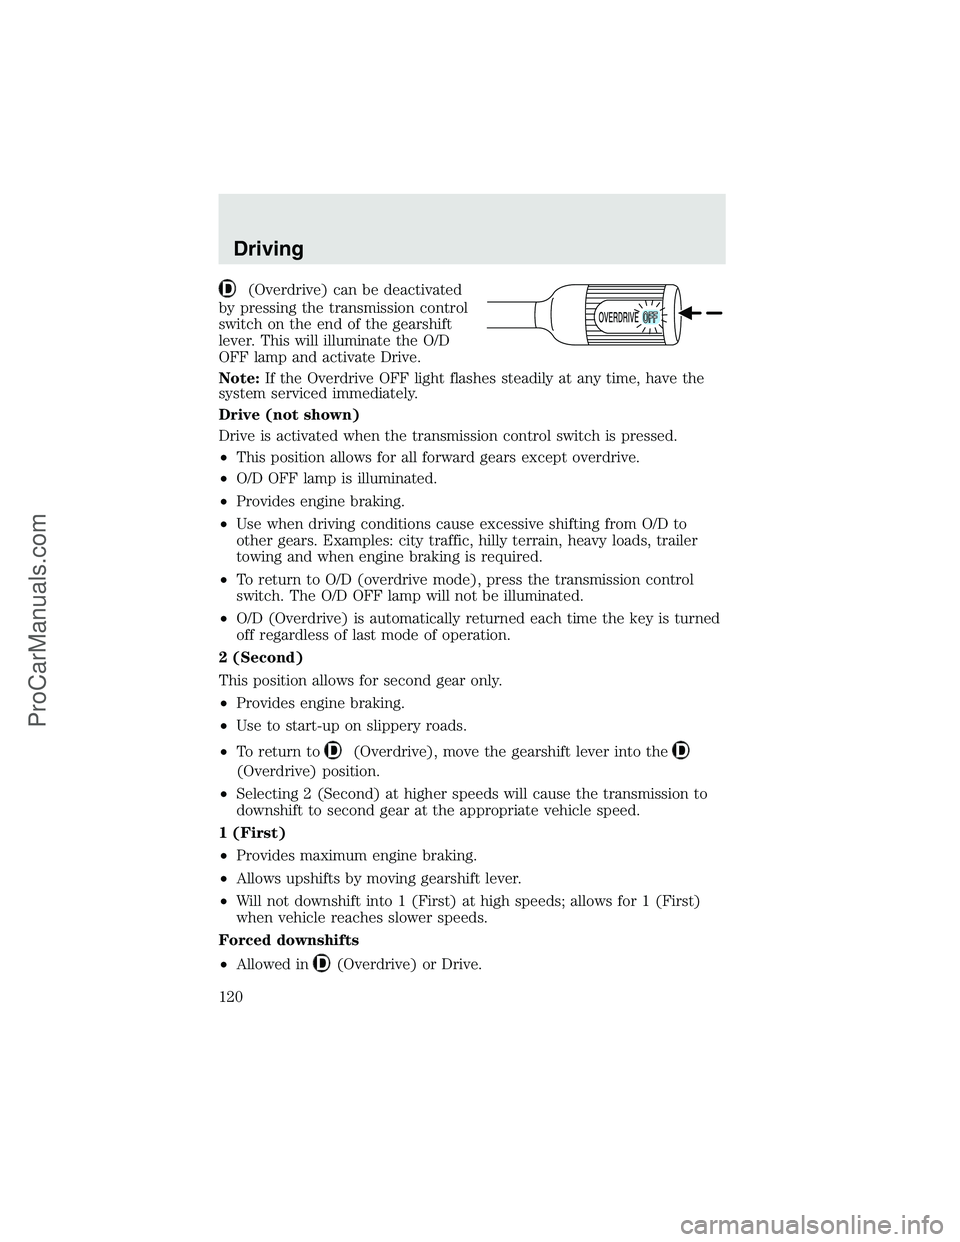
(Overdrive) can be deactivated
by pressing the transmission control
switch on the end of the gearshift
lever. This will illuminate the O/D
OFF lamp and activate Drive.
Note:If the Overdrive OFF light flashes steadily at any time, have the
system serviced immediately.
Drive (not shown)
Drive is activated when the transmission control switch is pressed.
•This position allows for all forward gears except overdrive.
•O/D OFF lamp is illuminated.
•Provides engine braking.
•Use when driving conditions cause excessive shifting from O/D to
other gears. Examples: city traffic, hilly terrain, heavy loads, trailer
towing and when engine braking is required.
•To return to O/D (overdrive mode), press the transmission control
switch. The O/D OFF lamp will not be illuminated.
•O/D (Overdrive) is automatically returned each time the key is turned
off regardless of last mode of operation.
2 (Second)
This position allows for second gear only.
•Provides engine braking.
•Use to start-up on slippery roads.
•To return to
(Overdrive), move the gearshift lever into the
(Overdrive) position.
•Selecting 2 (Second) at higher speeds will cause the transmission to
downshift to second gear at the appropriate vehicle speed.
1 (First)
•Provides maximum engine braking.
•Allows upshifts by moving gearshift lever.
•Will not downshift into 1 (First) at high speeds; allows for 1 (First)
when vehicle reaches slower speeds.
Forced downshifts
•Allowed in
(Overdrive) or Drive.
Driving
120
ProCarManuals.com
Page 123 of 280

transmission is in the D (Overdrive) position; this engine braking will
slow the vehicle and assist the driver in controlling the vehicle when
descending a grade. Depending on driving conditions and load
conditions, the transmission may downshift, slow the vehicle and control
the vehicle speed when descending a hill, without the accelerator pedal
being pressed. The amount of downshift braking provided will vary based
upon the amount the brake pedal is depressed.
To deactivate the Tow/Haul feature and return to normal driving mode,
press the button on the end of the gearshift lever. The ON light will no
longer be illuminated.
When you shut-off and restart the engine, the transmission will
automatically return to normal D (Overdrive) mode (Tow/Haul OFF).
3 (Third)
Transmission operates up to third gear only.
Used for improved traction on slippery roads. Selecting 3 (Third)
provides engine braking.
2 (Second)
Use 2 (Second) to start-up on slippery roads or to provide additional
engine braking on downgrades.
1 (First)
•Provides maximum engine braking.
•Allows upshifts by moving gearshift lever.
•The transmission will not downshift into 1 (First) at high speeds; it
will downshift to a lower gear and then shift into 1 (First) when the
vehicle reaches slower speeds.
Forced downshifts
•Allowed in
(Overdrive) or Drive.
•Depress the accelerator to the floor.
•Allows transmission to select an appropriate gear.
If your vehicle gets stuck in mud or snow
If your vehicle gets stuck in mud or snow, it may be rocked out by
shifting from forward and reverse gears, stopping between shifts in a
steady pattern. Press lightly on the accelerator in each gear.
Driving
123
ProCarManuals.com
Page 129 of 280
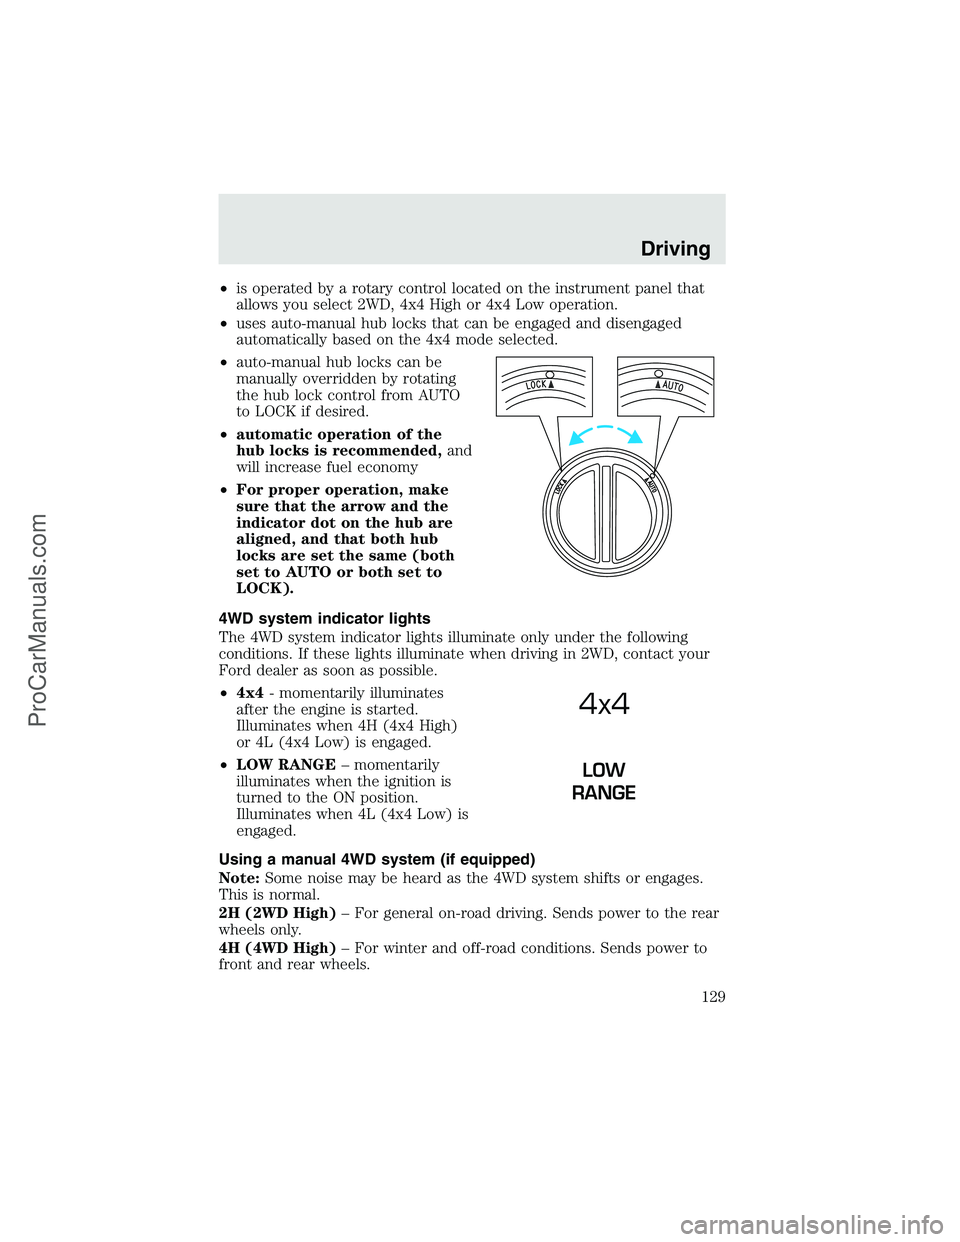
•is operated by a rotary control located on the instrument panel that
allows you select 2WD, 4x4 High or 4x4 Low operation.
•uses auto-manual hub locks that can be engaged and disengaged
automatically based on the 4x4 mode selected.
•auto-manual hub locks can be
manually overridden by rotating
the hub lock control from AUTO
to LOCK if desired.
•automatic operation of the
hub locks is recommended,and
will increase fuel economy
•For proper operation, make
sure that the arrow and the
indicator dot on the hub are
aligned, and that both hub
locks are set the same (both
set to AUTO or both set to
LOCK).
4WD system indicator lights
The 4WD system indicator lights illuminate only under the following
conditions. If these lights illuminate when driving in 2WD, contact your
Ford dealer as soon as possible.
•4x4- momentarily illuminates
after the engine is started.
Illuminates when 4H (4x4 High)
or 4L (4x4 Low) is engaged.
•LOW RANGE–momentarily
illuminates when the ignition is
turned to the ON position.
Illuminates when 4L (4x4 Low) is
engaged.
Using a manual 4WD system (if equipped)
Note:Some noise may be heard as the 4WD system shifts or engages.
This is normal.
2H (2WD High)–For general on-road driving. Sends power to the rear
wheels only.
4H (4WD High)–For winter and off-road conditions. Sends power to
front and rear wheels.
4x4
LOW
RANGE
Driving
129
ProCarManuals.com
Page 138 of 280
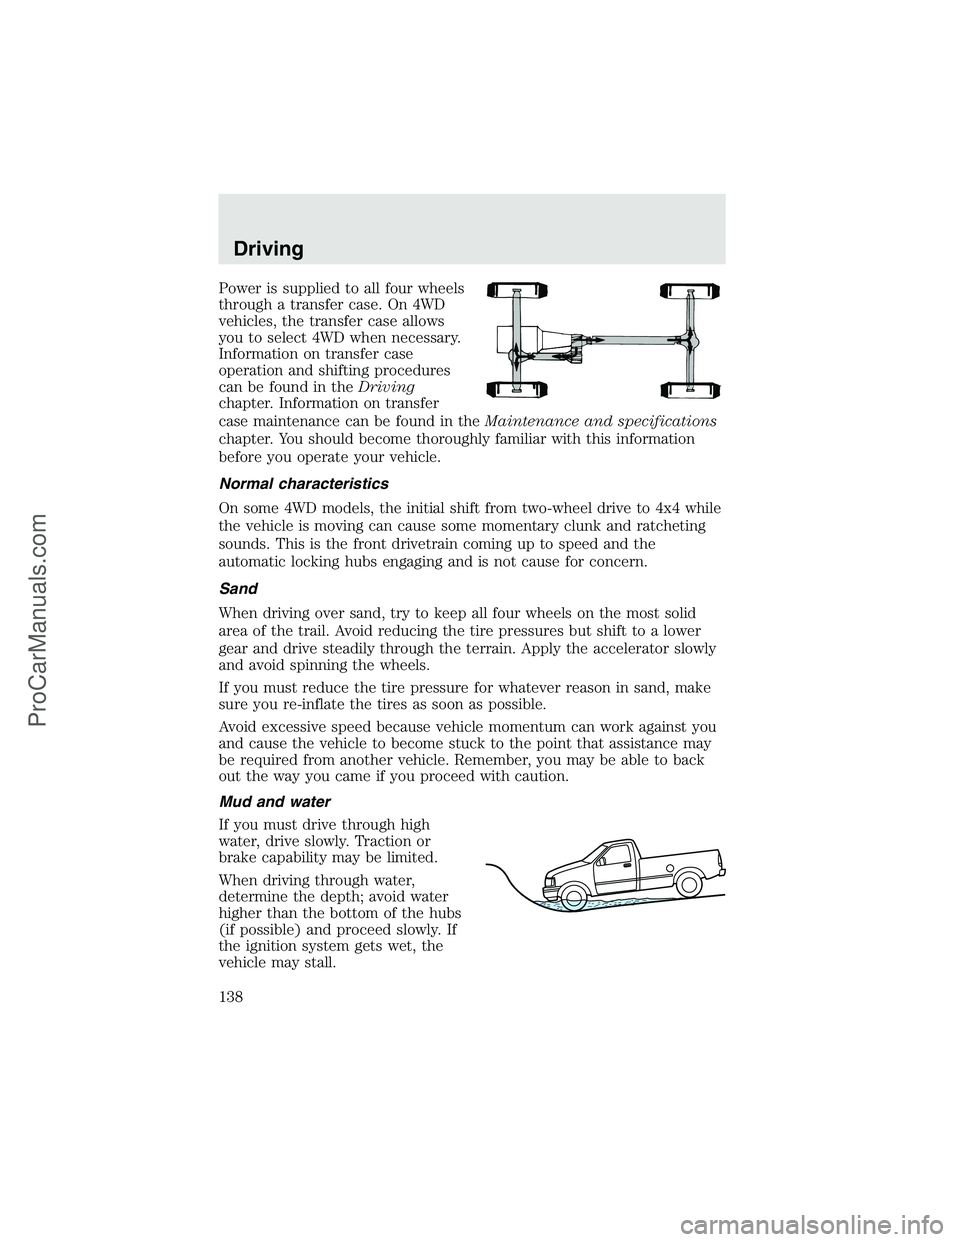
Power is supplied to all four wheels
through a transfer case. On 4WD
vehicles, the transfer case allows
you to select 4WD when necessary.
Information on transfer case
operation and shifting procedures
can be found in theDriving
chapter. Information on transfer
case maintenance can be found in theMaintenance and specifications
chapter. You should become thoroughly familiar with this information
before you operate your vehicle.
Normal characteristics
On some 4WD models, the initial shift from two-wheel drive to 4x4 while
the vehicle is moving can cause some momentary clunk and ratcheting
sounds. This is the front drivetrain coming up to speed and the
automatic locking hubs engaging and is not cause for concern.
Sand
When driving over sand, try to keep all four wheels on the most solid
area of the trail. Avoid reducing the tire pressures but shift to a lower
gear and drive steadily through the terrain. Apply the accelerator slowly
and avoid spinning the wheels.
If you must reduce the tire pressure for whatever reason in sand, make
sure you re-inflate the tires as soon as possible.
Avoid excessive speed because vehicle momentum can work against you
and cause the vehicle to become stuck to the point that assistance may
be required from another vehicle. Remember, you may be able to back
out the way you came if you proceed with caution.
Mud and water
If you must drive through high
water, drive slowly. Traction or
brake capability may be limited.
When driving through water,
determine the depth; avoid water
higher than the bottom of the hubs
(if possible) and proceed slowly. If
the ignition system gets wet, the
vehicle may stall.
Driving
138
ProCarManuals.com
Page 143 of 280
and adversely affect driver and passenger safety. Frequent inspection of
vehicle chassis components is recommended if the vehicle is subjected to
heavy off-road usage.
Power take off (PTO) capability (if equipped)
Some vehicles are equipped with Power Take Off (PTO) capability. These
vehicles have a special transmission case, internal components and
calibration for PTO usage.
The PTO can be used during mobile and stationary
continuous/intermittent applications.
Gasoline engine:
PTO operation is disabled while the vehicle is in Overdrive (the TCIL will
not be illuminated), in N (Neutral), during engine cranking. Transmission
upshift and downshift schedules will be reduced by about 15% and will
have a firmer shift feel during PTO mobile applications.
The PTO cannot be disabled while the transmission is in D (Drive)
(Overdrive position with Overdrive canceled), 2 (Second) or 1 (First).
Refer to theBody Builder’s Layout Bookfor recommended electrical
installation.
Diesel engine:
The Auxiliary Powertrain Control Module (APCM) will elevate the engine
speed to 1,200 RPM when in PTO mode. PTO operation will be disabled
in stationary drive idle conditions. For more information on the APCM
and PTO operation with the Diesel engine, refer to the APCM manual
supplied with your vehicle.
DRIVING THROUGH WATER
If driving through deep or standing water is unavoidable, proceed very
slowly especially if the depth is not known. Never drive through water
that is higher than the bottom of the hubs (for trucks) or the bottom of
the wheel rims (for cars). Traction or brake capability may be limited
and your vehicle may stall. Water may also enter your engine’s air intake
and severely damage your engine.
Once through the water, always dry the brakes by moving your vehicle
slowly while applying light pressure on the brake pedal. Wet brakes do
not stop the vehicle as quickly as dry brakes.Driving through deep
water where the transmission vent tube is submerged may allow
water into the transmission and cause internal transmission
damage.
Driving
143
ProCarManuals.com
Page 171 of 280
RWD vehicles with 4x4 electronic shift transfer case or All Wheel
Drive (AWD) vehicles with automatic transmissions:
Regarding recreational towing or having your vehicle towed, 4x4 vehicles
with electronic shift on the fly and AWD vehicles cannot be towed with
any wheels on the ground (with the exception of moving it as a disabled
vehicle off the road out of traffic).
SNOWPLOWING
Note:Do not use your vehicle to snowplow until it has been driven at
least 800 km (500 miles). Follow the severe duty schedule in your
scheduled maintenance guide for engine oil and transmission fluid
change intervals.
Note:Ford does not install snowplows.
For low speed snow removal, Ford offers a Snowplow Package Option on
select 4x4 vehicles. To assist Ford dealers and equipment installers
further prepare the vehicle for snowplowing, Ford includes instructions
in theFord Truck Body Builders Layout BookandFord Truck Source
Book. These instructions are available through your Ford dealer; they
include the list of vehicle models recommended for snowplowing and
snowplow weight limits. Use of the Snowplow Package Option, or its
equivalent, along with these instructions will help avoid possible
powertrain and chassis damage from snowplowing.
The front and rear GAWR, GVWR, Total Accessory Reserve Capacity
(TARC) and tire inflation pressures are found on the Safety Compliance
Certification Label located on one of the vehicle’s door jambs. This label
is applied to all vehicles completed by Ford Motor Company. Incomplete
vehicles built by Ford Motor Company will have an Incomplete Vehicle
Label in place of the Safety Compliance Label. The TARC does not apply
to Incomplete Vehicles and will not be shown on the Incomplete Vehicle
Label. The weight of the vehicle with occupants must never exceed the
front and rear GAWR or the GVWR.
The TARC is the weight of the permanently attached equipment that can
be added to the vehicle without violating the vehicle’s Safety Compliance
Certification. This includes the snowplow mounting hardware but does
not include the removable portion of the snowplow assembly.
Installing the snowplow
Read the following instructions before installing a snowplow:
•Front GAWR must not exceed 63% of the GVW. Add ballast weight to
the back of the vehicle, if necessary. Refer to the Safety Compliance
Certification Label to find your vehicle’s front GAWR.
Driving
171
ProCarManuals.com