2003 FORD F350 flat tire
[x] Cancel search: flat tirePage 117 of 280
STEERING
To prevent damage to the power steering system:
•Never hold the steering wheel at its furthest turning points (until it
stops) for more than a few seconds when the engine is running.
•Do not operate the vehicle with a low power steering pump fluid level
(below the MIN mark on the reservoir).
If the power steering system breaks down (or if the engine is turned
off), you can steer the vehicle manually, but it takes more effort.
If the steering wanders or pulls, check for:
•an improperly inflated tire
•uneven tire wear
•loose or worn suspension components
•loose or worn steering components
•improper steering alignment
TRACTION-LOK AXLE (IF EQUIPPED)
This axle provides added traction on slippery surfaces, particularly when
one wheel is on a poor traction surface. Under normal conditions, the
Traction-Lok axle functions like a standard rear axle.
PREPARING TO DRIVE YOUR VEHICLE
Utility vehicles have a significantly higher rollover rate than
other types of vehicles.
In a rollover crash, an unbelted person is significantly more likely
to die than a person wearing a safety belt.
Your vehicle has larger tires and increased ground clearance, giving the
vehicle a higher center of gravity than a passenger car.
Vehicles with a higher center of gravity such as utility and
four-wheel drive vehicles handle differently than vehicles with a
lower center of gravity. Utility and four-wheel drive vehicles arenot
designed for cornering at speeds as high as passenger cars any more
than low-slung sports cars are designed to perform satisfactorily under
off-road conditions. Avoid sharp turns, excessive speed and abrupt
maneuvers in these vehicles. Failure to drive cautiously could result in
an increased risk of loss of vehicle control, vehicle rollover, personal
injury and death.
Driving
117
ProCarManuals.com
Page 138 of 280
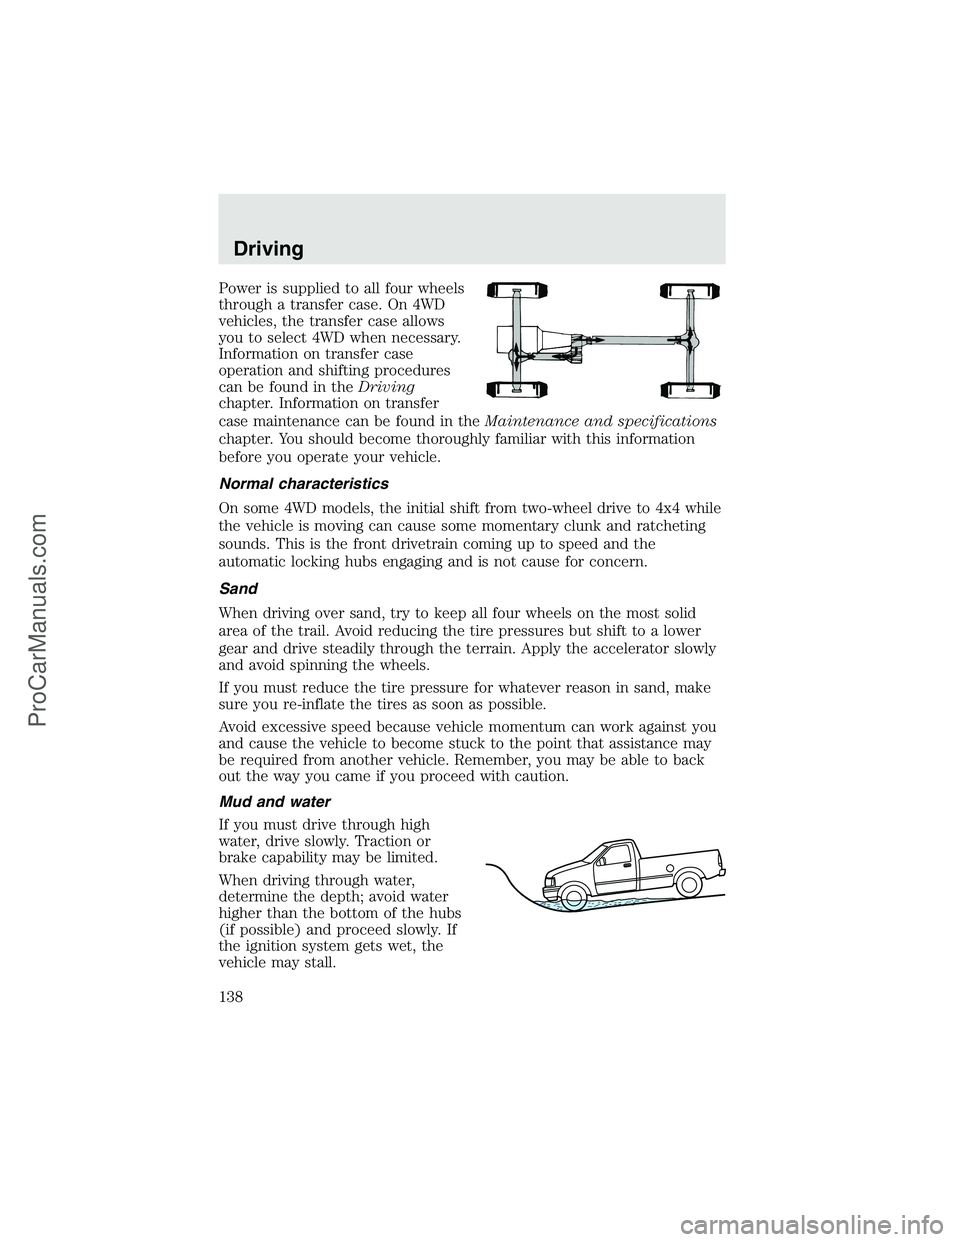
Power is supplied to all four wheels
through a transfer case. On 4WD
vehicles, the transfer case allows
you to select 4WD when necessary.
Information on transfer case
operation and shifting procedures
can be found in theDriving
chapter. Information on transfer
case maintenance can be found in theMaintenance and specifications
chapter. You should become thoroughly familiar with this information
before you operate your vehicle.
Normal characteristics
On some 4WD models, the initial shift from two-wheel drive to 4x4 while
the vehicle is moving can cause some momentary clunk and ratcheting
sounds. This is the front drivetrain coming up to speed and the
automatic locking hubs engaging and is not cause for concern.
Sand
When driving over sand, try to keep all four wheels on the most solid
area of the trail. Avoid reducing the tire pressures but shift to a lower
gear and drive steadily through the terrain. Apply the accelerator slowly
and avoid spinning the wheels.
If you must reduce the tire pressure for whatever reason in sand, make
sure you re-inflate the tires as soon as possible.
Avoid excessive speed because vehicle momentum can work against you
and cause the vehicle to become stuck to the point that assistance may
be required from another vehicle. Remember, you may be able to back
out the way you came if you proceed with caution.
Mud and water
If you must drive through high
water, drive slowly. Traction or
brake capability may be limited.
When driving through water,
determine the depth; avoid water
higher than the bottom of the hubs
(if possible) and proceed slowly. If
the ignition system gets wet, the
vehicle may stall.
Driving
138
ProCarManuals.com
Page 142 of 280
Tires can be damaged during off-road use. For your safety, tires that are
damaged should not be used for highway driving because they are more
likely to blow out or fail.
You should carefully observe the recommended tire inflation pressure
found on the safety compliance certification label attached to the left
front door lock facing or door latch post pillar. Failure to follow tire
pressure recommendations can adversely affect the way your vehicle
handles. Do not exceed the Ford Motor Company recommended pressure
even if it is less than the maximum pressure allowed for the tire.
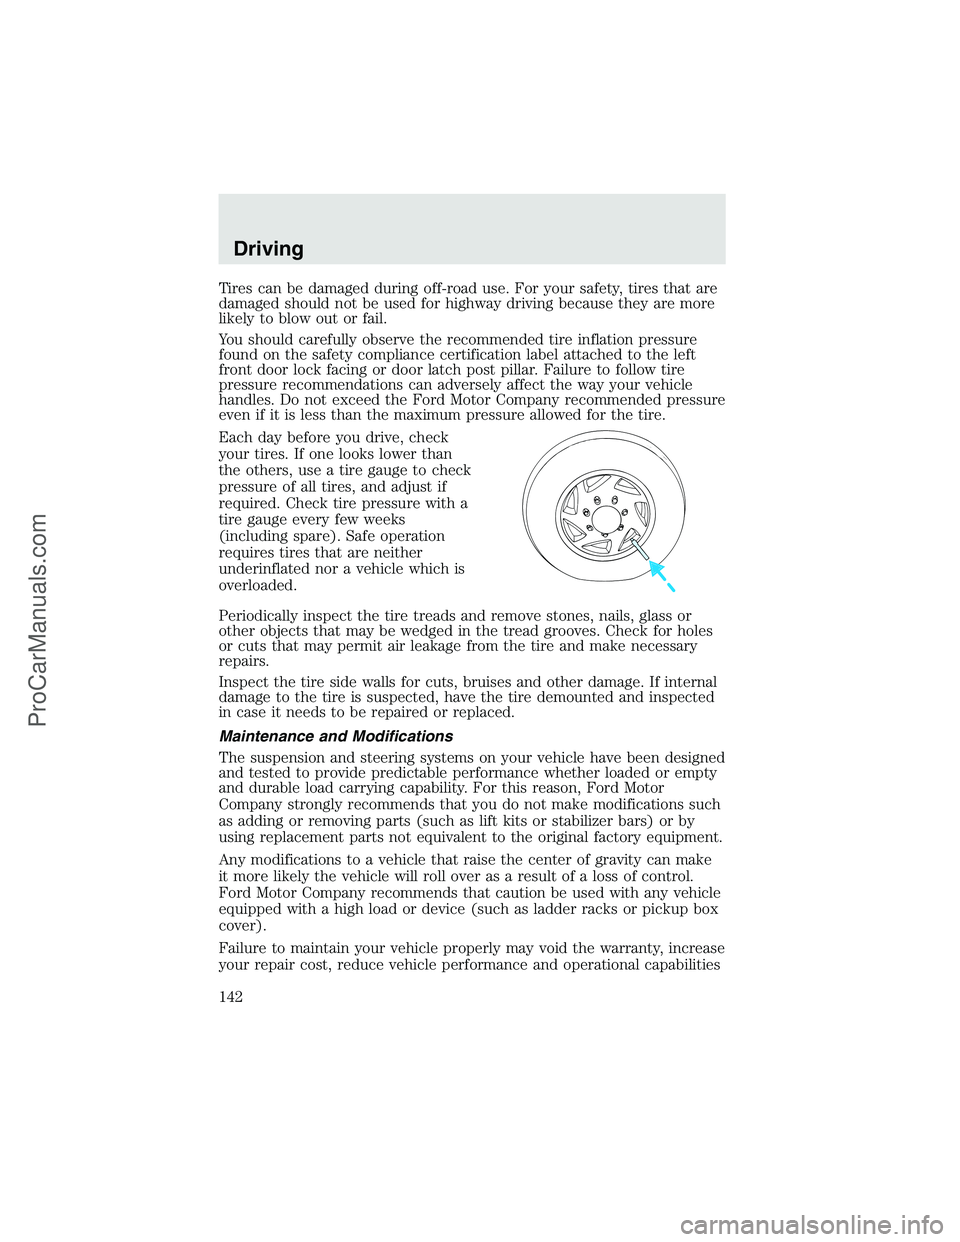
Each day before you drive, check
your tires. If one looks lower than
the others, use a tire gauge to check
pressure of all tires, and adjust if
required. Check tire pressure with a
tire gauge every few weeks
(including spare). Safe operation
requires tires that are neither
underinflated nor a vehicle which is
overloaded.
Periodically inspect the tire treads and remove stones, nails, glass or
other objects that may be wedged in the tread grooves. Check for holes
or cuts that may permit air leakage from the tire and make necessary
repairs.
Inspect the tire side walls for cuts, bruises and other damage. If internal
damage to the tire is suspected, have the tire demounted and inspected
in case it needs to be repaired or replaced.
Maintenance and Modifications
The suspension and steering systems on your vehicle have been designed
and tested to provide predictable performance whether loaded or empty
and durable load carrying capability. For this reason, Ford Motor
Company strongly recommends that you do not make modifications such
as adding or removing parts (such as lift kits or stabilizer bars) or by
using replacement parts not equivalent to the original factory equipment.
Any modifications to a vehicle that raise the center of gravity can make
it more likely the vehicle will roll over as a result of a loss of control.
Ford Motor Company recommends that caution be used with any vehicle
equipped with a high load or device (such as ladder racks or pickup box
cover).
Failure to maintain your vehicle properly may void the warranty, increase
your repair cost, reduce vehicle performance and operational capabilities
Driving
142
ProCarManuals.com
Page 171 of 280
RWD vehicles with 4x4 electronic shift transfer case or All Wheel
Drive (AWD) vehicles with automatic transmissions:
Regarding recreational towing or having your vehicle towed, 4x4 vehicles
with electronic shift on the fly and AWD vehicles cannot be towed with
any wheels on the ground (with the exception of moving it as a disabled
vehicle off the road out of traffic).
SNOWPLOWING
Note:Do not use your vehicle to snowplow until it has been driven at
least 800 km (500 miles). Follow the severe duty schedule in your
scheduled maintenance guide for engine oil and transmission fluid
change intervals.
Note:Ford does not install snowplows.
For low speed snow removal, Ford offers a Snowplow Package Option on
select 4x4 vehicles. To assist Ford dealers and equipment installers
further prepare the vehicle for snowplowing, Ford includes instructions
in theFord Truck Body Builders Layout BookandFord Truck Source
Book. These instructions are available through your Ford dealer; they
include the list of vehicle models recommended for snowplowing and
snowplow weight limits. Use of the Snowplow Package Option, or its
equivalent, along with these instructions will help avoid possible
powertrain and chassis damage from snowplowing.
The front and rear GAWR, GVWR, Total Accessory Reserve Capacity
(TARC) and tire inflation pressures are found on the Safety Compliance
Certification Label located on one of the vehicle’s door jambs. This label
is applied to all vehicles completed by Ford Motor Company. Incomplete
vehicles built by Ford Motor Company will have an Incomplete Vehicle
Label in place of the Safety Compliance Label. The TARC does not apply
to Incomplete Vehicles and will not be shown on the Incomplete Vehicle
Label. The weight of the vehicle with occupants must never exceed the
front and rear GAWR or the GVWR.
The TARC is the weight of the permanently attached equipment that can
be added to the vehicle without violating the vehicle’s Safety Compliance
Certification. This includes the snowplow mounting hardware but does
not include the removable portion of the snowplow assembly.
Installing the snowplow
Read the following instructions before installing a snowplow:
•Front GAWR must not exceed 63% of the GVW. Add ballast weight to
the back of the vehicle, if necessary. Refer to the Safety Compliance
Certification Label to find your vehicle’s front GAWR.
Driving
171
ProCarManuals.com
Page 172 of 280
•The Front Axle Accessory Reserve Capacity and the TARC listed on
the bottom right of the Safety Compliance Certification Label will
determine whether or not the addition of a snowplow will overload
your vehicle.
•The weight of the snowplow and supporting components distributed to
the front axle must not exceed the Front Axle Accessory Reserve
Capacity.
•The total weight of the snowplow and aftermarket equipment must
not exceed the TARC.
•The weight of the installed snowplow and aftermarket equipment must
not load the vehicle beyond the GAWR (front/rear) and GVWR listed
on the Safety Compliance Certification Label.
•The total weight of the snowplow and aftermarket equipment must be
considered part of the payload and must not exceed the GCWR for
towing.
•Federal and most local regulations require additional exterior lamps
for snowplow-equipped vehicles. Consult your dealer for additional
information.
•Tires have their maximum inflation pressure and associated load rating
imprinted on the tire sidewall. This pressure may or may not be the
same as that shown as recommended on the vehicle. The vehicle
operator may have to adjust the tire inflation pressure to
accommodate the snowplow and payload. Consult your dealer or
equipment installer for help with proper inflation pressures.
•Federal and some local regulations require additional exterior lamps
for snowplow-equipped vehicles. Consult your dealer for additional
information.
•After installing a snowplow to the vehicle, ensure the vehicle’s front
toe alignment and front ride height are within specification (reset if
required). These specifications are located in the vehicle’s Workshop
Manual.
Note:Do not exceed the GVWR or the GAWR specified on the
certification label.
Removing snowplow
After removing a snowplow from the vehicle, ensure the vehicle’s front
toe alignment and front ride height are within specification (reset if
required).
Driving
172
ProCarManuals.com
Page 175 of 280
GETTING ROADSIDE ASSISTANCE
To fully assist you should you have a vehicle concern, Ford Motor
Company offers a complimentary roadside assistance program. This
program is separate from the New Vehicle Limited Warranty. The service
is available:
•24–hours, seven days a week
•for the New Vehicle Limited Warranty period of three years or 60,000
km (36,000 miles), whichever occurs first on Ford and Mercury
vehicles, and four years or 80,000 km (50,000 miles) on Lincoln
vehicles.
Roadside assistance will cover:
•changing a flat tire
•jump-starts
•lock-out assistance
•limited fuel delivery
•towing of your disabled vehicle to the nearest Ford Motor Company
dealership, or your selling dealer if within 56.3 km (35 miles) of the
nearest Ford Motor Company dealership (one tow per disablement).
Even non-warranty related tows, like accidents or getting stuck in the
mud or snow, are covered (some exclusions apply, such as impound
towing or repossession).
Canadian customers refer to your Owner Information Guide for
information on:
•coverage period
•exact fuel amounts
•towing of your disabled vehicle
•emergency travel expense reimbursement
•travel planning benefits
USING ROADSIDE ASSISTANCE
Complete the roadside assistance identification card and place it in your
wallet for quick reference. In the United States, this card is found in the
Owner Guide portfolio in the glove compartment in Ford vehicles and is
mailed to you if you own a Mercury or Lincoln. In Canada, the card is
found in the Owner Information Guide in the glove compartment.
U.S. Ford or Mercury vehicle customers who require roadside assistance,
call 1–800–241–3673; Lincoln vehicle customers call 1–800–521–4140.
Roadside Emergencies
175
ProCarManuals.com
Page 182 of 280

Fuse/Relay
LocationFuse Amp
RatingPassenger Compartment Fuse Panel
Description
602 60A** 4WABS module
210—Not used
211—Backup lamps relay (Diesel engine only)
212—Not used
301—Front blower motor relay
302—Powertrain Control Module (PCM) relay
303—Fuel heater relay (Diesel engine only)
304—Heated backlight relay
305—Trailer tow battery charge relay
306—Delayed accessory relay
307—Starter relay
* Mini Fuses ** Maxi Fuses ***Circuit Breaker
Note: (Diesel engine only)The Fuel Injection Control Module (FICM)
logic 15A mini-fuse is located in the underhood relay block.
CHANGING A FLAT TIRE
If you get a flat tire while driving:
•do not brake heavily.
•gradually decrease the vehicle’s speed.
•hold the steering wheel firmly.
•slowly move to a safe place on the side of the road.
The use of tire sealants is not recommended and may
compromise the integrity of your tires. The use of tire sealants
may also affect your tire pressure monitoring system (if equipped).
Spare tire information
Your vehicle may be equipped with a spare tire that can be used as
either a spare or a regular tire. The spare tire is not equipped with wheel
trim. The wheel trim from the original wheel/tire may be used on the
spare.
Roadside Emergencies
182
ProCarManuals.com
Page 188 of 280
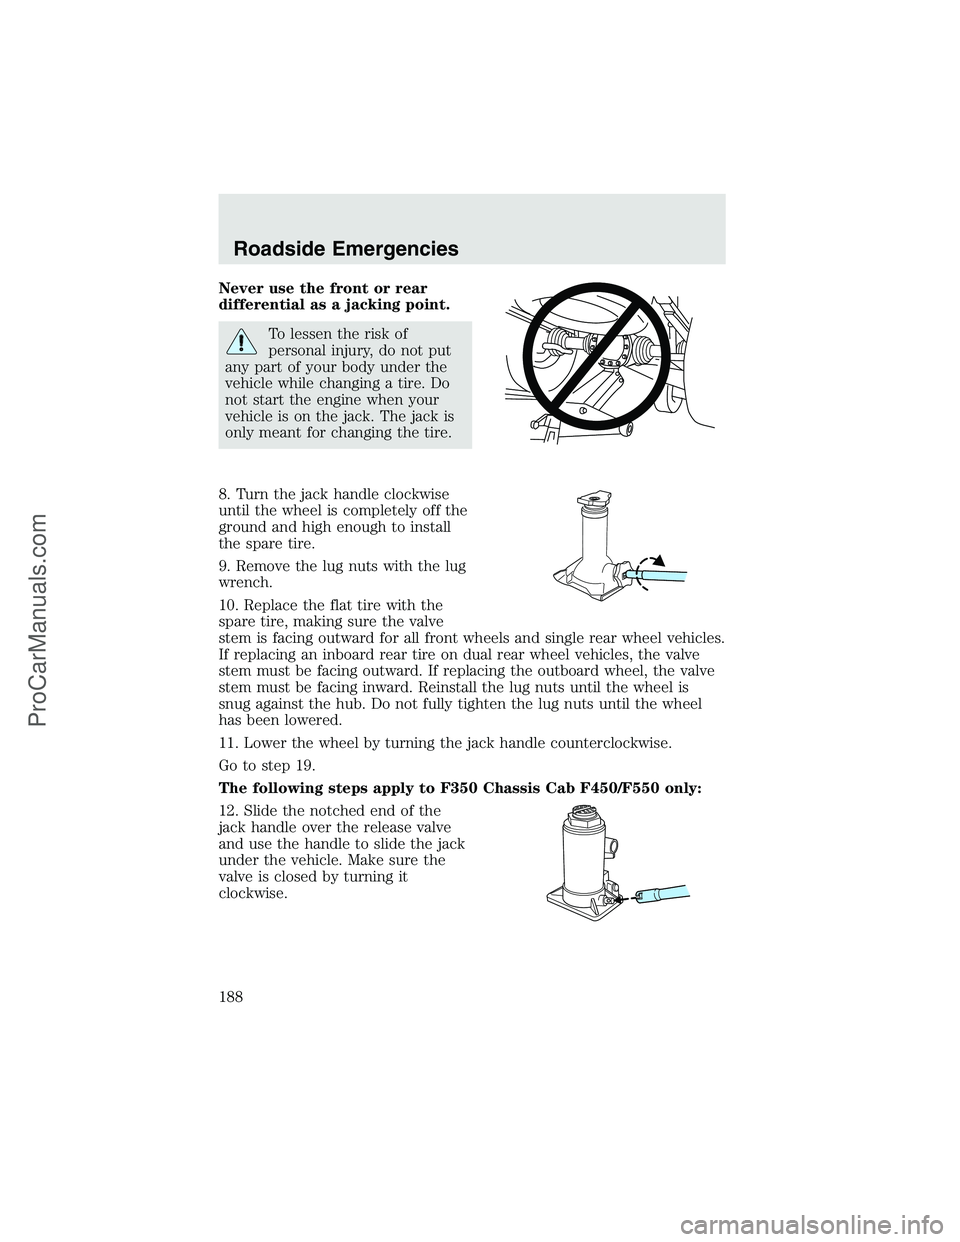
Never use the front or rear
differential as a jacking point.
To lessen the risk of
personal injury, do not put
any part of your body under the
vehicle while changing a tire. Do
not start the engine when your
vehicle is on the jack. The jack is
only meant for changing the tire.
8. Turn the jack handle clockwise
until the wheel is completely off the
ground and high enough to install
the spare tire.
9. Remove the lug nuts with the lug
wrench.
10. Replace the flat tire with the
spare tire, making sure the valve
stem is facing outward for all front wheels and single rear wheel vehicles.
If replacing an inboard rear tire on dual rear wheel vehicles, the valve
stem must be facing outward. If replacing the outboard wheel, the valve
stem must be facing inward. Reinstall the lug nuts until the wheel is
snug against the hub. Do not fully tighten the lug nuts until the wheel
has been lowered.
11. Lower the wheel by turning the jack handle counterclockwise.
Go to step 19.
The following steps apply to F350 Chassis Cab F450/F550 only:
12. Slide the notched end of the
jack handle over the release valve
and use the handle to slide the jack
under the vehicle. Make sure the
valve is closed by turning it
clockwise.
Roadside Emergencies
188
ProCarManuals.com