Page 121 of 344

Delayed Exit Lighting
This feature illuminates the interior for a period of time
after the ignition key is removed from the ignition.
The ignition must be off for delayed exit lighting to work.
When the ignition key is removed, interior illumination
will activate and remain on until one of the following
occurs:
·The ignition is in RUN, or
·the power door locks are activated, or
·an illumination period of 25 seconds has elapsed.
If during the illumination period a door is opened,
the timed illumination period will be canceled and the
interior lamps will remain on.
Reading Lamps
The reading lamps are located on the underside of the
rearview mirror.
Press the button next to each lamp to turn it on and off.
Dome Lamp
The dome lamp will come on when you open a door.
Battery Rundown Protection
The vehicle has a feature to help prevent draining the
battery in case the interior courtesy lamps, reading
lamps, visor vanity lamps, trunk lamp, underhood lamp
or glove box lamps are left on when the ignition is in
OFF. If any of these lamps are left on, they will
automatically turn off after 20 minutes. The lamps won't
come back on again until you do one of the following:
·Turn the ignition on,
·turn the exterior lamps control off, then on, or
·open a door.
If your vehicle has less than 15 miles (25 km) on the
odometer, the battery saver will turn off the lamps after
only three minutes.
3-15
Page 122 of 344

Auxiliary Power Connection
(Power Drop)
Your vehicle is equipped with an auxiliary power
connection. This feature provides power, ground and
accessory wires which can be accessed to add
aftermarket electrical equipment to your vehicle.
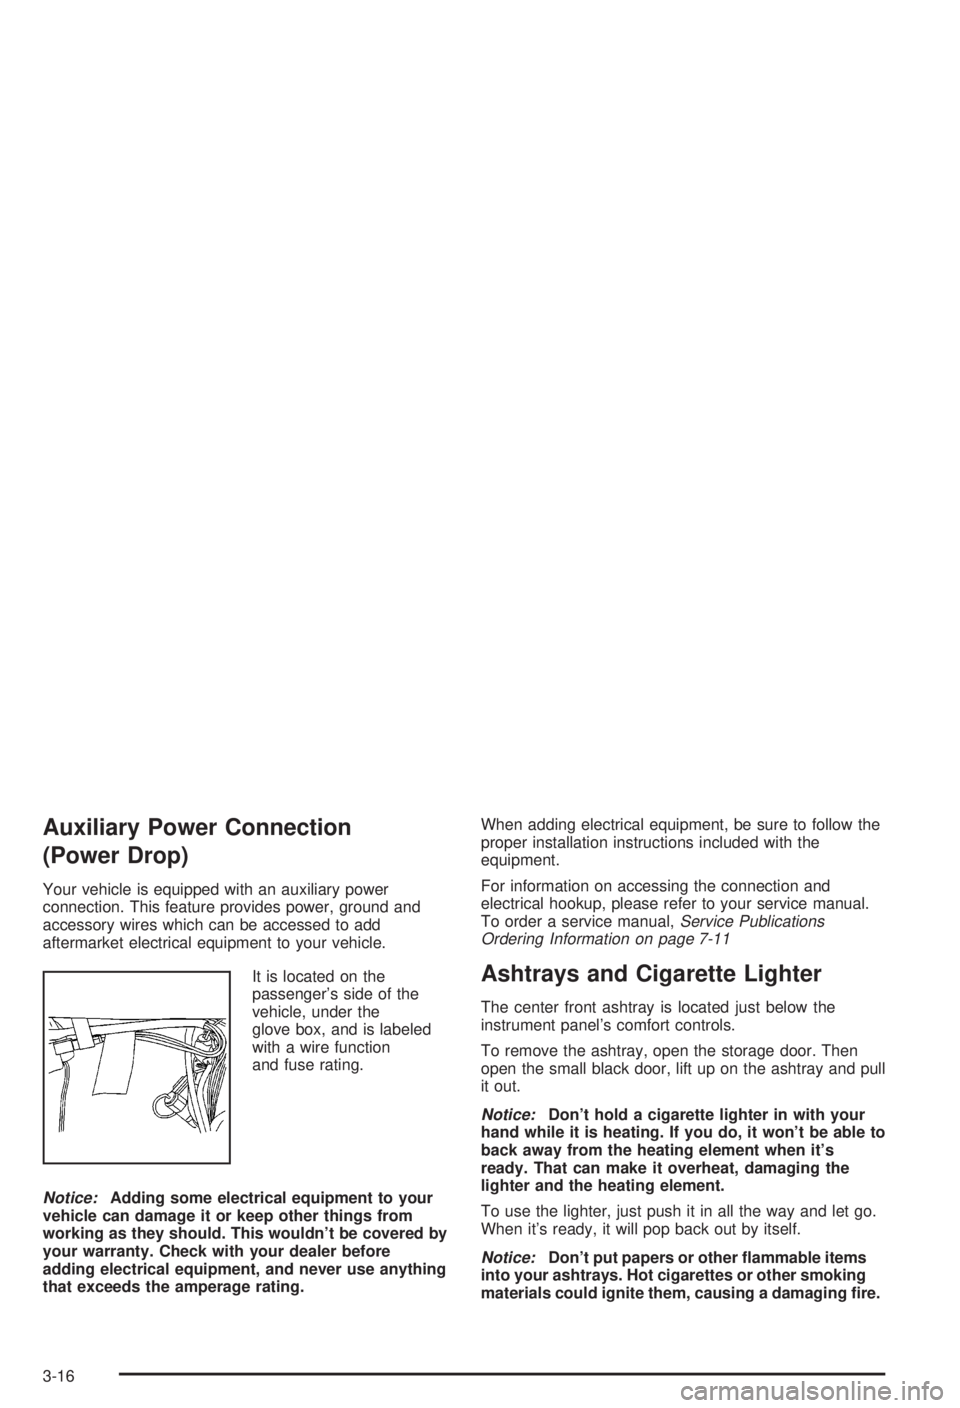
It is located on the
passenger's side of the
vehicle, under the
glove box, and is labeled
with a wire function
and fuse rating.
Notice:Adding some electrical equipment to your
vehicle can damage it or keep other things from
working as they should. This wouldn't be covered by
your warranty. Check with your dealer before
adding electrical equipment, and never use anything
that exceeds the amperage rating.When adding electrical equipment, be sure to follow the
proper installation instructions included with the
equipment.
For information on accessing the connection and
electrical hookup, please refer to your service manual.
To order a service manual,
Service Publications
Ordering Information on page 7-11
Ashtrays and Cigarette Lighter
The center front ashtray is located just below the
instrument panel's comfort controls.
To remove the ashtray, open the storage door. Then
open the small black door, lift up on the ashtray and pull
it out.
Notice:Don't hold a cigarette lighter in with your
hand while it is heating. If you do, it won't be able to
back away from the heating element when it's
ready. That can make it overheat, damaging the
lighter and the heating element.
To use the lighter, just push it in all the way and let go.
When it's ready, it will pop back out by itself.
Notice:Don't put papers or other ¯ammable items
into your ashtrays. Hot cigarettes or other smoking
materials could ignite them, causing a damaging ®re.
3-16
Page 123 of 344

Climate Controls
Dual Climate Control System
With this system you can control the heating, cooling
and ventilation for your vehicle.
Manual Operation
To change the current mode, select one of the following
settings on the right knob.MAX (Maximum Air-Conditioning):This mode
recirculates much of the air inside your vehicle and
sends it through the instrument panel outlets. The
air-conditioning compressor will run automatically in this
setting unless the outside temperature is below
40ÉF (4ÉC).
VENT (Ventilation):This mode brings in outside air
direct and directs it through the instrument panel outlet.
BI-LEV (Bi-Level):This mode directs approximately
half of the air to the instrument panel outlets, and then
directs most of the remaining air to the ¯oor outlets.
Some air may be directed toward the windshield.
HTR (Heater):This mode directs most of the air to the
¯oor outlets, with some air directed to the outboard
outlets (for the side windows) and some air directed to
the windshield.
BLEND:This mode directs half of the air to go to the
¯oor outlets and half to the defroster and side window
outlets. The air-conditioning compressor will run
automatically in this setting unless the outside
temperature is below 40ÉF (4ÉC).
The right knob can also be used for the defrost mode.
Information on defrosting and defogging can be
found later in this section.
3-17
Page 124 of 344

9FAN:The left knob controls the fan speed.
OFF:Turn the knob all the way counterclockwise to
turn off the fan.
LO (Low Fan Speed):This setting creates the lowest
fan speed.
HI (High Fan Speed):This setting creates the highest
fan speed.
DRIVER (Driver's Side Temperature):The lever on
the left adjusts the air temperature for the driver's
side outlets. Slide the lever up to raise the temperature
and down to lower the temperature.
PASSENGER (Passenger's Side Temperature):
The lever on the right adjusts the air temperature for the
passenger's side outlets. Slide the lever up to raise
the temperature and down to lower the temperature.
"(Air Conditioning):Press this button to turn the
air-conditioning on and off. An indicator light above the
button will come on when the air conditioning is on.
During daylight hours you may need to adjust the interior
lighting control to the highest setting in order to see the
light. The system will cool and dehumidify the air inside
the vehicle when the A/C indicator light is on.On very hot days, open the windows long enough to let
hot, inside air escape. This reduces the time for the
vehicle to cool down.
For a quick cool-down on a very hot day, use MAX with
the temperature levers all the way in the blue area. If this
setting is used for long periods of time, the air in your
vehicle may become too dry.
For normal cooling on hot days, use VENT with the
temperature levers in the blue area. The system will bring
in outside air and cool it.
On cool, but sunny days, the sun may warm your upper
body, but your lower body may not be warm enough.
Select BI-LEV and set the temperature levers to a
comfortable setting. The system will bring in outside air
and direct it to your upper body, while sending slightly
warmed air to your lower body. Push the A/C button for
cooling.
3-18
Page 125 of 344

Defogging and Defrosting
Fog on the inside of the windows is a result of high
humidity (moisture) condensing on the cool window
glass. This can be minimized if the climate control
system is used properly. There are two modes to clear
fog or frost from your windshield and side windows.
Use the blend mode to clear the windows of fog
or moisture and warm the passengers. Use the defrost
mode to remove frost or fog from the windshield
more quickly. For best results, clear all snow and ice
from the windshield before defrosting.
0DEF (Defrost):This setting, located on the right
knob, directs most of the air through the defroster
and the side window outlets. Some of the air is directed
to the ¯oor and side window outlets. The air-conditioning
compressor will run automatically in this setting unless
the outside temperature is below 40ÉF (4ÉC).
To defrost the window quickly, turn the mode knob to
the defrost setting and turn the driver's and passenger's
temperature levers all the way to the red area.
To warm passengers while keeping the windows clear,
use BLEND.
Do not drive the vehicle until all the windows are clear.
Rear Window Defogger
0
(Rear):Press the button to turn the defogger on.
The rear window defogger will shut off after about
15 minutes. If you turn it on again, the rear window
defogger will only run for about seven and one
half minutes before turning off. You can also turn it off
by pressing the button again.
Do not drive the vehicle until all the windows are clear.
Notice:Don't use a razor blade or something
else sharp on the inside of the rear window. If you
do, you could cut or damage the defogger and
the repairs would not be covered by your warranty.
Do not attach a temporary vehicle license, tape,
a decal or anything similar to the defogger grid.
3-19
Page 126 of 344

Outlet Adjustment
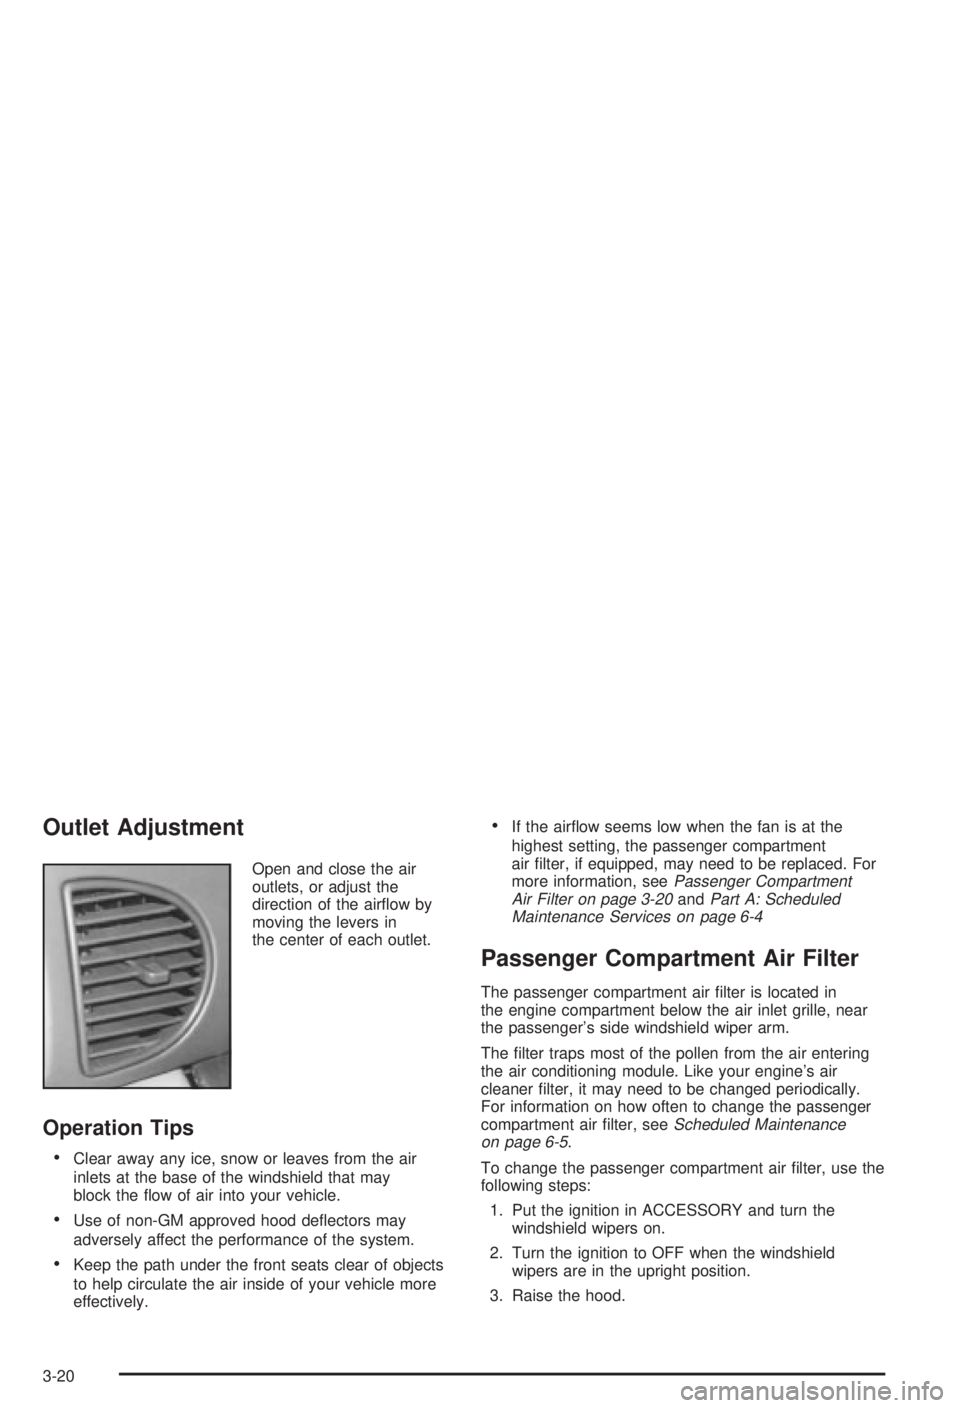
Open and close the air
outlets, or adjust the
direction of the air¯ow by
moving the levers in
the center of each outlet.
Operation Tips
·Clear away any ice, snow or leaves from the air
inlets at the base of the windshield that may
block the ¯ow of air into your vehicle.
·Use of non-GM approved hood de¯ectors may
adversely affect the performance of the system.
·Keep the path under the front seats clear of objects
to help circulate the air inside of your vehicle more
effectively.
·If the air¯ow seems low when the fan is at the
highest setting, the passenger compartment
air ®lter, if equipped, may need to be replaced. For
more information, see
Passenger Compartment
Air Filter on page 3-20andPart A: Scheduled
Maintenance Services on page 6-4
Passenger Compartment Air Filter
The passenger compartment air ®lter is located in
the engine compartment below the air inlet grille, near
the passenger's side windshield wiper arm.
The ®lter traps most of the pollen from the air entering
the air conditioning module. Like your engine's air
cleaner ®lter, it may need to be changed periodically.
For information on how often to change the passenger
compartment air ®lter, see
Scheduled Maintenance
on page 6-5.
To change the passenger compartment air ®lter, use the
following steps:
1. Put the ignition in ACCESSORY and turn the
windshield wipers on.
2. Turn the ignition to OFF when the windshield
wipers are in the upright position.
3. Raise the hood.
3-20
Page 127 of 344
4. Disconnect the windshield washer pump hose from
the fender rail and air inlet grille.
5. Remove the hood weather-strip from the
passenger's side of the vehicle (peel back halfway
to center).
6. Remove the three air inlet grille retainers.
7. Remove the air inlet grille.
8. Replace the old air ®lter by pulling up on its tab. For
the type of ®lter to use, see
Normal Maintenance
Replacement Parts on page 5-95.9. Install a new passenger compartment air ®lter.
Make sure it slides under the compartment
retainers.
10. Reverse steps 1 through 7.
3-21
Page 128 of 344

Warning Lights, Gages and
Indicators
This part describes the warning lights and gages that may
be on your vehicle. The pictures will help you locate them.
Warning lights and gages can signal that something is
wrong before it becomes serious enough to cause
an expensive repair or replacement. Paying attention to
your warning lights and gages could also save you
or others from injury.
Warning lights come on when there may be or is a
problem with one of your vehicle's functions. As you will
see in the details on the next few pages, some
warning lights come on brie¯y when you start the
engine just to let you know they're working. If you are
familiar with this section, you should not be alarmed
when this happens.Gages can indicate when there may be or is a problem
with one of your vehicle's functions. Often gages
and warning lights work together to let you know when
there's a problem with your vehicle.
When one of the warning lights comes on and stays on
when you are driving, or when one of the gages shows
there may be a problem, check the section that tells you
what to do about it. Please follow this manual's advice.
Waiting to do repairs can be costly ± and even
dangerous. So please get to know your warning lights
and gages. They're a big help.
3-22